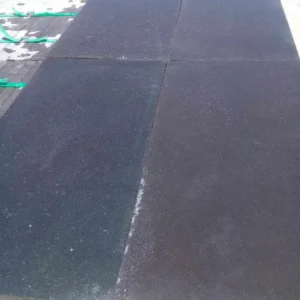
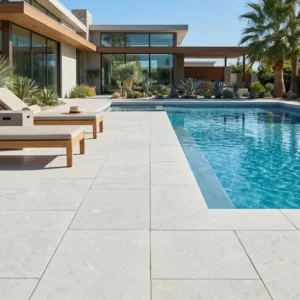
Piece selection in a stepping stones mosaic project determines far more than aesthetics — it controls how the finished path handles load distribution, moisture cycling, and the slow mechanical stress that separates a path that lasts two decades from one that needs rebuilding in five. The geometry of each fragment dictates how joints compress and expand, and that interaction becomes critical the moment you factor in the temperature swings many installations must endure. Getting your material right from the outset means understanding that a stepping stones mosaic isn’t just an artistic exercise — it’s a structural specification in disguise.
What Piece Geometry Actually Controls
Your fragment shape drives everything downstream in a mosaic stepping stone project. Irregular organics — the broken limestone slabs, the hand-split basalt pieces, the tumbled flagstone — create a natural variation in joint width that many designers underestimate. Joints ranging from 0.5 inches to 2 inches across a single stone aren’t a flaw; they’re a functional flex zone that accommodates thermal movement without cracking the pieces themselves. The problem begins when you try to tighten those joints below 0.4 inches in an attempt to make the surface look more refined — you eliminate the expansion buffer the assembly relies on.
Regular-cut pieces — squares, rectangles, uniform octagons — behave differently. Here the joints are intentional and consistent, and you need to engineer them rather than let them form naturally. For natural stone stepping stones set in a mosaic pattern using cut pieces, spec your joint width at a minimum of 0.375 inches when pieces are under 12 inches, and step that up to 0.5 inches for anything running 18 inches or longer. These aren’t arbitrary numbers — they reflect the linear thermal expansion coefficients that limestone, basalt, and sandstone all fall within (roughly 4–6 × 10⁻⁶ per °F), applied to realistic temperature ranges.
Material Families Worth Considering
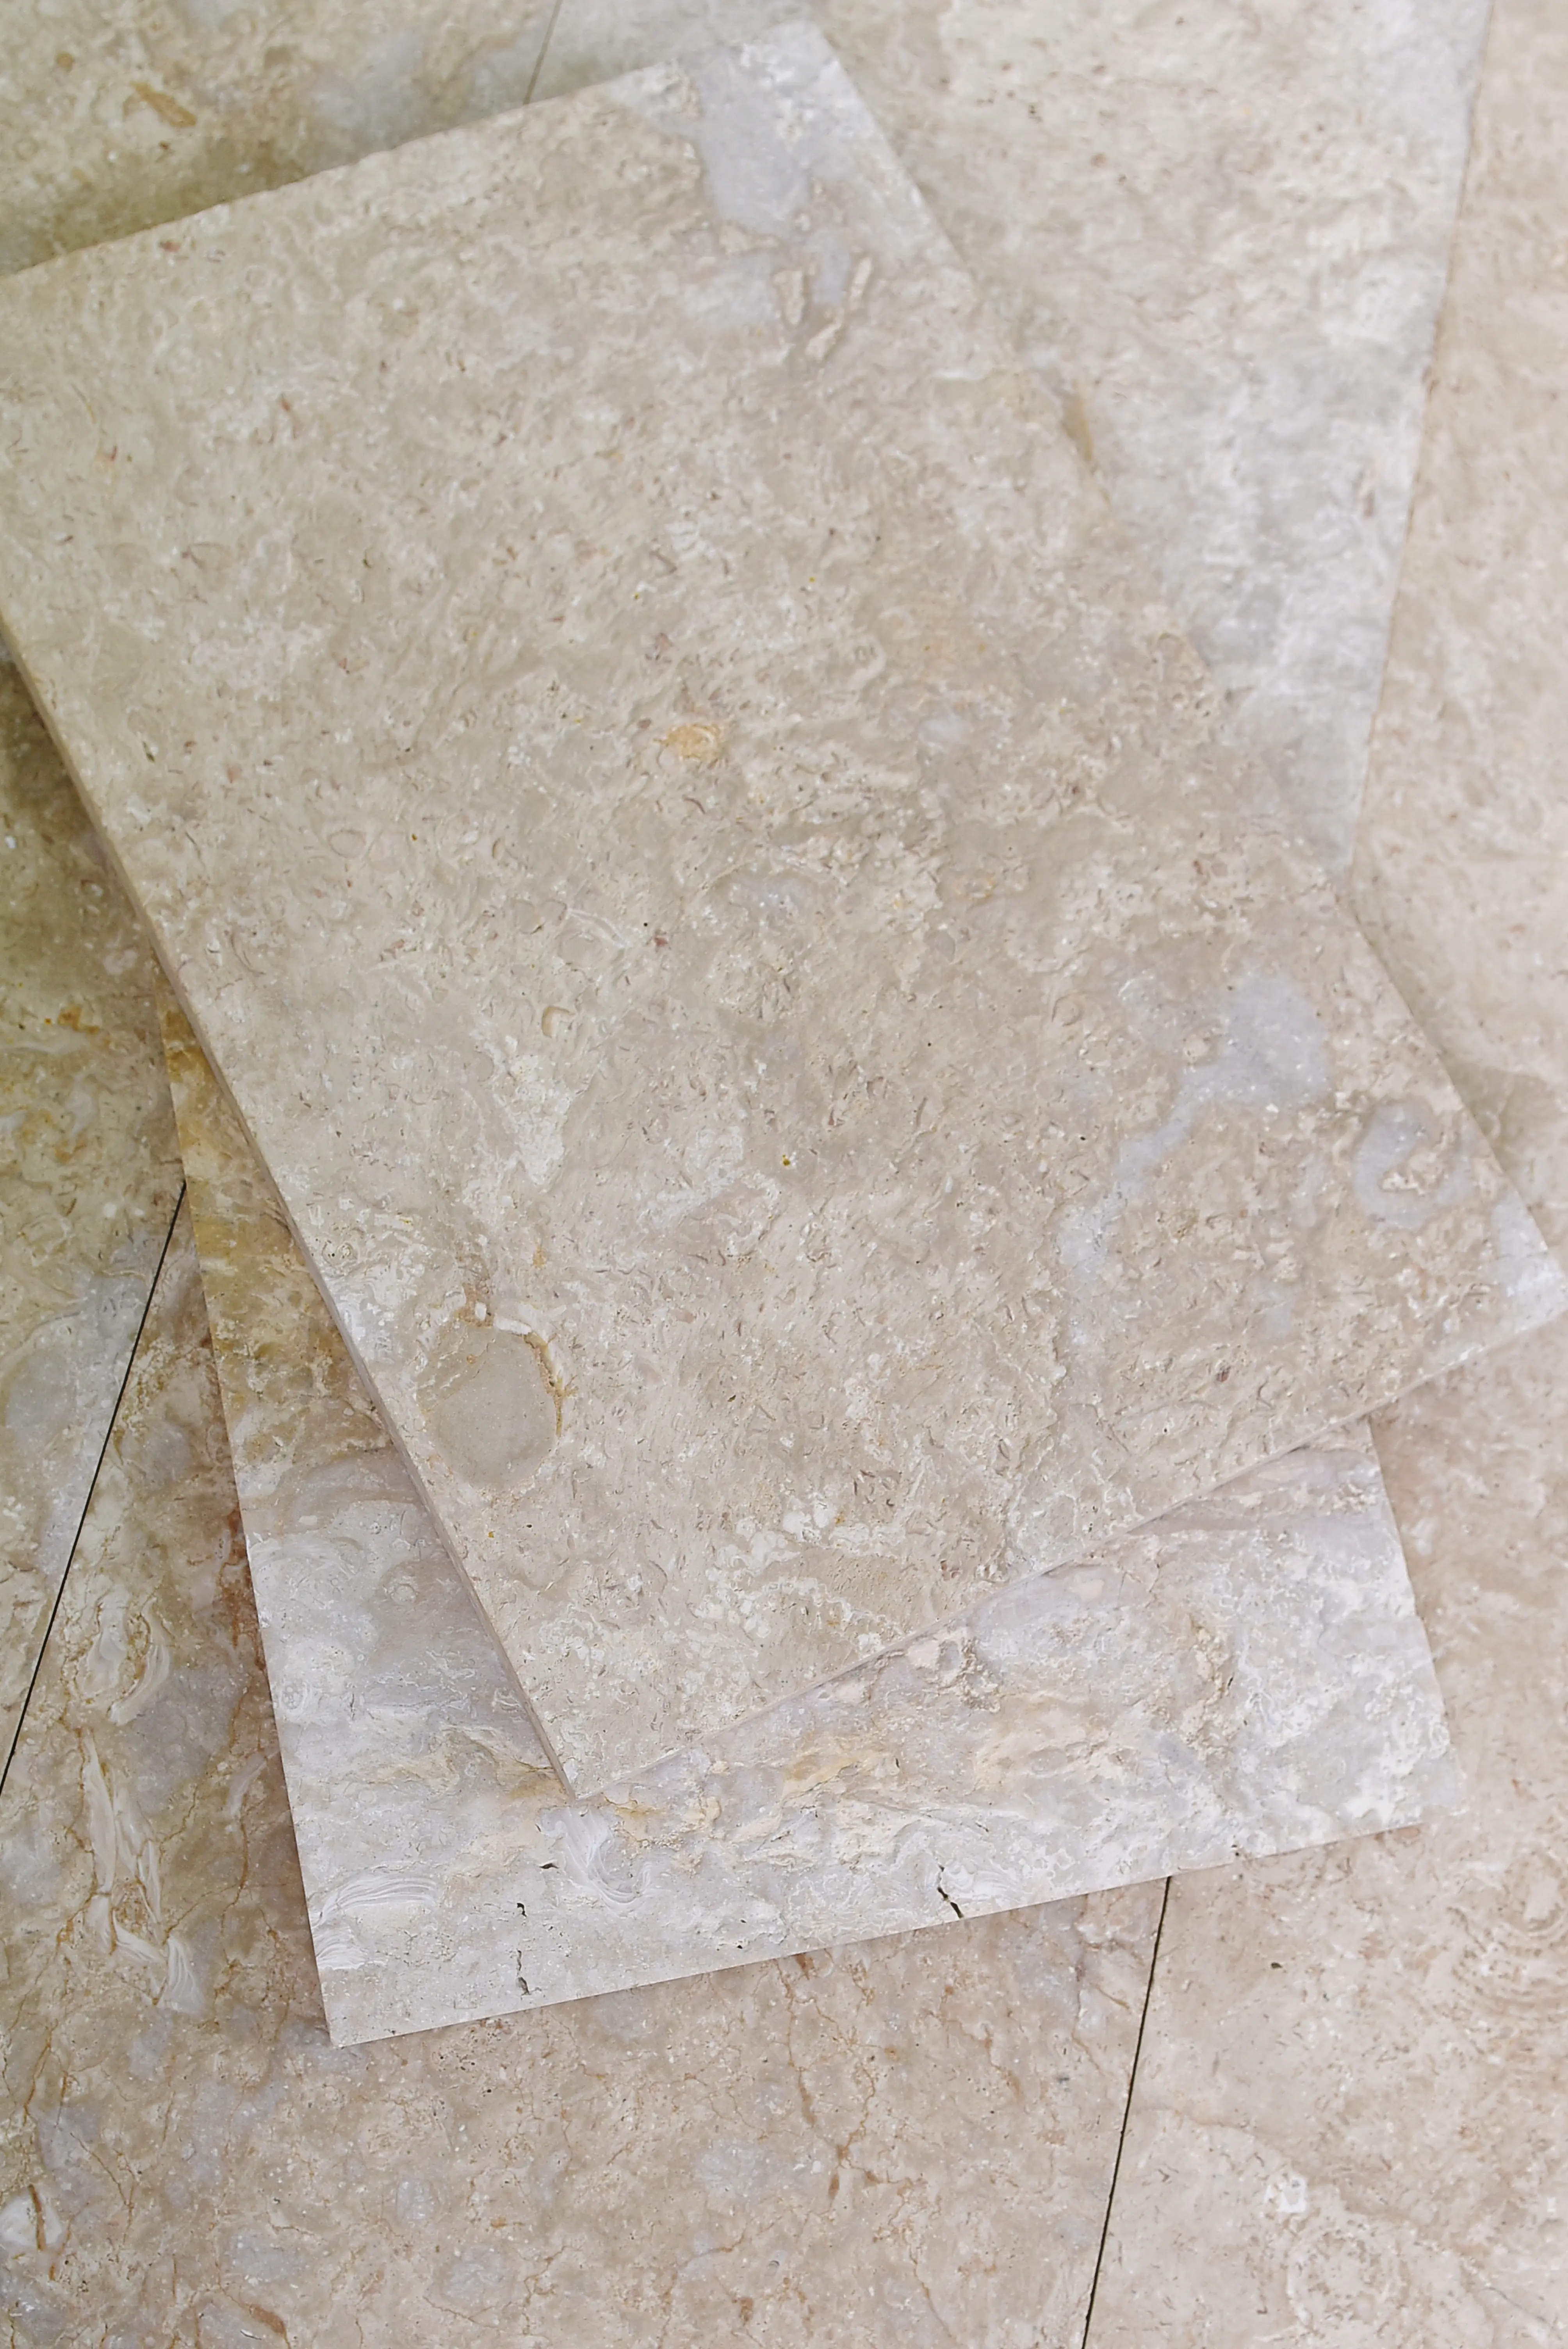
The strongest pathway stepping stones ideas start with a clear material shortlist rather than an open-ended palette. Not every natural stone performs equally when cut into smaller mosaic fragments, set with partial coverage over a prepared base, and then subjected to repeated wetting and drying. Here’s how the main candidates break down:
- Limestone — dense, honed or tumbled finishes reduce surface porosity below 4%, joints stay stable under moderate traffic, and it sources beautifully from Middle East quarries in consistent buff, grey, and ivory tones that blend well across a mosaic layout
- Basalt — compressive strength above 18,000 PSI makes it the most structurally forgiving option when fragment edges carry point loads, and its fine grain means cut pieces retain sharp geometry without spalling at corners
- Sandstone — natural cleft faces create excellent slip resistance but the layered structure can delaminate at the cleavage plane when freeze-thaw cycling is severe; reserve it for climates where overnight temperatures rarely drop below 25°F
- Travertine — the open-pore structure that makes it visually distinctive also means unfilled travertine fragments will trap organic debris in mosaic joints faster than denser stones, so spec filled and honed travertine only in this application
- Granite — the hardest option and the least forgiving of imprecise base prep; granite mosaic pieces won’t flex, so any differential settlement telegraphs directly to the surface as rocking stones or cracked joints
According to NSI stone variety specifications, absorption rates, compressive strength, and modulus of rupture vary significantly across these families — and those differences matter more in a mosaic format than in a standard full-coverage paver layout because each fragment carries its load independently.
Base Preparation: The Variable Most Projects Get Wrong
Your stepping stones mosaic selection process shouldn’t end when you choose the stone — it should extend to what goes beneath it. A mosaic layout creates discrete load points rather than a continuous bearing surface, which means your compacted aggregate base needs to be more precisely engineered than it would be under a standard patio slab. Here’s the field reality: most installers spec a 4-inch compacted base for stepping stones, but in clay-heavy soils with high moisture retention, that’s not enough. A minimum 6-inch depth of compacted angular aggregate (¾-inch crusher run performs better than round river gravel) is the right call under any fragment that will carry foot traffic in isolation.
The setting bed on top of that base is where mosaic work diverges from standard paver installation. For irregular fragments in a true mosaic arrangement, a 1.5-inch dry-pack mortar bed — not a screeded sand bed — gives you the ability to hand-pitch each piece to its final level and lock that position before grout goes in. Sand beds migrate under the load cycling of individual stepping stones. Dry-pack doesn’t.
For natural stone stepping stones set in this format, your base should also account for drainage geometry. Slope your aggregate base at 1–2% away from structures, and if the installation sits in a low-drainage zone, extend the aggregate layer outward 12 inches beyond the mosaic perimeter. That extension prevents the saturation-and-settlement cycle that loosens mosaic pieces from the inside out over three to five years.
Sizing Your Fragments for Pathway Function
There’s a practical minimum size for pieces used in pathway stepping stones ideas — and it’s larger than most design references suggest. Fragments under 6 inches in any dimension create a pedestrian hazard in a walking-surface context; they rock, shift, and create uneven landings under heel strike. For a functional mosaic path, your dominant pieces should run 8–14 inches across, with smaller accent fragments filling the interstitial spaces rather than carrying primary foot traffic.
Thickness matters as much as plan dimensions. Field performance data consistently shows that mosaic stone set below 1.5 inches nominal thickness cracks at joint edges under concentrated loads — particularly when the setting bed has any voids. For limestone and sandstone, hold a 1.5-inch minimum. For basalt and granite, you can work with 1.25-inch material given the higher compressive strength, but only if your base prep is genuinely flat to within ¼ inch across a 10-foot span.
- Dominant pieces: 8–14 inches, minimum 1.5-inch thickness for sedimentary stone, 1.25 inches for igneous
- Accent fill: 4–8 inches, same thickness rule applies — don’t go thinner just because the piece is small
- Joint filler fragments: under 4 inches, these can be thinner since they carry no primary load
- Edge pieces: cut to your border geometry, but maintain thickness — edge pieces take the most lateral stress from adjacent soil movement
The ADA walkway surface standards require firm, stable, and slip-resistant surfaces for accessible paths — and while residential stepping stone paths aren’t always governed by ADA, those surface firmness principles translate directly into good installation practice regardless of the regulatory context.
Thermal Cycling and Joint Performance
The detail that separates a well-specified stepping stones mosaic from one that begins showing distress in year three is this: temperature range matters more than temperature average. A path that experiences 40°F overnight lows and 95°F afternoon highs cycles through a 55°F daily range — and that cycling applies mechanical stress to every joint in the mosaic, every single day. Over 365 days, that’s 365 compression-and-release cycles before you’ve accounted for seasonal variation.
For a 12-inch limestone fragment with a thermal expansion coefficient of 5 × 10⁻⁶ per °F, a 55°F range produces roughly 0.003 inches of linear expansion across the stone’s length. That sounds trivial until you multiply it across 20 pieces in a path, all expanding toward each other simultaneously on a hot afternoon. Jointing material absorbs this — but only if you’ve specified the right product at the right width. Rigid cement grout at narrow joints fails first. Flexible polymeric sand, or a lime-based mortar with a slight plasticity index, handles cycling far better.
Freeze-thaw cycling adds a different load type. Water enters micro-fractures in stone and joint material, freezes at around 28°F (slightly below the theoretical 32°F due to dissolved minerals), and expands approximately 9% by volume. That expansion wedges joint material apart incrementally. Over multiple seasons, you’ll see it as progressive joint widening and eventual fragment lifting at edges. Your defence is selecting natural stone stepping stones with absorption below 3% and using a setting mortar with a water-repellent admixture on the base surface. Both reduce the volume of water available to do damage.
Color and Tone Selection for Mosaic Coherence
Effective pathway stepping stones ideas use color as a structural tool, not just a decorative one. In a mosaic layout, the eye naturally follows tonal contrast — which means your lightest pieces will dominate the visual read of the path even if they’re numerically fewer than darker fragments. Use this deliberately: position warm ivory or buff tones as the dominant middle-of-path pieces and introduce darker charcoals or greens toward the edges to create a visual boundary that also signals the edge drop-off to walkers.
Sourcing consistency matters more in mosaic work than in any other stone application because you’re assembling pieces from potentially multiple lots. The Citadel Stone decorative stone range gives you access to multi-tone selections curated specifically for mixed-piece installations, which simplifies the lot-matching challenge that bedevils mosaic projects sourced piecemeal from different vendors.
When you’re blending tones from Middle East quarries — a primary source for buff limestone and rich golden sandstone — verify that your stone supplier can provide material from a single quarry batch for each tone group. Quarry variation within the same colour family can shift dramatically between cuts, and a stepping stones mosaic assembled from three different quarry batches of “ivory limestone” will show visible tonal banding that no grouting can correct.
- Anchor your palette to two dominant tones — complexity beyond three creates visual noise rather than richness
- Use finish variation (honed vs. tumbled) to add texture interest without introducing additional colours
- Test your tonal read in wet conditions — wet stone reads two to three shades darker, and some tone combinations that look elegant dry look muddy wet
- Consider how patina develops over time; limestone lightens with UV exposure while basalt holds its dark tone longer, so your initial contrast will evolve
Stepping Stone Mosaic Selection for High-Traffic Paths
Higher traffic volumes — think main garden entry paths versus occasional side routes — demand a different specification approach for your stepping stones mosaic selection. The key shift is moving from purely aesthetic fragment selection toward pieces that prioritise slip resistance and surface stability under repeated impact.
Honed finishes on limestone and basalt achieve a dynamic coefficient of friction (DCOF) between 0.42 and 0.65 when dry, which sits comfortably within the threshold recommended for outdoor pedestrian surfaces. Tumbled finishes push that number higher — typically 0.55–0.72 dry — by creating micro-irregular surfaces that shed water rather than pooling it. For a main pathway where wet-weather use is routine, tumbled or sandblasted finish on your primary pieces is the better specification. Polished finish is simply off the table for any outdoor mosaic path regardless of how refined the design intent is.
Your mosaic joint fill also contributes to slip resistance. A joint surface that sits proud of the stone face by even 1 mm creates a micro-ridge that interrupts water sheeting — a genuinely useful effect on a sloped path. Conversely, joints recessed more than 3 mm below the stone face create toe-catch edges that are particularly hazardous for older users. Flush joints, finished by hand across each stone face as you work, are the professional standard. The CDC NIOSH slip-and-fall prevention guidance for outdoor walking surfaces reinforces that surface texture continuity — not just individual surface ratings — drives real-world slip incidence rates.
Ordering, Logistics, and Stock Considerations
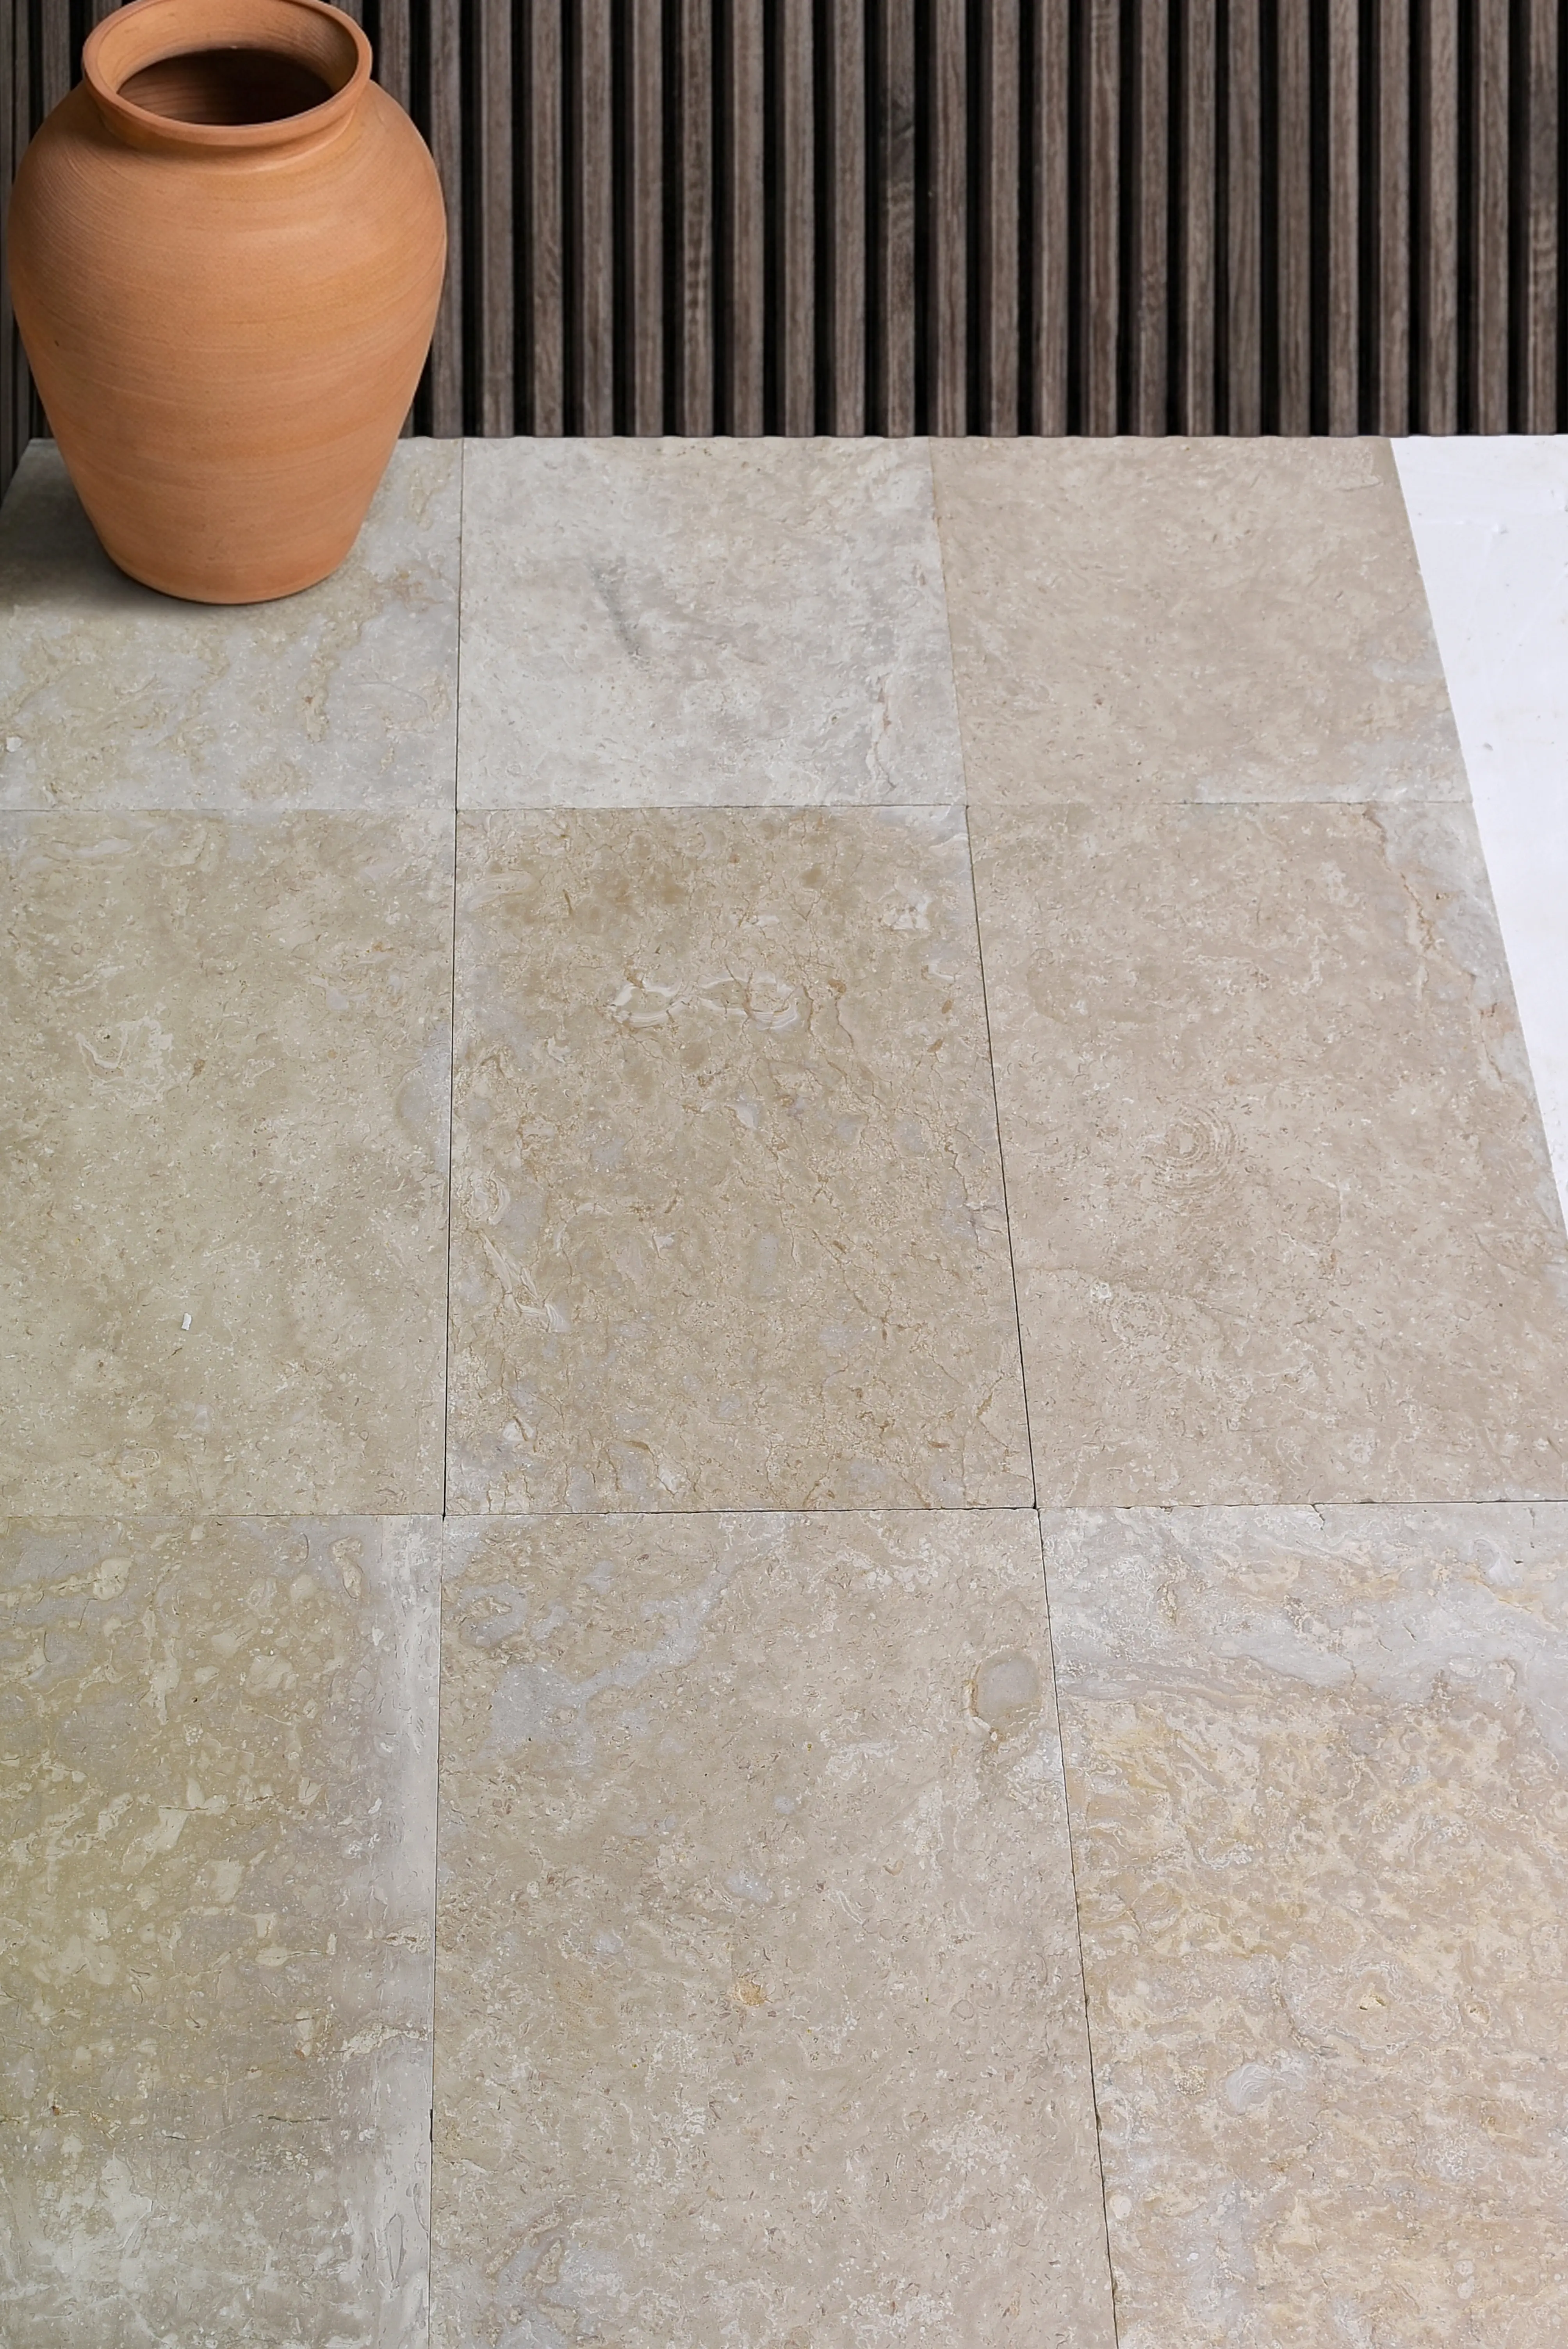
Mosaic projects are unforgiving when you run short mid-installation. Unlike uniform paver layouts where a short-order can be matched easily, a stepping stones mosaic depends on the specific pieces you’ve already set — and matching irregular fragments from a second truck delivery is genuinely difficult. Your material order should include a minimum 15% overage above your calculated coverage area, and for quarried irregular stone, 20% is more realistic because of breakage during cutting and the tendency to discard pieces that don’t fit the assembly naturally.
Citadel Stone maintains warehouse inventory that typically allows fulfilment within one to two weeks for standard stock sizes — a meaningful advantage over the six-to-eight-week import lead times that affect custom-ordered quarry stock. If your project timeline is tight, verify warehouse availability for your specific stone family before committing to a design that depends on a single source material. Your truck delivery scheduling should account for fragment weight too — irregular mosaic stone ships loose in crates rather than on pallets, which affects unloading logistics and on-site handling.
- Calculate your area in square feet, add 15–20% overage, and order as a single lot to ensure tonal consistency
- Confirm that warehouse stock from a single quarry batch is available before finalising your colour palette
- Schedule truck delivery for when your base prep is complete — stone sitting on-site in variable weather can develop surface staining if left on the crate for weeks
- For large mosaic paths over 200 square feet, consider a pre-layout session with your full stone order before any setting material goes down
Getting Your Stepping Stones Mosaic Specification Right
A stepping stones mosaic project rewards precise decisions at every stage — piece geometry, material density, base depth, jointing compound, and tonal selection all compound on each other in ways that simpler paver formats don’t require. Your strongest natural stone stepping stones will come from treating the material specification with the same rigour you’d apply to any load-bearing hardscape element, because the individual fragments in a mosaic carry loads independently and the assembly is only as durable as its weakest joint. For a broader look at how natural stone performs across different garden path configurations, rock stepping stone landscape ideas covers complementary approaches worth reviewing alongside your mosaic specification. Stone for nationwide projects includes stepping stones mosaic fragments in mixed tones, letting designers build custom color transitions.
Related reading: garden stepping stones guide · how to lay stepping stone walkway · stepping stones sinking fix.