Square pavers in granite demand a layout decision before the first unit is set — and that decision cascades through every downstream specification choice, from joint width to cutting waste to the thickness you order. Most project teams treat sizing as an afterthought, something to finalize once the granite has been selected for its color and finish. That sequence gets it backwards. Your layout geometry determines how much material you need, how much waste your cutting crew will generate, and whether your chosen format will close neatly at borders or leave awkward slivers that read as poor planning rather than intentional design.
Why Format Geometry Drives the Specification
Granite is among the harder, denser natural stones in commercial and residential hardscaping — the Natural Stone Institute granite overview sets out what makes this stone distinct from sedimentary alternatives. Its tight crystalline structure, formed as magma cooled slowly beneath the surface, produces a material that holds a machined edge cleanly. That edge retention is why square pavers in granite look precise under a stack-bond or running-bond layout in a way that a more porous stone simply cannot replicate: the geometry stays readable over time because the corners do not chip and the faces do not spall at the joint line.
For your specification, that physical characteristic has a practical consequence. You can run tight joints — typically in the ⅛ in to ¼ in range for a mortar-set application — without worrying that thermal cycling will break the corner off the unit and open the joint unevenly. Wider joints, around ½ in, are common in sand-set applications where slight differential settlement is expected and the joint needs to accommodate movement.
Standard Sizing for Square Granite Pavers
Square granite pavers are available in a range of nominal formats, and understanding which format suits your project keeps your layout math clean. The most commonly specified square formats run from 12 × 12 in (300 × 300 mm) through 16 × 16 in (400 × 400 mm), 18 × 18 in (450 × 450 mm), and 24 × 24 in (600 × 600 mm). Each step up in format changes the visual scale of the installation and shifts the laying rate — larger units cover area faster but require a more precise substrate because any lippage reads clearly on a big, flat face.
- 12 × 12 in format suits smaller patios, entry courts, and garden path sections where frequent directional changes would generate excessive waste with a larger unit
- 16 × 16 in is a versatile mid-range format — it reads as generous without the substrate precision demands of a 24 in unit
- 18 × 18 in works well in covered terraces and interior-exterior transition zones where you want visual continuity across a threshold
- 24 × 24 in is the format of choice for broad open patios and commercial plazas where the scale of the space justifies a large module
- Thickness is independent of plan dimension — common thicknesses are 1¼ in (3 cm) for pedestrian-only applications mortar-set to a concrete slab, and 2 in (5 cm) for heavier-use patios and plaza applications
Reviewing our square paver sizing alongside your site plan before you finalize the order prevents the common mistake of specifying a format that closes badly at the terrace border — a cut that leaves a sliver under 4 in reads poorly regardless of how well the field is laid.
Layout Patterns and What Each Demands
The two most common layouts for square pavers are stack bond and running bond, and they produce very different visual results from an identical paver format. Your choice between them also changes your cutting waste percentage and your setting-material line layout on the substrate.
Stack Bond Layout
Stack bond aligns all joints in both directions, producing a grid. It reads formal and precise, and it amplifies any dimensional inconsistency in the units — if a paver is even slightly off square, the misalignment accumulates across the run and becomes visible. Granite holds its machined dimensions better than most natural stones, which is exactly why stack bond is a reliable choice for this material. Your setting crew will still need to check square on the diagonal every few courses to prevent creep.
Cutting waste in a pure stack bond on a rectangular area is low — typically in the range of 5–8% — because cuts at borders are parallel to the joint lines. Irregular site boundaries or curved borders raise waste significantly and should be modeled in your take-off.
Running Bond Layout
Running bond offsets each row by half a unit, producing the classic brick pattern. It reads less formal than stack bond and is more forgiving of minor unit-to-unit variation because the eye follows the horizontal course rather than the cross-joint. On long rectangular patios it creates a strong directional read — laying the bond along the long axis makes the space feel longer, while running it across the short axis makes the space feel wider. That directional control is a tool worth using deliberately in your design.
- Running bond generates half-cuts at every border course on the two sides perpendicular to the bond direction — budget 10–12% waste as a starting point for a clean rectangular area
- Diagonal running bond, offset at 45 degrees, is more visually dynamic but generates corner triangles at every border — waste on a diagonal layout commonly runs 15–20%
- For irregular or L-shaped areas, mock up the layout in plan before finalizing your material quantity to catch pinch cuts early
Thickness Specification for Different Applications
Thickness selection is driven by the application load, the substrate type, and the setting method — not by aesthetic preference. Getting this wrong costs more to fix than getting any other single specification wrong, because you cannot add thickness after the stone is set without removing it.
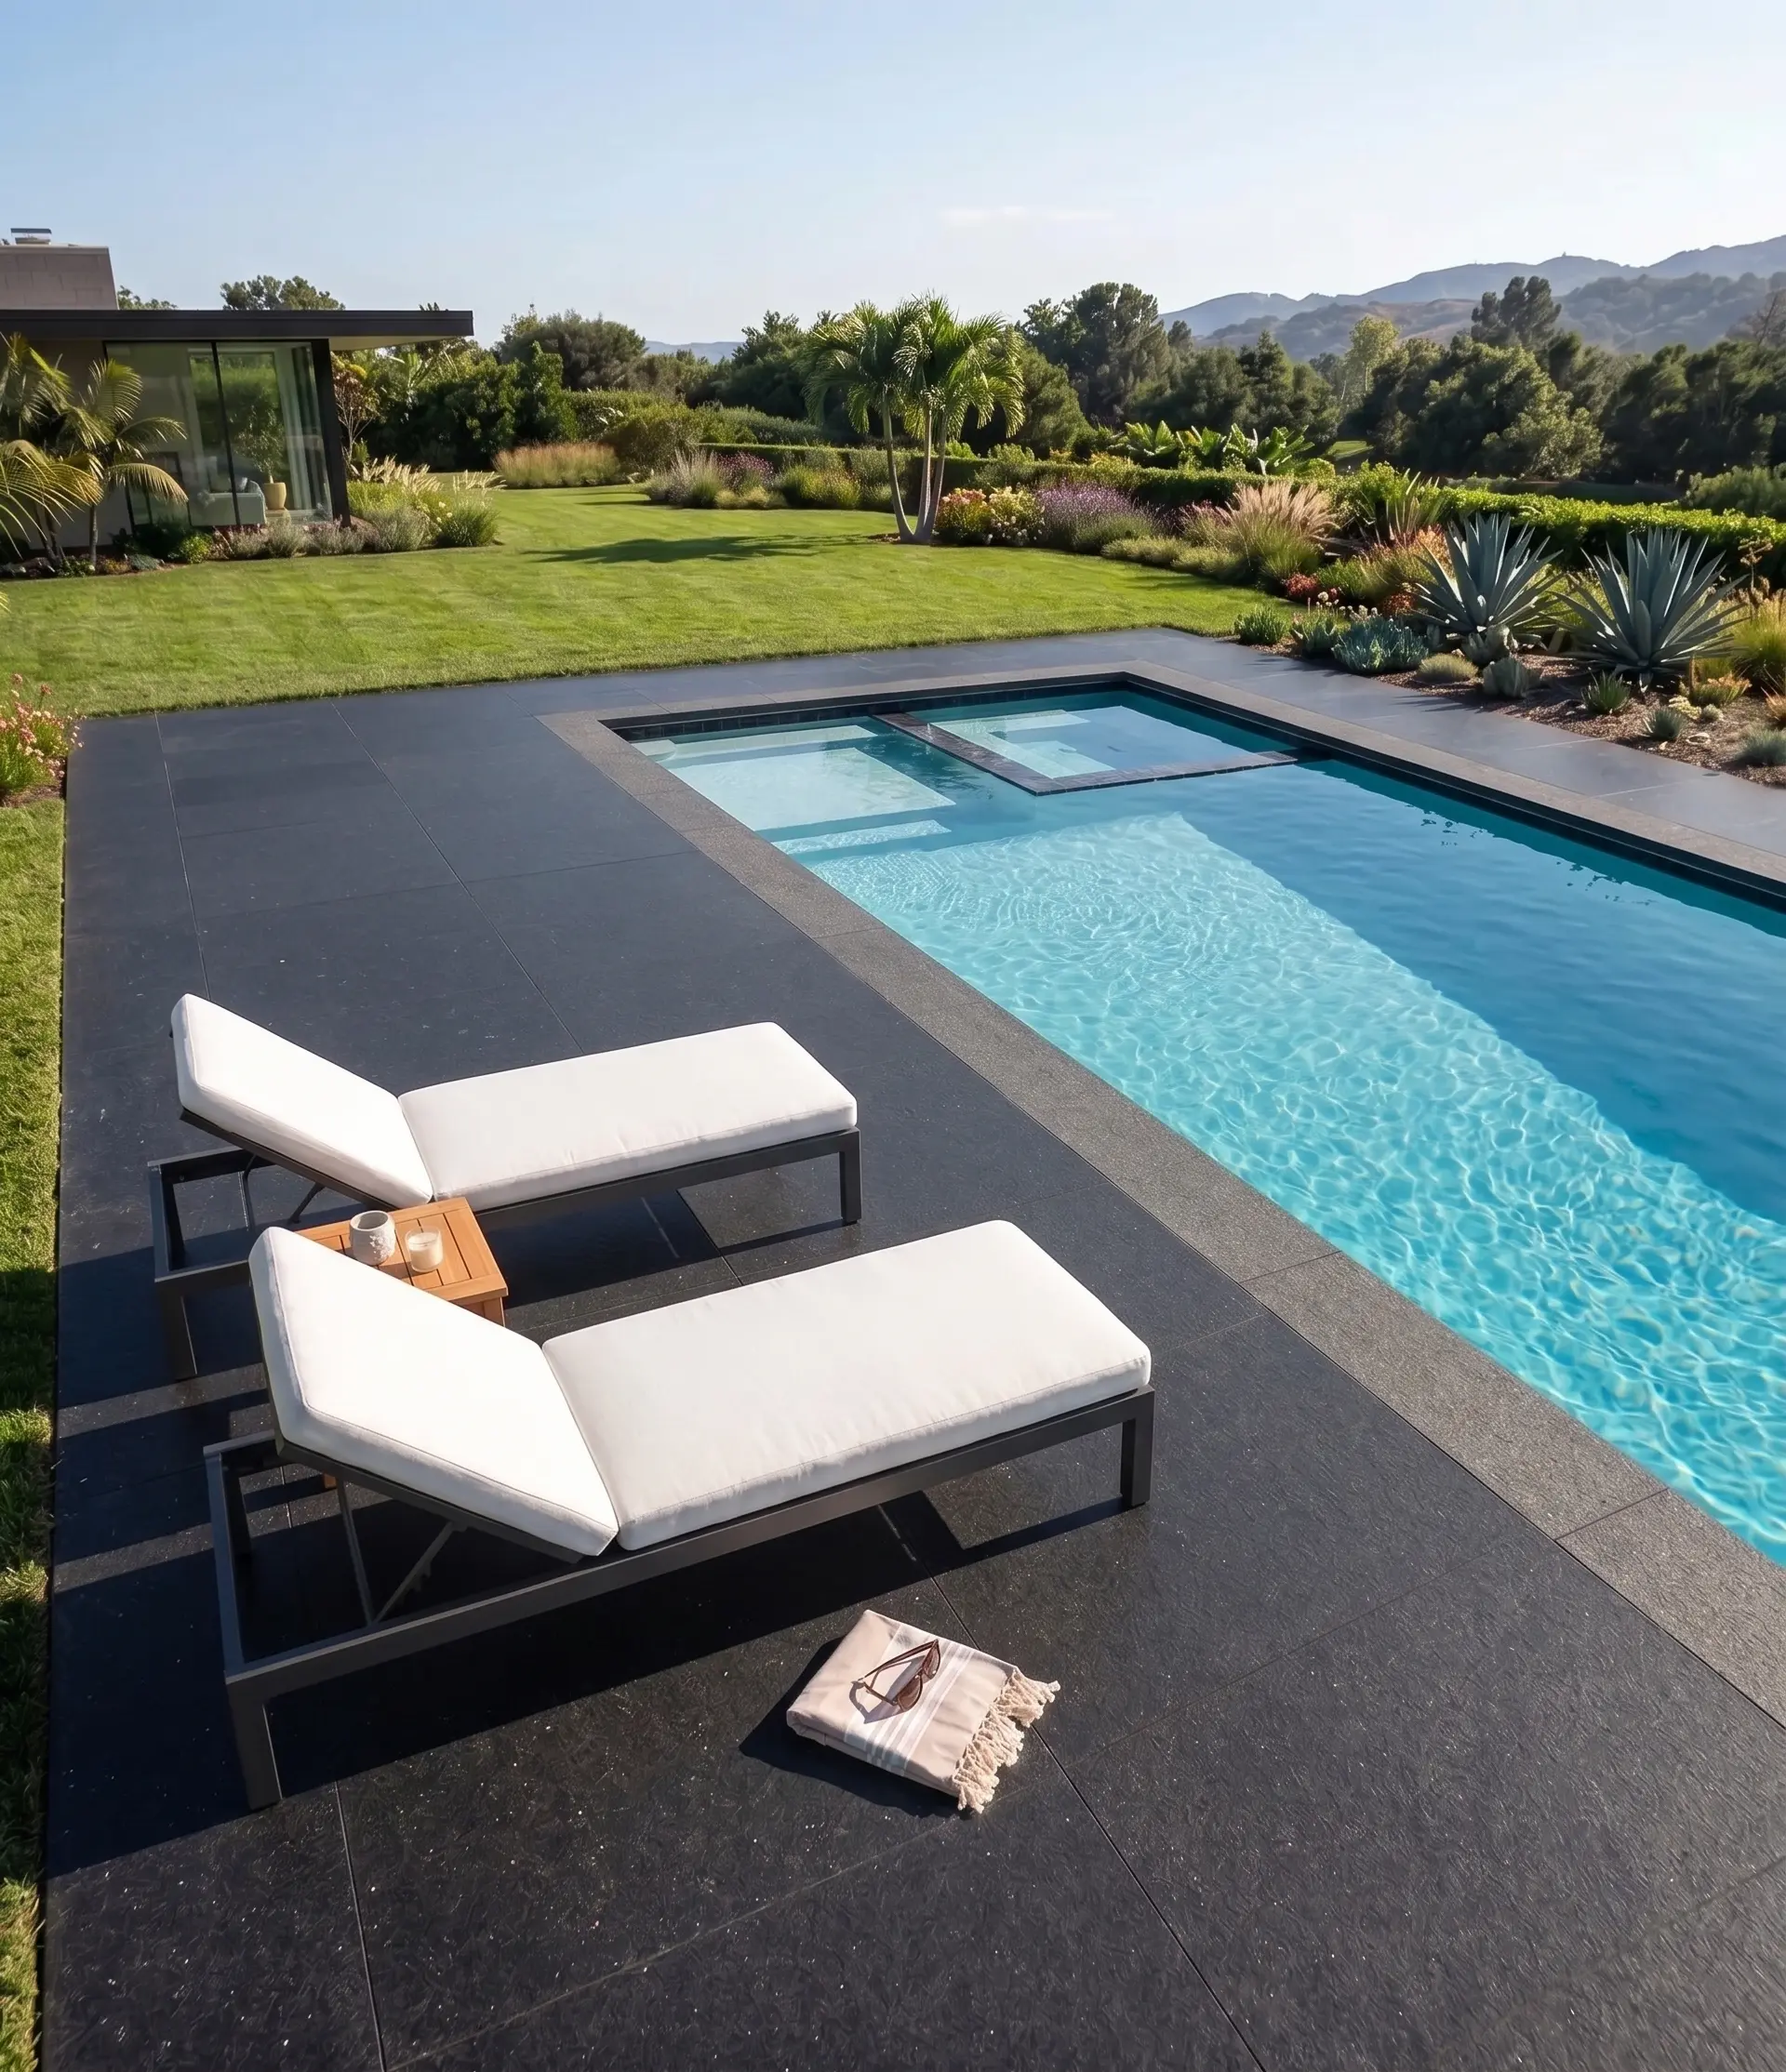
For pedestrian-only patios, pool surrounds, and covered terraces, 1¼ in (3 cm) pavers mortar-set to a reinforced concrete slab represent the standard specification. The slab carries the load; the paver provides the wear surface and the finished face. Your slab design governs structural performance, so engage a structural engineer if the slab is new construction over an unverified sub-base.
- 1¼ in (3 cm) pavers: pedestrian patios, pool decks, covered terraces, interior-exterior transitions, and non-vehicular plaza applications
- 2 in (5 cm) pavers: heavier pedestrian use, commercial plaza applications, and areas where a sand-set installation is preferred for its repairability
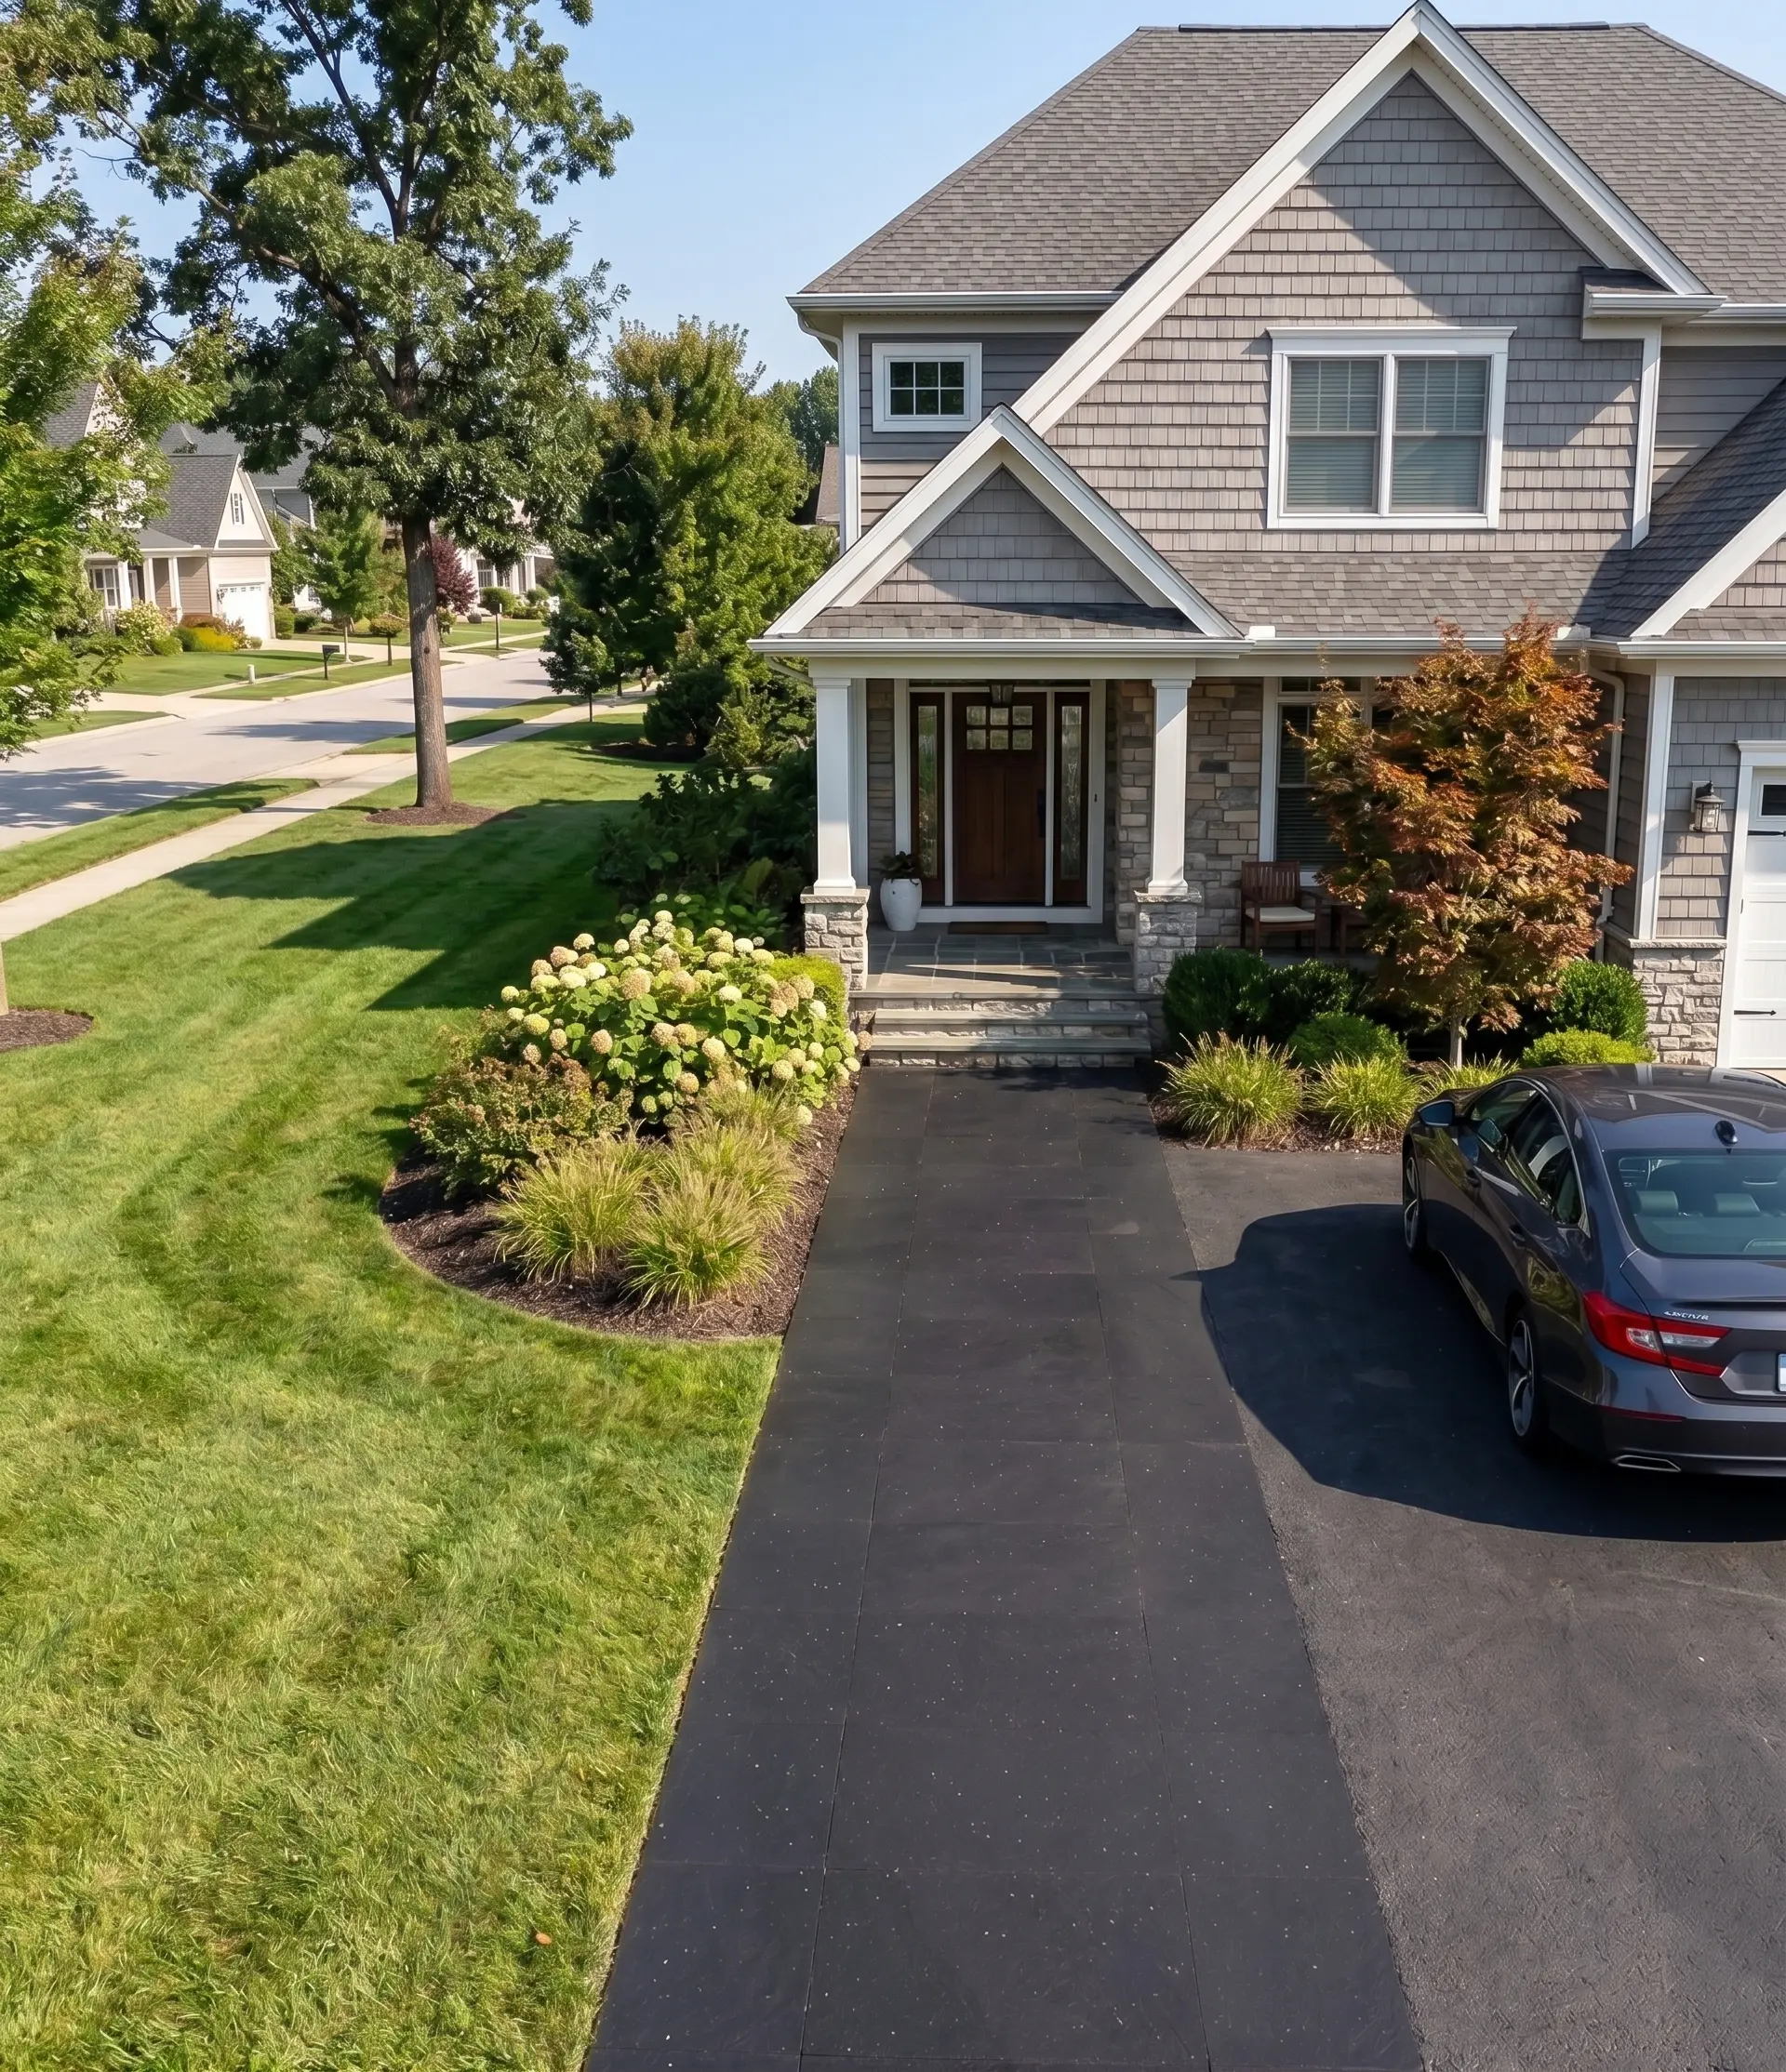
- For driveways, use setts or cobbles at least 3.5 in (4 in standard) thick on a compacted base, or pavers 2 in (5 cm) or thicker mortar-bonded to a reinforced concrete slab
- Thickness tolerance in cut granite is tight — request the fabricator’s tolerance specification and check it against your setting material’s accommodation range
The ASTM C615 granite dimension stone standard sets out the dimensional and physical requirements that govern granite paver production — your supplier should be able to confirm that the material meets this standard, and test reports are available on request.
Finish Selection and What It Means for Your Project
Finish is the specification variable that most directly affects the texture and long-term appearance of your square granite pavers, and it should be matched to the surface’s location and use.
For dry indoor surfaces — interior floors, entry halls, covered reception areas — a Polished finish delivers the crisp reflective face that showcases granite’s natural crystalline pattern. Polished granite is specified for dry indoor surfaces only.
- Bush-Hammered finish: the go-to for pool decks, ramps, and wet areas — an open, matte texture that reads as robust and holds up well to heavy foot traffic and poolside chemical exposure
- Brushed 36 Grit: suitable for patios and pool surrounds — a medium-open texture that retains the stone’s natural color character without the shine of a polished face
- Brushed 80 Grit: for barefoot pool decks, terraces, and interior-outdoor transitions where a finer open texture is preferred
- Honed 60 Grit: interior floors, covered patios, and cladding — a smooth matte face with good color depth and a refined appearance without a mirror finish
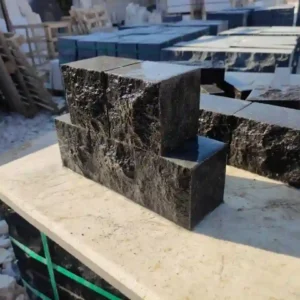
- Split Face: feature walls, exterior fireplace surrounds, and retaining wall cladding — a fractured, dimensional face that reads as raw and textural
For pool decks, wet steps, and slopes, choose a Bush-Hammered finish. For other outdoor paths, Bush-Hammered or Brushed in our coarsest grit both work; check a sample. Slip resistance is governed by finish under ANSI A326.3, which assesses performance wet — the finish is what that test evaluates. No figure from that test is published here; specify the finish by application type and ask your supplier about ANSI A326.3 wet testing if your project has a formal safety specification requirement.
Joint Width, Setting Material, and Movement
Square pavers in granite are dimensionally stable across a wide temperature range, but the substrate and setting bed beneath them are not. Thermal movement in a concrete slab, moisture-driven movement in a sand-set base, and differential settlement all reach the paver through the joint. Specifying the right joint width and setting material is how you give that movement somewhere to go other than into the face of the stone.
For mortar-set applications on a concrete slab, a ⅛ in to ¼ in joint filled with sanded grout is standard for a clean, formal appearance. Specify expansion joints at intervals driven by your structural engineer’s slab movement calculation — not a generic rule of thumb — and make sure the joint pattern in the paver layout aligns with the expansion joint locations in the slab below. A paver that bridges an expansion joint will crack when the slab moves.
- Sand-set applications: ¼ in to ½ in joints filled with polymeric jointing sand, compacted and re-filled after the first wet season as the sand beds in
- Mortar-set on slab: ⅛ in to ¼ in grouted joints, with full-depth expansion joints at the slab’s movement points
- Large-format 24 × 24 in pavers require a flatter substrate tolerance — any high spot in the setting bed produces a lippage that reads clearly on a large flat face
- Back-buttering each paver with adhesive mortar before setting increases coverage and reduces the risk of hollow spots that crack under point loads
Project Budgeting, Freight, and Cost Factors
Square granite pavers represent a category where material cost and freight cost are both significant, and the balance between them shifts depending on where your project is located. Granite cut to a precise square format from a slab requires controlled fabrication — the dimensional accuracy that makes granite stack bond work cleanly does not happen on a rough-cut block. That fabrication cost is baked into the unit price regardless of where you source the stone.
Freight distance from the point of origin to your project site adds to total delivered cost, and the heavier the format, the more freight matters. A 24 × 24 in paver at 2 in thick is a heavy unit — your project’s access constraints and offloading arrangements are worth confirming before the delivery date is set, because a situation where the drop zone cannot be reached adds a rehandling cost that never appears in the original quote.
- Freight is quoted with the order — lead times and delivery arrangements are confirmed at the time of purchase, not assumed from a generic schedule
- Value engineering on a granite paver project often centers on format rather than stone grade — stepping from a 24 × 24 in format to an 18 × 18 in format reduces unit weight, cutting waste, and substrate flatness demands without changing the material
- Labor cost is the other side of the material-to-labor ratio: larger formats lay faster per square foot but require a better-prepared substrate and more care in handling, so the labor saving is smaller than it appears on paper
- In high-labor-cost markets, a format that lays quickly and generates low waste has a compounding budget advantage — model both sides of the equation before finalizing the format choice
Citadel Stone cuts square granite pavers to order at our selected quarries, which means your format and thickness are fabricated to the specification you send — not selected from a fixed inventory of whatever format happens to be in stock. That made-to-order approach matters on projects where a non-standard dimension avoids a border cut problem that would otherwise add waste and labor.
Sealing and Long-Term Care
Granite’s tight crystalline structure gives it low porosity relative to limestone or sandstone — the USGS dimension stone production data illustrates the range of natural stone types used in US construction, and granite consistently occupies the low-absorption end of that range. Low absorption does not mean zero absorption, and a penetrating sealer is still the standard recommendation for outdoor granite paving.
The sealer keeps organic staining agents — leaf tannins, cooking oils on a patio, algae in shaded wet areas — from bonding into the stone’s surface. Your sealer manufacturer’s reapplication interval is the governing schedule, not a generic rule of thumb. A honed or bush-hammered surface has more open texture than a polished one and will absorb sealer more readily; apply at the rate the product data sheet specifies for that texture.
- Apply sealer to a clean, dry surface — new stone cut from the slab may carry fabrication residue that should be washed off before the first seal coat
- Test the sealer on an offcut from your order before applying to the installed field — confirm the color effect is acceptable, particularly on a dark or highly figured granite
- Re-seal on the interval your sealer manufacturer states — that interval shortens in high-traffic areas and in climates with extended wet seasons
- Algae growth in shaded areas responds to a stone-safe biocide treatment; standard bleach-based cleaners can affect the sealer film and should be avoided
Parting Guidance
The specification decisions that define a square granite paver installation — format, thickness, layout pattern, finish, joint width, and sealer schedule — all interlock. A change in one ripples through the others, and the time to resolve those interactions is at the specification stage, not after the order is placed. Your layout geometry determines your waste factor and your border cut strategy; your application type determines your thickness and your finish; your substrate conditions determine your setting method and your joint width. Work through that sequence deliberately and you avoid the field problems that trace back to a specification that was assembled piece by piece without checking the whole.
For projects where granite is one of several material options under consideration, the comparison between natural stone and engineered alternatives is worth examining closely. The choice between them involves surface texture, long-term color stability, and maintenance requirements that are worth reviewing in detail — how granite and porcelain compare for patio use covers that comparison in depth. Square pavers from our selected quarries in the Middle East are known for crisp edges that simplify stack-bond and running layouts.
Related reading: How Thick Should Granite Pavers Be? A Buyer’s Guide · granite stepping stone path · granite pavers for driveways guide.