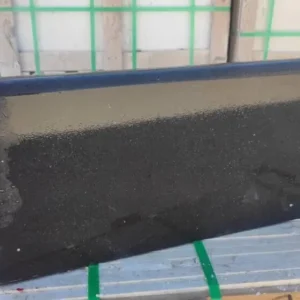
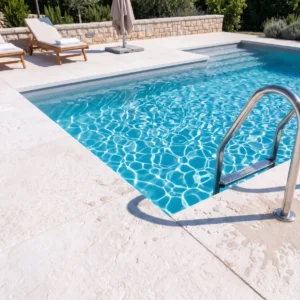
The waterline transition in a pool installation is one of the most technically demanding junctions in all of residential hardscape — and most specification failures trace directly back to mismatched movement tolerances between the tile field and the coping unit above it. A solid pool tile and coping guide has to address this gap honestly, because the consequences of getting it wrong show up fast: cracked grout joints within the first season, coping units that lift at the corners, and waterline tiles that debond after a single freeze-thaw cycle. Understanding what drives those failures puts you in a position to specify the transition correctly from day one, not repair it two years later.
Why the Waterline Transition Is the Critical Detail
The zone where pool tile and coping meet sits at the intersection of three competing forces: thermal expansion, hydrostatic pressure fluctuations, and the structural independence of the bond beam versus the deck. Your tile field is bonded directly to the pool shell, which expands and contracts as a largely monolithic unit. Your coping, by contrast, spans the bond beam edge and often cantilevers slightly over the water — it moves with the deck on one side and the shell on the other. Those two movement planes don’t share the same coefficient, which means the grout joint between the top course of waterline tile and the underside of the coping is doing serious structural work every time the temperature swings.
Most installers treat that joint as a standard grout application. It isn’t. Per TCNA installation standards, the bond beam transition requires a movement accommodation joint filled with a sealant — not a cement-based grout — that can handle the differential movement between the shell and the deck structure. Skipping this detail is probably the single most common cause of early coping failure in pool installations, and it’s completely preventable when you spec it correctly upfront.
The other factor most guides underemphasize is the substrate moisture condition at installation. Pool shells retain significant moisture even after extended drying periods. Setting tile over a substrate that’s still off-gassing moisture compromises the bond coat’s cure chemistry and can trap vapor pressure behind the tile field — which eventually pushes tiles off the wall in sheets. Your installation window matters as much as your material selection.
Material Options for Pool Waterline Tile
Your waterline tile choice comes down to five main material families, each with meaningfully different performance profiles for pool environments. Understanding those trade-offs before you commit saves you from expensive substitutions mid-project.
- Glass tile: Dense and non-porous, glass handles water chemistry exposure well and holds color long-term. It’s sensitive to substrate flex — any movement in the bond beam telegraphs as cracked units quickly. Requires a flexible thinset and careful back-buttering technique.
- Porcelain tile: Low absorption rates (typically below 0.5%) make porcelain an excellent waterline performer. Freeze-thaw resistance is high. Coefficient of friction varies significantly by surface texture — verify your wet DCOF rating against ANSI A326.3 before specifying.
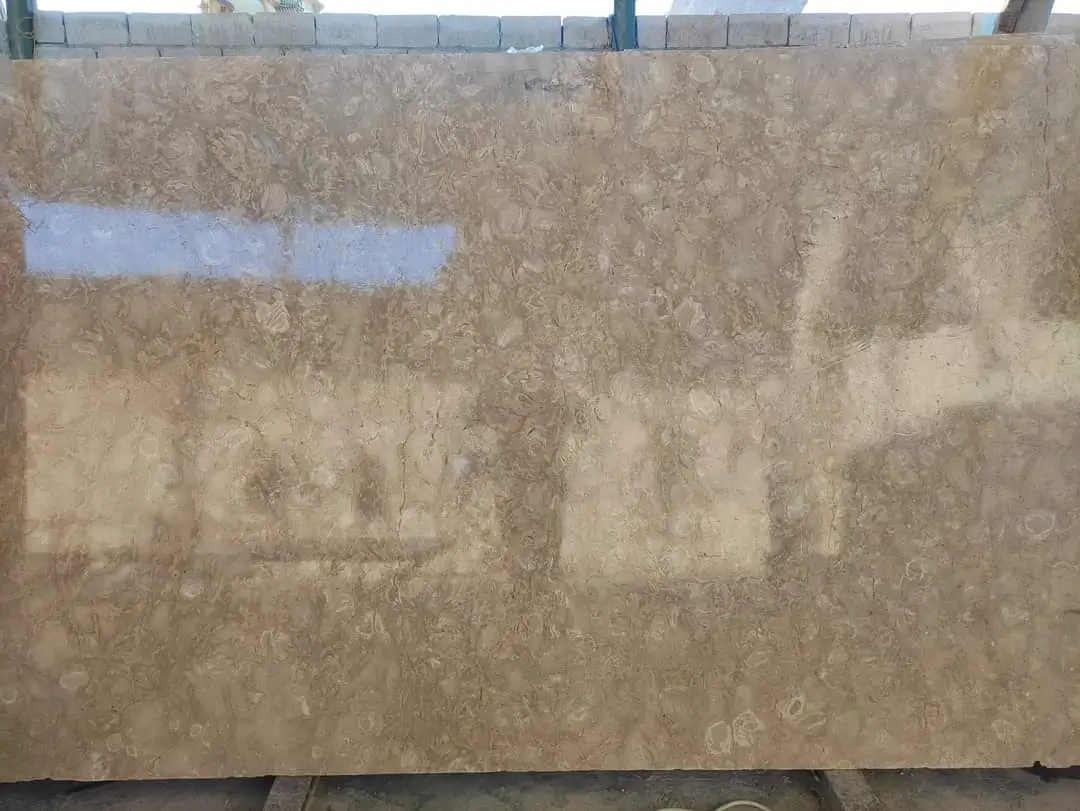
- Natural stone mosaic (travertine, limestone, marble): These materials introduce higher porosity into the waterline zone, which requires diligent sealing protocol. They deliver unmatched visual warmth but demand more maintenance discipline than porcelain or glass.
- Ceramic tile: Generally adequate for indoor or warm-climate pools, but absorption rates above 3% make ceramic risky in freeze-thaw regions where subsurface moisture can cycle through ice expansion.
- Swimming pool tile and coping waterline transition systems: Some manufacturers offer integrated tile-and-coping profile systems designed to eliminate the joint problem entirely — the coping lip is sized to lap over the top tile course with a designed reveal. These systems simplify detailing but limit your aesthetic options.
The material that performs best in your specific installation depends on water chemistry, sun exposure duration, and the structural stability of your bond beam — not just aesthetics. Work through those variables before the tile gets specified.
Coping Material Selection: What the Field Data Shows
Pool coping takes more abuse than almost any other hardscape element. It’s wet constantly, walked on with bare feet, struck by pool equipment, and exposed to full UV load for the majority of the day. Material selection here isn’t a style decision — it’s a performance specification.
Travertine remains the most widely specified natural stone for pool coping, and the performance data supports that preference. Its open pore structure keeps surface temperatures measurably lower than dense igneous alternatives under full sun — a critical consideration for pools that see heavy barefoot use. According to NSI travertine pool paving performance data, travertine’s absorption characteristics and surface texture also provide inherently higher wet COF values compared to polished or honed alternatives, which directly affects slip risk at the pool edge.
Limestone coping is a close competitor to travertine and offers a cleaner, more uniform aesthetic. Dense limestone — in the 150+ lb/ft³ range — handles freeze-thaw cycling well when properly sealed. Softer limestone varieties (below 130 lb/ft³) are better suited to warm, dry climates where freeze-thaw cycling isn’t a factor. Verify the specific gravity and absorption rate on any limestone coping before specifying it for high-moisture applications.
Bluestone and granite coping bring higher density and near-zero absorption, which simplifies maintenance. Their trade-off is surface temperature — dense stone absorbs and retains solar heat more aggressively than travertine or limestone, which can be uncomfortable underfoot at midday. Sandblasted or flamed finishes mitigate this somewhat, but they don’t eliminate it.
- Travertine: Excellent thermal comfort, moderate maintenance, high freeze-thaw resistance when sealed, natural wet grip
- Limestone: Strong visual uniformity, density-dependent performance, requires density verification for cold climates
- Granite: Near-zero absorption, highest durability, high surface temperatures under direct sun, finish selection critical for slip resistance
- Bluestone: Dense, durable, excellent structural performance, surface heat retention higher than travertine or limestone
- Porcelain pavers used as coping: Consistent performance, low absorption, limited profile options compared to natural stone
Finish Selection and UV Performance Over Time
Pool coping and tile face more UV radiation per day than almost any other exterior application — they’re horizontal or near-horizontal, unshaded, and surrounded by reflective water. UV degradation doesn’t destroy the stone itself, but it does affect surface sealers, color retention in softer stones, and the long-term appearance of filled travertine.
Honed finishes hold their appearance under UV exposure better than polished finishes in most natural stone applications. Polished limestone and travertine develop micro-etching from UV plus chemical exposure over time, which dulls the reflective quality without the stone actually failing structurally. Honed and tumbled finishes have no reflective surface layer to compromise, so they age more gracefully under constant sun.
Sealer selection for UV-exposed pool coping should prioritize penetrating impregnators over topical coatings. Topical sealers form a surface film that UV degrades from the outside in — you’ll see chalking, flaking, and color shift within 18-24 months in high-UV applications. Penetrating impregnators work below the surface and don’t present a UV-degradable film, which makes them dramatically more durable for pool coping use. Plan for reapplication every 2-3 years for travertine and limestone, every 3-4 years for dense granite or bluestone coping.
Color fading under prolonged UV exposure is a legitimate concern for some limestone varieties, particularly lighter cream and beige tones. Iron oxide mineral content in the stone can oxidize under sustained UV and moisture cycling, shifting the stone’s tone toward tan or ochre over several seasons. This isn’t a material failure — it’s a natural weathering process — but it’s worth discussing with your client before they commit to a specific stone color. At Citadel Stone, we recommend reviewing UV weathering samples for any limestone coping specified in full-sun pool environments before finalizing the selection.
Coordinating Swimming Pool Tile and Coping Visually and Technically
The visual coordination between swimming pool tile and coping is where most designers focus — and it matters, but the technical coordination is what determines whether the installation holds together over time. Both dimensions deserve equal attention in your specification.
On the visual side, the key decision is whether to match the tile and coping closely or create an intentional contrast. Matching approaches work best when both materials share the same stone family — travertine tile against travertine coping, for example — because the color and texture language stays coherent even as individual pieces vary. Contrast approaches require more careful proportion control; if the tile is bold and patterned, the coping should be clean and simple, and vice versa.
What most guides miss is the wet-color shift consideration. Natural stone looks different dry than it does wet, and pools are wet environments — the tile field is always wet, and the coping gets wet repeatedly throughout the day. Materials that look like a good match in a dry showroom sample can read quite differently once they’re both saturated. Testing your material samples in wet conditions before signing off on the specification catches this problem before it becomes your client’s complaint.
For technical coordination, the critical alignment is thickness and reveal. Your coping profile should be specified to produce a consistent reveal above the waterline tile — typically 1″ to 1.5″ of vertical face exposure above the tile’s top edge. This requires you to know your tile thickness (usually 3/8″ to 3/4″ depending on material) and your bond coat thickness before you finalize the coping dimensions. You can explore our complementary tile and coping materials to find profiles sized to work with standard tile thicknesses and avoid fieldwork adjustments at installation.
Installation Sequence and Substrate Preparation
The sequence in which you install pool tiles and coping matters more than most project managers realize. Getting the order wrong creates situations where you’re asking wet materials to bond to substrates they can’t properly adhere to, or where completed work has to be disturbed to set the next element.
The proven sequence for most gunite and shotcrete pool shells runs: waterproofing membrane (if specified) → bond coat curing → waterline tile installation → coping setting → grout and sealant application. The critical hold point is after the waterline tile is set and before the coping is installed — this is when you verify your reveal dimension and confirm that your coping setting bed will deliver consistent height without shimming individual units.
- Bond beam prep: Surface must be clean, structurally sound, and free of laitance — grind or scarify the bond beam face if the concrete surface is sealed or contaminated
- Waterproofing: If using a waterproof membrane, verify it’s rated for submersion (not just below-grade moisture resistance) and that it’s compatible with your thinset chemistry
- Thinset selection: Use a polymer-modified thinset rated for wet, submerged, or pool-service conditions — standard thinsets soften in continuous water exposure over time
- Back-buttering: Always back-butter tile in pool applications — 100% mortar coverage is not negotiable at the waterline where hydrostatic pressure will probe any voids behind the tile
- Movement joints: Specify a 1/4″ minimum movement accommodation joint between the top waterline tile course and the coping underside — fill with a sealant matching your grout color, not a cement grout
- Coping bedding: Set coping units in a full mortar bed, not spot-bonded — a coping unit with voids under it will crack under point loading from pool users
Cure times between steps matter in pool construction. Don’t rush the tile installation onto a bond beam that hasn’t fully cured — fresh concrete off-gasses CO₂ as it cures, and that gas movement through fresh thinset creates pinhole bond failures that won’t show up until the pool fills with water and hydrostatic pressure develops behind the tile.
Pool Tiles and Coping Sizing and Layout Considerations
Tile sizing at the waterline is constrained by the geometry of the pool shell in ways that patio or floor tile installations aren’t. Your waterline band depth is typically fixed by the bond beam height — usually 6″ to 12″ of exposed vertical face between the coping underside and the water surface. That dimension drives your tile sizing decision more than aesthetics do.
Standard 4″x4″ and 6″x6″ tiles dominate waterline applications for this reason — they allow a complete, uncut course within the available band height more reliably than larger formats. Mosaic sheets (1″x1″ or 2″x2″ mounted on mesh) give you the most flexibility in irregular pools or when the bond beam height varies around the perimeter. Large-format tiles (12″x12″ and above) are theoretically possible at the waterline but require a very consistent bond beam height and significantly more cutting labor at curved sections.
Coping sizing follows different logic. Standard coping units run 12″ to 24″ in length, 12″ to 16″ in width, and 1.25″ to 2″ in thickness for natural stone. Longer units look cleaner but are heavier to handle and more likely to show lippage if the setting bed isn’t perfectly consistent. The 12″x12″ coping unit is the most installer-friendly size for curved pools; longer units require more flex in the setting bed at tight-radius curves, which increases the risk of cracking during the cure period.
Slip Resistance Requirements for Pool Coping
Slip resistance at the pool edge is a genuine safety specification, not a preference. The coping is the zone where bathers transition from the deck to the pool — wet feet, sloped surface geometry, and natural distraction all increase fall risk. Getting the COF specification right here isn’t optional.
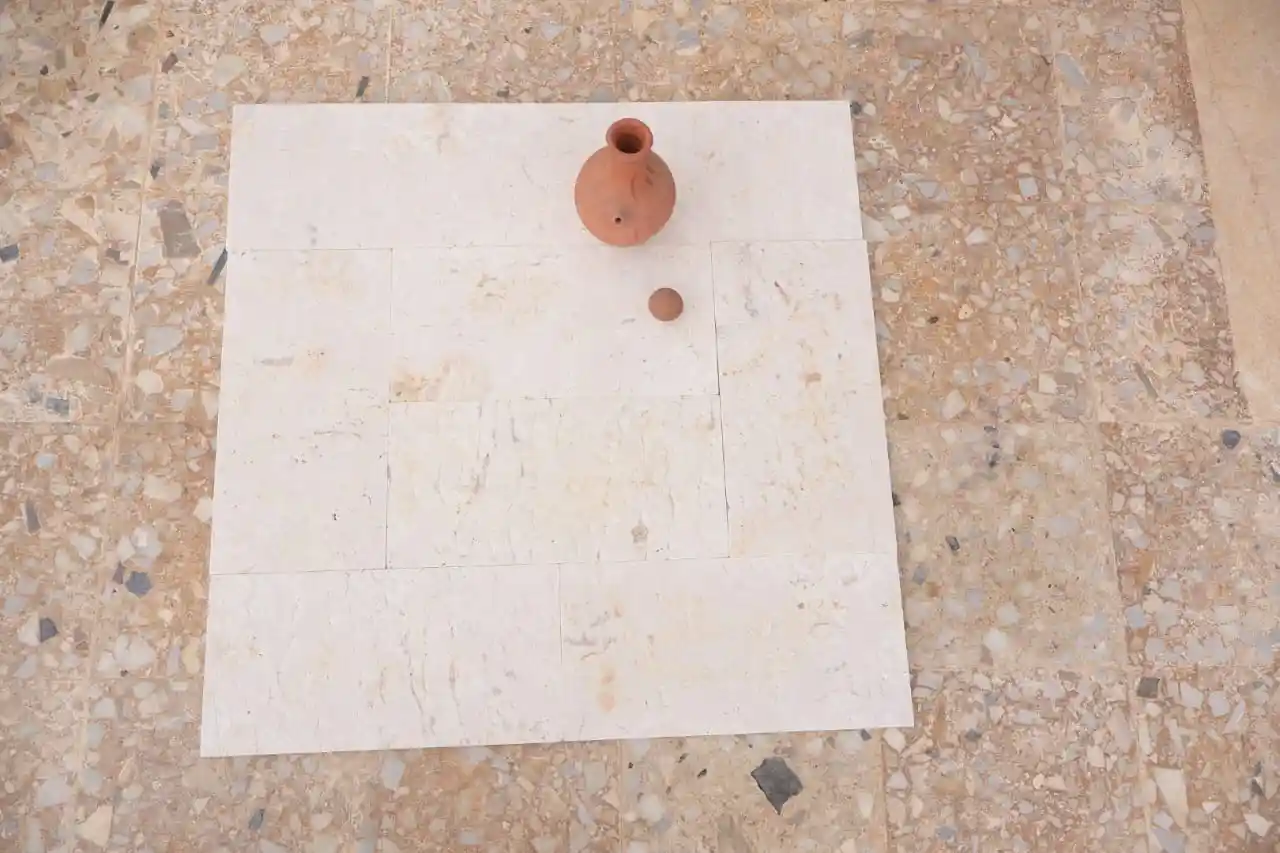
The PHTA pool deck and coping safety standards provide the relevant baseline for pool-edge hardscape. For pool coping specifically, you’ll want to meet the ANSI A326.3 wet DCOF threshold (0.42), tested per ANSI A326.3. Honed, brushed, sandblasted, and tumbled finishes consistently meet this threshold in natural stone. Polished finishes typically fall below it and should not be specified for coping where wet barefoot traffic is expected.
Thermal finish (flame-textured) granite coping achieves excellent slip resistance — the coarsest texture of the options here — and that roughness also helps conceal surface weathering over time. The trade-off is that the aggressive texture is harder on bare feet for some users. Brushed travertine and tumbled limestone land in the middle ground: good wet texture with a smoother tactile feel that pool users generally prefer.
- Polished finish: Do not specify for coping — it retains very little wet texture
- Honed finish: Acceptable for coping — moderate wet texture depending on stone density
- Tumbled or antique finish: Good choice — irregular surface texture provides consistent wet grip
- Brushed finish: Preferred for travertine and limestone coping — combines good COF with comfortable texture
- Thermal or flamed finish: Highest COF values, best for high-traffic commercial pools, more aggressive underfoot
- Sandblasted finish: Consistent performer, good for granite and dense stone types
Ordering, Logistics, and Project Planning
The lead time reality for a pool tile and coping guide specification can derail project schedules when it’s not factored in early. Imported natural stone coping — particularly custom-profiled pieces in travertine or limestone — carries a 6-8 week lead time from order to delivery. If your pool shell is ready and your tile and coping haven’t shipped, you’re paying carrying costs while a crew waits.
Citadel Stone cuts every order at its selected quarries, and the lead time for your specification is quoted with the order. That distinction matters for construction scheduling — verifying warehouse stock availability at the specification stage, rather than at the order stage, is worth the extra conversation.
Truck delivery logistics also need thought during project planning. Full coping pallets for a standard residential pool run 800–1,400 lbs depending on stone type and unit size. Confirm that your site has a truck-accessible staging area within a reasonable carry distance of the pool shell. Tight access conditions — common on infill lots — may require breaking pallets into smaller loads or coordinating a liftgate truck delivery to avoid damage from manual offloading. Plan for this early; changing delivery logistics after a truck is dispatched adds cost and delays.
Order 10-15% overage on both tile and coping to cover cutting waste, breakage, and future repairs. Natural stone from the same production batch matches better than stone sourced from a later shipment — the color and veining can shift between quarry runs, which becomes visible in any repair work done years after the initial installation.
Pool Tile and Coping Specification: Final Priorities
The decisions that define long-term performance in a pool tile and coping installation come down to joint design, material compatibility, finish specification, and installation sequence — not just stone selection. Every element in this guide connects back to that core principle: the transition between waterline tile and coping is a structural joint, and it needs to be engineered as one. Treat the movement accommodation joint as the non-negotiable detail it is, specify your coping finish for wet COF first and aesthetics second, and verify your substrate conditions before tile goes on the wall. Those three commitments resolve the majority of field failures before they happen. As you plan the full pool surround, it’s also worth reviewing what to know about painting pool coping — particularly relevant if you’re inheriting an existing installation where the stone was previously coated and you need to understand your options. Choosing tile and coping from the same Citadel Stone collection simplifies the design process and reduces the risk of visual mismatch once both materials are installed wet.
Related reading: What Is Pool Coping and Why Does It Matter? · pool coping material comparison · pool coping material guide.