What the Base Decides Before the First Stone Goes Down
A pool coping install lives or dies at the base preparation stage — not at the stone selection counter, and not during the final grouting pass. Most callbacks and premature failures trace directly to compacted base shortfalls, inadequate drainage slope, or bond beam surface conditions that weren’t addressed before the mortar bed was laid. Get those three variables right and you’ve already won the majority of the battle. The rest of this walkthrough takes you through each phase in sequence, with the field details that don’t appear in manufacturer datasheets.
The bond beam — the structural concrete lip that runs the perimeter of the pool shell — is your foundation for the entire coping run. Before any mortar touches it, you need to evaluate surface condition honestly. Spalled concrete, oil contamination from form release agents, or a dusty surface will compromise adhesion regardless of mortar quality. Grind back any laitance with an angle grinder fitted with a diamond cup wheel, then blow clean with compressed air. For pools built more than fifteen years ago, probe the bond beam for hollow sections with a steel rod — delamination under the surface is more common than specifiers expect, and it needs to be cut out and filled before you proceed.
Choosing the Right Natural Stone for Pool Coping
Your material choice for pool coping carries consequences that run the full life of the pool — slip resistance, thermal comfort underfoot, water absorption, and long-term dimensional stability are all material-dependent performance factors. Natural stone remains the benchmark for premium pool surrounds, and the dominant options each bring a distinct performance profile you need to match to your project conditions.
Travertine is the most widely specified natural stone for pool coping across the country, and for defensible reasons. Its open-pore structure dissipates surface heat more effectively than dense igneous alternatives, and the typical tumbled or brushed finish delivers a coefficient of friction well above the 0.60 wet dynamic value recommended for pool deck surfaces. According to ASTM slip resistance standards for pool coping, wet COF values below 0.42 represent a functional safety threshold — travertine with a tumbled finish typically tests in the 0.65–0.72 range wet, which gives you a meaningful safety margin.
Limestone coping is the other strong performer in this category. Honed limestone offers a cleaner, more contemporary aesthetic than travertine while maintaining manageable surface temperatures barefoot. The PHTA ANSI pool deck stone and coping safety standards provide the governing framework for pool deck material performance, and limestone with a honed or brushed finish meets those requirements comfortably when properly sealed and maintained.
- Travertine: excellent heat dissipation, high wet COF, requires sealing to manage absorption — spec a penetrating impregnator, not a topical sealer
- Limestone: clean finish, strong dimensional stability, moderate absorption — seal before installation and reapply every 18–24 months
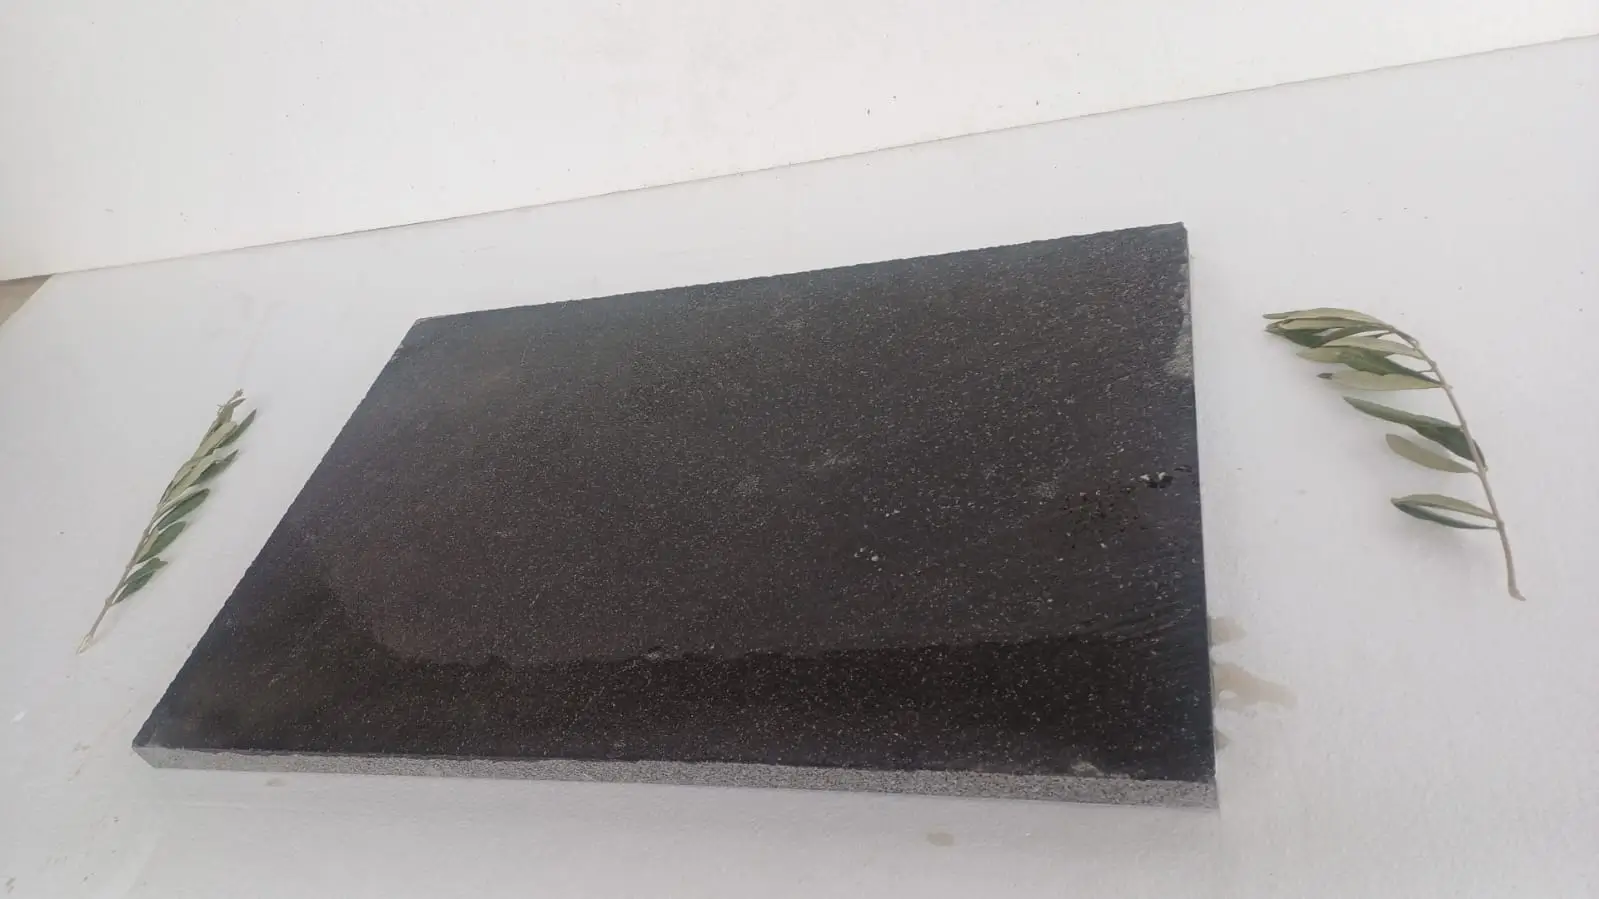
- Granite: highest compressive strength, very low absorption, but surface finish matters enormously — a polished granite coping cap in a wet pool environment is a liability; spec flamed or bush-hammered only
- Bluestone: dense, dimensionally stable, performs well in freeze-thaw regions — verify the specific quarry source, as quality variance in bluestone is wider than in travertine or limestone
Pool coping stone is typically supplied in a nominal 12-inch width with a 2-inch thickness for standard residential applications, and a bullnose or drop-face profile on the pool-side edge. Verify actual dimensions against your bond beam width before ordering — a 12-inch nominal piece from one quarry region may measure 11.75 inches finished, which matters when you’re calculating overhang and drip edge geometry.
Understanding Coping Profiles and Edge Geometry
The edge profile on your pool coping install isn’t purely aesthetic — it governs how water manages off the stone and how the stone interacts with the pool interior finish. Three profiles dominate residential and light-commercial pool work: bullnose, drop-face, and cantilevered bond.
Bullnose profile — the rounded single edge — is the standard for most pool applications. The radius softens the visual transition from deck to water and eliminates the sharp corner that would otherwise chip under regular use. Drop-face coping extends a vertical face down into the pool interior, typically 1.5 to 2 inches below the waterline tile, and creates a more formal, finished look. It also conceals the waterline tile installation from the deck level, which simplifies the aesthetic considerably on high-specification pools.
- Bullnose: most forgiving installation tolerance, suits curved and straight runs equally, widely available in all major stone types
- Drop-face: requires precise bond beam height and waterline tile alignment — measure twice before committing to this profile
- Cantilever: formed concrete overhang, not a stone profile — typically used on vinyl-liner pools where the coping integrates with the liner track, not a natural stone application
For coping on a pool with a curved perimeter — kidney shapes, freeform designs — you have two options: mitered straight pieces that approximate the curve in short segments, or purpose-cut curved pieces. Mitered segments work well for gentle curves with a radius above 8 feet. Tighter curves require purpose-cut stone, which adds fabrication cost and lead time. Factor this into your project budget early — the fabrication premium for curved cuts on natural stone can add 20–35% to the coping material cost on a complex pool shape.
Mortar Bed Preparation and Setting Method
The setting method for pool coping install differs from standard patio or walkway stone work in one critical respect: the coping is exposed to constant thermal cycling, pool chemistry, and direct water contact at the joint. A standard type S mortar mix is the baseline minimum — but for pool environments, a polymer-modified type S formulation delivers meaningfully better bond strength and flexibility across thermal cycles. The polymer additive reduces shrinkage cracking during cure and improves adhesion to both the stone back and the bond beam surface.
Mortar bed depth should run 1 to 1.5 inches consistently across the bond beam. Thick spots and thin spots in the bed create differential settlement — the coping rocks slightly underfoot and joint sealant fails prematurely as a result. Use a screed guide to keep bed depth consistent, and back-butter each stone piece with a thin coat of the same polymer-modified mortar before setting. Back-buttering closes the micro-voids between the stone back and the mortar bed, which is where water infiltration and freeze-thaw damage typically originates in cooler climates.
- Use polymer-modified type S mortar — not standard OPC mix, not adhesive tile mortar
- Screed the mortar bed to a consistent 1 to 1.5 inch depth before setting stone
- Back-butter every piece — don’t skip this step on pool installations
- Pitch the coping surface away from the pool at 1/8 inch per foot minimum to direct surface drainage onto the deck, not back into the pool
- Allow 24-hour initial set before foot traffic and 72 hours before grouting or sealant application
Joint width between coping pieces should run 3/16 to 1/4 inch for standard straight runs. Tighter joints look cleaner but reduce accommodation for thermal movement, and pool coping sees more thermal cycling than most exterior stone applications — the combination of direct sun exposure and cool pool water creates significant daily temperature differentials. At Citadel Stone, we recommend erring toward the wider tolerance, particularly in high-UV environments where surface temperatures can swing 60°F or more between early morning and midday.
Joint Sealant Selection and Application
Joint sealant on a pool coping install is a specification decision that most contractors undervalue. The joint is the primary water infiltration point, the thermal movement accommodation zone, and the finish detail that defines the visual quality of the completed installation. Choosing the wrong product — or applying the right product incorrectly — creates a failure mode that’s difficult and expensive to remedy after the fact.
Two-part epoxy grout is widely used for pool waterline tile joints, but it’s generally too rigid for coping joints. Pool coping sees more thermal movement than waterline tile because it’s fully exposed to air temperature, while waterline tile has the thermal mass of the pool water moderating its temperature swings. A polyurethane or modified silicone sealant in a matching stone color handles the movement accommodation better and remains flexible through years of thermal cycling. Avoid standard bath and kitchen silicone — it lacks the UV stability and chemical resistance for a pool coping environment and typically begins chalking and separating within two seasons.
According to the Natural Stone Institute pool paving performance data, movement joints in exterior natural stone installations should be spaced no further than 12 to 15 feet apart in field applications. For pool coping — which runs as a continuous perimeter element — this translates to a sealant joint at each change of direction plus at regular intervals on long straight runs. Don’t attempt to grout the full perimeter continuously; that’s the detail that causes the sealant to bridge, crack, and delaminate under the first significant temperature swing.
Replacing Coping on a Pool: What the Removal Phase Reveals
Replacing coping on a pool is a different scope than a new install, and the removal phase consistently reveals bond beam conditions that weren’t visible during the assessment. Plan for this — build a contingency into both the budget and the schedule before the first chisel touches the existing coping.
Mechanical removal is the right approach for most natural stone coping. An oscillating multi-tool or cold chisel driven with a rotary hammer works through mortar joints without the heavy impact that can crack the bond beam below. Work carefully at the pool-side edge — the bond beam concrete is often thinner at the inside lip where the coping overhangs the pool interior. Heavy impact at that edge can fracture the bond beam and turn a coping replacement into a structural repair job.
- Remove all old mortar from the bond beam surface — grinding back to clean concrete is non-negotiable
- Probe the exposed bond beam for cracks, delamination, or hollow sections before proceeding
- Check bond beam width against your new coping dimensions — if the original coping was a different size, the overhang and drip edge geometry will change
- Inspect waterline tile condition while the coping is off — replacing both at the same time eliminates a second mobilization cost
- Allow any exposed crack repairs to cure fully before setting new mortar — fresh repairs need 48–72 hours minimum before bearing load
The exposed bond beam often shows evidence of the previous installation’s failures — efflorescence staining indicates water infiltration through failed joints, and rust staining indicates reinforcement corrosion from long-term moisture penetration. Both conditions warrant documentation and remediation before the new pool coping install proceeds.
Cost Factors, Sourcing Decisions, and Project Budgeting
Pool coping project budgets vary more widely than most homeowners anticipate, and the variance isn’t primarily driven by stone type — it’s driven by freight distance, labor market rates, and whether the material you’ve specified is in domestic warehouse stock or requires an import cycle.
Material-to-labor cost ratio in pool coping installation typically runs 40:60 in most markets — you’re paying more for skilled labor than for stone on most residential projects. This ratio shifts in markets where skilled masonry labor is scarce; in those areas, the ratio can move to 35:65 or even 30:70, which changes the value engineering calculation. If labor costs are high on your project, material quality becomes even more critical — you don’t want to be pulling up and resetting coping because a lower-cost stone sourced from a distant supplier arrived with dimensional inconsistency that made the installation slower and the result uneven.
Freight is the cost factor that surprises most project managers. Natural stone is heavy — pool coping for a standard 16 x 32 foot pool with a moderate edge profile runs 4,000 to 6,000 pounds of finished stone. Truck delivery cost from a distant distribution point can add $400 to $900 to the project cost compared to sourcing from a supplier with warehouse stock closer to your project. Confirm warehouse availability and truck delivery lead times before committing to a material specification — a 6–8 week import lead time can delay a pool opening season by an entire month, which carries its own cost in contractor rescheduling and owner frustration.
For our coping installation material, dimensional consistency from the quarry source is where project cost efficiency is won or lost. Consistent thickness means consistent mortar bed depth, which means faster installation and cleaner joints — all of which reduce labor hours. Specifying from a supplier who performs dimensional quality checks at the warehouse level rather than relying solely on quarry tolerances is a practical way to protect your installation schedule and budget simultaneously.
- Get freight quotes for your specific delivery address before finalizing material selection — don’t assume standard delivery costs
- Confirm warehouse stock levels match your project quantity before submitting a purchase order — partial shipments can create color batch inconsistency
- Factor in cut waste — curved pools or complex layouts typically require 10–15% material overage; straight rectangular pools need 8–10%
- Evaluate full project cost, not just per-square-foot material price — dimensional consistency, packaging quality, and delivery reliability all affect total installed cost
Sealing Protocols and Long-Term Maintenance
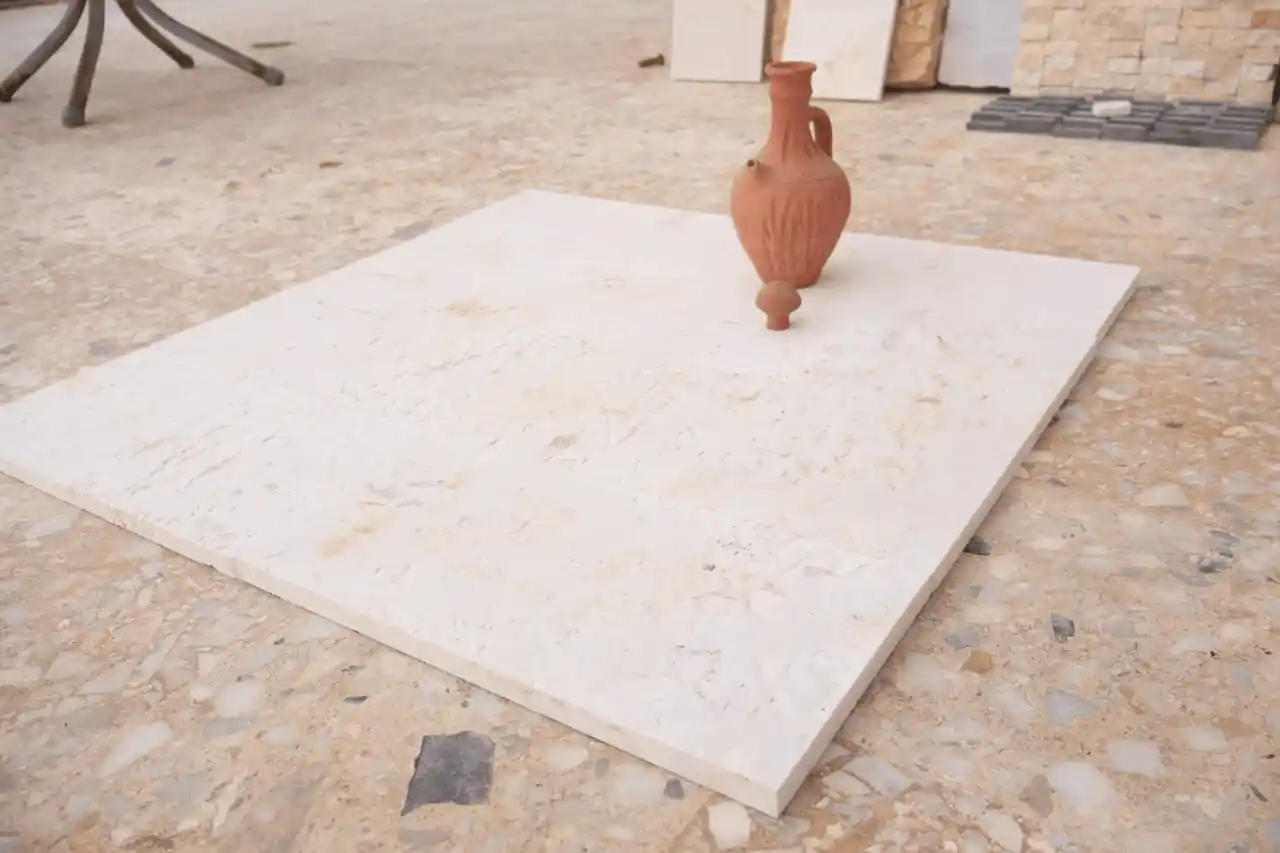
Sealing pool coping stone is not optional — it’s the maintenance step that protects your investment in the installation and keeps the pool chemistry from degrading the stone surface over time. Chlorinated water at pool chemistry concentrations (pH 7.2–7.8, free chlorine 1–3 ppm) won’t aggressively etch most natural stone under normal splash conditions, but sustained wet contact on unsealed stone allows mineral salts to migrate into the pore structure and deposit as efflorescence, and pool chemicals can penetrate into the mortar bed through an unsealed stone back.
Apply a penetrating impregnating sealer — not a topical coating — before the coping goes into service. The impregnator works within the pore structure of the stone, repelling water and pool chemistry without forming a surface film that peels, yellows, or traps moisture below. For travertine and limestone coping, a solvent-based impregnator typically outperforms water-based alternatives for initial penetration depth, particularly on stone with a mid-range absorption rate. Apply two coats with a 20-minute interval between coats, wipe residual off the surface before it hazes, and allow 24 hours cure time before the pool is filled or used.
- Reseal every 18–24 months for travertine and limestone in high-use pool environments
- Test sealer effectiveness annually with a water bead test — if water absorbs rather than beads, it’s time to reseal
- Clean pool coping with a pH-neutral stone cleaner only — acid-based pool tile cleaners will etch limestone and travertine surfaces
- Inspect joint sealant at the start of each season — hairline cracks in the sealant bead should be cleaned out and resealed before water infiltration begins undermining the mortar bed
- Check coping for rocking or loose pieces annually — early detection of adhesion failure is far cheaper to address than widespread resetting
Parting Guidance
A well-executed pool coping install is one of the few exterior stone applications where precision at every stage pays compounding returns — base preparation quality determines mortar bond, mortar bond determines joint stability, joint stability determines sealant performance, and sealant performance determines how long the whole system lasts without intervention. Cut corners at any stage and the consequences surface, usually within the first two or three seasons. Do it right once and you’re looking at a 20-plus year installation that holds its aesthetics and its structural integrity through everything the pool environment throws at it.
Your specification checklist before ordering material should cover bond beam condition assessment, finished coping dimensions against bond beam width, profile selection, mortar system specification, joint sealant product, sealer specification, and waste factor calculation. That’s the complete scope — and each item on that list has a cost implication if it’s addressed late rather than early. Beyond the coping itself, understanding the broader anatomy of pool perimeter detailing will sharpen your specifications on connected elements. For a closer look at the functional and structural role of pool perimeter stone, what coping does on a pool covers the foundational concepts in useful detail. From our established selected quarries across multiple continents, Citadel Stone delivers coping calibrated for even joint spacing on straight and curved runs.
Related reading: What Is Pool Coping and Why Does It Matter? · pool coping material comparison · pool coping material guide.