Why Geometry Drives Every Decision
Laying circular paving stones isn’t a matter of following the same sequence you’d use for a rectangular patio — the geometry actively changes how every technical variable behaves. Joint width, stone taper, radius accuracy, and base compaction tolerance all interact differently in a curved layout, and if you treat a circle like a rectangle with curved edges, you’ll see it in the finished surface within the first year. Understanding that distinction from the start is what separates a clean, lasting installation from one that creeps and opens up at the joints.
Starting Point: The Radius and Center Pin
Every circular layout starts with a center pin — typically a steel spike or threaded rod driven flush into the prepared base — and a string line or scribing arm set to your desired radius. This isn’t optional groundwork; it’s the reference every subsequent course depends on. A two-millimeter error in your center pin placement compounds with each ring outward, and by the time you’re laying the fifth or sixth course, that small error can produce a visible wobble that no amount of joint adjustment will fix.
- Drive the center pin through compacted aggregate and into the subbase — not just into sand, where it can shift under foot traffic during installation
- Set your radius string tight and recheck it after every three courses — string can stretch slightly under tension over time
- Mark your full circle perimeter with marking paint or a scratch line before placing any stone
- For larger installations exceeding 12 feet in diameter, use a scribing arm rather than a string — it holds consistent tension over longer spans
Base Preparation for Curved Paving Stones
Your base preparation requirements don’t change because you’re going circular, but the compaction inspection does. A circular layout concentrates foot traffic and water flow differently than a linear one — drainage tends to concentrate at the perimeter rather than dispersing evenly. You’ll want your base to slope uniformly away from center at a minimum of 1.5% gradient, which means checking grade at multiple radial angles rather than just across two opposing edges.
Compacted aggregate depth should reflect your stone thickness and anticipated load. For circle paving stones in the 2-inch nominal range — which covers most residential and light-commercial garden applications — a 4-inch compacted aggregate base over native soil is a reliable starting point in moderate conditions. Freeze-thaw regions warrant 6 inches minimum, and you should verify that your subgrade is fully free of organic material before you compact, because organic pockets consolidate unevenly and show up as low spots within the first season. According to ASLA guidance on outdoor paving materials, permeable base design also plays a meaningful role in long-term surface stability, particularly for curved configurations where water management differs from rectangular layouts.
Stone Selection for Circular Layouts
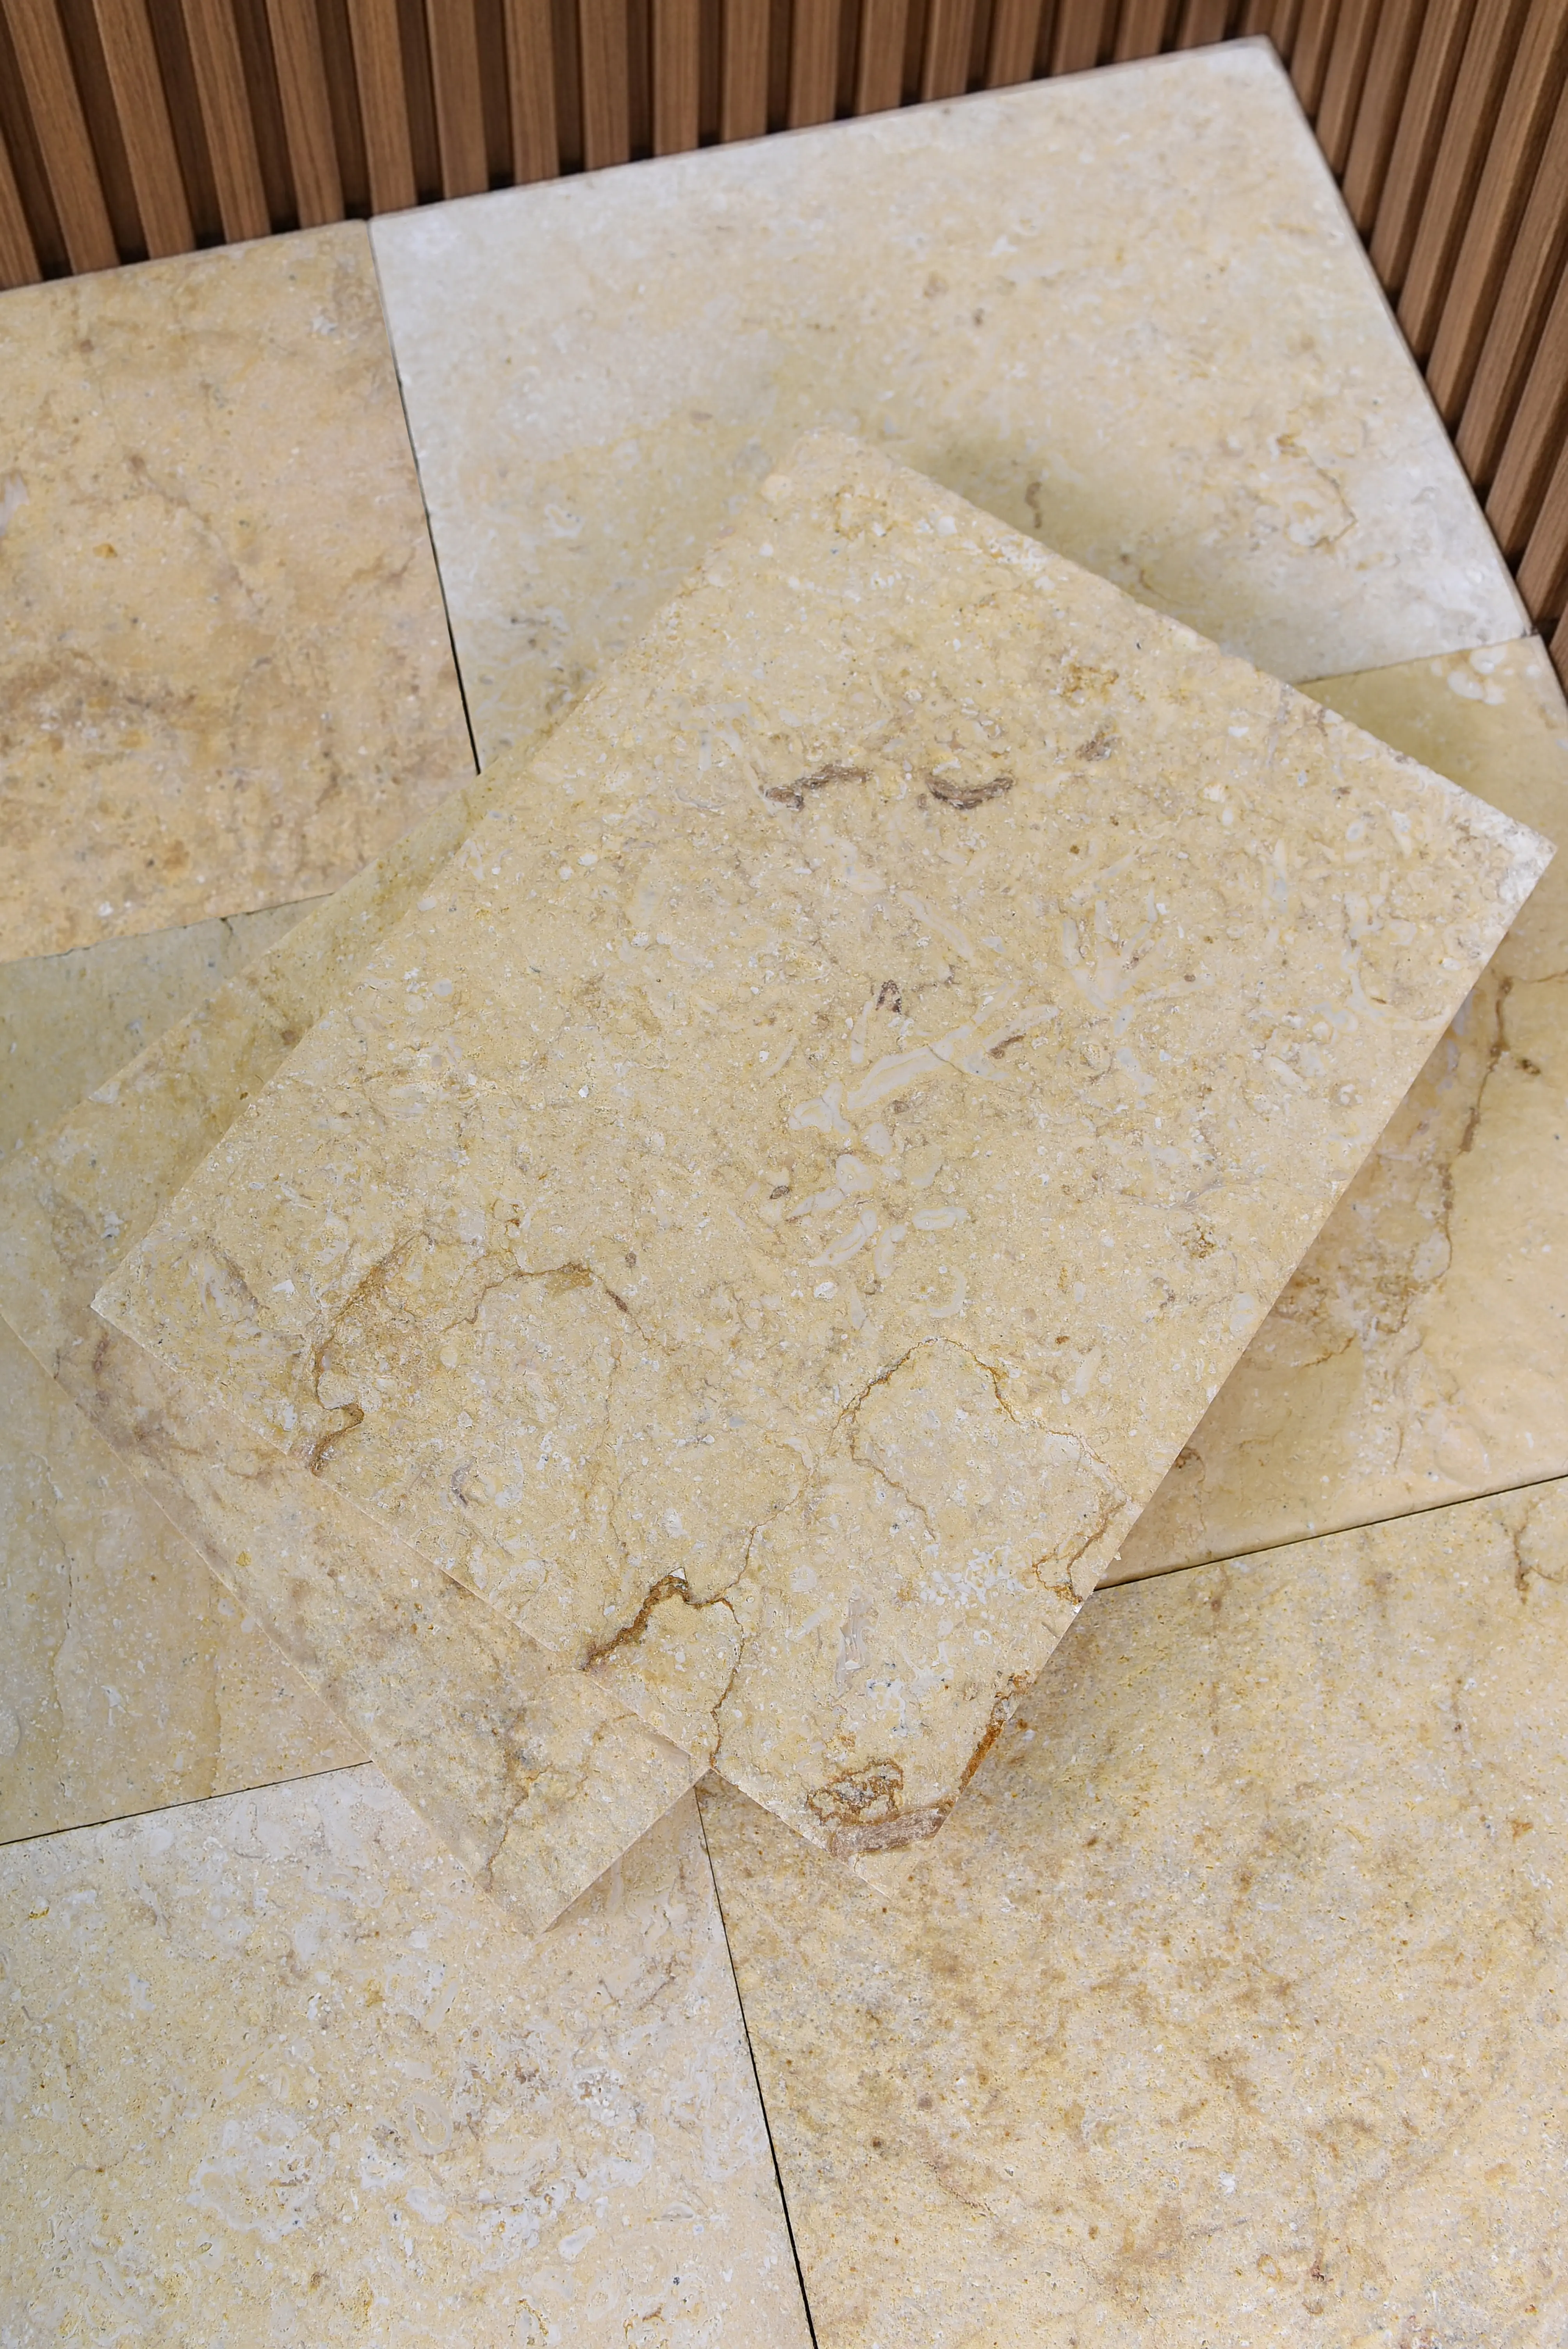
Not every paving stone works well in a circular format. The critical variable is whether the stone can be cut accurately to the taper required for each ring, and whether the material holds a clean edge after cutting without chipping or spalling along the saw line. Dense, fine-grained materials handle circular cutting well; coarser or more open-structured materials can produce a ragged cut edge that widens the apparent joint.
- Natural stone pavers with consistent thickness across the slab face are essential — dimensional variation greater than 3mm per stone makes flush coursing extremely difficult when laying circular paving stones
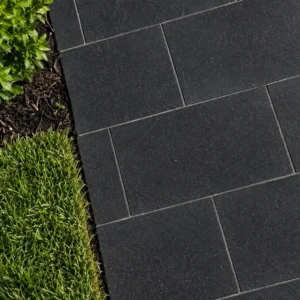
- Limestone and basalt are reliable choices for circular cutting because their crystalline structure holds a clean edge under a wet-saw blade
- Avoid highly veined marble or heavily foliated slate for the cut ring courses — the blade follows the line of least resistance in veined material, which often doesn’t align with your cut line
- Tumbled finishes work well aesthetically in circle paving stones but require extra attention to base levelness — the variation in the tumbled face can mask minor lippage
Stone thickness consistency is the detail that most installations undervalue. Natural Stone Institute technical specifications confirm that dimensional tolerances vary meaningfully between stone types and quarry processing standards, which directly affects how cleanly courses sit flush in a multi-ring circular layout. At Citadel Stone, we conduct warehouse dimensional checks on circular and curved paving stones before they ship, specifically because thickness variation that’s acceptable in a straight-run patio becomes a levelling problem in a ring course.
Cutting and Tapering for Paving Stones Curved
The ring geometry requires that most stones in the layout be cut with a slight taper — wider at the outer edge and narrower at the inner edge — unless you’re using purpose-shaped fan pavers. The taper angle changes with each successive ring: the inner rings need a more pronounced taper, and the outer rings approach a nearly rectangular cut because the arc is shallower. Calculate your taper angle before you cut by dividing 360 degrees by your planned number of stones per ring, then adjusting for the joint width you intend to run.
- Use a wet-saw with an angle fence, not a freehand guide — freehand taper cuts on natural stone introduce angular inconsistency that shows up at the joint
- Cut a test stone for each ring and dry-lay it against its neighbors before committing to a full ring’s worth of cuts
- Mark the outer face of each stone before cutting so orientation doesn’t get reversed during handling
- Factor in a 5-8% cut-waste allowance when ordering — circular cutting waste runs higher than standard square-cut layouts
You can also source pre-cut fan pavers or sector-shaped paving stones for circles designed for specific radii, which eliminates the field-cutting requirement entirely. These are worth specifying for high-visibility projects where joint consistency is critical — the dimensional precision from factory cutting is difficult to match on-site, and the time savings are significant on larger installations.
Joint Spacing and Pattern Management
Joint management in a circular layout is the detail that either makes or breaks the finished appearance. You’re working with a naturally expanding geometry — each successive ring is longer in circumference than the one before it — which means either your stone count per ring increases, your joint width increases, or some combination of both. The visual goal is to keep joints appearing consistent from the center outward, even though the mathematics of a circle demand otherwise.
The standard approach is to allow joint width to increase slightly from inner to outer rings — typically from 8mm at the innermost ring to 12-15mm at the outer perimeter — in a controlled, deliberate way. The key word is controlled. Uncontrolled joint widening looks like settling or poor workmanship; graduated widening that follows the geometry looks intentional and professional. Use spacers consistently within each ring, and switch to the next spacer size only when transitioning to a new ring group. For our curved stone paving, consistent joint management across each ring is the single factor we’re asked about most often by specifiers, precisely because it defines the visual quality of the finished circle.
Landscape Design and Integrating Your Circle Feature
The material and finish you specify for your circular feature should connect to the broader landscape palette, not stand in isolation. A circular paving feature reads as either a focal point or an anchor depending on how it relates to surrounding planting, built edges, and architectural elements — and the stone color and texture you choose drives that relationship as much as the pattern itself.
- In clean-lined modern minimalist landscapes, a single-material circle in a consistent honed finish reads as a deliberate design element — contrast through shape, not texture variation
- Traditional or colonial-style settings work well with tumbled or aged-finish circle paving stones that pick up the patina of existing masonry or worn brick
- Desert and dry garden designs benefit from warm-toned limestone or sandy-colored natural stone that visually anchors the circle into the surrounding gravel or decomposed granite groundplane
- Tropical and dense planting schemes suit darker basalt or grey limestone, which recedes visually against lush green foliage rather than competing with it
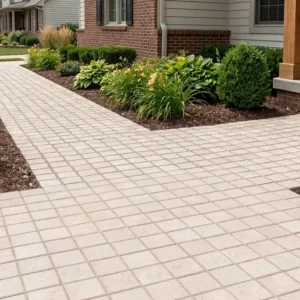
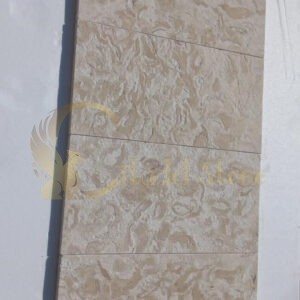
Stone sourced from Middle East quarries — particularly the lighter cream and buff limestone varieties — integrates well across a wide range of landscape styles because the warm neutral tone is adaptive rather than dominant. Your color selection becomes less about the circle itself and more about how the circle reads from the primary viewing point in your outdoor space, which is worth establishing before you finalize your material choice.
Bedding Sand and Setting the Stones
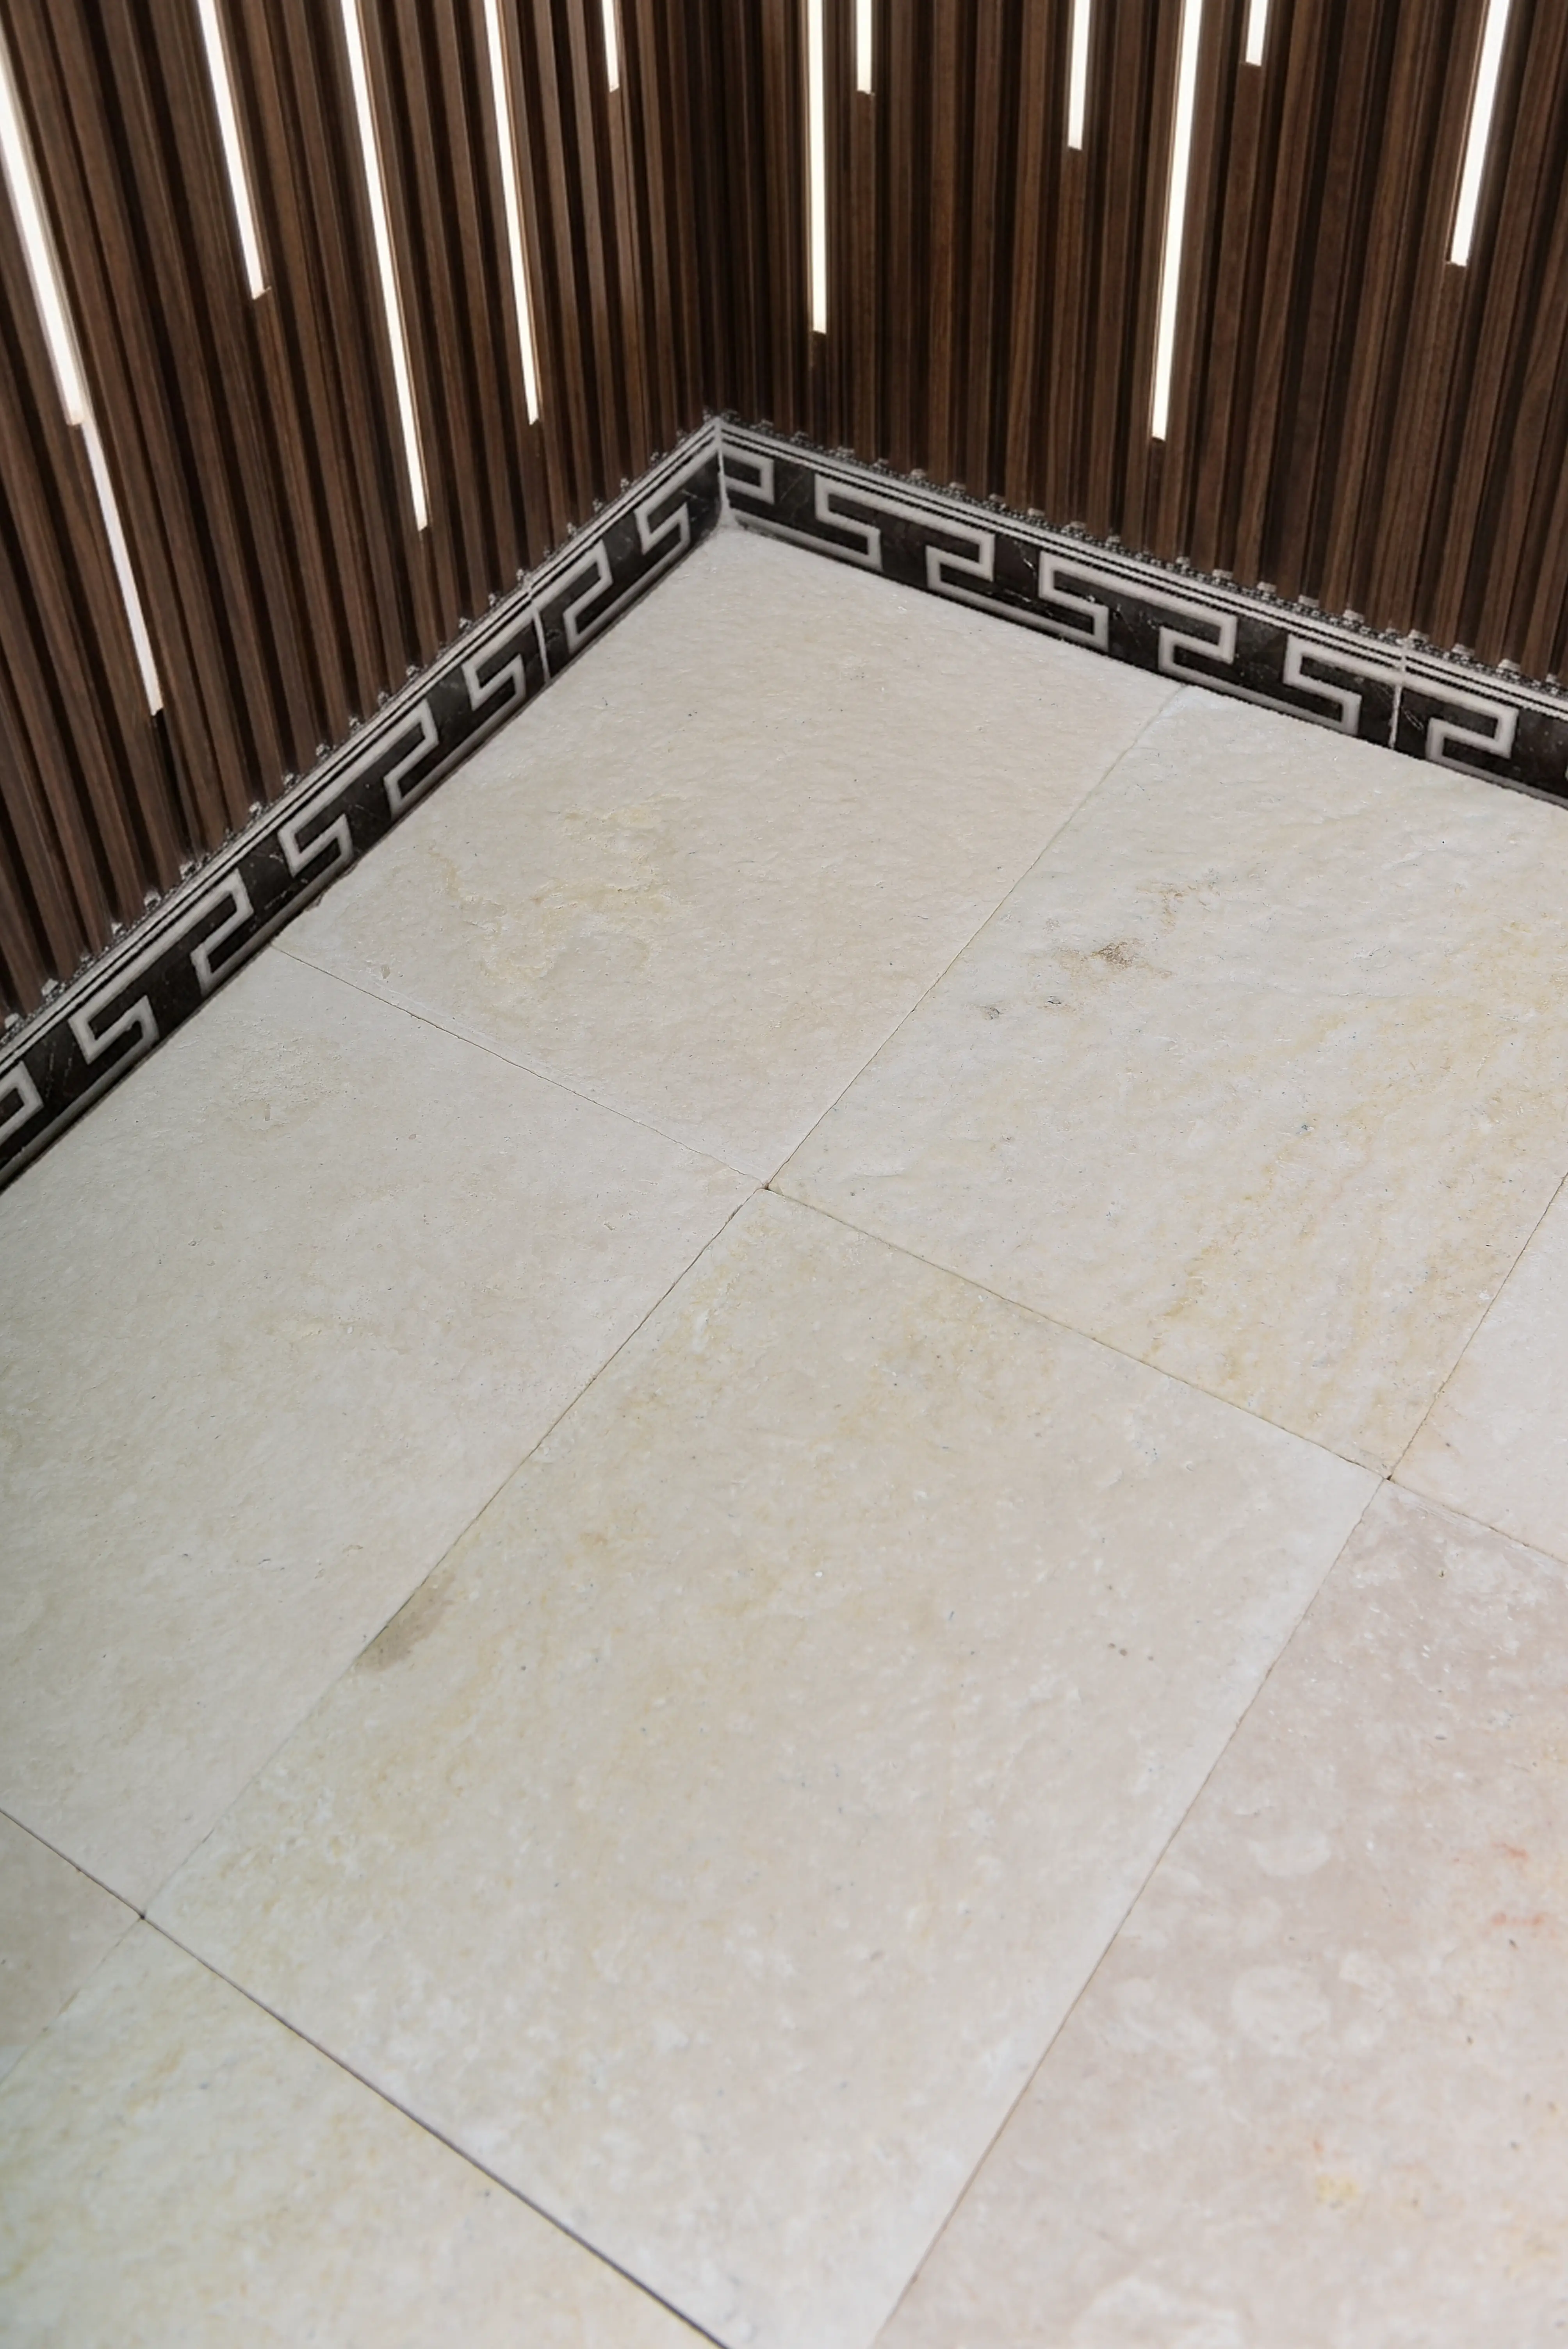
Your bedding sand layer for circular and curved paving stones should run between 25mm and 40mm uncompacted, screeding to approximately 25mm after stone placement. The challenge in a circular layout is maintaining consistent bed depth across a curved area — straight screeding rails don’t help you here. Use a radial screed system: two rails set at your inner and outer ring edges, curved to follow your arc, and a screed board long enough to bridge them.
Setting sequence matters when laying circular paving stones. Start from the center keystone or center course and work outward ring by ring, rather than working from an edge inward. This approach lets each ring act as a reference for the next one, maintaining your radius accuracy and giving you consistent joint gaps to work with. Tap each stone to full bed contact using a rubber mallet — never a steel hammer directly on natural stone — and check for lippage after every three or four stones. Natural stone pavers have a small amount of inherent face variation, and catching high spots early is far easier than correcting a full ring after the fact. According to USGS dimension stone production data, the dimensional processing standards for natural stone paving products continue to improve at scale, which is why specifying from quality-controlled sources directly reduces field adjustment time.
Edging and Perimeter Restraint
A circular layout needs a continuous perimeter restraint to prevent the outermost ring from migrating outward under load and thermal expansion. The absence of a proper edge restraint is the most common reason circular paving installations open up at the perimeter joints over time — without containment, the sand bed allows lateral movement that accumulates course by course.
- Curved aluminum or steel edge restraint products are purpose-made for this application and are the most reliable perimeter solution
- Concrete haunching is an alternative for permanent installations, but it must be cast after the circle is fully laid and set — not before, because the stone placement itself determines the exact perimeter line
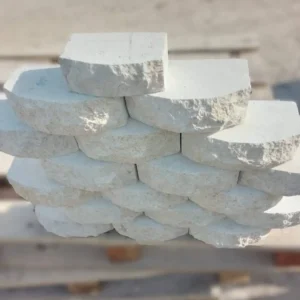
- Natural stone edging units can serve as a decorative border while also providing mechanical restraint, provided they’re set on a concrete bed rather than sand
- Confirm that your restraint system can handle the full circle circumference without joining gaps wider than 150mm — gaps larger than this allow point failures under heavy foot traffic
Getting Your Circular Paving Stone Project Right
Laying circular paving stones rewards preparation and penalizes shortcuts in ways that straight-run paving doesn’t — because the geometry amplifies every small error across successive rings. Get your center pin right, work your base preparation to a uniform radial grade, manage your joint progression deliberately, and choose a stone that holds a clean cut edge. The landscape design payoff of a well-executed circle feature is significant — it creates a visual anchor that no rectangular format can replicate, and the material you choose will define how that anchor reads across the seasons.
Citadel Stone carries circular and curved paving stones with tight dimensional tolerances, and our technical team can help you calculate stone counts, cut waste, and joint progressions for your specific radius before your order leaves the warehouse. Beyond circular paving, if you’re planning other stone features for the same outdoor space, fire pit paving stone guidance covers how natural stone performs around heat and provides specification detail worth reviewing alongside your circle project. Keeping joints even on a circular layout depends on stone thickness consistency, and Citadel Stone tolerances are tight enough that each course sits flush without shimming.
Related reading: how to lay paving stones · Preparing Ground for Paving Stones the Right Way · natural stone paving guide.