Stone Type Determines Everything About Landscape Limestone Edging
Landscape limestone edging fails most often not because of installation errors but because specifiers conflate limestone grades that behave completely differently under load and moisture cycling. Dense, low-absorption limestone — typically 0.5% or less water absorption by weight — performs in wet-soil conditions where a higher-porosity grade would crack within two or three seasonal cycles. Your selection process needs to start with absorption rate and compressive strength, not color or finish, because those structural properties define whether the edging holds its line over ten years or begins to heave and fracture within three.
The two broad limestone categories you’ll encounter for landscape edging are sedimentary limestone quarried from shallow marine deposits and harder dolomitic limestone with elevated magnesium carbonate content. Dolomitic varieties test at 12,000–18,000 PSI compressive strength, versus 8,000–12,000 PSI for standard calcitic limestone. For edging applications where stone bears lateral soil pressure and occasional equipment contact, that strength differential matters directly. According to NSI limestone technical specifications, the full range of limestone performance variables — absorption, density, and compressive strength — must be evaluated together, not in isolation.
Your grade selection also affects finishing options. Dolomitic limestone takes a honed finish without exposing excessive porosity, which sedimentary grades sometimes cannot maintain consistently across a full order run. That inconsistency becomes visible at scale — a 200-linear-foot limestone landscape edging project with mismatched surface texture reads as a specification error, not a quarrying quirk.
Edging Profile Options and What They Actually Deliver
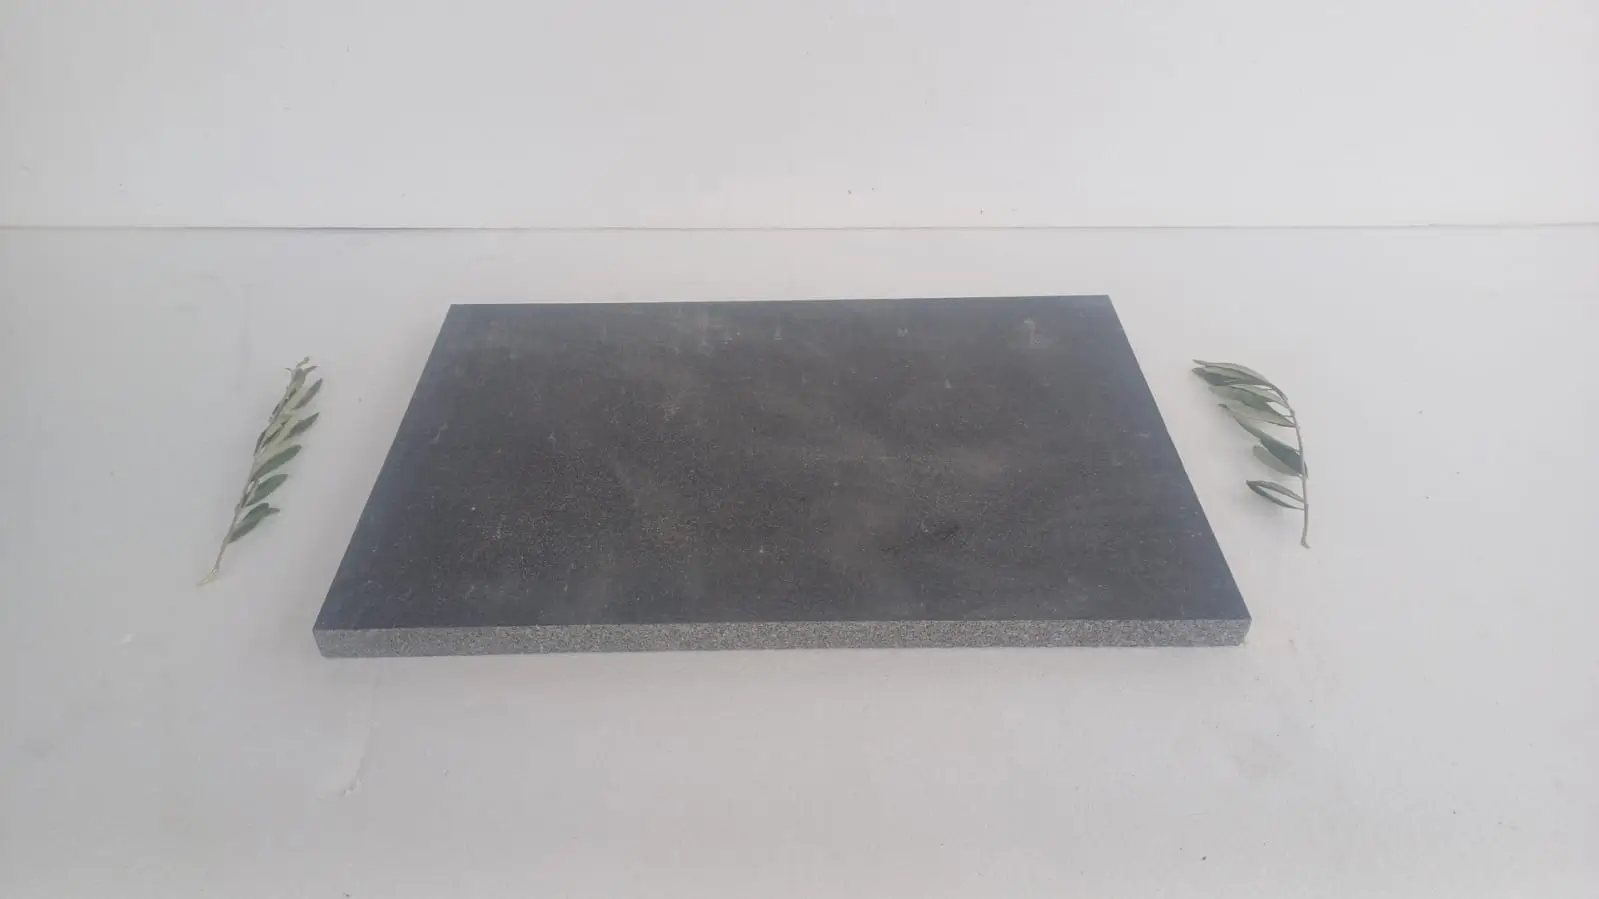
The profile geometry of landscape limestone edging — its cross-sectional shape, edge treatment, and thickness — determines structural behavior in the ground as much as any material property. A tumbled rectangular profile at 4 inches wide and 4 inches deep gives you a generous buried-to-exposed ratio that resists lateral migration in loose or sandy soils. A thinner slab profile at 2 inches thick and 12 inches wide delivers a sleek flush-grade look but requires a more precise compacted aggregate bed because it has almost no self-righting mass.
Here’s what most landscape specifiers overlook: the buried depth of edging stone should be at minimum 60% of the stone’s total height. That ratio keeps the center of gravity below grade and prevents the frost-heave rocking that ruins otherwise well-executed edging runs. Many installers bury only the bottom inch or two of a 4-inch stone — technically it sits, but give it two winters of freeze-thaw cycling and it will walk out of the ground progressively. The geometry of burial depth is non-negotiable in freeze-thaw regions.
- Rectangular coursed profiles suit formal garden layouts and pair naturally with stacked stone landscape edging for raised bed borders
- Irregular tumbled cuts create a relaxed, naturalistic edge that suits cottage or informal garden styles
- Bullnose edge treatments reduce chip risk at visible faces but add cost per linear foot
- Sawn-face profiles offer the tightest joint tolerances for geometric designs where gaps wider than 6mm read as errors
Thickness, Load Tolerance, and Span Limits
The standard thickness range for landscape limestone edging runs from 1.5 inches to 4 inches. For edging that borders planting beds with no vehicular or equipment overhang, 2 inches is structurally adequate on a compacted aggregate base. Move to 3 inches where lawn equipment regularly runs adjacent to the edge, and specify 4 inches for any installation that receives occasional vehicle tyre contact — which happens more often than anyone anticipates in residential applications with tight turning radii near garage edges or driveways.
Span length between buried support points also matters. An unsupported 3-inch-thick limestone edging piece spanning more than 24 inches across a soft subgrade can develop a hairline fracture mid-span within two years, particularly in clay-heavy soils that expand and contract with moisture. Design support intervals so the stone always bears on compacted material beneath its full length — bridging over soft spots is the most common cause of mid-piece fracture in field installations. USGS data on limestone composition confirms the flexural sensitivity of calcitic varieties compared to igneous alternatives, which informs why thickness and support spacing decisions carry more weight with limestone than with granite alternatives.
- 1.5-inch thickness: decorative bed edging only, zero equipment contact, stable flat subgrade required
- 2-inch thickness: standard residential planting bed borders, foot traffic adjacent, no equipment overhang
- 3-inch thickness: high-use garden edges, lawn equipment contact, moderate clay soils
- 4-inch thickness: driveway-adjacent edging, occasional vehicle overhang, expansive subgrade conditions
Stacked Stone Landscape Edging: When Height Beats Depth
Stacked stone landscape edging solves a specific design problem: you need vertical separation between grade levels without building a full retaining wall. For level changes between 6 inches and 18 inches, a two- or three-course dry-stack limestone edging gives you the separation with a natural stone aesthetic that poured concrete or precast alternatives cannot match. The key structural principle here is batter — each course should step back approximately half an inch from the course below, creating a slight lean into the retained soil. Without that lean, even modest soil pressure causes the stack to bow outward at the base within a season or two.
Sourcing consistency across courses matters more with stacked edging than with single-piece flat edging. You need uniform thickness within each course — typically ±0.25 inch tolerance — so the horizontal bed joints stay consistent visually. Mixed-thickness stone in a stacked run creates irregular joint lines that read as amateurish regardless of material quality. Reviewing ASLA guidance on landscape edging and permeable surfaces highlights that drainage management at the base of stacked sections is a consistently cited performance factor — water trapped behind a stacked edging run with no drainage pathway creates hydrostatic pressure that eventually forces the stack outward.
At Citadel Stone, we recommend specifying a minimum 4-inch granular drainage layer behind any stacked limestone edging run taller than two courses. That detail protects the installation in heavy-rain events that would otherwise push water directly into the stack base.
Freeze-Thaw Cycling and Thermal Expansion in Edging Stone
Temperature cycling is the most underspecified performance variable for landscape limestone edging, and it applies far beyond cold-climate installations. Many regions experience daily temperature swings of 40°F or more, even in locations without severe winters. Those swings — repeated 200 or more times annually — create cumulative mechanical stress at joint interfaces and within the stone matrix itself. Limestone with absorption rates above 3% is most vulnerable, because moisture trapped in pore spaces expands when temperatures drop and contracts when they rise, progressively enlarging micro-fractures with each cycle.
The coefficient of thermal expansion for limestone runs approximately 4.4 × 10⁻⁶ per °F. For a 10-foot edging run, a daily temperature swing of 50°F produces roughly 0.026 inches of linear expansion and contraction — small in absolute terms, but cumulative against rigid mortar or concrete adhesive bonds over hundreds of cycles. Dry-set installations handle this movement naturally through unrestrained joint movement. Mortared installations need expansion joints every 8–10 feet to prevent cracking at the mortar interface. Most specifications in generic installation guides call for joints at 15 feet — in practice, 10 feet is the safe maximum for limestone landscape edging in areas with significant diurnal or seasonal temperature ranges.
- Limestone with absorption below 0.75% tolerates aggressive freeze-thaw cycling with minimal risk of spalling
- Medium-density limestone at 1–3% absorption performs acceptably in moderate cycling but needs penetrating sealer applied annually in demanding climates
- High-absorption limestone above 3.5% is not suitable for installations exposed to standing water and temperature cycling simultaneously
- Thermal expansion joints in mortared edging runs must be filled with flexible polyurethane sealant, not rigid mortar
- In regions with 100+ freeze-thaw cycles annually, stone thickness below 2 inches increases spalling risk measurably at exposed top edges
Integrating Large Paver Stepping Stones with Limestone Edging
The visual and structural relationship between large paver stepping stones and a limestone edging border is one of the more satisfying hardscape details when executed with material consistency. Your edging and stepping stones should come from the same limestone family — ideally the same quarry run — so color tone and surface texture align. Attempting to match stone from different quarry sources after the fact almost always produces a slight but visible mismatch that reads as an afterthought.
For border applications that incorporate large paver stepping stones, typical limestone sizes run 24×24 inches or 24×36 inches. These need a minimum 1-inch aggregate bed set to ensure contact across the full bearing surface — point-contact setting on a rigid base invites cracking at the stone center from concentrated load. Your edging border should be set at the same elevation as the stepping stone surface, typically flush or no more than 0.5 inch proud of grade, so the material transition reads as deliberate design rather than differential settlement.
Explore our limestone landscape edging range to see how different limestone grades and profiles coordinate with stepping stone sizes for cohesive project specifications. Getting the material family consistent across both elements is what separates a polished installation from a patchwork finish.
Base Preparation: The Detail That Decides Longevity
The aggregate base beneath landscape limestone edging is where most installation failures originate, and it’s the detail most frequently compressed during budget discussions. A minimum 4-inch compacted crushed-aggregate base — angular crushed stone, not rounded gravel — creates the interlock and stability that limestone edging needs to resist lateral movement from soil pressure and root growth. Rounded pea gravel is a common substitution that looks adequate during installation and fails within two seasons because the particles roll rather than interlock under load.
Your base compaction target should reach 95% Proctor density. Below that threshold, the base consolidates progressively under the weight of the edging stone and soil pressure cycling, and the edging line develops a wavy, irregular appearance within a few years. For DIY projects or smaller contractor crews without compaction equipment, a hand tamper and multiple thin lifts of 1.5-inch compacted layers achieve adequate density — but skipping the tamping entirely is the single largest predictor of edging settlement seen in field installations.
- Angular crushed aggregate (¾-inch or 1-inch minus) is mandatory — rounded gravel is never an acceptable substitute
- Minimum base depth is 4 inches for standard edging; increase to 6 inches for stacked edging or clay-heavy subgrades
- Compact in 2-inch lifts maximum for reliable density
- Set edging stones in a final 1-inch setting bed of coarse sand or stone dust over the compacted aggregate base
- Check level and alignment before final backfilling — adjustments after backfill compact are difficult and damage stone edges
Sealing, Maintenance Intervals, and Realistic Longevity
Penetrating impregnator sealers — silane or siloxane-based — are the appropriate product class for landscape limestone edging. Film-forming sealers trap moisture beneath the surface and accelerate spalling in outdoor applications where water infiltration is unavoidable. An impregnator bonds at the mineral level, reduces water absorption without creating a surface membrane, and allows the stone to breathe. Reapplication every two to three years is appropriate for exposed edging in conditions with heavy rainfall or significant temperature cycling.
Realistic longevity for properly specified and maintained landscape limestone edging runs 20–30 years before any structural concern. The limiting factor is usually joint material degradation, not stone failure. Sand-set joints need periodic replenishment as the fill settles or washes out — an annual top-dressing with polymeric sand in the fall, before ground freeze, keeps joints stable and prevents weed infiltration that accelerates cracking at thin edges. Stone failure in installations that fall short of 15 years almost always traces to one of three causes: insufficient base depth, stone with absorption above 3% in a freeze-thaw environment, or mortar bonds that prevented thermal movement.
Ordering, Warehouse Lead Times, and Delivery Planning
Planning your limestone edging order requires accurate linear footage plus a 10–15% overage allowance for cuts, irregular corners, and any pieces damaged in transit. Natural stone incurs more in-transit breakage than manufactured concrete edging — particularly for thinner profiles — so building overage into your initial order prevents costly reorders that delay project completion by weeks. Confirm with your supplier that warehouse stock levels match your project volume before committing to a schedule, because partial shipments from split warehouse locations add coordination complexity that smaller projects rarely anticipate.
Citadel Stone maintains warehouse inventory across a national network, which brings typical lead times to one to two weeks for stocked grades versus the six to eight week import cycle that custom-quarried orders require. Your truck delivery access constraints also matter at this stage — edging stone typically arrives on pallets by flatbed or liftgate truck, and narrow residential access or low overhead obstructions need to be communicated to the logistics team in advance. Unloading pallets of stone without appropriate equipment at the delivery point adds labor cost and injury risk that a simple pre-delivery site review eliminates.
- Measure linear footage precisely and order 10–15% overage — never order exact quantity for natural stone
- Verify warehouse availability for your specific grade before finalizing the project schedule
- Confirm truck access width, overhead clearance, and unloading equipment before the delivery date
- Request a sample piece from the actual production run, not just a reference sample, to verify color and texture consistency
- For stacked edging projects, confirm thickness tolerance within ±0.25 inch per course in your purchase specification
Getting Landscape Limestone Edging Specifications Right
The decisions that determine landscape limestone edging performance — stone grade, absorption rate, thickness, profile geometry, base depth, and thermal joint spacing — need to be resolved before the first piece ships, not adjusted on site when problems emerge. You now have the specification framework to evaluate limestone edging by the variables that actually drive longevity rather than the aesthetic considerations that dominate most supplier conversations. For projects that combine edging borders with surrounding planting bed stonework, material consistency across all elements requires a single coordinated order rather than piecemeal sourcing from multiple runs.
Your next planning step should address how edging stone performs in the context of the wider garden design. limestone edging for garden beds covers additional specification considerations worth reviewing as you finalize your project scope. Sourced direct from quarries in Turkey, the Mediterranean, and beyond, landscape edging stays stable through freeze-thaw cycles.
Related reading: black edging stones · limestone stepping stones guide · bullnose limestone edging explained.