Why Kerb Stones Crack
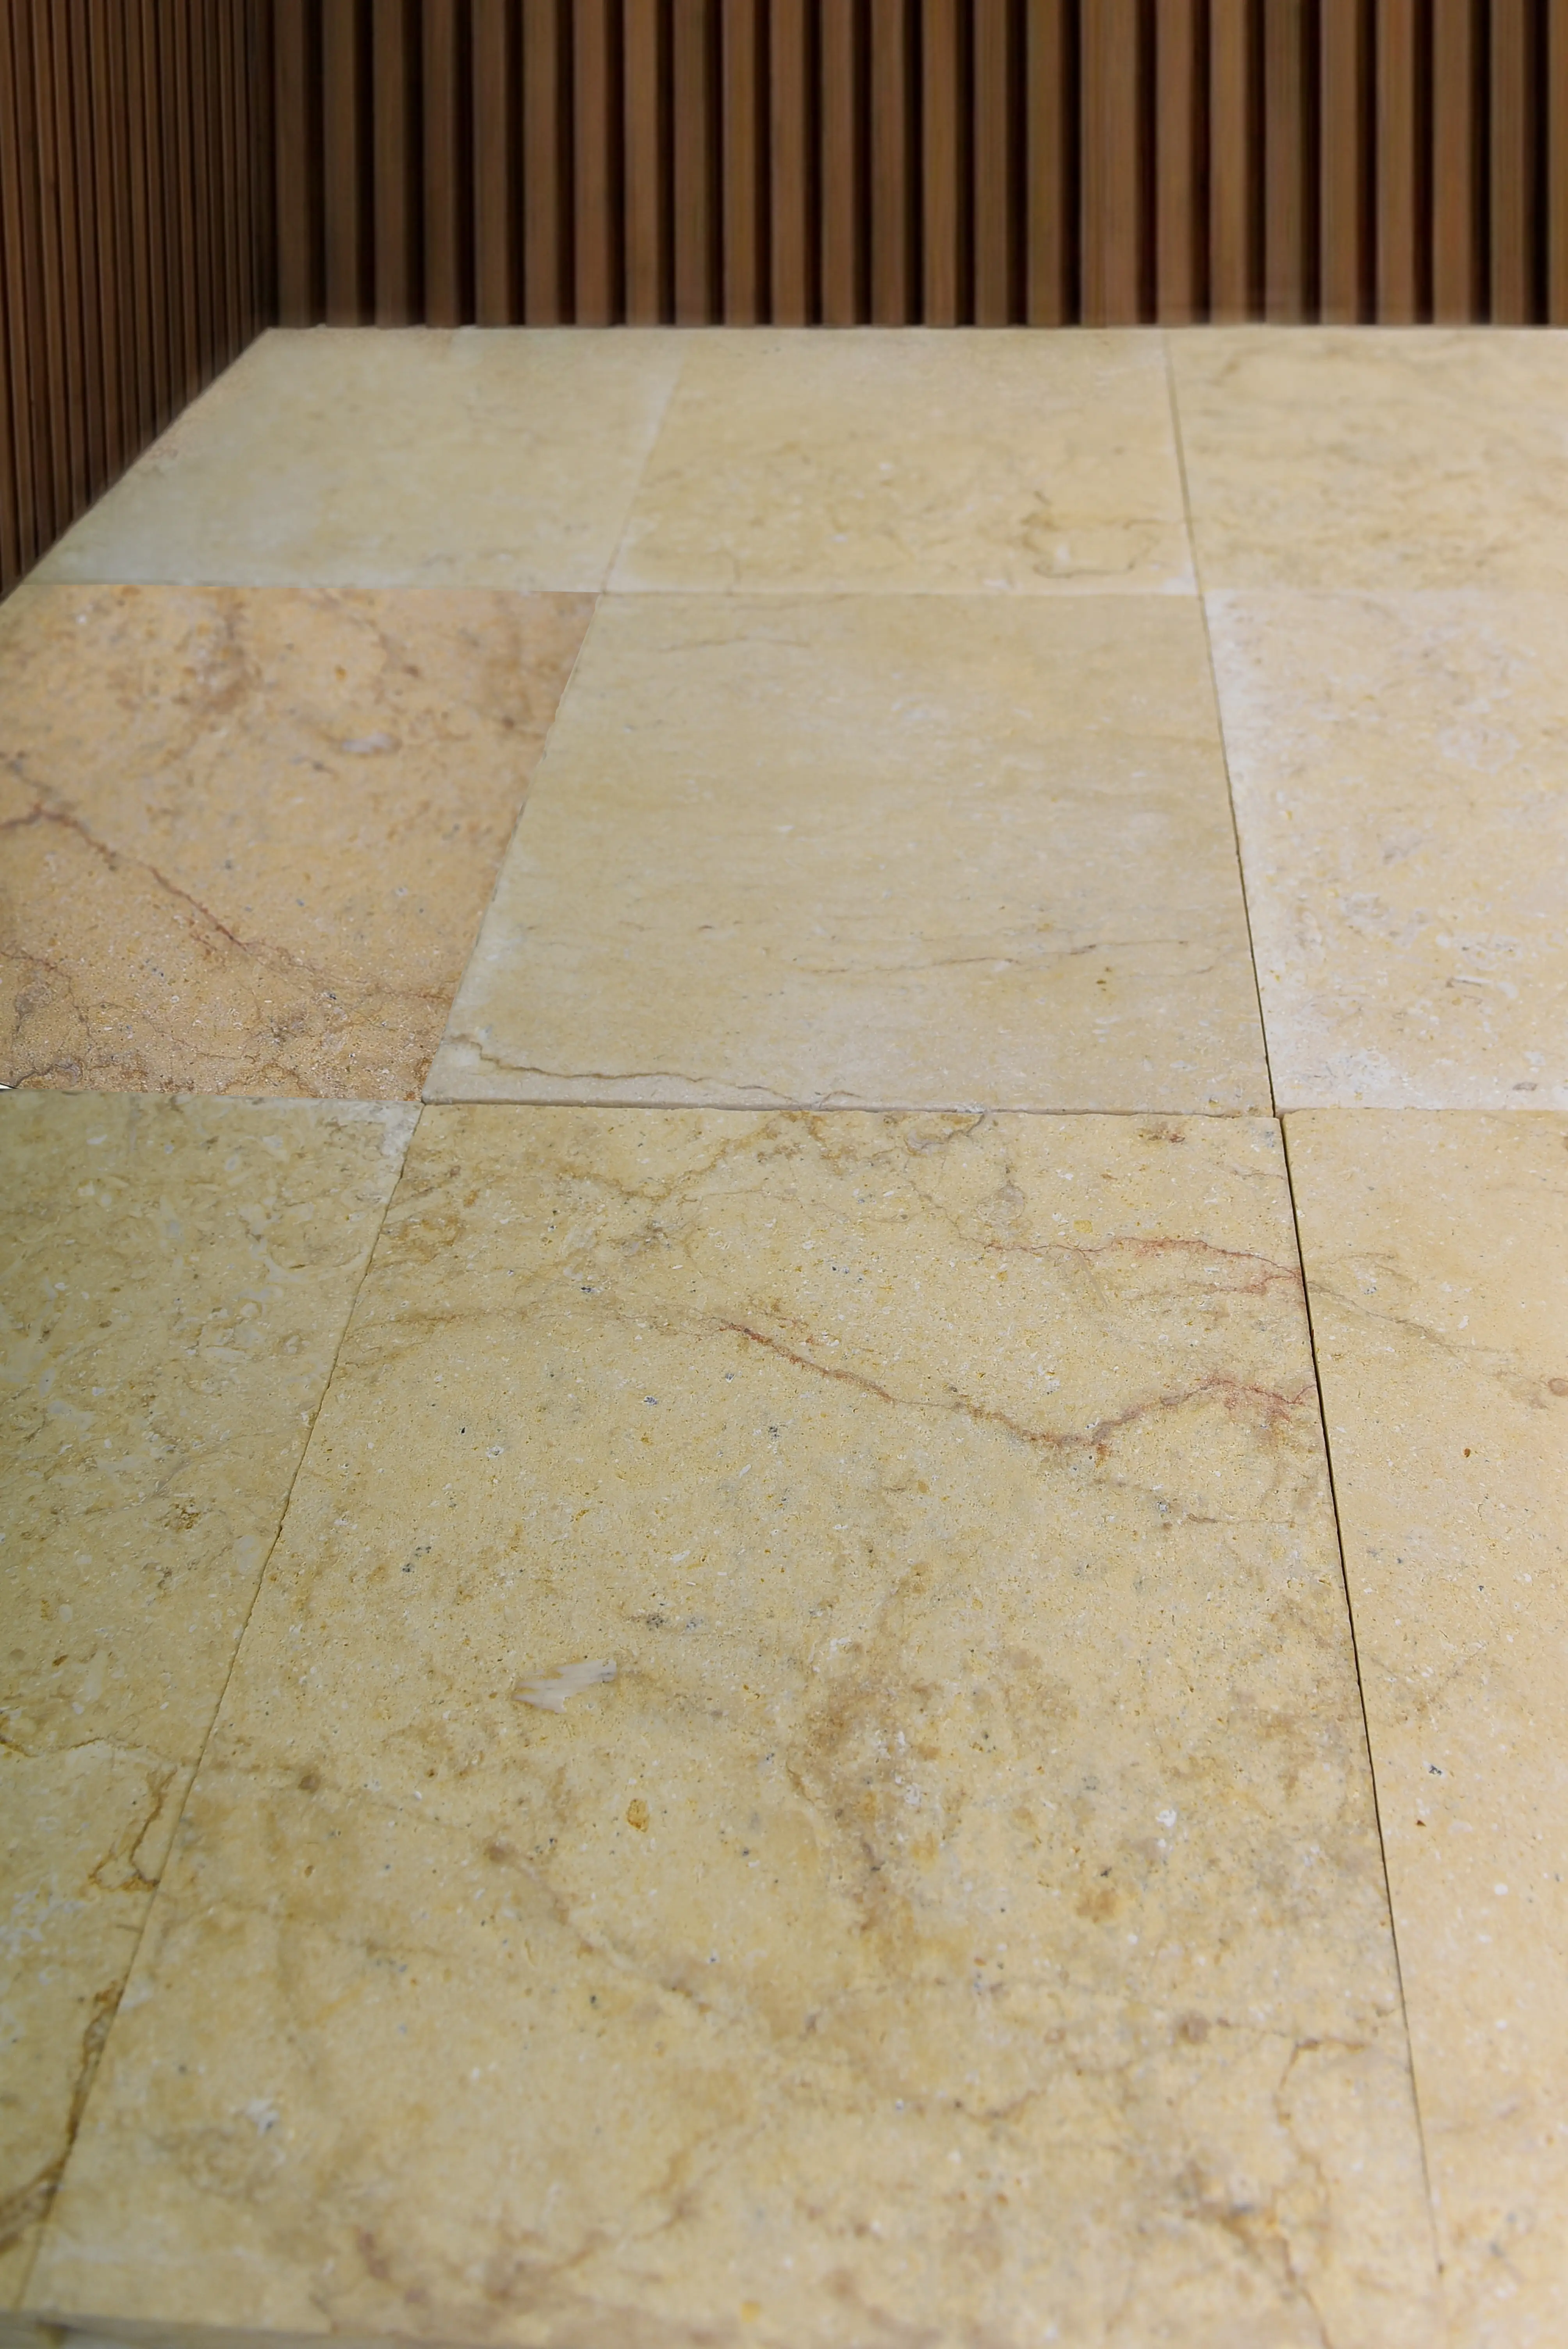
Kerb stones that fail within the first two years almost always share the same root cause — inadequate base compaction combined with undersized bedding depth. The cracking pattern tells you everything: fracture lines appear perpendicular to the stone’s length, typically within 12 inches of a joint, and that location is no coincidence. It’s where differential settlement concentrates load, and where natural stone reaches its flexural limit fastest. Understanding this failure mode is the starting point for specifying kerb stones that hold up under real-world edge loading.
The Root Causes Worth Understanding
Most kerb stone failures aren’t material failures — they’re system failures. The stone itself is rarely the weakest link. What gives way first is the bedding layer, the sub-base, or the restraint system holding everything in lateral alignment. Once any one of those components moves, the stone above it absorbs concentrated bending stress it was never designed to handle alone.
The most common failure triggers in the field include:
- Sub-base compaction below 95% Proctor density, allowing differential settlement under cyclic loading
- Bedding mortar that was mixed too wet, creating a weak, porous interface layer prone to freeze-thaw disruption in colder regions
- Joint gaps left wider than 8mm without appropriate compressible filler, which allows lateral stone-to-stone impact under traffic loading
- Kerb stones installed at inadequate thickness — anything under 100mm nominal for driveway-adjacent applications is asking for trouble
- Edge restraint set without concrete haunching, so the kerb rotates outward under lateral soil pressure
According to ASTM compressive strength and durability standards for kerb stones, natural stone used for edging and kerbing must meet minimum modulus of rupture thresholds that reflect real bending loads — not just surface compression. Specifying to those thresholds instead of defaulting to the lowest available density grade makes a measurable difference in long-term performance.
Base Preparation: The Non-Negotiable First Step
Your bedding layer depth should be 25–40mm of semi-dry mortar for most kerb stone applications. Go thinner than 25mm and you’re setting the stone directly onto compacted aggregate with almost no ability to fine-grade the finished line. Go thicker than 40mm and the mortar itself becomes a settlement risk, particularly in areas where ground moisture fluctuates seasonally.
The sub-base beneath that bedding layer needs to be at least 150mm of well-graded aggregate — crushed limestone or granite fines work well — compacted in two lifts rather than one. Compacting 150mm in a single pass never achieves consistent density through the full depth, and you’ll see settlement within 18 months as traffic redistributes load across the soft pockets.
- Use Type 1 MOT or equivalent graded aggregate for sub-base material — ungraded fill creates voids that compress unevenly
- Compact in maximum 75mm lifts with a plate compactor, checking density between passes
- Allow the sub-base to cure and settle for at least 48 hours before placing bedding mortar
- In areas with clay-dominant soils, extend sub-base depth to 200mm — clay expansion coefficients can transmit 3–5mm of vertical movement directly into the bedding layer
Mortar Mix and Joint Design
The bedding mortar specification is where many installations quietly go wrong. A 4:1 sharp sand to cement ratio is the professional standard for kerb stone bedding — not the weaker 6:1 mix sometimes used for paving slabs. Kerb stones carry a different load profile than flat pavers: they absorb lateral impact, point loads at the arris, and bending forces across their length simultaneously.
Your mortar water content matters more than most installers acknowledge. A mix that’s wet enough to be plastic is too wet for kerb bedding — the water-cement ratio climbs above 0.55, reducing compressive strength by 20–30% once cured. Aim for a semi-dry consistency: the mix should hold its shape when squeezed in your hand without releasing free water. That consistency gives you adequate workability to set the stone accurately while maintaining the density that resists long-term settlement.
- Mix mortar in batches you can use within 45 minutes — workability beyond that window decreases rapidly
- Never add water to a stiffening mix; discard and remix fresh material
- Point joints with a slightly stronger mix than the bedding — 3:1 sand to cement provides good durability at the exposed joint face
- Leave 6–10mm joint gaps for pointing; tighter joints prevent adequate mortar penetration and tend to crack as the stone thermally expands
Seasonal Installation Timing and Curing Windows
Timing your kerb stone installation around ambient temperature has a direct impact on mortar cure quality — and by extension, on crack resistance over the first critical winter. Portland cement hydration slows significantly below 5°C and effectively stops below 2°C. Installing in those conditions without thermal protection means your mortar may not reach adequate early strength before the first freeze cycle, and a partially hydrated mortar bed that freezes will expand, crack, and lose bond integrity.
The practical installation window for mortar-bedded kerb stones runs from late spring through early autumn in most temperate regions. Morning installs in peak summer offer the best conditions: surface temperatures are lower than afternoon readings, mortar doesn’t dry out at the surface before it bonds, and you have the full working day before temperatures drop. Afternoon installations in warm conditions carry a real risk of the semi-dry mortar surface skinning over before the kerb stone seats fully, which creates a weak, delaminated interface.
- Target ambient temperatures between 8°C and 28°C for mortar-bedded installations
- In freeze-thaw regions, allow at least 28 days of cure time before the first frost — early strength at 7 days is not sufficient to resist freeze expansion
- In sustained heat, mist the sub-base lightly before placing mortar to prevent the aggregate from drawing moisture out of the mix prematurely
- Schedule pointing work for morning in warm periods — pointed joints exposed to direct afternoon sun can dry too quickly, leading to shrinkage cracks in the pointing mortar itself
- Never install over frozen ground; even a brief sub-zero period the night before can leave frost in the top 20–30mm of aggregate, which melts and causes settlement once the weight of the kerb stone is applied
For projects where timing is constrained, consider dry-lay systems with mechanical restraint rather than pushing mortar work into marginal conditions. ASLA landscape edging and border stone design guidance addresses alternative restraint systems that perform reliably across a wider installation temperature range, which is worth reviewing for late-season projects.
Selecting the Right Material Grade
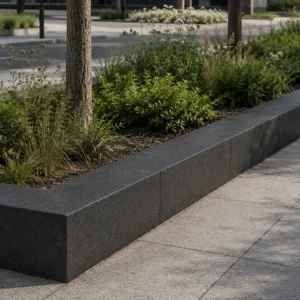
Natural stone kerb stones aren’t a single product — the density, porosity, and flexural strength vary significantly depending on the stone type. Granite kerb stones sit at the top of the performance range: compressive strengths routinely exceed 150 MPa, water absorption below 0.5%, and a flexural strength that handles heavy driveway edge loads without the hairline fracturing you’ll see in softer sedimentary options. Dense limestone kerb stones occupy a strong middle ground — lower density than granite but with absorption rates under 3% when properly sealed, and compressive strengths in the 60–90 MPa range that are adequate for residential and light commercial applications.
The USGS granite curbing and kerb stone dimension stone data provides production benchmarks that give useful context for evaluating material sourcing claims — particularly when comparing imported granite kerb stones against domestic alternatives. At Citadel Stone, we inspect incoming material at the warehouse against minimum density and absorption benchmarks before it ships, because even material certified at origin can vary between production batches.
- Granite: compressive strength 150–200 MPa, absorption under 0.5% — best choice for high-traffic driveway edging
- Dense limestone: 60–90 MPa, absorption 1–3% when sealed — appropriate for garden paths, residential kerb stones edging, and decorative kerb work
- Sandstone: 30–60 MPa, absorption 3–8% — acceptable only in low-traffic pedestrian applications; avoid in freeze-thaw environments
- Basalt: 150–200 MPa, absorption under 0.5% — high-density alternative to granite with excellent abrasion resistance
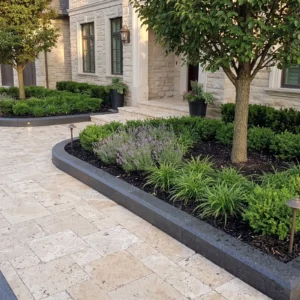
For kerb stone edging applications where aesthetics and durability both matter, explore the full range of Citadel Stone kerb borders — the material selection there reflects both performance specifications and the design requirements of residential and commercial projects.
Haunching and Lateral Restraint
Concrete haunching is the detail that separates a kerb stone installation that lasts 25 years from one that starts rocking within five. The haunch is a concrete backing placed against the rear and base of the kerb stone after it’s been set and checked for line and level. It locks the stone against lateral movement from vehicle overhang, soil pressure, and the cumulative micro-movement that occurs every time a wheel clips the kerb edge.
Your haunch mix should be a minimum C20 concrete — that’s a 20 MPa mix, not a bagged general-purpose product. The haunch needs to wrap from the base of the kerb stone’s inward face down to the compacted sub-base, forming an “L” profile in cross-section. A haunch that only contacts the rear face without extending beneath the base line provides far less rotational resistance, and you’ll see the kerb begin to tilt inward within a few seasons of frost cycling.
- Minimum haunch dimensions: 150mm wide at the base, tapering to 75mm at the top of the kerb stone’s rear face
- Allow 24–48 hours for the haunch to achieve initial set before allowing traffic near the kerb line
- Do not backfill behind the haunch until it has cured for at least 72 hours — premature backfill pressure can push a fresh haunch into the back of the stone
- In areas with expansive soils, consider a slightly richer C25 haunch mix to resist the lateral forces transmitted by seasonal ground movement
Sealing and Ongoing Maintenance
Sealing natural stone kerb stones is not optional in climates with more than 20 freeze-thaw cycles annually — it’s a structural decision. Water ingress into an unsealed porous stone followed by a freeze cycle generates internal pressures that can exceed 25 MPa — easily enough to propagate micro-fractures through limestone or sandstone. Those fractures develop quietly over two or three winters before a visible crack opens at the surface.
The right sealer depends on the stone’s absorption rate. For limestone and similar sedimentary kerb stones with absorption above 2%, use a penetrating impregnator that fills the pore structure without creating a film layer at the surface. Film-forming sealers on exterior kerb stone edging applications tend to delaminate under UV and foot traffic, trapping moisture beneath the film and accelerating the damage you were trying to prevent. Penetrating sealers, applied at a rate of 4–6 m² per litre on first application, chemically bond within the pore structure and repel water without affecting surface texture.
- Apply sealer to clean, dry stone — moisture content above 5% prevents adequate penetration
- Two coats on first application, with the second coat applied while the first is still slightly tacky (typically 20–40 minutes after the first coat in moderate temperatures)
- Reapply every 3–5 years depending on exposure; check by applying a few drops of water — if the water absorbs rather than beads, it’s time to reseal
- Use a pH-neutral stone cleaner for routine maintenance; acidic cleaners etch limestone and basalt, opening the pore structure and accelerating re-contamination
Kerb Stone Specification: Getting It Right the First Time
Every cracked kerb stone you’ve seen in the field traces back to a decision made before the stone was placed — usually a sub-base shortcut, a mortar compromise, or a missing haunch. The material itself is rarely the failure point when it’s been correctly specified and installed into a properly prepared system. Your specification needs to treat kerb stones as a structural element, not a decorative afterthought, because the loads they carry — lateral vehicle impact, soil pressure, and cyclic thermal movement — are real and cumulative. Getting the base depth, mortar consistency, haunching dimensions, and sealing protocol right the first time is always faster than correcting a failing installation two winters later. As you think through your complete project scope, complementary stone details like interlocking stone edging systems offer additional specification options worth reviewing alongside kerb stone layouts. Sourced from quarries across the Mediterranean and Middle East, dense kerb stones handle heavy edge loads without hairline fractures.
Related reading: cobblestone edging stones · Marble Edging Comparison Guide for Formal Gardens · pebble edging design ideas.