Why Finish Determines Everything
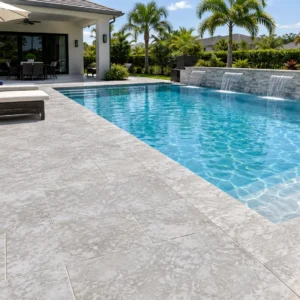
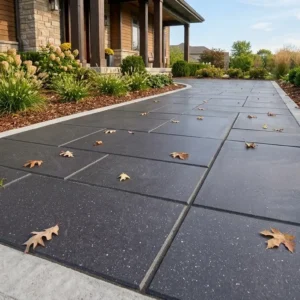
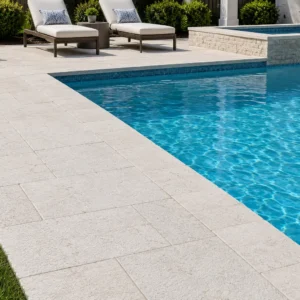
The finish you select for indoor travertine tile is the single decision that cascades through every downstream specification — slip resistance, sealing frequency, light reflectance, and maintenance protocol all pivot on it. Honed travertine offers a matte, low-sheen surface rather than a reflective polished one, making it the practical choice for kitchens, bathrooms, and busy hallways. Polished surfaces read as luxurious but drop that friction rating considerably, which means they belong in low-traffic formal spaces where wet underfoot conditions are unlikely.
Travertine Grades: What the Labels Actually Tell You
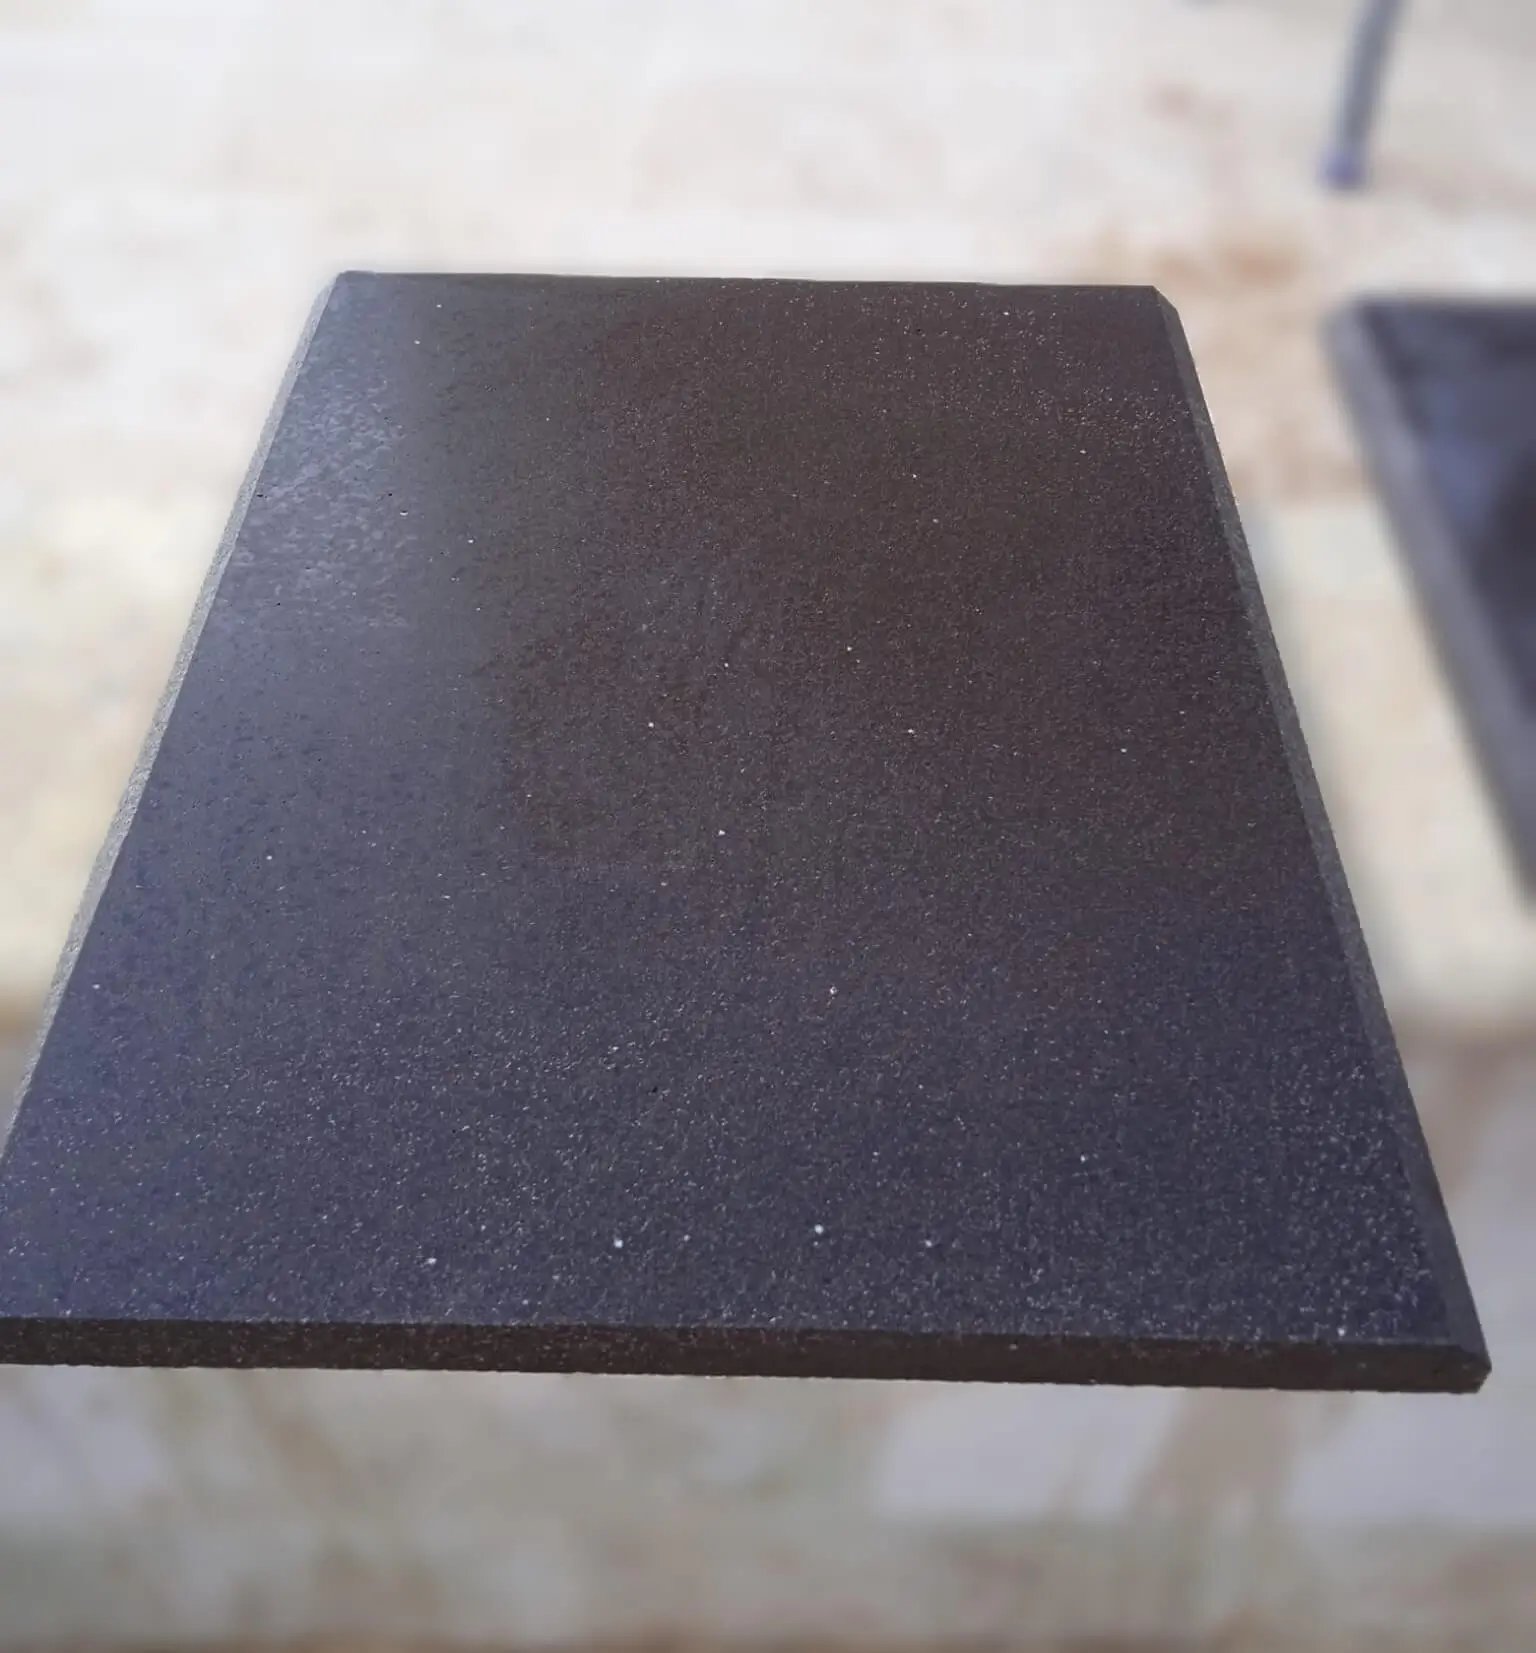
Travertine arrives in the market under a handful of grade descriptors — Premium, Select, Standard, Commercial — and the terminology is not standardised across suppliers, which creates real confusion during specification. What grade labels reliably indicate is the density and size of unfilled voids, the consistency of veining colour, and the degree of surface undulation allowed before a tile is downgraded. For interior floor applications, your priority should be void-fill consistency rather than colour uniformity alone.
Unfilled travertine has open pores that trap grit, cleaning product residue, and moisture. That sounds like a maintenance problem, and it is — but it’s also a textural asset in certain design schemes. Filled and honed travertine, where the voids are grouted with a colour-matched compound before surface grinding, gives you a denser, more uniform face that handles foot traffic more predictably. Specifying filled grade for indoor travertine tile installations is almost always the right call unless you are deliberately pursuing a rustic, textured aesthetic.
- Premium grade: minimal voids, tight colour banding, consistent thickness tolerance within ±1.5 mm
- Select grade: moderate voids filled before honing, acceptable for most residential interior applications
- Standard/Commercial grade: wider void occurrence, suitable for feature walls or areas where texture variation is intentional
- Confirm fill compound compatibility with your intended sealant — some epoxy fills resist penetrating sealers
Thickness, Subfloor Deflection, and Why Both Matter
Most interior travertine tile for floor use ships in 3/8-inch (10 mm) or 1/2-inch (12 mm) nominal thickness. The thinner option works on concrete subfloors with an L/360 deflection rating or better — that’s the threshold most tile standards reference, and travertine is less forgiving than porcelain when subfloor flex occurs at grout joints. On timber subfloor systems, you’ll typically need to add a decoupling membrane and verify that your combined tile-plus-setting-bed dead load stays within the joist span capacity.
According to NSI stone tile specifications, natural stone tile installed over deflecting substrates is one of the primary causes of premature cracking at grout joints. The fix isn’t always a thicker tile — it’s a stiffer substrate. Assess subfloor performance before selecting tile thickness, not after. A 1/2-inch travertine tile on a bouncy OSB subfloor will fail faster than a 3/8-inch tile on properly reinforced concrete.
Choosing the Right Sealant for Travertine Tile
The question of which sealant for travertine tile suits your installation comes down to porosity, finish type, and your maintenance tolerance. Travertine is a porous calcium carbonate stone with water absorption rates that can range from 2% to 8% depending on quarry origin and fill density. A penetrating impregnating sealer — not a topical coating — is the correct choice for interior floors in almost every scenario. Topical sealers build a film on the surface that traps moisture below, leading to haze and delamination over time.
Fluorocarbon-based impregnating sealers offer strong oil and water repellency without altering the tile’s natural appearance, which matters when you’ve paid for premium material. Apply your first coat on raw, clean travertine before grouting — this step gets skipped constantly in the field, and it prevents grout haze from bonding permanently to the porous face. A second coat after grouting locks in protection. Plan for reapplication every two to three years in high-traffic areas; bathroom floors may need attention annually depending on cleaning chemistry used. Selecting the right sealant for travertine tile before installation begins — not as an afterthought — is one of the most consequential decisions in the entire specification sequence.
- Penetrating impregnating sealers: correct choice for interior honed or filled travertine
- Topical sealers: avoid on floors — they trap moisture and degrade faster under foot traffic
- First sealer coat applied before grouting prevents permanent grout haze
- Fluorocarbon-based formulas provide dual oil-and-water repellency without changing surface appearance
- Reapply every 2–3 years on floors, annually in wet rooms with aggressive cleaning schedules
Reading Colour and Veining Across Multiple Lots
Travertine quarried from Middle East quarries — particularly those producing the warm ivory and walnut-toned varieties — exhibits natural veining that shifts in intensity between quarry cuts. You’ll find that a single species name like “Classic Ivory” can represent meaningfully different background hues depending on the quarry block and the cut depth. This isn’t a quality defect; it’s geological variation, and experienced specifiers plan for it rather than fight it.
Request calibrated samples from at least two different lot numbers before committing to your full order. Arrange those samples in the intended layout pattern — random, directional, or book-matched — and assess them under the actual lighting conditions of the space. Warm-toned travertine reads amber under incandescent light and shifts noticeably cooler under LED with a colour temperature above 4000K. That shift affects how the floor reads against cabinetry, wall colour, and fixed finishes. At Citadel Stone, we stage lot samples under multiple light sources before approving shipment, precisely because this detail determines whether the final installation reads the way the designer intended.
Installation Timing: Temperature Windows and Setting Bed Behaviour
Seasonal installation timing affects indoor travertine tile more than most installers acknowledge. Modified thinset adhesives — the standard setting bed for natural stone tile — have open times and cure windows that shift with ambient temperature. Below 50°F, most polymer-modified thinsets cure too slowly, producing joints that remain soft and vulnerable during the critical first 24 hours. Above 90°F in an unconditioned space, the same adhesive can skin over faster than you can back-butter and set a full tile, creating a bond-plane failure that doesn’t show up until the floor has been in service for six months.
For occupied buildings mid-renovation, the controlled interior environment removes most of these variables. In new construction without active HVAC, however, you’re working with the ambient temperature of the building envelope. Schedule stone tile installation after the building is fully dried in and climate-controlled if your project timeline allows. Morning installation sessions in unconditioned spaces during warmer months give you the coolest part of the day for setting — ambient temperatures typically rise 15–20°F between 7 a.m. and 2 p.m. in an enclosed structure, which meaningfully changes thinset open time. Plan your tile layout runs so the most complex cuts happen in the morning when conditions are most consistent.
- Optimal setting temperature: 65–75°F ambient for standard polymer-modified thinsets
- Below 50°F: extended cure times risk soft joints — delay installation or heat the space actively
- Above 85°F in unconditioned spaces: use extended open-time thinset formulas rated for high-heat conditions
- Always verify HVAC is operational and maintaining stable temperature before beginning large floor pours
- Allow thinset to cure a full 72 hours before grouting in cooler conditions — 24-hour minimum at 70°F
Layout Planning and Format Selection for Interior Floors
Your layout decision shapes the visual weight of the space more than the tile colour does. A 12×12-inch format reads as classic and works well in corridors, bathrooms, and square rooms where a running bond or offset pattern maintains visual rhythm. Larger formats — 16×24 or 24×24 — open up sightlines in open-plan living areas but demand flatter, more rigorous substrate prep because lippage becomes visible at the larger panel perimeter. The general field rule is that no two adjacent tiles should differ by more than 1/32 inch at the grout joint — achievable in 12-inch formats without extra substrate work, more demanding in larger formats.
For indoor travertine tile in high-use rooms, a 12-inch square format also makes spot replacement practical. Individual tiles can be removed and replaced without disturbing the surrounding field, which matters in commercial-adjacent residential projects with heavy daily use. You can explore our interior travertine tile selection if you’re working within that 12-inch specification and need consistent lot availability. Confirm warehouse stock before finalising your project timeline — popular ivory and walnut tones move quickly and lot-matching replacement tile six months after initial installation is a real-world challenge.
Grout Joint Width and Material Compatibility
The grout joint specification for indoor travertine tile sits at a tighter tolerance than concrete or ceramic work. A 1/16-inch joint is achievable with precision-calibrated tiles but leaves no room for layout error accumulation across a large floor. A 3/32-inch to 1/8-inch joint is more forgiving and still reads as fine on honed travertine. Wider joints — 3/16 inch or more — look disproportionate against the tight veining of premium travertine and tend to collect debris faster than narrower options.
Unsanded grout is the correct choice for joints under 1/8 inch — the sand particles in sanded grout scratch polished and honed travertine faces during application and tooling. For joints at 1/8 inch and above, a fine-sanded grout works, but test your grout colour against the sealed tile surface before committing to a full bag. Travertine’s warm undertones can make cool grey grouts read colder than expected, particularly under natural light. According to TCNA installation standards for natural stone tile, joint width and grout type must be matched to tile calibration tolerances — it’s a specification decision, not a cosmetic one.
Long-Term Maintenance and Performance Expectations
Indoor travertine tile maintained correctly delivers decades of service life with a surface that actually improves in character as the stone develops a natural patina. The maintenance protocol is simpler than most homeowners expect: pH-neutral cleaner, no vinegar, no citrus-based products, and no steam mops directly on sealed stone. Acidic cleaners etch calcium carbonate surfaces, dissolving the crystalline structure and creating dull patches that require professional re-honing to correct.
Citadel Stone’s technical team consistently advises clients to establish a maintenance log from day one — recording the initial sealer product, application date, and reapplication schedule. That documentation protects the stone’s appearance over multi-year ownership and makes eventual resale easier to support. The ASTM stone tile testing standards that govern absorption and surface durability ratings provide the baseline against which real-world performance is measured, and travertine consistently performs within specification when sealing is maintained on schedule.
- Use only pH-neutral stone cleaners — never acidic products including vinegar or citrus
- Avoid steam mops directly on sealed travertine — sustained heat can compromise sealer integrity
- Wipe spills immediately — even sealed travertine is not fully acid-proof against prolonged contact
- Inspect grout joints annually for cracking or shrinkage — early repair prevents moisture ingress
- Professional re-honing restores etched or scratched honed surfaces — budget for this every 8–10 years in high-use areas
Getting Your Indoor Travertine Tile Specification Right
Getting indoor travertine tile right comes down to sequencing your decisions correctly: finish and grade first, then subfloor assessment, then sealing protocol, then installation timing relative to building conditions. Each decision constrains the next, which is why specifiers who approach travertine as a straightforward tile choice often encounter avoidable problems mid-project. The material rewards careful specification and penalises shortcuts — not dramatically, but consistently over time.
As you move toward finalising your material order, confirm lot availability with your supplier before locking in project timelines. Travertine tile is not an off-the-shelf commodity in consistent lots — warehouse inventory fluctuates with quarry production cycles, and securing matched material early is the practical move on any floor over 300 square feet. For a closer look at sizing options within the 12-inch format and what specification details to confirm before ordering, our 12×12 travertine tile guide covers the technical depth worth reviewing before you commit. Travertine tile from Citadel Stone suits interior floors with honed surfaces selected for lower slip in daily use.
Related reading: Travertine Tile Shower Installation: Waterproofing Guide · 7 Travertine Tile Backsplash Ideas and How to Install One · travertine gray tile.