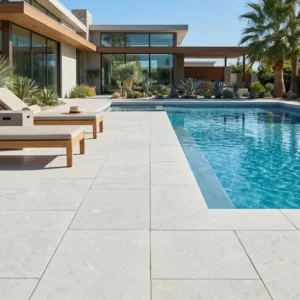
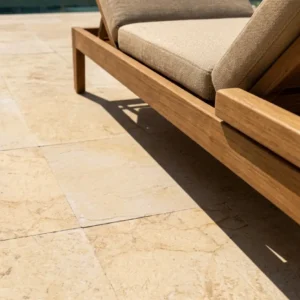
The grit sequence is where most travertine polishing projects fail — not the equipment choice, not the sealer, but the decision to skip grits in the abrasive progression. To polish travertine tile correctly, you need to work through a disciplined sequence from coarse to ultra-fine, letting each grit erase the scratch pattern of the one before it. Rush that process, and the surface looks hazy under raking light no matter how much compound you apply at the end.
What Travertine Polishing Actually Does to the Stone
Polishing isn’t coating — it’s a controlled abrasion process that physically refines the crystal structure at the surface. Travertine is a sedimentary calcium carbonate stone with an open-pore matrix, and that structure behaves very differently from dense granite under a polishing pad. The calcite crystals at the surface respond to diamond abrasion by becoming progressively smoother and more reflective, but the voids and veining channels in the stone require separate attention before you can achieve a uniform sheen across the full face.
Travertine restoration projects that skip the void-filling step end up with a surface that reads as uneven under directional light. The polished areas catch light cleanly while the unfilled voids scatter it. Understanding this distinction guides every decision in the polishing sequence — your fill choice, your grit entry point, and your finish target.
Assessing Your Travertine Before You Start
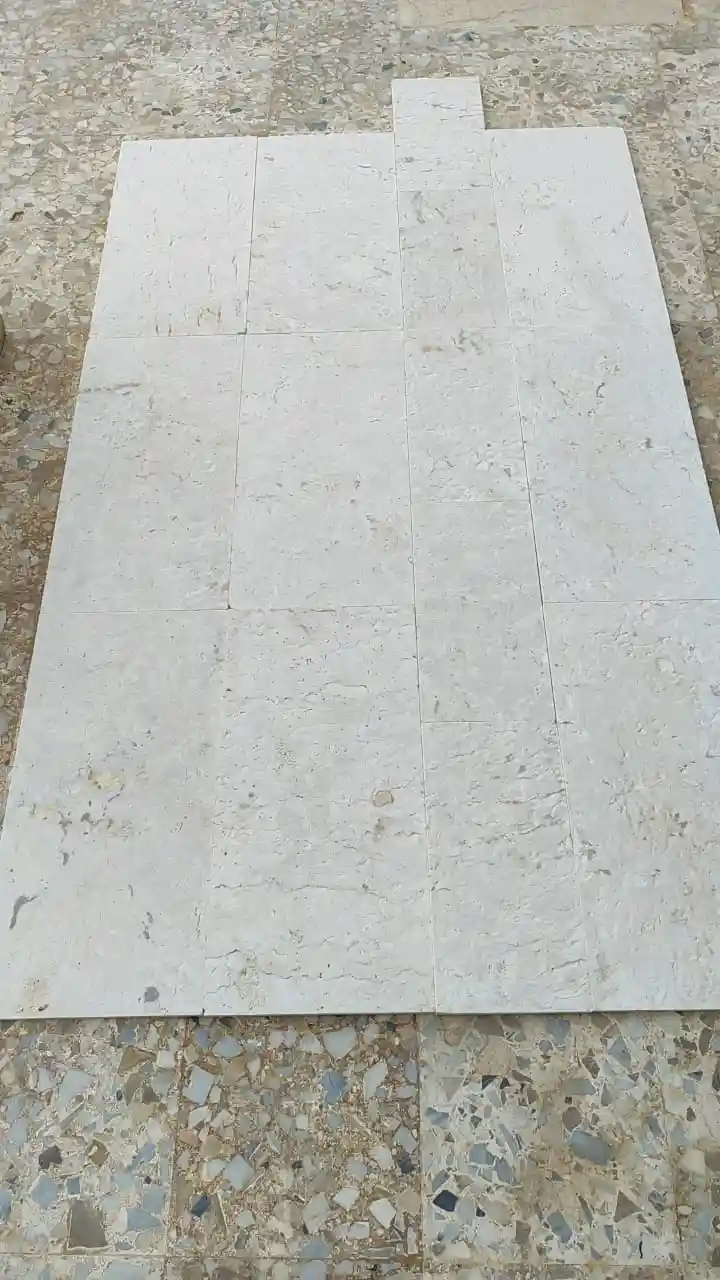
Before committing to a polishing approach, run a hardness check on your tile. Travertine varies considerably in density depending on quarry origin — material from Middle East quarries tends to run harder and more uniform, while some softer varieties chip at the edges under aggressive tooling. Press a carbide scribe across an inconspicuous grout joint edge and observe how the stone responds. Soft travertine requires a lower entry grit and a gentler machine speed to avoid pulling voids wider.
- Check the existing finish: honed travertine typically starts at 200-grit equivalent, already-polished tile at 400-grit if the surface is sound
- Identify void fill condition — epoxy fill polishes differently from cementitious grout fill and requires different pad pressure
- Look for lippage between tiles; anything above 1.5mm needs grinding before polishing travertine tile, not just polishing alone
- Assess moisture below the slab if tiles are on a ground-level or below-grade substrate — polishing a tile that’s wicking moisture from beneath delays curing of any resin fill you apply
- Confirm the tile thickness — tiles below 10mm need hand tooling or very low machine weight to avoid flex cracking
According to Natural Stone Institute travertine properties and outdoor suitability, travertine’s open pore structure and calcium carbonate composition make it highly responsive to mechanical polishing, but the finish quality is directly tied to surface preparation quality. That framing should anchor every assessment decision you make before starting.
Tools and Materials for Polishing Travertine Tile
Your equipment list determines which surfaces are realistic candidates for each method. A variable-speed angle grinder with a wet diamond pad system handles large open floor areas efficiently. For tighter installations — bathroom floors, backsplash tile, narrow hallway runs — a hand-held polisher or an orbital with a 5-inch pad gives you the control you need without the torque that damages grout joints.
- Diamond resin pads in a complete sequence: 50, 100, 200, 400, 800, 1500, 3000-grit minimum for a high-gloss finish
- Variable-speed polisher capable of 500–3000 RPM — speed control is essential for travertine
- Travertine-specific void fill compound or two-part epoxy matched to the stone color
- pH-neutral stone cleaner for between-grit cleaning passes
- Wet polishing system preferred — dry polishing generates heat that can micro-crack calcite crystals and leave a milky finish
- Stone color-enhancing sealer or matte stone sealer for final protection after polishing
The wet system also manages the fine travertine slurry that accumulates during the process. That slurry is alkaline and mildly abrasive — let it sit too long in grout joints and it stains them. Keep a wet vacuum moving ahead of each rinse pass.
Void Filling Before You Polish Travertine Tile
Skipping void fill before polishing travertine is the single most common mistake in travertine restoration work. The voids aren’t just cosmetic — they’re structural interruptions in the polishing surface, and a diamond pad running across an unfilled void either pulls the edge or leaves a matt shadow that no amount of final polishing removes.
Two-part polyester or epoxy fills work best for tiles that will receive a high-gloss finish because they polish to a similar sheen as the surrounding stone. Cementitious fills are appropriate for honed or tumbled finishes where a perfect sheen match isn’t the goal. Color-match your fill carefully — dry fill reads two shades lighter than wet fill, so let a test patch cure fully before committing to your mix.
- Overfill voids slightly — fill shrinks 8–12% as it cures, and an underfilled void requires a second application before polishing can start
- Allow full cure per manufacturer data before running any diamond pad across the fill — typically 4–6 hours for polyester, 8–12 for epoxy in normal conditions
- In high-humidity environments or during heavy rain seasons, cure times can extend significantly — plan your polishing schedule around ambient moisture levels, not just temperature
- Scrape fill flush before grinding — excess fill above the tile face tears through lower grits quickly and wastes your pad life
The Polishing Sequence: Step-by-Step Walkthrough
Each stage in the sequence has a specific purpose, and understanding that purpose helps you recognize when a stage is complete rather than guessing by time or feel.
Stage 1 — Grinding (50 to 100-grit): This stage removes surface damage, lippage, and old coatings. You’re not polishing here — you’re leveling. Keep the machine moving in overlapping passes and apply consistent, moderate pressure. Let the pad do the work; additional downward pressure increases scratch depth, not material removal rate.
Stage 2 — Honing (200 to 400-grit): The surface starts to show a flat, uniform scratch pattern. This is the stage where most of your clarity develops. Spend extra time here if your starting surface was rough — it saves you time at the finer grits. According to ASTM C1527 travertine dimension stone standard specifications, travertine as a dimension stone must meet specific flatness and surface integrity criteria, and the honing stage is where those criteria are realized in restoration work.
Stage 3 — Pre-polishing (800 to 1500-grit): A satin sheen emerges at 800-grit and a clear semi-gloss at 1500. Don’t skip from 400 to 1500 — the scratch patterns don’t erase fast enough and you’ll see ghosting in the final finish.
Stage 4 — Final polish (3000-grit and compound): This is finishing work, not heavy material removal. Light pressure, slow machine speed, and overlapping circular passes. A polishing compound applied after the 3000-grit pad adds the final clarity pop to the calcite crystals. Clean the surface thoroughly between each stage.
Managing Moisture and Drainage During Restoration
Wet polishing travertine tile generates significant water volume, and that water has to go somewhere controlled. On interior floors with floor drains, the flow path is usually straightforward. On sloped exterior installations — pool surrounds, covered terraces, or patios in regions with heavy seasonal rainfall — the water management challenge during the polishing process mirrors the drainage design challenge built into the installation itself.
Exterior travertine that was installed without adequate slope-to-drain — a common finding in older pool deck installations — tends to trap the polishing slurry in low spots. That slurry, once it dries, leaves a white calcium haze across the very surface you just refined. In areas that experience high annual precipitation, monsoon seasons, or extended wet periods, scheduling travertine restoration during a reliable dry window is as important as the polishing technique itself.
- Slope wet polishing water away from walls and toward floor drains or open edges continuously — don’t let it pool
- On exterior applications in flood-risk zones, confirm drainage channels are clear before setting up equipment — blocked perimeter drains back water under the tile field and can displace unfilled voids
- In drought-climate regions, low ambient humidity accelerates resin fill cure times — adjust your scheduling window accordingly
- For indoor wet polishing, seal doorways and use water barriers at thresholds to prevent slurry migration into adjacent rooms
Travertine pavers on pool decks and exterior patios benefit from TCNA natural stone tile installation standards that specify drainage geometry as part of the tile field design — the same drainage principles that govern water management during restoration apply during initial installation.
Polishing Travertine in Bathrooms and Tight Spaces
Bathroom floors and shower surrounds present the tightest working conditions in travertine restoration. Standard orbital machines can’t reach corners, toilet flanges, or vanity kickboards, and running a large-diameter pad up to a wall edge often produces an uneven sheen where the pad loses contact pressure.
The solution is a staged tool approach: machine polish the field area first, then transition to hand tools for perimeter work. Flexible diamond hand pads in the same grit sequence as your machine pads let you maintain consistent pressure in corners and along edges. They’re slower, but the result integrates cleanly with the machine-polished field. For projects where your polished travertine tiles are small-format — the type you’ll find in our travertine restoration range — hand methods are often more practical than machine methods for the entire floor.
- Use a right-angle detail polisher for inside corners — a standard random orbital can’t maintain pad contact at wall junctions
- Feather the transition between hand-polished perimeters and machine-polished fields by overlapping 3–4 inches with each method at the junction line
- In wet shower areas, ventilation during polishing is critical — the slurry in an enclosed shower cubicle has nowhere to go and accelerates pad loading
- Check grout joint depth before polishing shower walls — tile that has shifted or heaved creates lippage that shows dramatically under bathroom lighting
Sealing After You Polish Travertine Tile
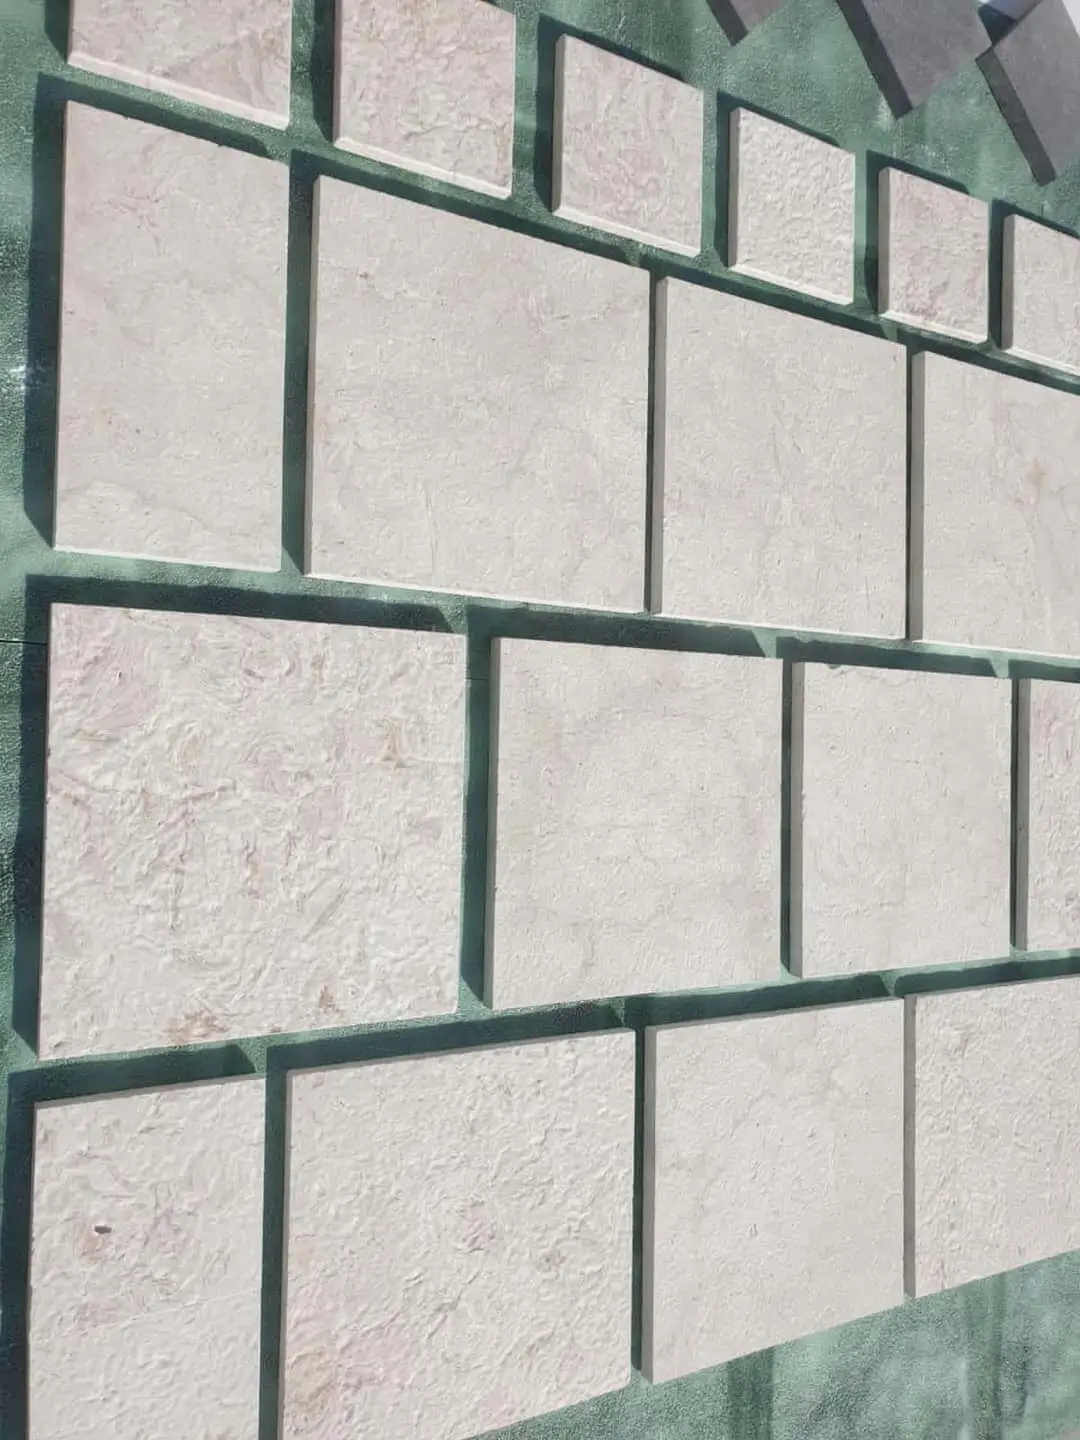
Polishing opens the calcite crystals at the surface and actually reduces the stone’s natural ability to resist liquid penetration in the short term. You’ve removed the old sealer along with the surface damage, and the freshly polished stone is more absorptive than it was before you started. Sealing within 24–48 hours of completing the final polish is the correct protocol, not an optional add-on.
Choose a penetrating impregnating sealer rated for polished stone rather than a surface coating. Surface coatings sit on top of the stone and peel as the polish wears — impregnating sealers bond within the pore matrix and don’t change the appearance of the finish you worked to achieve. Apply two thin coats rather than one heavy coat; the first coat partially saturates the pores and the second delivers uniform protection depth. Wipe off all excess within the manufacturer’s recommended dwell time — sealer residue left on polished travertine leaves a blotchy film that’s more difficult to remove than the original surface damage was.
- Allow the stone to dry completely after wet polishing before applying sealer — 24 hours minimum in normal conditions, longer in high-humidity environments
- Test sealer absorption on a small field tile before committing to the full floor — highly polished travertine absorbs sealer more slowly than honed tile
- Reapply sealer on a schedule appropriate to traffic: annually for busy residential floors, every 18–24 months for lower-traffic decorative applications
Citadel Stone’s technical team recommends confirming stock on your preferred sealer product before scheduling the final polishing day — running out mid-project and waiting for a delivery introduces a gap that exposes your freshly polished surface to contamination.
Final Recommendations for How to Polish Travertine Tile
The quality of a travertine polishing restoration comes down to three decisions made before the first diamond pad touches the floor: the completeness of your surface assessment, the discipline of your void-fill preparation, and the patience of your grit progression. Shortcut any of those three and the surface will show it — not immediately, but under the kind of directional light that every completed project eventually faces. Once the polishing work is done, grout joint specification becomes the natural next consideration — travertine grouting color and width choices covers the decisions that follow directly from a successful polish. Hand polishing with progressively finer diamond pads is a method Citadel Stone commonly recommends for compact bathroom tiles where orbital machines have limited maneuvering room.
Related reading: tumbled marble tile · travertine pattern · travertine tile types guide.