Why Pattern Scale Drives Every Layout Decision
Small travertine tile patterns force a discipline that larger-format work doesn’t — every grout line, every directional shift, and every cut at the perimeter compounds across hundreds of repetitions. The pattern you choose at the planning stage determines not just the aesthetic outcome but the structural performance of the installation, particularly when tiles run 4×4 or 6×6 inches and grout joints become the primary mechanism for managing thermal movement. The interaction between tile calibration, mortar bed depth, and joint spacing is more consequential at small scales than most layout guides acknowledge.
Understanding Small Travertine Tile Pattern Families
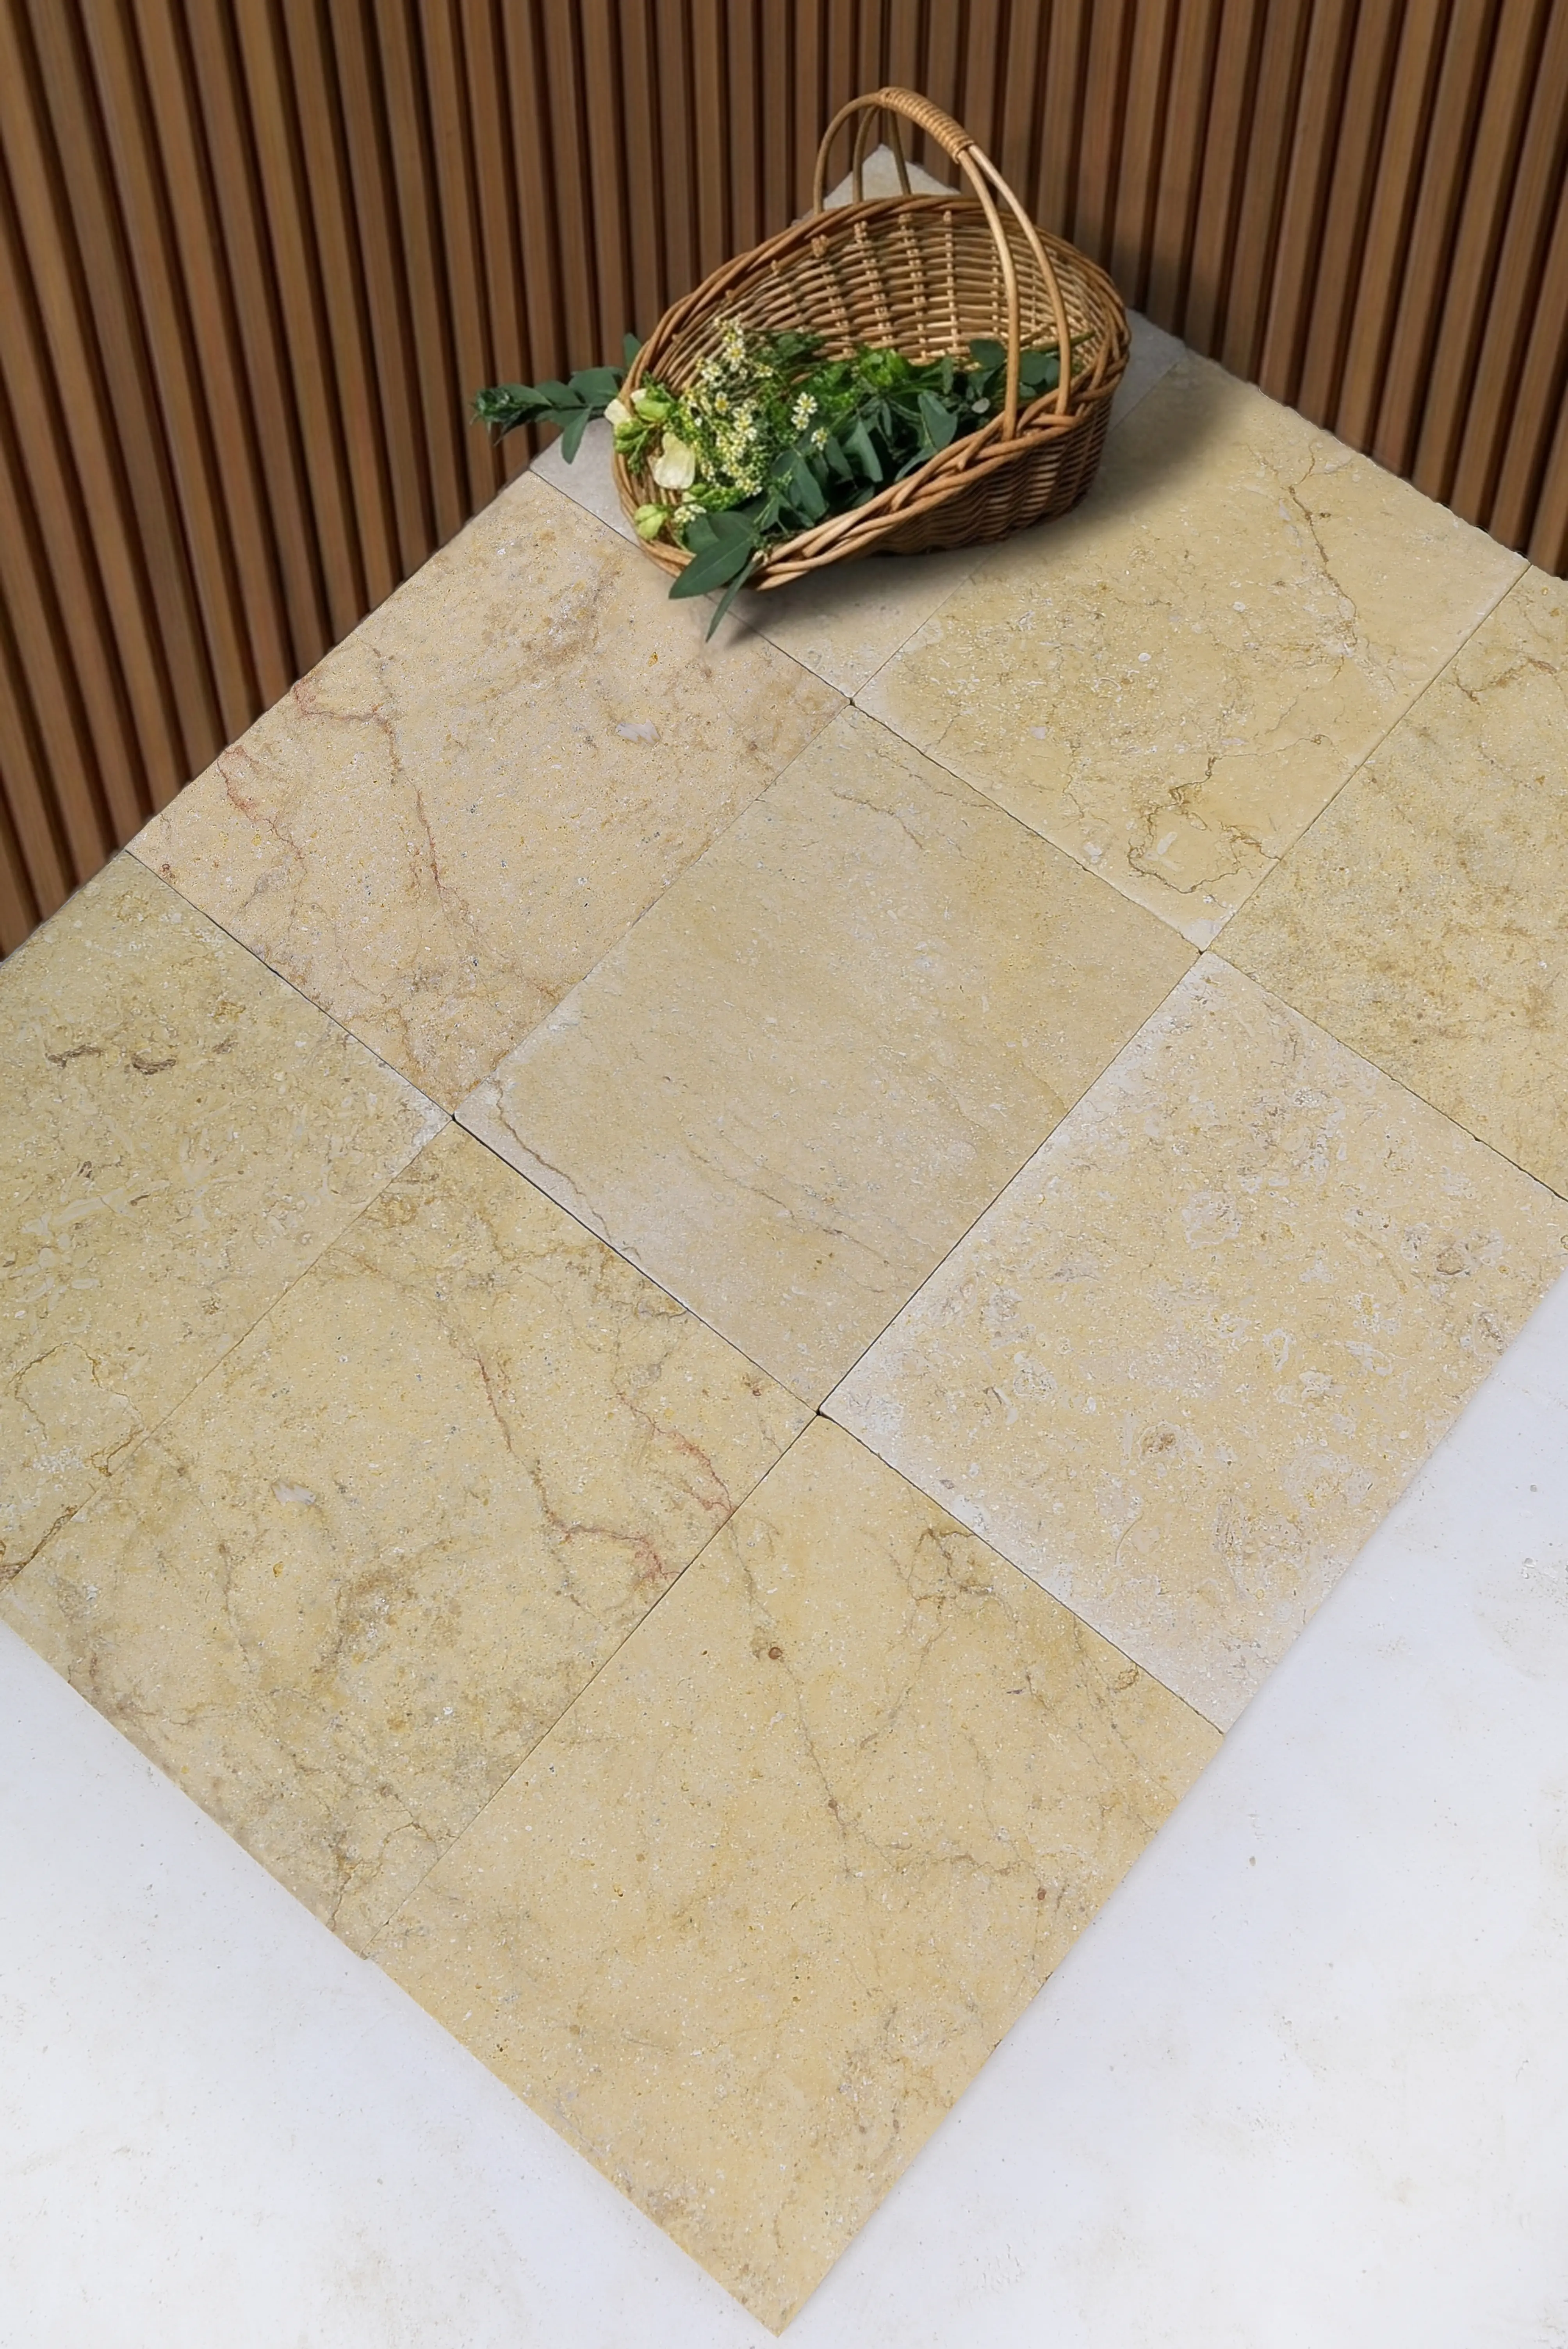
Small travertine tile patterns divide cleanly into three structural families: linear, rotational, and modular multi-size. Linear patterns — straight-set grid, brick offset, and travertine herringbone tile — create directional movement across a surface. Rotational patterns like diagonal and windmill derive visual complexity from a single tile size turned at an angle. Modular multi-size patterns, including Versailles and Roman, combine two to four different tile dimensions into a repeating module that requires precise calibration between pieces to avoid accumulated lippage.
Your pattern choice should be a functional specification, not just an aesthetic preference. A Natural Stone Institute ASTM tile stone specification framework confirms that tile thickness variation within a production batch becomes visually amplified in repeating geometric patterns — something you’ll notice immediately in herringbone and Versailles layouts where opposing tile edges meet at acute angles. Selecting calibrated travertine with a tolerance of ±0.5 mm across a batch is the baseline requirement for any multi-directional small travertine tile pattern layout.
Travertine Herringbone Tile: Layout Planning Specifics
Travertine herringbone tile is the pattern where planning errors surface fastest. The 45-degree offset between alternating tile runs means that a misaligned starting point propagates a cumulative drift that becomes visible about four feet from the origin. Reference lines need to be set before any tile is placed, and the intersection of those lines must be verified with a 3-4-5 triangle check — not assumed from room geometry, which is almost never perfectly square.
Consider how your room dimensions interact with the herringbone module. A standard 3×6-inch travertine piece in herringbone produces a visible “tooth” width of approximately 4.24 inches measured perpendicular to the run direction. Working backward from your wall-to-wall dimension before cutting a single tile tells you whether you land on a full tooth, a half tooth, or an awkward sliver at the perimeter — and that calculation is the difference between a professional-looking border and a compromised edge condition.
- Set perpendicular snap lines from the room’s visual center, not from walls
- Dry-lay the full herringbone module — minimum 8-10 tiles — before committing to adhesive
- Calculate the perimeter cut width in both axes independently; they won’t match
- Account for a minimum 1/8-inch grout joint in your module spacing calculation
- Verify that your travertine batch is calibrated to within ±0.5 mm before starting
Roman Pattern Layout and Grid Construction
The travertine roman pattern typically combines three tile sizes — commonly 16×16, 16×8, and 8×8 inches at standard scale, but at small format this translates to proportional equivalents like 6×6, 6×3, and 3×3 inches. The critical discipline in roman pattern planning is constructing the module grid before site work begins. Each module repeats both horizontally and vertically, and the module dimensions must divide evenly into your field dimensions or you’ll be forced into asymmetric cuts at opposing perimeters.
Your module grid should be drawn at scale on a dimensioned plan of the actual installation area. Mark the module repeat distances, identify where full modules fit, and calculate the cut widths at each perimeter wall independently. For projects using Small Travertine Tiles, tight calibration across the three size components is essential — even a 1mm variance in the smallest tile size accumulates across a travertine roman pattern module into visible misalignment at the module boundary.
Straight-Set and Offset Grid Considerations
The straight-set grid and its brick-offset variation remain the most forgiving small travertine tile patterns for first-time specifiers — but “forgiving” doesn’t mean consequence-free. Straight-set exposes tile calibration problems most directly because every grout joint is meant to be continuous across the full field. A 2mm size variation in a batch of 4×4-inch tiles creates a grout joint that narrows and widens visibly across rows, which reads as installer error even when it originates in the material.
Brick offset at 33% (not the common 50%) distributes the joint stagger more evenly and reduces the optical effect of minor size variation. According to TCNA natural stone tile installation guidance, a 33% offset is the recommended maximum for tiles with a length-to-width ratio greater than 2:1 — a specification that applies directly to 3×6-inch small format travertine pieces. Running a 50% offset on these proportions creates a “stacking” effect that amplifies any lippage between adjacent tiles.
Base Preparation, Load Requirements, and Code Considerations
Small travertine tile patterns place concentrated stress at mortar bed interfaces precisely because the individual tile footprint is limited. Your mortar bed specification needs to account for the deflection characteristics of the substrate — a concrete slab with L/360 deflection rating handles small format travertine reliably, but wood subfloor assemblies need to meet or exceed L/720 before you specify any natural stone tile pattern, per standard industry practice.
Building codes in many jurisdictions specify minimum base depths and edge restraint requirements for tile installations in commercial and high-traffic residential applications, and these requirements don’t relax simply because you’re working at small tile scale. In seismic zones, ANSI A108 and related standards require movement joints at all changes of plane, at all perimeter conditions, and at maximum 20-25 foot intervals in the field — intervals that interact directly with your pattern layout grid. Your pattern planning should flag movement joint locations before the layout grid is finalized, because a movement joint bisecting a roman pattern module mid-repeat is an installation problem you can’t fix once the mortar cures.
- Confirm substrate deflection rating meets L/720 minimum for natural stone on wood assemblies
- Locate movement joints at all perimeter conditions and plane changes per ANSI A108
- In freeze-thaw climates, specify a mortar bed depth that accommodates frost-cycle movement without fracturing grout joints
- Seismic design categories C through F require movement accommodation at all structural interfaces — plan these into your pattern grid early
- Edge restraint systems for exterior small-format travertine patterns must be set below frost line depth where applicable
At Citadel Stone, our technical team reviews substrate and code specifications with customers before orders are confirmed — the pattern layout and the base design need to be coordinated, and mismatches between tile size, mortar bed depth, and movement joint spacing are the most common source of early installation failure we see.
Ordering Quantities and Warehouse Logistics
Your pattern choice directly affects the overage percentage you need to order. Straight-set grid installations typically require 10% overage for cuts and waste. Diagonal layouts and travertine herringbone tile jump to 15% because of the angled perimeter cuts — you’re generating substantially more waste at boundaries. The Versailles and roman pattern layouts with three tile sizes complicate ordering further because you’re calculating overage independently for each size component.
Citadel Stone maintains warehouse stock of small travertine tile patterns across multiple size ranges, which typically keeps lead times to one to two weeks rather than the six-to-eight week import cycle that applies to special-order batches. The practical consequence for your project schedule is that warehouse-stocked material can be pulled and confirmed for batch consistency before you finalize your layout grid — a step that matters significantly for multi-size pattern work where calibration consistency across the batch determines whether your roman pattern joints stay true across the full field. Confirm warehouse availability for your full quantity before locking in a project start date.
Finish Selection and Grout Joint Performance
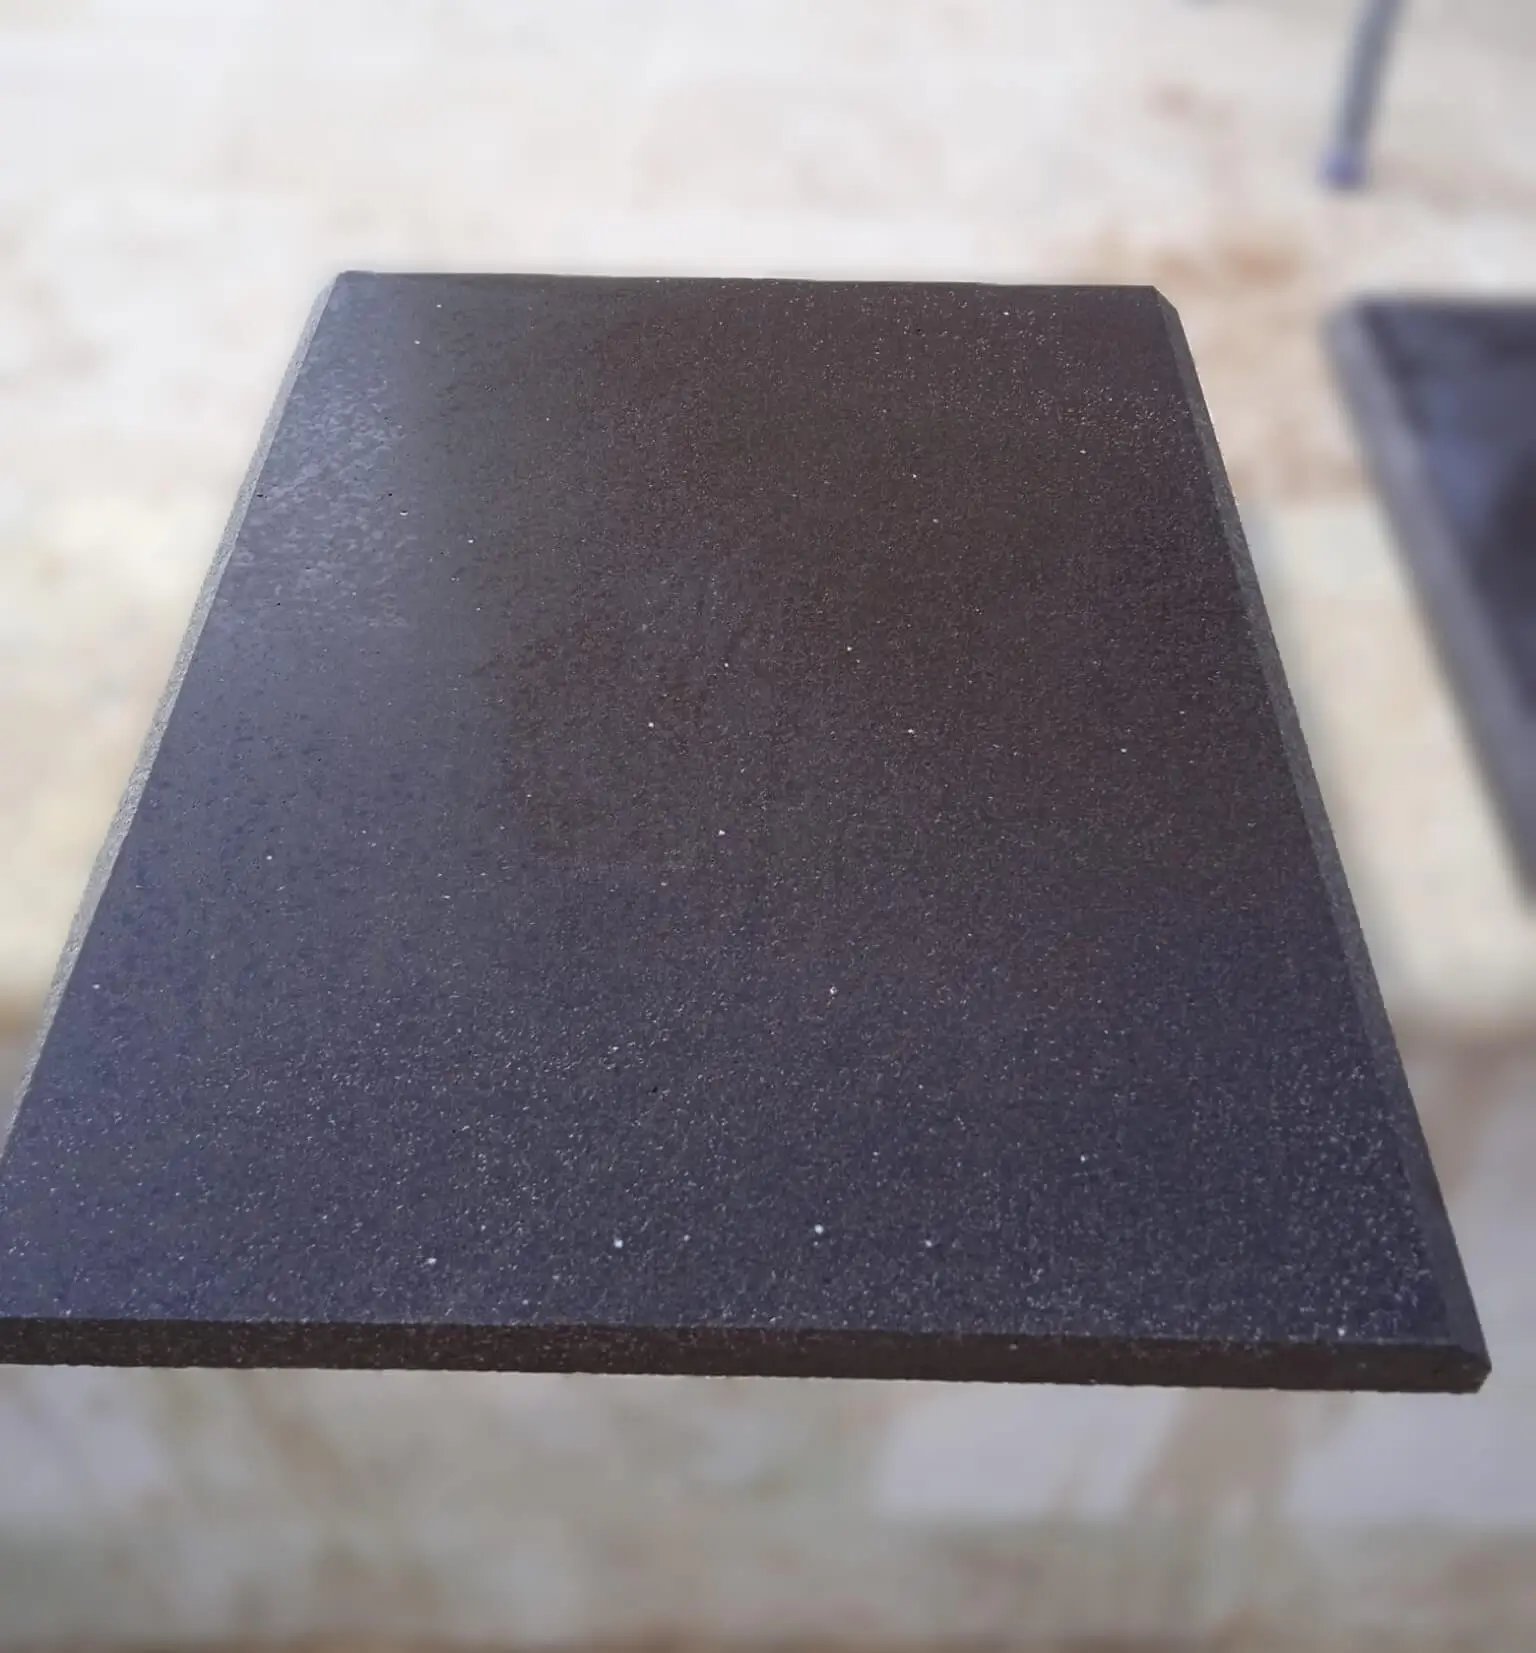
The finish you specify for small travertine tile patterns affects both the visual outcome and the maintenance burden in ways that interact with pattern geometry. Honed travertine in a herringbone or diagonal layout emphasizes the directional geometry cleanly — the matte surface reads the pattern without distracting reflections. Polished small-format travertine in a straight-set grid amplifies any lippage because light rakes across the surface at low angles and catches every height differential between adjacent tiles.
Tumbled finishes perform well in small pattern work precisely because the softened edges and irregular surface texture absorb minor height variation without making it obvious — a practical advantage in herringbone and diagonal layouts where angled joints meet. The open-pore structure typical of tumbled travertine does require a penetrating sealer applied before grouting, then again after, to prevent permanent grout haze absorption into the stone face. ASTM C1527 travertine dimension stone specifications define absorption and density parameters that inform your sealer selection — higher-absorption material needs a denser sealer formulation, not just more coats.
- Honed finishes: best optical read of geometric pattern, highest slip resistance in wet applications
- Polished finishes: amplify lippage in small format — reserve for controlled interior environments with verified calibration
- Tumbled finishes: most forgiving of minor calibration variation, require two-stage sealing protocol
- Brushed finishes: midpoint between honed and tumbled, good performance in herringbone and diagonal patterns
Expert Summary
Getting small travertine tile patterns right comes down to decisions made before a single tile touches mortar — the pattern family, the layout grid, the movement joint locations, and the batch calibration verification. Your herringbone and roman pattern choices each carry specific planning requirements that don’t reduce to generic installation advice: travertine herringbone tile demands perpendicular reference lines verified before layout begins, roman patterns require module grids drawn against actual field dimensions, and both depend on tile calibration tolerances that should be confirmed from the warehouse stock rather than assumed from the specification sheet.
The structural layer — base depth, deflection rating, seismic movement joints, and frost-line edge restraint in applicable climates — needs to be integrated into the pattern grid, not bolted on afterward. A movement joint that bisects a Versailles module mid-repeat is a planning failure, not an installation challenge, and avoiding it requires coordinating the code requirements with the layout geometry at the planning stage. For related natural stone material decisions, tumbled marble versus travertine tile differences is worth reviewing when you’re weighing finish and material options alongside your pattern selection. Pattern planning with Citadel Stone travertine mosaic pieces works best when tile calibration is tight, reducing lippage across the Versailles and herringbone sections.