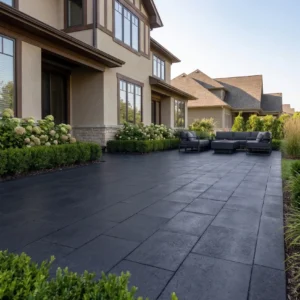
What the Base Decides Before You Lay a Single Stone
Most stone step failures start six inches below the surface, not at it — and knowing how to lay stone steps correctly means understanding that the decision determining whether your steps stay level for two decades or start rocking after the first winter is the compaction and depth of your aggregate base. That calculation changes the moment your site involves any meaningful grade change. Elevation shifts, even gentle ones of 8–12 inches across a run of steps, alter how lateral soil pressure loads the base material, and that’s something flat-site installation guides simply don’t account for.
Your base depth should be a minimum of 6 inches of compacted crusher run for residential step installations, but push that to 8–10 inches on any sloped or hillside site where drainage runs parallel to the step axis. According to NSI stone steps and treads design specifications, proper substrate preparation directly affects long-term structural performance of natural stone treads. Don’t treat this as a suggestion — it’s the detail that separates a 25-year installation from an 8-year correction project.
Choosing the Right Stone for Your Steps
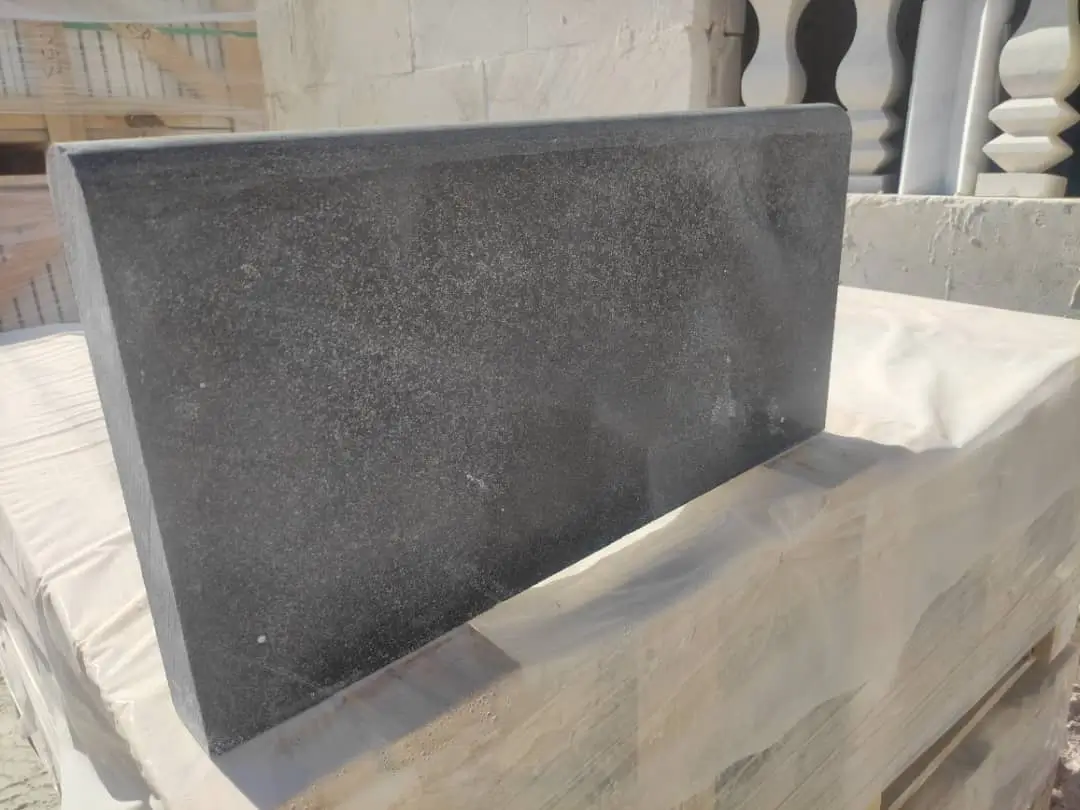
Natural stone step material selection comes down to three performance factors: compressive strength, surface texture after finishing, and dimensional consistency. You need compressive strength above 8,000 PSI for exterior steps bearing regular foot traffic — limestone, bluestone, and granite all clear that threshold comfortably, but their surface behavior under wet conditions and their thermal characteristics differ enough to matter in your selection.
Limestone is the workhorse choice for how to lay stone steps in residential and commercial settings alike. Its natural surface texture — particularly in a sawn or thermal finish — delivers a static coefficient of friction well above 0.6, which aligns with ADA accessibility surface and slip resistance requirements for stone steps. Granite offers superior hardness and is the better call for high-traffic commercial applications where abrasion resistance matters. Bluestone sits in the middle — excellent slip resistance, highly consistent sawn dimensions, and a refined appearance that works well where aesthetics carry equal weight to performance.
- Limestone: natural anti-slip texture, consistent bearing surface, excellent for residential and mid-range commercial steps
- Bluestone: high dimensional consistency, superior aesthetic, strong frost performance in freeze-thaw regions
- Granite: maximum compressive strength, best abrasion resistance for heavy-traffic applications
- Avoid polished finishes entirely on exterior treads — they reduce wet COF below safe thresholds regardless of stone type
Getting Your Rise and Run Right
The geometry of stone steps is non-negotiable. The standard comfortable exterior step uses a 6-inch rise and a 12-inch run — but the real-world range you’ll work with is a 4–7 inch rise and 11–14 inch tread depth. Staying within that envelope keeps the rhythm of ascent natural and prevents users from having to adjust their gait mid-flight, which is where trip hazards originate.
Your total elevation change dictates how many steps you need, and you should calculate that before you excavate anything. Divide your total rise by your intended individual rise height — if you get a fraction, adjust the rise per step slightly rather than having one odd step at the top or bottom. Unequal steps are a code violation in most jurisdictions and a genuine safety hazard. Mark your string lines for both horizontal position and finished tread height before any base material goes in.
- Minimum tread overhang (nosing) of 1 to 1.5 inches adds visual definition and improves footing at the step edge
- Pitch each tread 1/8 inch per foot toward the front for positive drainage — never leave treads level, as water pools in surface imperfections and accelerates freeze-thaw damage
- For long runs of more than 5 steps, build landings at every 4–5 step interval — this is both a safety standard and a structural break point that simplifies base construction on sloped terrain
Excavation and Base Preparation
Excavate to at least 8 inches below your finished tread surface — 10 inches on any hillside or sloped installation where the ground falls away behind the step run. The extra depth on graded sites isn’t caution, it’s engineering: when water flows downhill through your base material rather than draining straight down, a shallower base loses its compaction over time as fines migrate out.
Your layer sequence matters as much as your total depth. Start with 4–6 inches of crushed stone (3/4-inch minus works well) as your drainage layer, then add 2–3 inches of coarse concrete sand as your setting bed. Compact the crushed stone in two lifts — never try to compact more than 4 inches in a single pass, as the energy doesn’t transmit deeply enough to be effective. Use a plate compactor, not a hand tamper, for anything beyond a one-step installation.
On sites with significant elevation change, install a perforated drain pipe at the back of the excavation before filling. This intercepts water migrating downhill through the soil profile and directs it away from your base, which is the single most effective long-term drainage protection available at the installation stage. For anyone looking to build stone steps on a sloped site, this drainage step is the one most often skipped — and the one most often regretted.
How to Lay Stone Steps: The Setting Sequence
Setting natural stone steps requires working from the bottom up — always. The lowest step’s base locks the geometry for every step above it, so spend extra time getting that first tread perfectly level side-to-side and properly pitched front-to-back before moving on.
Screed your sand setting bed to a consistent 1.5-inch depth across the full footprint of each tread. Use a dry or semi-dry mortar mix (3:1 sand-to-cement ratio) rather than pure sand if you’re working with large-format treads over 18 inches deep, as the mortar bed gives better control of the final bearing plane and reduces tread movement in the early settling period. For our pre-cut stone treads, a mortar setting bed is the recommended approach because the consistent factory thickness means the bed depth calibrates the finished height precisely.
- Dry-fit every tread before final setting — check for rock (instability), verify pitch, and confirm overhang consistency
- Butter the back edge of each tread with mortar before final placement to prevent the gap that typically opens between the riser face and the tread back over time
- Tap each tread with a rubber mallet after placing to fully seat it in the setting bed — listen for hollow spots, which indicate insufficient bed contact
- Check level and pitch after each tap sequence — once the mortar begins initial set (typically 30 minutes in normal conditions), adjustments become destructive
Managing Elevation and Grade Across Your Step Run
Hillside and sloped-site step installations introduce variables that flat-ground guides consistently underestimate. The primary challenge isn’t the height of each individual step — it’s controlling how the grade on either side of the step run interacts with your base drainage and your riser structure. On a hillside, the soil behind each riser is at a different elevation than the soil in front, creating differential loading that works against your mortar joints over time.
Address this by installing each riser on its own compacted pad rather than relying on the tread above to support it. A 4-inch concrete pad under each riser face, tied back into the base with compacted backfill, distributes that differential load correctly. This detail adds an hour per riser to your installation time but eliminates the riser-separation failure mode that accounts for a significant share of stone step repairs on graded sites.
On installations where the surrounding grade falls more than 18 inches away from the step edges, retain that adjacent soil with a low wall or compacted fill before beginning step construction. Unsupported fill beside a step run slowly migrates toward the open edge, carrying your base material with it. According to ASTM natural stone compressive strength and flexural standards for steps, the structural integrity of stone treads is only as reliable as the substrate supporting them — and an eroding side grade is a substrate failure in slow motion.
Jointing, Pointing, and Surface Finishing
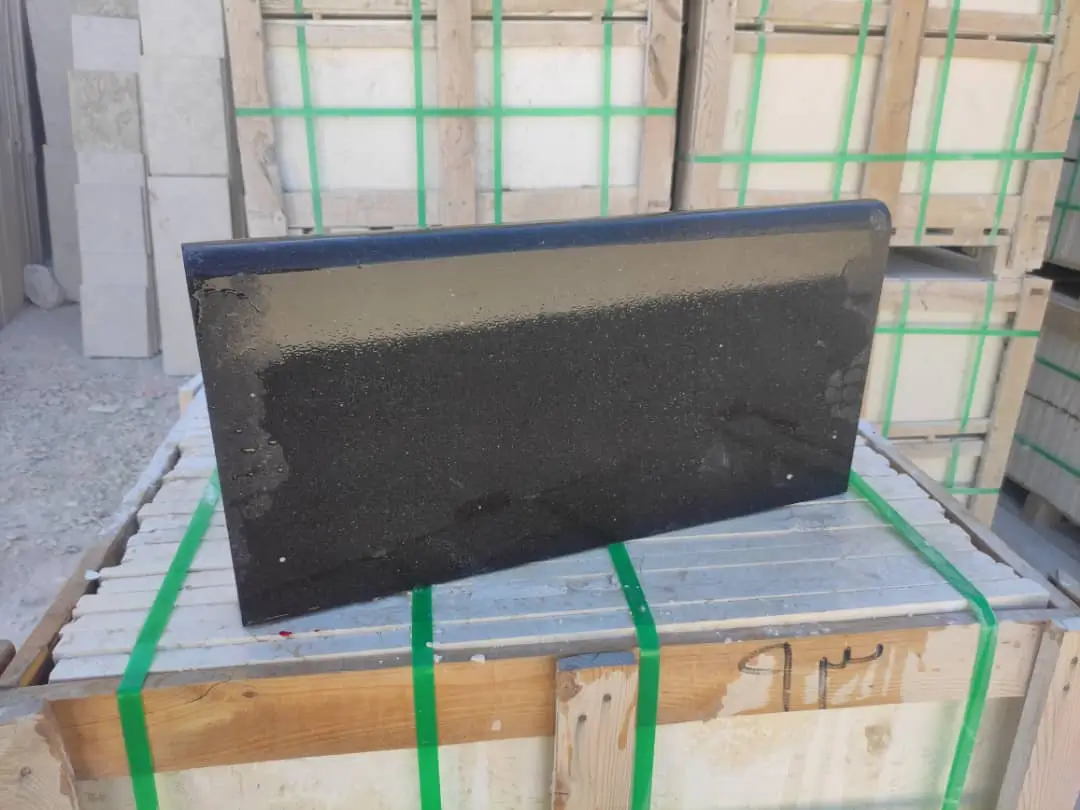
Joint work on stone steps is where a competent installation becomes a professional one. Joints between treads and risers should be packed with a stiff mortar mix and tooled to a slightly concave profile — this sheds water off the joint face rather than trapping it in a square-edged pocket where freeze-thaw cycling begins its work.
Use a mortar colored to complement your stone rather than defaulting to grey Portland. The joint color becomes a visible design element on exterior steps, and a poorly matched joint color is the first thing an experienced eye notices. Point up all joints within 24 hours of stone setting, before the setting bed achieves full cure — this creates a better mechanical bond between the pointing mortar and the setting bed than pointing a fully cured installation.
- Keep joints between 3/8 and 1/2 inch wide for standard tread installations — tighter joints look cleaner but are more difficult to point properly and offer less tolerance for minor dimensional variation
- Cure pointing mortar slowly in hot or dry conditions by misting lightly and covering with damp burlap for 24 hours — rapid drying causes hairline shrinkage cracks that open water pathways
- Clean mortar haze from tread surfaces within 2 hours of pointing using a damp sponge — hardened mortar residue requires acid washing, which can affect some stone finishes
Sealing Stone Steps for Long-Term Performance
Sealing stone steps is not optional in climates with freeze-thaw cycles, heavy rain, or high traffic. A penetrating impregnating sealer — not a topical coating — is the correct product category. Topical sealers create a surface film that traps moisture beneath it, accelerating spalling on textured stone. A penetrating sealer occupies the pore structure without bridging the surface, allowing moisture vapor transmission while blocking liquid water ingress.
Apply sealer only to a fully cured, clean, and dry surface. New mortar needs a minimum 28-day cure before sealing — applying earlier traps alkalinity in the stone pores, which causes white efflorescence migration and can bleach lighter stone. Reapply sealer every 3–5 years for residential stone steps, or when the water-bead test shows absorption beginning. Testing with a few drops of water in a low-traffic corner tells you what you need to know — if the stone absorbs within 60 seconds, it’s time to reseal.
Planning Your Order and Managing Delivery
Stone step treads arrive on pallets, and your truck access situation needs to be thought through before placing your order. A standard pallet of stone treads weighs 2,000–3,500 lbs depending on thickness and stone type. Liftgate delivery works for most residential sites, but if your installation is more than 30 feet from the truck’s closest parking point, coordinate additional handling equipment or arrange a smaller split delivery.
Citadel Stone maintains warehouse inventory across a national distribution network, which typically brings lead times down to 1–2 weeks for standard tread sizes — a significant advantage over the 6–8 week import cycle most custom-cut orders require. Verify warehouse stock for your specific tread dimensions before finalizing your project schedule. Over-ordering by 10–15% is standard practice on step tread projects, as cutting waste and breakage on large-format stone is predictable — and running short mid-installation means a potential weeks-long delay waiting for a matching piece from the same quarry lot.
- Order all treads from the same quarry lot number to ensure color and vein consistency across your full step run
- Inspect pallets on delivery before the truck leaves — document any cracked or chipped treads with photos, as freight damage claims require evidence collected at time of delivery
- Store treads flat on a level surface, on their original pallet, under cover until installation day — storing on edge invites cracking from contact stress on unsupported spans
Before You Specify: Getting Your Stone Step Project Right
Stone step installation rewards methodical planning more than speed. Your most important decisions happen before the first shovelful of material is excavated — the base depth for your specific site grade, the stone species that matches your performance and aesthetic requirements, and the tread dimensions that produce a rise-run ratio you can build consistently across the full flight. Whether this is a stone steps DIY project or a professionally managed installation, the planning phase determines the outcome.
For projects where limestone is under consideration for your treads, the material’s combination of workable weight and consistent sawn dimensions makes it the specification most professional installers default to when they need to construct stone steps that perform reliably over time. You’ll find detailed material comparisons and thickness options worth reviewing in our guide to limestone tread selection for steps — useful context whether you’re finalizing your spec or still weighing stone types. At Citadel Stone, we source our step treads directly from quarries in Turkey and across the Mediterranean, and every shipment goes through dimensional verification in our warehouse before it leaves for your site. Sourced direct from quarries in Turkey, the Mediterranean, and beyond, Citadel Stone treads simplify laying steps with consistent bearing surfaces.
Related reading: stone veneer on steps · 12 Outdoor Stone Steps Ideas for Every Setting · stone steps in grass.