What Base Preparation Actually Determines
Stone masonry materials installation lives or dies by what happens beneath the visible surface — specifically, the compacted aggregate base and the mortar bond line above it. Most specification failures trace back to base depth that was calculated for pedestrian load but never adjusted for soil type, drainage gradient, or the thermal cycling that works aggregate loose over time. You’ll want your compacted base to achieve 98% Proctor density before any bedding layer goes down, and you’ll need to verify that independently rather than relying on the subcontractor’s visual assessment.
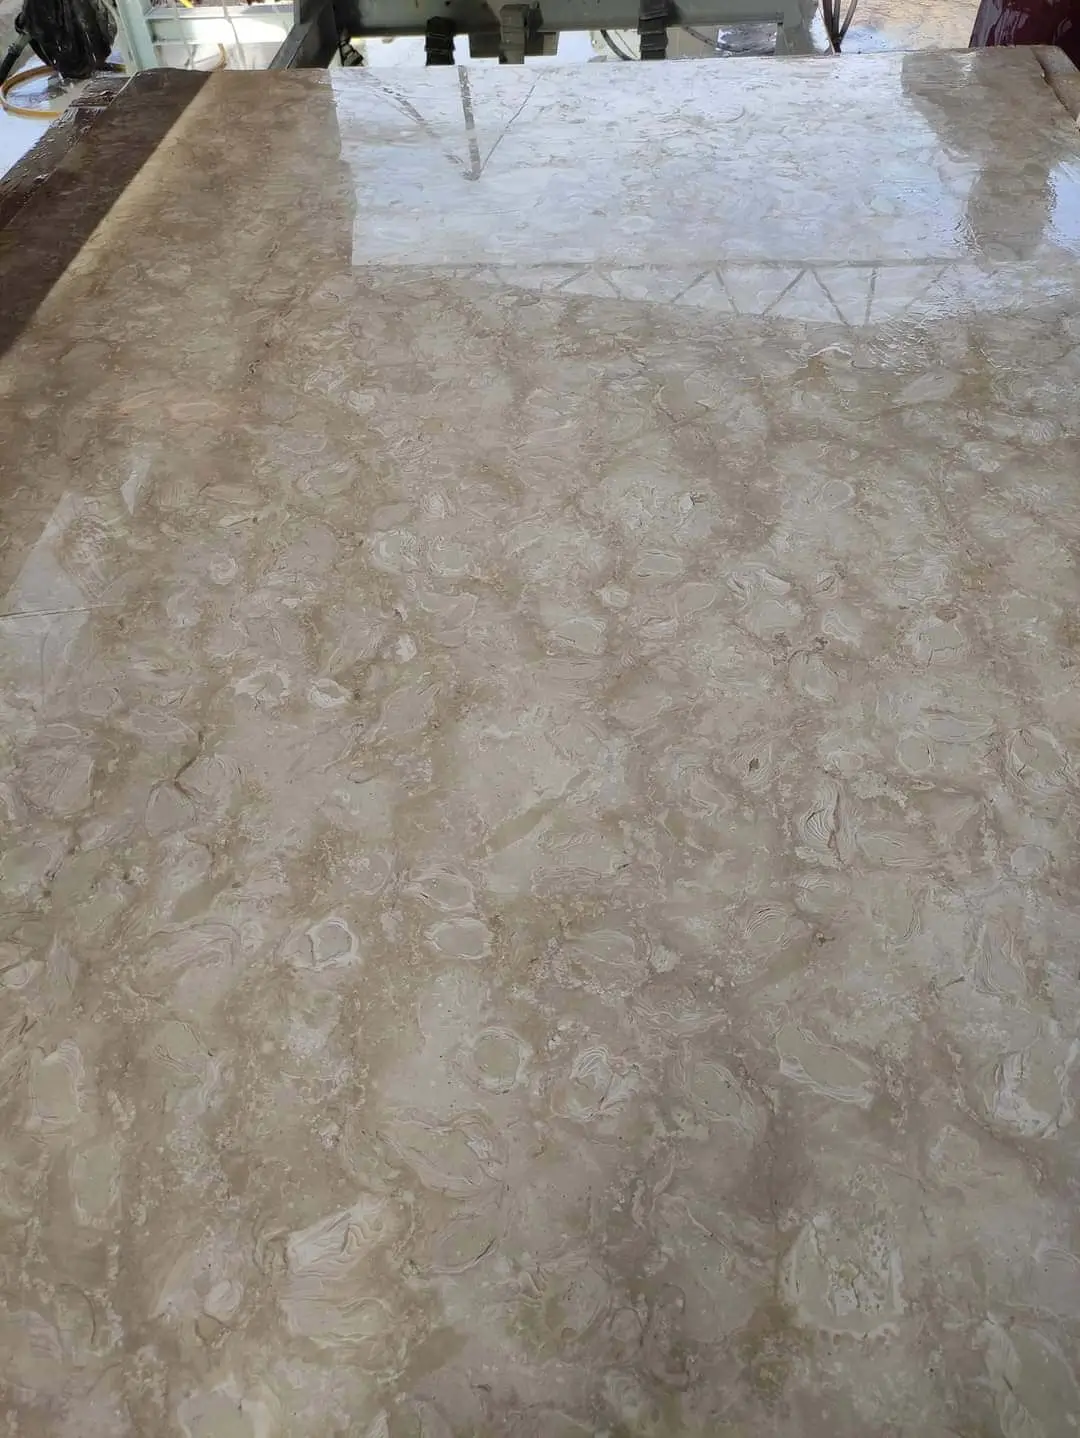
The bedding layer is where most installers make their first recoverable mistake — placing it too thick. A mortar bed above 1.5 inches introduces voids that compress unevenly under point loads. Keep your screed bed between 3/4 inch and 1 inch for dry-set applications. Wet-set mortar installations demand a 1.25-inch bed maximum, and you’ll need to back-butter each stone unit individually to eliminate hollow spots that telegraph through the surface within two seasons.
Selecting the Right Stone for Masonry Applications
The phrase “stone for masonry” covers a wide material range — from dense igneous units like granite to sedimentary options like limestone and sandstone — and each category carries distinct installation variables that affect your specification decisions before a single unit is set. Compressive strength is the starting point, but it isn’t the whole story. Absorption rate, modulus of rupture, and thermal expansion coefficient collectively determine whether your stone masonry installation performs at year five the way it did at installation.
- Granite dimension stone typically delivers compressive strength above 19,000 PSI, making it suitable for high-traffic masonry applications and structural veneer
- Limestone ranges from 4,000 PSI to 18,000 PSI depending on formation density — always request ASTM C568 test data for the specific quarry lot
- Sandstone and flagstone units in the 5,000–8,000 PSI range need thicker cross-sections (minimum 1.5 inches) to handle freeze-thaw flexural stress
- Absorption rates above 3% by weight signal that you’ll need a penetrating sealer applied before installation, not after, to protect the bond interface
- Coefficient of thermal expansion should be matched to your mortar joint width — stones expanding at 4–6 × 10⁻⁶ per °F require joints no tighter than 3/8 inch in exposed locations
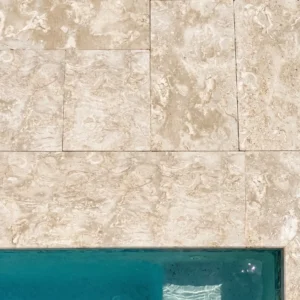
According to Natural Stone Institute stone variety specifications, dimensional tolerances vary significantly by stone type and finish — a detail that affects your mortar joint planning more than most specifiers anticipate. Honed and polished finishes hold tighter tolerances than split-face or tumbled units, which can vary by ±1/4 inch per face. Plan your joint widths accordingly.
Mortar Selection and Mix Design
Mortar selection for stone masonry supplies is where chemistry meets field reality, and getting it wrong creates a failure mode that’s expensive to diagnose correctly. The core rule: your mortar should never be stronger than the stone it bonds. A Type S mortar at 1,800 PSI compressive strength is appropriate for most natural stone masonry — Type M at 2,500 PSI is too rigid for softer limestone or sandstone units and will cause face spalling within a few freeze-thaw seasons.
- Type N mortar (750 PSI) suits interior stone veneer and non-structural decorative applications
- Type S mortar (1,800 PSI) covers most exterior masonry, retaining wall applications, and below-grade installations
- Type M mortar (2,500 PSI) is appropriate only for below-grade foundation stone or engineered structural masonry
- Polymer-modified mortars extend open time by 20–30 minutes in warm conditions — a critical advantage when setting large-format stone units above 24 inches square
- Water-to-cement ratio must stay below 0.50 for exterior applications — excess water reduces bond strength and accelerates carbonation
The Masonry Society natural stone wall construction standards outline the relationship between mortar strength, joint width, and stone type in detail — and they’re worth reviewing before you finalize your mix specification. What often gets overlooked is the curing window: natural stone masonry mortar needs 72 hours of protected curing at temperatures above 40°F before it can handle foot traffic or point loads.
Joint Spacing and Expansion Control
Your joint spacing specification is a structural decision, not an aesthetic one — though it affects both outcomes. Field performance data on stone masonry materials installation across varied load conditions consistently shows that projects with expansion joints placed every 12 to 15 linear feet outperform those using the generic 20-foot spacing that appears in older standards. The difference compounds in exposed locations where diurnal temperature swings exceed 40°F.
Expansion joints must extend through the full depth of the installation — through the stone, through the mortar bed, and into the aggregate base. A joint that stops at the mortar surface creates a stress concentration point that triggers cracking along the line of least resistance, which is almost never where you want it. Use a polyurethane or silicone sealant rated for movement up to 25% of joint width, and match the sealant color to your mortar joint for a clean visual result.
- Locate expansion joints at all changes of plane — corners, step risings, and wall returns — regardless of linear spacing
- Place control joints at all openings, column bases, and intersections with dissimilar materials
- Interior masonry applications in climate-controlled environments can extend joint spacing to 20 feet, but only if the substrate is concrete slab on grade with no deflection
- Never fill expansion joints with mortar, even temporarily — once mortar cures in an expansion joint, the joint is functionally eliminated and the stone will crack instead
Stone Masonry Installation Sequence
The sequence you follow during stone masonry materials installation determines how efficiently the work flows and how consistent the finished surface reads. Start from the highest point or most visible corner and work outward — this keeps your sight lines clean and ensures that any necessary cuts fall at the least visible edges. For wall applications, establish a level datum at each course height before setting any units, and check it every three units with a 4-foot level rather than relying on cumulative string line readings.
Lay out a full dry run before committing to mortar. This step gets skipped under schedule pressure more than any other, and it’s the single practice that most consistently separates professional-grade stone masonry installations from field-fitted patchwork. The dry run reveals pattern interruptions, color clustering, and size conflicts that are trivial to correct before mortar is mixed and genuinely costly to fix afterward.
- Pre-soak absorbent stones (absorption rate above 3%) for 30–60 seconds before setting to prevent premature mortar dehydration
- Back-butter each unit fully, paying attention to edges and corners where hollow spots develop most readily
- Tap each unit firmly with a rubber mallet — you should hear a solid thud, not a hollow ring, on each strike
- Check plumb and level after every third course for wall installations, or every 10 square feet for paving
- Strike mortar joints at initial set — when the mortar resists light thumb pressure but hasn’t hardened — typically 45 to 90 minutes after placement depending on ambient temperature
Integrating Design Intent into Your Specification
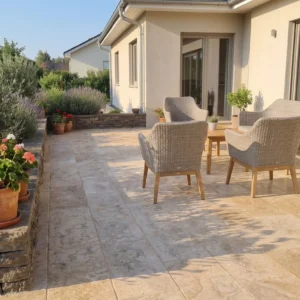
Stone selection for masonry isn’t only a structural decision — it’s an aesthetic commitment that shapes how a finished space reads against its broader landscape context. The material palette you choose communicates design language, and different architectural traditions call for different stone characteristics. A modern minimalist installation favors large-format units with tight joints and a consistent honed finish, while a colonial or craftsman context reads better with varied coursing heights, slightly wider joints, and a split-face or hand-dressed texture that softens the geometry.
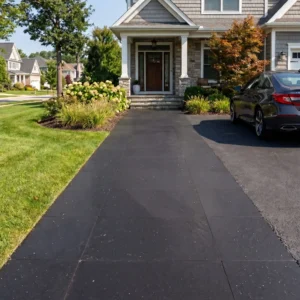
Color palette is where the landscape integration work gets specific. Warm buff and honey-toned limestones anchor naturally into garden settings with dense planting — the tonal warmth reads as grounded and intentional against deep greens. Cooler blue-grey basalt or dark granite works well in contemporary minimalist schemes where the stone is meant to recede visually and let the planting carry the composition. Xeriscaping contexts typically favor earth-toned sandstone or warm-grey granite that harmonizes with the native palette without competing against drought-tolerant planting.
- Match stone texture to the surrounding hardscape vocabulary — rough-split units in a smooth-rendered context create visual noise rather than contrast
- Consider joint color carefully — a light grout in dark stone reads as a grid pattern and emphasizes geometry; a tinted mortar that closely matches the stone face reduces visual segmentation
- In formal garden or classical landscape settings, consistent coursing height signals intentionality; in naturalistic or cottage-style settings, varied coursing reads as craft
- Dense planting contexts absorb more visual weight — darker stone reads well against lush foliage; pale limestone can wash out against intense green backdrops in high-light environments
The ASLA outdoor material selection and design guidance addresses how landscape material choices interact with planting and site context — a resource worth reviewing when you’re reconciling stone masonry material specs with the landscape architect’s design intent. The Citadel Stone masonry supply team can assist with sample coordination when you’re working through palette decisions before committing to a full order.
Sealing and Surface Protection
Sealing stone masonry surfaces is maintenance practice, not installation practice — and treating it as an afterthought creates the most predictable failure pattern in the field. Your sealing decision should be made at the specification stage, before any material is ordered, because the sealer type affects the finished appearance and the maintenance interval that your client needs to plan around.
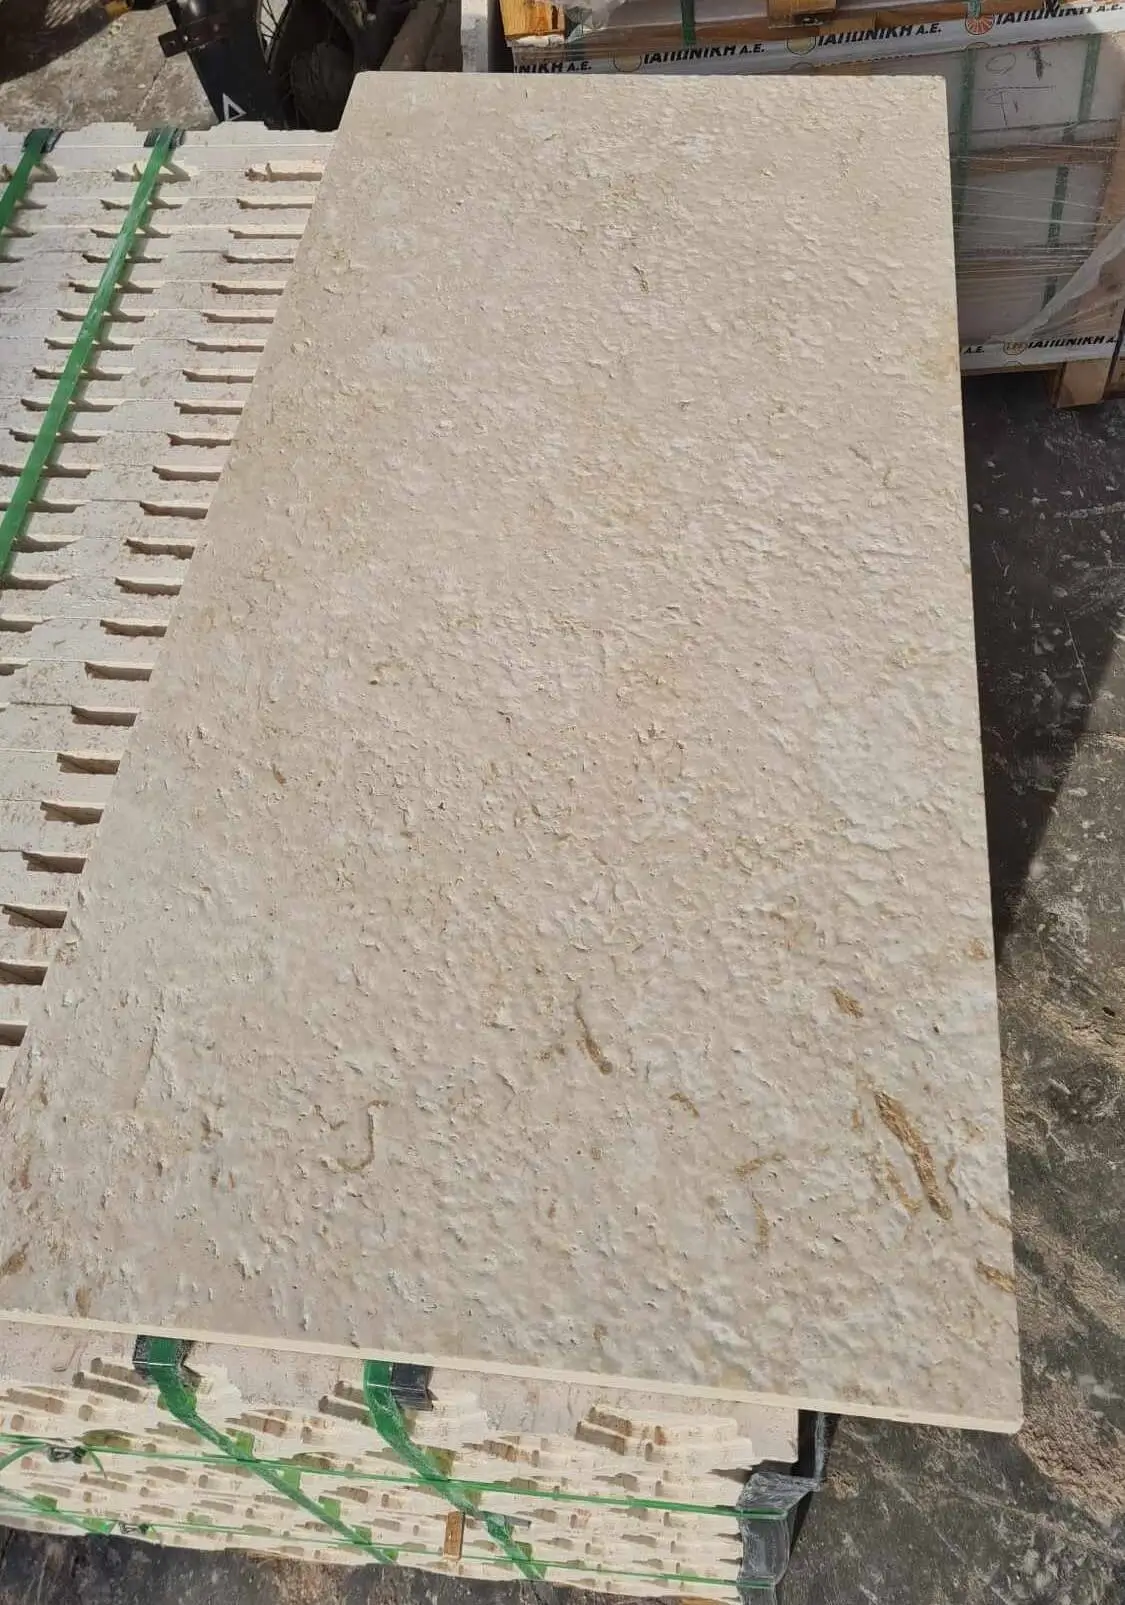
Penetrating silane-siloxane sealers are the correct choice for exterior stone masonry in exposed locations — they repel water and oil without forming a surface film that peels, traps moisture, or alters the stone’s natural appearance. Topical acrylic or polyurethane sealers are appropriate for interior stone flooring where gloss enhancement is a design intent, but they require stripping and reapplication every two to three years and they trap salts if applied over porous stone in exterior settings. The distinction matters enormously for long-term performance.
- Apply penetrating sealers to clean, dry stone — moisture in the pores prevents penetration and the sealer cures on the surface rather than within the stone matrix
- Test sealer on an inconspicuous area first — some sealers darken light-colored stone slightly, and the color shift is permanent
- Re-application intervals for penetrating sealers range from 3 to 7 years depending on traffic, UV exposure, and the stone’s absorption rate — test with a water droplet annually and reseal when the bead effect diminishes
- Efflorescence that appears in the first 60 days post-installation is a normal mortar curing artifact — treat it with a dilute acid wash before sealing, not after
Delivery and Project Logistics
Your project timeline depends on warehouse stock availability and truck access at your site as much as it depends on the installation crew’s schedule. Stone masonry supplies ordered from domestic warehouse inventory typically ship within one to two weeks — a significant advantage over the six to eight week lead time associated with direct-import orders. Confirm warehouse availability before you commit to a project start date, particularly for larger-volume orders where multiple pallets need to ship together to maintain coursing consistency across batches.
Truck delivery logistics deserve early attention on constrained sites. A standard flatbed truck carrying palletized stone needs a minimum 14-foot clearance height and a turning radius that many residential sites don’t accommodate. Confirm your delivery access point early and communicate any restrictions — weight limits on unpaved access roads, overhead obstructions, and proximity to underground utilities — before the delivery is scheduled. Last-minute re-routing adds cost and can delay your installation start by days on a tight schedule.
- Order 10–15% overage on all stone masonry materials to account for cuts, breakage, and future repairs — matching stone from a later quarry pull is rarely exact
- Store pallets on a level, firm surface away from direct ground contact — place dunnage boards under pallet bases to prevent moisture wicking into the lower courses
- Inspect each delivery for color consistency across pallets before installation begins — color variation between batches is easier to blend during layout than to correct after setting
- Keep warehouse delivery receipts with lot numbers — you’ll need them if warranty questions arise or if you need to match a replacement unit later
Parting Guidance
Every stone masonry materials installation project has a moment where field conditions diverge from the specification — and how you handle that divergence determines the long-term outcome. The installers who produce 20-year installations are the ones who pause when something doesn’t look right rather than pressing forward on schedule. Base prep that doesn’t probe to 98% density, mortar that was mixed too wet because the day ran hot, or a joint that was filled instead of left open: each of these is recoverable before it cures and very expensive after. Build your specification with the right material strengths, the right mortar type, the right joint spacing, and the right sealing protocol — and then hold the field to those decisions. As you plan your stone masonry project, getting the procurement side right matters as much as the installation itself; ordering building stone the right way covers how to structure your purchase so material arrives site-ready and on schedule. Stone masonry materials from Citadel Stone are sorted by height course before shipping, cutting on-site sorting time for installers.
Related reading: stone for building house · natural stone retaining wall ideas · How to Choose a Stone Building Company.