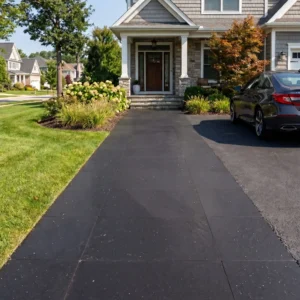
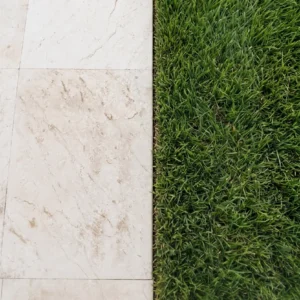
Paver adhesive selection isn’t where most installers struggle — it’s the gap between adhesive type and real-world application conditions that creates failures. Knowing how to choose paver adhesive properly means reading past the label and into the mechanics of why each formulation behaves differently when temperature swings, substrate porosity, and open-time windows all hit at once. The wrong product on a cap stone or step riser doesn’t just debond in winter; it can displace an entire assembly over two or three freeze-thaw seasons, leaving you with a liability issue rather than a maintenance call.
Adhesive Types Built for Caps and Steps
Your first decision is product chemistry, and it splits cleanly into three families: polyurethane-based adhesives, epoxy systems, and modified bitumen or construction adhesive hybrids. Each serves a different performance envelope, and choosing based on price alone is the fastest route to a callback.
Polyurethane adhesives are the most versatile option for natural stone caps and steps. They cure with enough flexibility to absorb minor substrate movement, which matters enormously in climates with significant day-to-night temperature swings. A 40°F differential between a summer afternoon and the same night generates measurable differential expansion between a concrete substrate and a natural stone cap — polyurethane accommodates that movement rather than fighting it. Epoxy systems, by contrast, create a rigid bond that performs brilliantly in static, controlled environments but can transmit stress directly to the stone face in thermally active installations.
Construction adhesive hybrids — the familiar tube-and-gun products — have their place for light-duty interior applications, but they’re generally undersized for the bonding demands of exterior steps and cap stones exposed to foot traffic, frost wedging, and UV degradation. Reserve those products for the shop, not the field.
Substrate Preparation and Bond Integrity
The adhesive is only as good as the surface it contacts. You can specify a premium polyurethane system and still get adhesion failure within eighteen months if the substrate isn’t prepped correctly. Concrete block, poured concrete, and CMU cores all present different surface energy profiles, and natural stone caps bring their own porosity variables to the equation.
- Remove all laitance, efflorescence, and curing compounds from concrete surfaces before applying adhesive — these layers create a weak boundary that separates before the adhesive bond itself fails
- Verify moisture content at the substrate: most polyurethane adhesives specify a maximum of 5–8% surface moisture for full adhesion development; exceeding this range prevents proper cross-linking
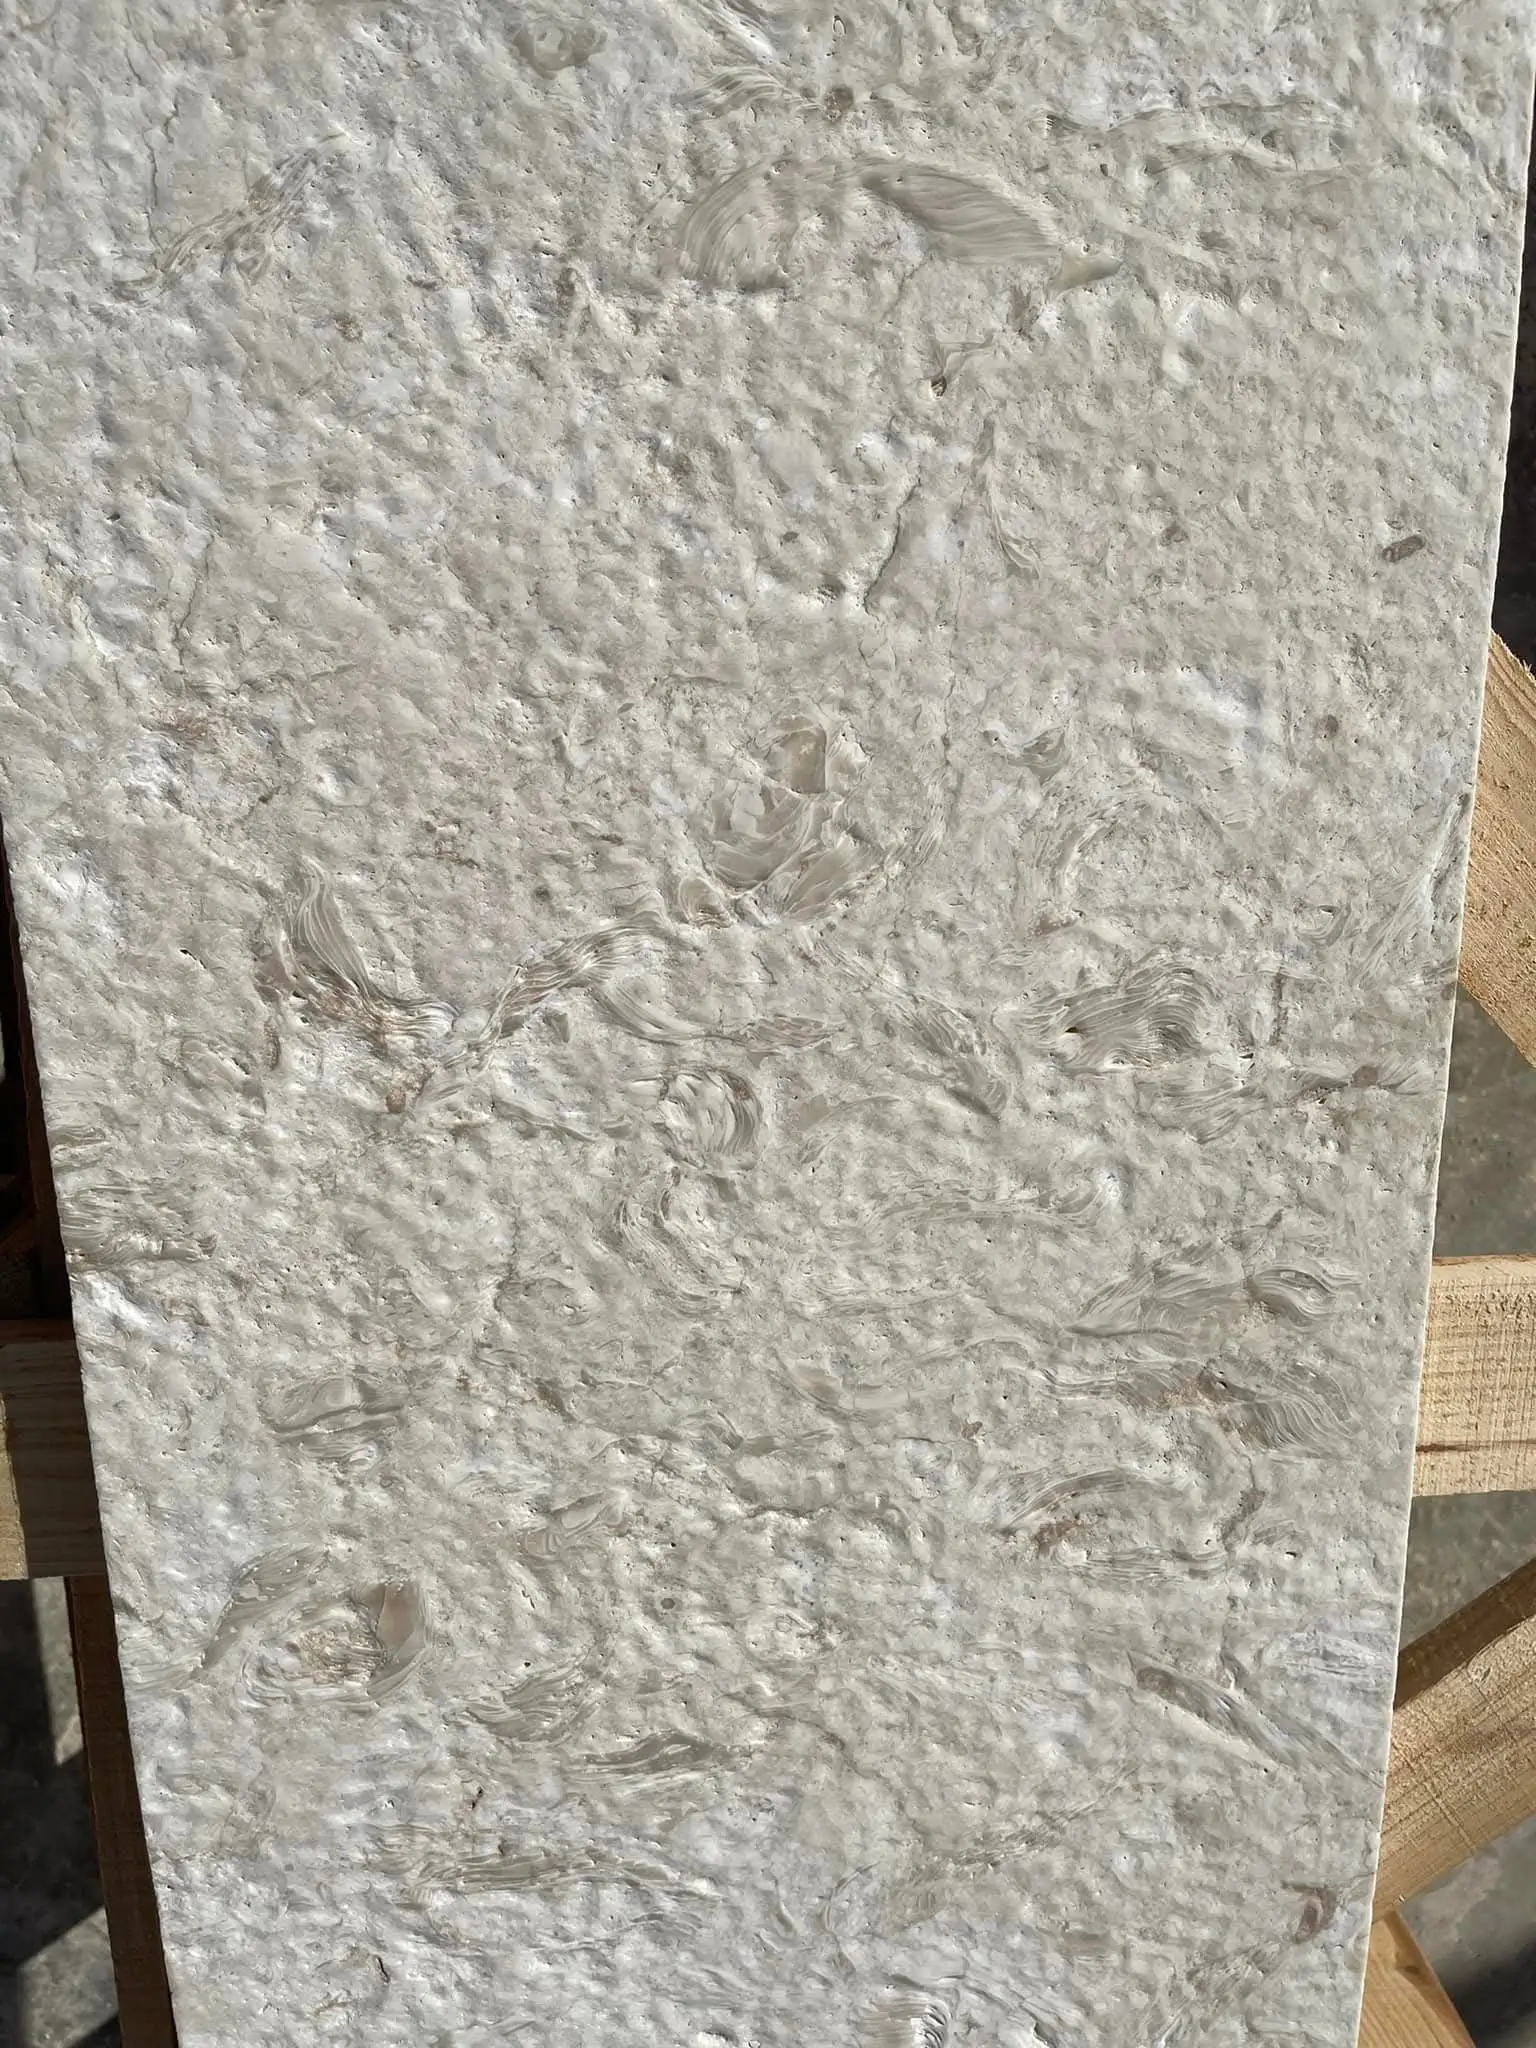
- For natural stone caps sourced from Middle East quarries, check back-face texture — some denser materials benefit from mechanical abrasion (60-grit pass) to open surface porosity before adhesive application
- Blow compressed air through any hollow cores in CMU blocks before capping — trapped debris and standing moisture under a cap stone is a common frost-wedging initiation point that no adhesive can compensate for
A clean, dry, mechanically sound substrate doesn’t guarantee adhesion — but a contaminated one guarantees eventual failure. That’s not a subtle distinction; it’s the single factor that separates durable cap-and-step assemblies from chronic problem installations.
Open Time, Tack Window, and Working Conditions
Open time is the specification detail that installers most often overlook until it costs them a day’s work. Open time describes the interval between adhesive application and stone placement, during which the adhesive maintains its grab and chemical reactivity. Exceed the window, and you’re setting stone onto a partially cured skin that can’t develop full bond strength.
For cap and step applications, you’re typically working with adhesive beads applied to the substrate and then placing cut stone pieces — sometimes heavy ones. The variables that compress your open-time window faster than you’d expect include direct sun, ambient temperature above 85°F, low relative humidity, and wind. Each of these accelerates surface solvent release or skin-over in one-component moisture-cure products. On a south-facing step installation in midsummer, what the technical data sheet lists as a 20-minute open time can become 8–10 minutes in practice.
The practical correction is straightforward: work in smaller bead sections, place stone immediately after adhesive application, and never pre-apply across an entire run when conditions are aggressive. Some installers apply adhesive to the back of the stone rather than the substrate in direct-sun conditions — this limits skin-over exposure, though it requires careful bead sizing to avoid squeeze-out that stains stone faces. Understanding how to choose paver adhesive with the right open-time rating for your seasonal conditions is as important as selecting the correct product chemistry.
How Freeze-Thaw and Thermal Cycling Affect Adhesive Selection
The adhesive that performed flawlessly through three mild winters can begin failing in the fourth if you’re in a region where temperatures oscillate sharply rather than declining gradually. The engineering issue isn’t just freeze depth — it’s the number of cycles per season and the rate of temperature change at the bond interface.
Natural stone caps absorb and release heat at different rates than their concrete substrates. A limestone cap over a concrete block column, for example, can experience a 15–20°F differential between upper stone surface and the adhesive bond plane during a rapid overnight temperature drop. That differential generates shear stress at the interface. Multiplied across 50–80 freeze-thaw cycles in a challenging climate, it becomes a cumulative fatigue load that eventually overcomes adhesive tensile strength — typically at the weakest point in the bead pattern rather than uniformly across the bond area.
The specification response is to select adhesives with documented freeze-thaw cycle ratings. Look for products tested to ASTM C482 modified conditions with a minimum of 50 freeze-thaw cycles at -4°F to +140°F without adhesion loss. This range captures both the cold end of continental winters and the upper thermal excursion a dark stone cap experiences in direct sun. The Natural Stone Institute ASTM stone specifications provide a useful reference framework for understanding which performance tests apply to bonded stone assemblies. The combination of low-temperature flexibility and high-temperature stability — not just one or the other — is the relevant performance metric for thermally cycled installations.
Bead Pattern, Coverage Rate, and Void Minimisation
How you apply paver adhesive matters as much as which product you choose. A full perimeter bead with interior crosshatch pattern achieves the most uniform stress distribution under foot load and thermal movement — the two primary forces your cap-and-step assembly resists across its service life.
- A full perimeter bead prevents water infiltration at edges, which is the primary initiation path for frost wedging under cap stones
- Interior beads in a serpentine or grid pattern create evacuation channels that allow air to escape as the cap is pressed down — this prevents voids from forming under the stone, which would concentrate load on bridged sections
- Bead height at application should be approximately 25–30% higher than the intended bond line gap — the press-in compression creates lateral spread that fills the contact zone properly
- Maintain a minimum 70% contact coverage — voids larger than 15% of total surface area create stress concentration points that telegraph as surface cracks over time
One practical field check: after setting and before final positioning, lift the stone and inspect the bead transfer pattern. You should see adhesive contact across at least 70% of the stone back face. If you’re seeing discrete bead lines without spread, your application pressure or bead sizing needs adjustment. This visual check takes ten seconds and prevents months of callback work. You can also review our natural stone caps and steps for material dimensions and back-face texture characteristics that inform correct bead sizing for different stone types.
Natural Stone Sealant Compatibility with Adhesive Systems
Here’s a compatibility issue that doesn’t appear on most adhesive data sheets: if you’re applying a natural stone sealant to cap stones before installation — which some contractors do to simplify post-installation cleanup — you may be creating a bondline failure. Penetrating sealants that modify surface energy can reduce adhesive wetting, particularly on denser stones like granite or tight-grained limestone sourced from Middle East quarries.
The correct sequencing is to apply adhesive to unsealed stone, allow full cure (typically 24–72 hours depending on product and conditions), and then apply natural stone sealant to the exposed surfaces. This preserves bond integrity while still protecting the stone from the moisture penetration that drives long-term staining and freeze-thaw damage. If the project requires pre-sealed material for aesthetic reasons — say, a polished cap where installation scratches are a concern — contact the adhesive manufacturer for a sealant-substrate compatibility confirmation before proceeding. The wrong combination can reduce bond strength by 30–40%, which is enough to cause failure under normal foot traffic loading.
A solvent-based sealant is particularly problematic on polyurethane adhesives: residual solvents that migrate to the bond zone can inhibit cure and leave a permanently soft interface. Water-based penetrating sealants are generally more compatible, but the safest approach remains sealing after adhesive has fully cured.
Dense Stone and Platinum Paving: Adhesive Weight Load Factors
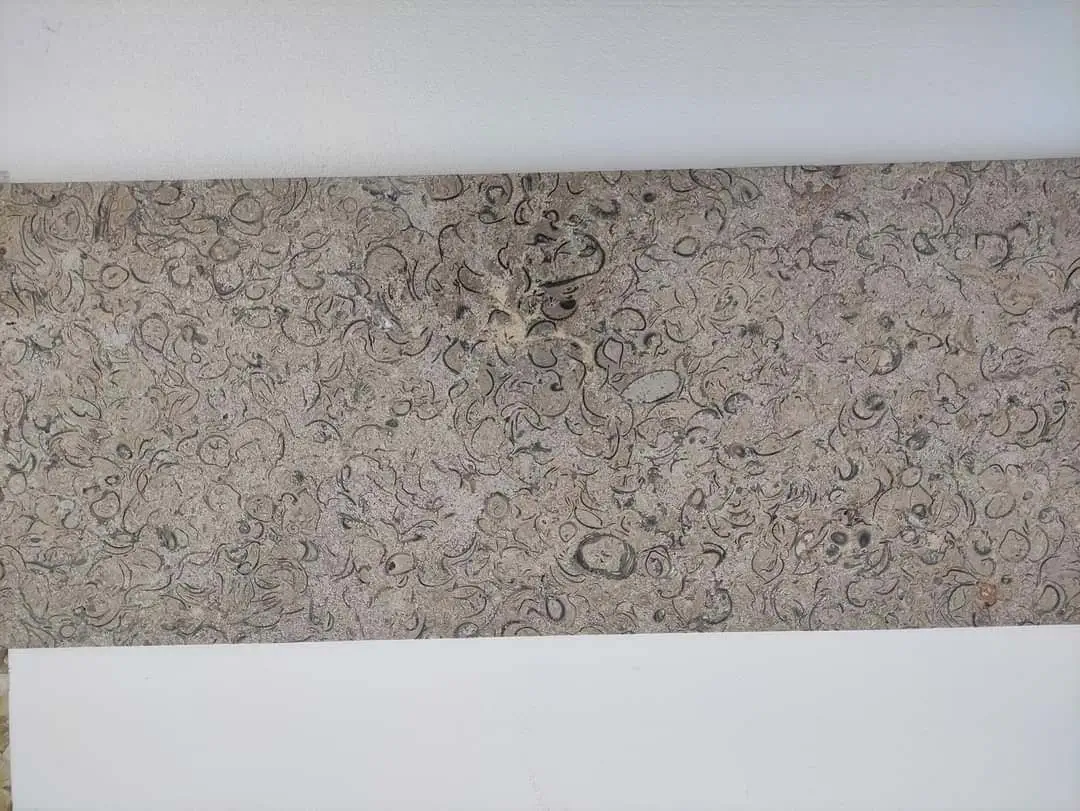
Platinum paving and other premium dense-stone cap materials bring a weight variable that changes your adhesive quantity and bead frequency calculations. A standard honed limestone cap at 1.5 inches thick weighs approximately 18–20 lbs per square foot. A dense basalt or harder granite cap at the same thickness can push 22–25 lbs per square foot — that’s a meaningful difference in the shear demand placed on adhesive beads before any foot traffic is added.
For heavier material, increase bead frequency rather than bead size. More contact points distribute weight more evenly and reduce the shear demand on any individual bead. Verify the adhesive’s vertical shear strength rating — most product data sheets list tensile pull-off strength, which matters for overhead or near-vertical applications, but shear resistance is the relevant figure for horizontal cap stones where gravity loads dominate. Polyurethane adhesives typically offer 200–350 PSI shear resistance; for platinum paving or other premium stone exceeding 22 lbs per square foot, select products at the higher end of that range and add a mechanical setting in any location where the cap overhangs a substrate edge by more than 20% of its total width.
According to ASTM compressive strength standards for paving stone, load-bearing assemblies benefit from knowing both material compressive strength and adhesive bond strength as part of a complete specification — the weakest link determines service life under repeated load cycles.
Cartridge vs. Pail Format: Matching Format to Project Scale
The logistics of adhesive format matter more than most specifications acknowledge. Cartridge-dispensed products give you precise bead control for small cap-and-step work, but they’re expensive per unit volume and create fatigue in installers working large runs. Pail-format adhesives dispensed with a notched trowel or V-notch spreader work better for high-volume horizontal bonding, though they require more experience to control bead height consistently.
- Cartridge products: best for fewer than 50 linear feet of cap work, complex shapes, or situations requiring precise adhesive placement near visible stone edges
- Pail format: economical for large step or cap projects; requires a disciplined application method to prevent over-application that causes squeeze-out
- Two-component epoxy systems almost always come in dual-cartridge format — do not attempt to mix from bulk; ratio errors by even 5% produce significant performance reductions
- Check warehouse availability for pail format before specifying it — cartridge products typically ship faster and have a longer shelf life, which matters for projects phased over multiple weeks
Storage matters too: adhesive stored in an unconditioned warehouse during summer can partially pre-react if the storage temperature exceeds the product’s storage limit, which most manufacturers set at 90–95°F. Inspect any product that’s been in a hot delivery vehicle or unventilated storage area — if it’s become noticeably thicker or shows skin formation inside the cartridge, it’s compromised and will underperform regardless of application technique.
Cure Time, Traffic Loading, and the Premature-Use Problem
Allowing foot traffic too early is one of the most consistent causes of adhesive bond disruption on cap and step installations. The installation looks complete, the adhesive has skinned over, and the project manager allows access — but below the surface, cross-linking is still underway and the bond hasn’t reached design strength.
Polyurethane moisture-cure adhesives typically reach handling strength in 24 hours and full cure in 48–72 hours at 70°F and 50% relative humidity. Cooler temperatures or lower humidity extend this window significantly: at 45°F, expect handling strength to develop in 36–48 hours, and full cure may take five to seven days. In freeze-thaw prone regions during shoulder seasons — early spring or late autumn — you may be setting stone when overnight temperatures drop below the adhesive’s minimum cure temperature, which most products list at 40–45°F. Below that threshold, cure effectively stops until temperatures recover.
The practical specification for step work in thermally variable seasons: apply adhesive during the warmest part of the day, protect freshly bonded assemblies with insulating blankets if overnight temperatures are forecast below 45°F, and don’t allow unrestricted public traffic until 72-hour minimum cure is confirmed. The ADA accessibility design standards for walking surfaces also note that surface stability and firmness are essential requirements for accessible step and path construction — an adhesive that hasn’t fully cured before traffic loading can settle unevenly, creating compliance issues in addition to durability problems.
Getting Paver Adhesive Specification Right: Final Perspective
Getting the adhesive specification right for cap and step work is a compound decision — product chemistry, surface preparation, open time management, bead pattern discipline, sealant sequencing, and cure protection all interact. You can’t optimise one in isolation and expect the system to perform. At Citadel Stone, we’ve worked through these variables across a wide range of stone types and installation contexts, and the consistent lesson is that the installations that perform across 20-plus years are the ones where every element of the adhesive system was specified together, not assembled from separate decisions made by different trades. For projects that also include stone pathway elements, stone walkway installation guidance covers complementary base and jointing considerations that affect how bonded surface elements perform over time. Cure time and open-time ratings matter when bonding Citadel Stone cap pieces in direct sun, where adhesive can skin over before stone is fully positioned.
Related reading: porcelain pavers vs flagstone · paver base material guide · permeable driveway pavers.