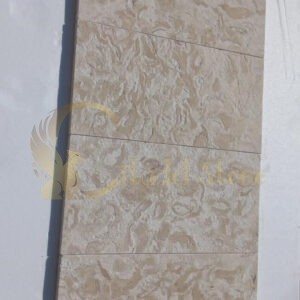
Why Travertine Develops Holes, Cracks, and Chips
Knowing how to repair travertine tile correctly starts with understanding why the damage occurs in the first place — most repair jobs trace back to one of three root causes, and identifying the right one changes everything about how you approach the fix. Travertine is a sedimentary calcium carbonate stone formed in mineral-rich hot springs, which means its porous, layered structure is a feature of the material, not a manufacturing defect. Those voids and fissures are natural. What turns them into a repair problem is usually substrate movement, filler failure, or physical impact — each requiring a different intervention.
Holes in travertine are almost always pre-existing voids that were filled at the factory with grout or epoxy. Over time, thermal cycling and substrate flex cause that filler to contract and pop out. Cracks, on the other hand, are typically stress fractures driven by point-load impact or differential movement in the setting bed beneath the tile. Chips are surface-level losses — corner breaks and edge spalls that happen during handling or from furniture impact. Treating all three the same way is the most common mistake homeowners and contractors make when repairing travertine tile.
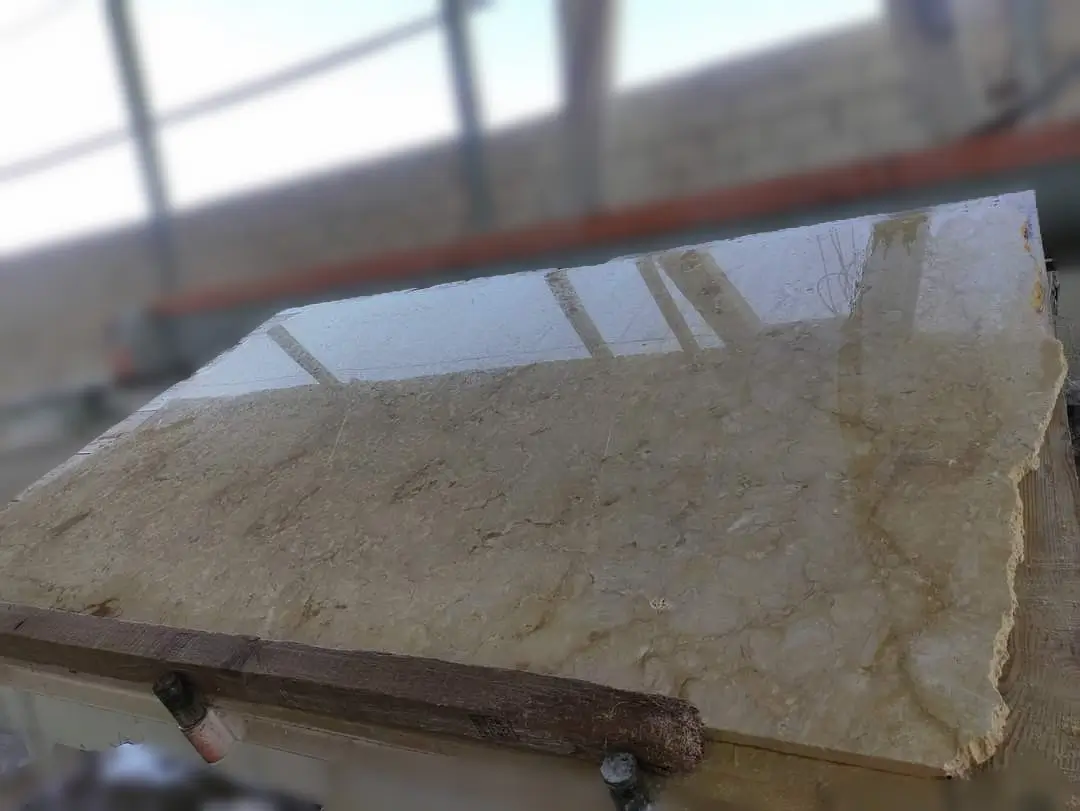
Tools and Materials You’ll Need Before You Start
Getting your repair kit right before you touch the stone saves a second trip and prevents mismatched results. The core materials differ by damage type, but your base kit should cover all three scenarios.
- Two-part epoxy filler in a color-matched tone — available in warm travertine beige, ivory, noce, and walnut ranges
- Unsanded travertine grout in a shade that matches the existing fill (never sanded grout for void fills — it reads too coarse)
- Stone-specific penetrating sealer rated for calcium carbonate substrates
- Diamond-grit honing pads in 200, 400, and 800 grit for surface blending
- Denatured alcohol for surface prep and adhesion cleaning
- Plastic mixing sticks, disposable palette knives, and low-tack painter’s tape
- pH-neutral stone cleaner — critical for both prep and post-repair maintenance
Avoid standard hardware-store epoxy fillers in gray or white. Travertine has warm amber undertones in most commercial grades, and a cold-white fill will read as a patch from across the room. Spend time color-matching before you commit to a product — test on a scrap piece or an inconspicuous corner tile first.
Repairing Holes in Travertine Tile Step by Step
Void fills are the most common task when repairing travertine tile, and they’re also the most forgiving when done correctly. Start by clearing the void of any loose material — a dental pick or stiff-bristle brush works well for this. Blow out dust with compressed air, then wipe the interior with denatured alcohol on a cotton swab and let it dry completely. Any moisture trapped under the fill causes adhesion failure within weeks.
Mix your two-part epoxy according to its working time — most stone epoxies give you 8–12 minutes of open time at 70°F. In warmer conditions, that window tightens considerably, so work in small batches. Press the filler into the void slightly proud of the surface using a palette knife, then allow it to cure fully before sanding. Rushing the cure is where most DIY repairs fail — an under-cured fill sands unevenly and leaves a sunken depression that’s harder to correct than the original hole.
Once the epoxy is fully hardened (typically 24 hours at room temperature), use a 200-grit diamond honing pad to bring the fill flush with the surrounding surface, then progress through 400 and 800 grit to blend the sheen. Travertine in a honed or filled finish typically sits in the 200–400 grit range, so matching the surrounding tile’s reflectivity is achievable with patience. Finish with a penetrating sealer to lock the repair in place and prevent moisture intrusion into the repaired area.
Fixing Cracks: Surface Fissures vs. Structural Fractures
The crack classification you make before reaching for filler determines whether your repair holds or reopens within a season. Run your fingernail across the crack perpendicular to its direction — if the two sides are flush and your nail crosses smoothly, you’re dealing with a surface fissure. If one side is raised or depressed relative to the other, the tile has fractured through its depth, and the underlying cause needs to be addressed before any surface repair will hold.
Surface fissures can be filled with color-matched epoxy using the same technique as void fills. The key difference is that you’ll want to slightly undercut the crack edges with a Dremel or oscillating tool at a 45-degree angle — this creates a mechanical lock for the filler instead of relying purely on adhesion. Clean, fill, cure, and hone using the same sequence described for holes.
Structural fractures — those that run through the full tile thickness — almost always indicate substrate movement, a hollow spot in the thinset bed, or inadequate expansion joint spacing. According to TCNA installation standards, natural stone tile requires movement accommodation joints at perimeter and field intervals to prevent stress buildup. If the substrate issue isn’t corrected, any filler you apply will crack again along the same line within 6–12 months. In high-traffic areas, replacing the tile entirely is often the more economical long-term decision than repeated filler repairs.
Chip Repair: Corners, Edges, and Surface Spalls
Corner chips are the most visible travertine damage type and the trickiest to make disappear entirely. The challenge is rebuilding a sharp geometric edge using a material that has a slightly different light-refraction quality than the original stone. You can get close — very close — but perfection is rarely achievable on polished travertine. Honed finishes are more forgiving because the matte surface masks minor tonal differences better than a high-gloss face.
To rebuild a chipped corner, tape off the surrounding area with low-tack tape and build the epoxy filler in two or three thin layers rather than one thick application. Thick single-layer fills shrink unevenly as they cure and almost always pull away from the edge. Build the fill slightly oversized, let each layer cure, then carve back to shape with a sharp palette knife before final honing. This layering approach mimics how stone fabricators repair edge chips in the workshop and gives you predictable dimensional accuracy.
For surface spalls — shallow concave losses across the tile face — use a grout-based fill for areas larger than approximately 1 square inch. Epoxy fills in large flat areas can exhibit slightly different thermal expansion rates than the stone itself, which eventually causes micro-cracking at the fill boundary. A well-color-matched unsanded grout fill, sealed immediately after application, performs more compatibly with the stone’s natural movement in these broader repairs.
Budget Realities: Material Costs, Labor, and Sourcing Decisions
The cost to repair travertine tile varies considerably depending on whether you’re doing spot repairs yourself or bringing in a stone restoration contractor. Material costs for a basic epoxy-fill kit run between $40 and $80, while professional stone restoration services typically charge by the square foot or by the hour — and labor rates differ meaningfully across markets. In metro areas with competitive stone trades, you’ll find more qualified contractors, but their labor rates are proportionally higher. In markets with fewer stone specialists, travel and scarcity can push project costs up even on modest repair scopes.
One factor that affects total project cost regardless of region is material availability. If you’re repairing a filled travertine tile floor and need replacement tiles for sections too damaged to repair in place, sourcing a matching lot becomes critical. Travertine varies in tone and fill density from quarry to quarry and even from block to block within the same quarry run — which is why at Citadel Stone, we recommend customers retain 5–10% of their original tile order as replacement stock. Freight distance from warehouse to job site also affects the budget equation: ordering replacement tiles that need to cross the country by truck adds both lead time and delivery cost, so factoring this into your initial order is the smarter approach. Check warehouse stock levels before committing to a repair timeline that depends on material availability, particularly for less common travertine grades sourced from Middle East quarries.
For specifiers managing material-to-labor cost ratios, the repair-versus-replace decision hinges on whether the damaged area exceeds roughly 15–20% of the installed floor. Beyond that threshold, the cumulative labor cost of individual repairs typically approaches or exceeds the cost of full replacement — and replacement delivers a more visually consistent result. You can explore our filled travertine tile range for replacement-grade options that match standard commercial fills and finishes.
Why Sealing After Repair Is Non-Negotiable
Every repair — regardless of size — leaves the stone’s surface chemistry temporarily disrupted. Epoxy fillers, grout compounds, and honing processes all remove or compromise the original sealer layer in the repair zone. Applying a fresh penetrating sealer within 24–48 hours of completing the repair locks out moisture, prevents staining agents from penetrating the repaired area, and slows future filler degradation.
The sealer chemistry matters here. Travertine is a calcium carbonate stone with a pH sensitivity that makes it reactive to acidic cleaning products and even some sealers that contain acidic carriers. Use only a pH-neutral impregnating sealer formulated specifically for calcium carbonate substrates. Solvent-based penetrating sealers typically outperform water-based alternatives in high-traffic or high-moisture zones because they penetrate deeper into the stone matrix and resist emulsification from repeated wet cleaning. According to NSI travertine properties, travertine’s absorption characteristics make it particularly responsive to quality impregnating sealers — a fact that supports investing in a professional-grade product rather than a consumer hardware-store option.
Apply the sealer in two thin coats rather than one heavy application. The first coat primes the stone pores; the second coat fills the residual absorption. Wipe off any excess sealer within the manufacturer’s recommended window — typically 5–15 minutes — before it cures on the surface and creates a hazy residue that’s difficult to remove from a honed finish.
Prevention: Stopping Future Damage Before It Starts
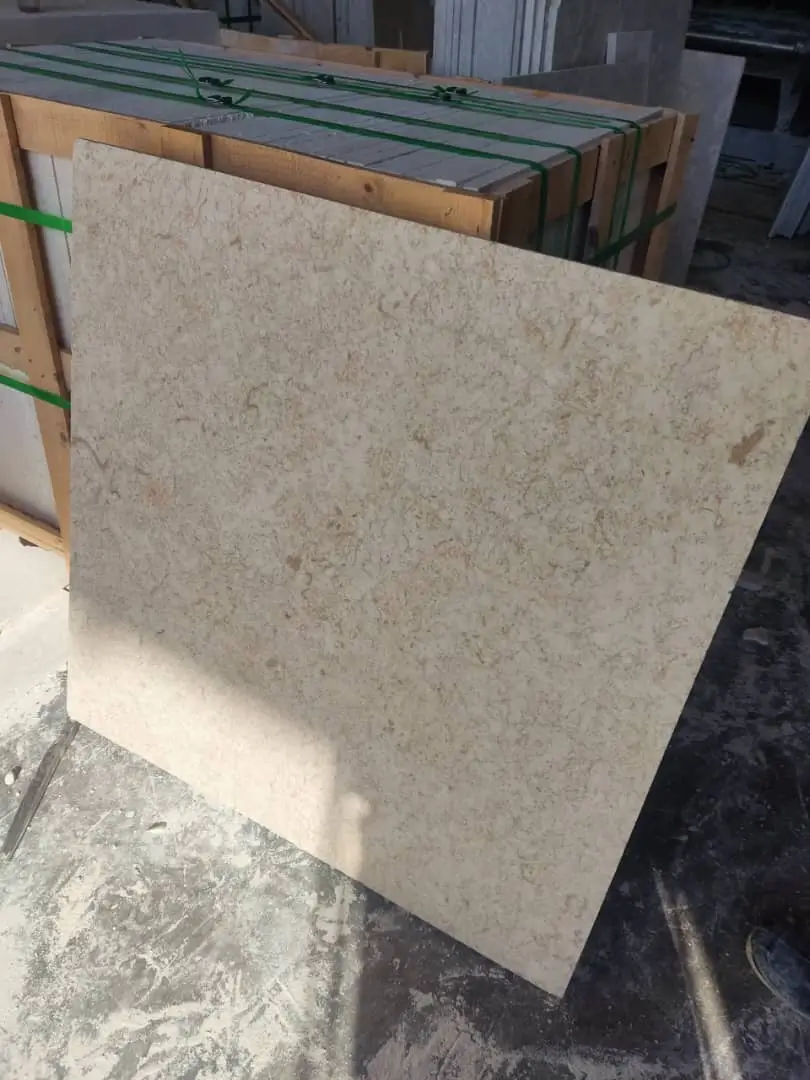
The single most effective prevention strategy for travertine tile damage isn’t a product — it’s installation quality. A properly set travertine floor with full thinset coverage (minimum 95% coverage per TCNA guidelines), correctly spaced expansion joints, and a rigid, crack-isolated substrate will show dramatically fewer voids, cracks, and chips over its service life than a floor installed with hollow spots or inadequate movement accommodation. Most repair calls trace back to installation shortcuts, not material failure.
- Install anti-fracture membrane under travertine in areas subject to floor deflection or substrate movement
- Maintain a minimum 3/16-inch grout joint for floor tiles — tighter joints accelerate edge chipping from thermal cycling
- Place felt pads under all furniture legs; travertine chips more readily than dense igneous stones at contact points
- Reseal travertine tile floors every 1–2 years in high-traffic areas, every 3–4 years in low-traffic residential settings
- Avoid acidic cleaners — even diluted vinegar causes micro-etching of calcium carbonate surfaces over time
- Address grout joint failures promptly; water infiltrating beneath a tile through a failed grout joint creates the substrate saturation that causes hollow spots and eventual cracking
According to ASTM C1527 travertine dimension stone standards, travertine’s absorption rate and void structure are defined parameters of the material — not defects. Managing them through correct installation and maintenance protocols is what determines whether your floor delivers decades of service life or requires repeated repair cycles. Knowing how to repair travertine tile reactively costs significantly more over a 10-year period than investing in prevention upfront.
Expert Summary
Successful travertine tile repair requires matching your technique precisely to the damage type — epoxy for voids and chips, structural assessment before any crack repair, and grout-based fills for larger surface spalls. Every repair must be followed by sealing, and every sealing decision must account for the stone’s calcium carbonate chemistry. At Citadel Stone, we work directly with project teams to identify the right fill grade and sealer combination for their specific travertine installation, drawing on hands-on sourcing experience that runs from quarry selection through warehouse quality checks to final delivery. Understanding the stone’s material behavior — its porosity, its thermal response, its filler compatibility — is what separates a repair that holds for years from one that reopens within a season. Maintaining your travertine correctly after repairs also means choosing cleaning products that won’t undo your work; the guidance on pH-neutral cleaners for travertine is worth reviewing before you establish your ongoing maintenance routine. For chips deeper than a surface scratch, the epoxy-fill method Citadel Stone outlines allows color-tinted repair that blends with the stone’s natural veining.
Related reading: Travertine Look Porcelain vs Real Travertine Tile · How to Seal Travertine Tile for Indoor and Outdoor Use.