

Natural limestone fireplace surrounds develop their character through finish selection long before mantel style enters the conversation — honed and tumbled surfaces reflect radiant heat differently and age at noticeably different rates near a firebox. Field inspections turn up more callback issues from mismatched finish-to-application pairing than from the stone itself. Getting the surface treatment right the first time saves a resurfacing job three winters down the line.
Surface Finishes That Define a Natural Limestone Fireplace
Honed limestone carries a matte, low-sheen surface that diffuses light rather than throwing glare across a room — this is why most limestone fireplace stone specified for living areas arrives honed rather than polished. Polished finishes look striking under showroom lighting but show every dust mark and thermal haze within a few heating seasons near an active firebox. Tumbled and brushed finishes sit in between, softening edges while keeping enough texture to hide minor surface variation.
- Honed finish: matte low-sheen surface, moderate porosity, forgiving of minor thermal marking near the firebox opening
- Polished finish: high reflectivity, tightest pore structure, best reserved for surrounds set back from direct heat exposure
- Tumbled finish: worn edges and irregular texture, popular for rustic mantels and rubble-style surrounds
- Brushed finish: textured but even surface, good traction underfoot for raised hearth extensions
Limestone’s calcium carbonate composition means its color and clarity vary meaningfully with the finish applied, and Britannica’s geological overview of limestone formation explains why crystalline density differs from quarry lot to quarry lot. That variation is exactly why sample approval before full material commitment matters more with a natural limestone fireplace than with manufactured alternatives.
Choosing Between Rubble, Ashlar, and Stacked Stone Textures
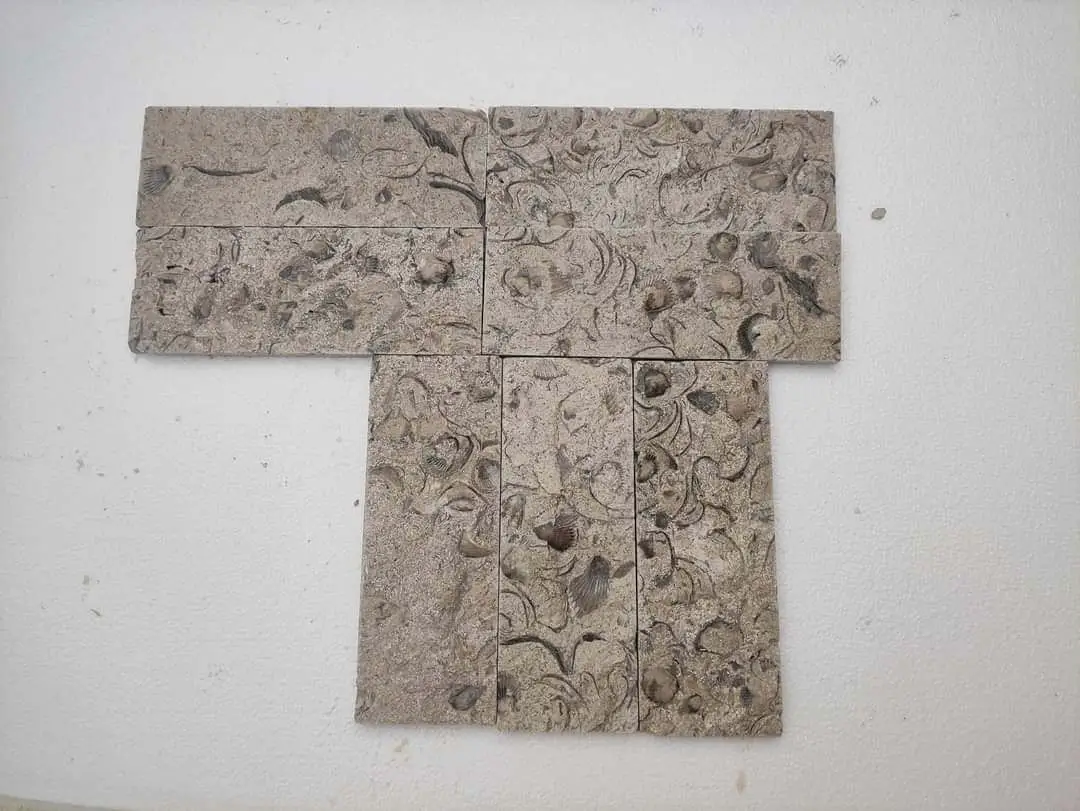
Rubble-faced limestone reads as informal and heavy, while ashlar-cut pieces bring a squared, architectural line to a fireplace wall. Natural limestone tundra cream rubble in particular gets specified often for its warm beige undertone, which reads well against darker wood mantels and iron fireplace accessories. Your texture choice should follow the room’s overall material palette, not just the fireplace opening itself.
- Rubble texture: irregular face profile, deep shadow lines, forgiving of minor installation variance
- Ashlar texture: squared edges, tighter joint lines, requires more precise layout planning
- Natural stacked stone veneer: thin-cut pieces mortared in a dry-stack pattern, lightweight enough for most standard wall framing without added structural reinforcement
- Ledgestone texture: horizontal linear pattern, reads more contemporary than traditional rubble
Stacked stone veneer pieces typically run 1 to 1.5 inches thick, which keeps dead load low enough for standard wall framing in most residential fireplace walls. Full-bed rubble pieces run considerably heavier and often need masonry backup or engineered anchoring, a detail worth confirming with your structural contractor before ordering material.
Slab vs. Tile: Thickness, Mantel Spans, and Structural Load
Mantel shelves cut for a natural limestone fireplace carry real structural demands, and thickness below 1.25 inches starts to flex under typical mantel-top loading like framed art or a mounted television bracket. Industry limestone specifications published through Natural Stone Institute technical data put compressive strength for dense limestone in the 4,000 to 10,000 PSI range, but flexural strength — the number that actually governs mantel span — runs far lower and varies by bed orientation.
Specifiers who cut mantels with the stone’s natural bedding plane running parallel to the wall gain noticeably more flexural resistance than those who ignore bedding orientation entirely. A mantel spanning more than 48 inches without center support should generally spec at least 2 inches of thickness, regardless of what a showroom sample suggests.
Tile-format limestone, by contrast, carries no structural role at all — it’s a surface cladding over a substrate that does the actual load-bearing work. That distinction matters when a client requests a thin veneer look but expects mantel-level rigidity from the same material.
Exterior Transitions: Chimney Facing and Storm Exposure
Many natural limestone fireplace projects don’t stop at the interior surround — the same stone often continues outside as chimney chase facing, and that’s where wind loads and storm-driven rain become real specification variables. Edge restraint at the transition point needs to resist uplift during high-wind events, not just gravity loading like the interior portion of the wall. Federal geological data on limestone composition and absorption explains why joint integrity, not the stone itself, becomes the weak point during wind-driven rain events at this transition.
Mortar joints exposed to storm-driven rain at a chimney chase need tighter tooling and deeper compression than interior joints ever require, since wind pressure differentials can force water laterally into a joint that would otherwise shed water by gravity alone. Impact resistance also matters here — hail and wind-borne debris strike exterior chimney facing in ways an interior surround never experiences. Dense, low-porosity limestone finishes prove highly resistant to this kind of mechanical stress, though softer tumbled finishes chip more readily under repeated impact.
- Specify closed-cell backer rod and compressed sealant joints at the interior-to-exterior transition, not just mortar
- Confirm mechanical anchor spacing tightens near roof lines and corners, where wind uplift concentrates
- Choose honed or brushed finishes over tumbled for exterior-facing chimney sections in hail-prone or freeze-thaw regions
- Inspect flashing integration annually in storm-prone regions — most joint failures start at flashing, not the stone
Base Prep and Anchoring for Heavy Stacked Stone Surrounds
Metal lath over a scratch coat remains the standard substrate for stacked stone surrounds heavier than roughly 15 pounds per square foot, giving mortar something mechanical to grip beyond simple adhesion. Skipping the scratch coat and going straight to thin-set on drywall is the single most common shortcut that leads to surrounds detaching within a decade.
Full-bed rubble and thicker slab pieces need actual mechanical anchors — stainless pins or wire ties set into the framing — because mortar adhesion alone can’t reliably hold material over roughly 25 pounds per square foot on a vertical wall. Your contractor should verify substrate fastener spacing against the actual per-square-foot weight of the selected stone, not a generic veneer chart.
- Confirm wall framing can bear the dead load of full rubble before committing to that texture
- Use type S mortar for stacked stone veneer applications rather than general-purpose thin-set
- Allow proper cure time before grouting joints — rushing this step is a leading cause of hairline joint cracking
- Verify hearth extension slab support independently from the vertical surround anchoring system
Sourcing, Lead Times, and Slab Selection
Lead times for imported limestone slab can run 6 to 8 weeks when material ships directly from overseas quarries, which catches a lot of renovation schedules off guard. Citadel Stone maintains warehouse inventory across multiple regional distribution points, which typically shortens that window to 1 to 2 weeks for common finishes and standard slab sizes.
Truck delivery scheduling matters more than most homeowners expect — a full pallet of limestone slab needs curb access and a clear path to the installation site, and narrow driveways or tight lots sometimes require a smaller truck with a liftgate instead of a standard flatbed. Confirming this detail before delivery day avoids a stalled project and a truck idling at the curb.
For projects requiring hearth extensions or matching accessory pieces, browsing Citadel Stone hearth materials alongside your surround selection keeps color lots consistent across the whole installation, which matters more with natural stone than with anything manufactured.
Warehouse quality checks at receiving catch shade variation before it reaches a job site, something that’s harder to manage when material ships directly from an overseas dock straight onto a truck bound for the installation address.
Design Pairings for Warm, Livable Interiors
A natural limestone fireplace in tundra cream or another warm tone reads best against matte black hardware, aged brass, and darker wood mantels — the contrast keeps a warm stone from looking flat or beige-heavy in a room with neutral walls. Pairing rubble texture with a clean-lined steel mantel shelf creates a deliberate contrast that reads intentional rather than accidental.
- Pair warm cream limestone with walnut or white oak mantels for a traditional but not overly rustic look
- Use ledgestone texture with a floating steel shelf for a transitional living room
- Extend the same stone into a raised hearth bench to visually anchor a large fireplace wall
- Limit accent lighting to warm color temperatures around 2700K–3000K to avoid washing out the stone’s natural tone
Uplighting recessed into a hearth extension highlights texture variation in rubble-faced limestone far better than flat overhead lighting, which tends to flatten shadow lines. Consider this detail early in design, since recessed lighting needs to be planned before the hearth slab goes in, not after.
Common Installation Mistakes That Shorten Surround Life
The most frequent mistake isn’t material selection — it’s ignoring clearance codes around the firebox opening, which local building codes typically set based on combustible versus non-combustible cladding distances. Limestone qualifies as non-combustible, but the mortar joints and any wood trim details around it still need code-compliant clearance.
- Setting stone directly against the firebox without a required air gap or non-combustible backer
- Ignoring bedding plane orientation when cutting slab mantels, which reduces flexural strength
- Using a general-purpose sealer instead of a breathable, stone-appropriate sealer that won’t trap moisture
- Skipping sample approval and discovering shade variation only after full installation
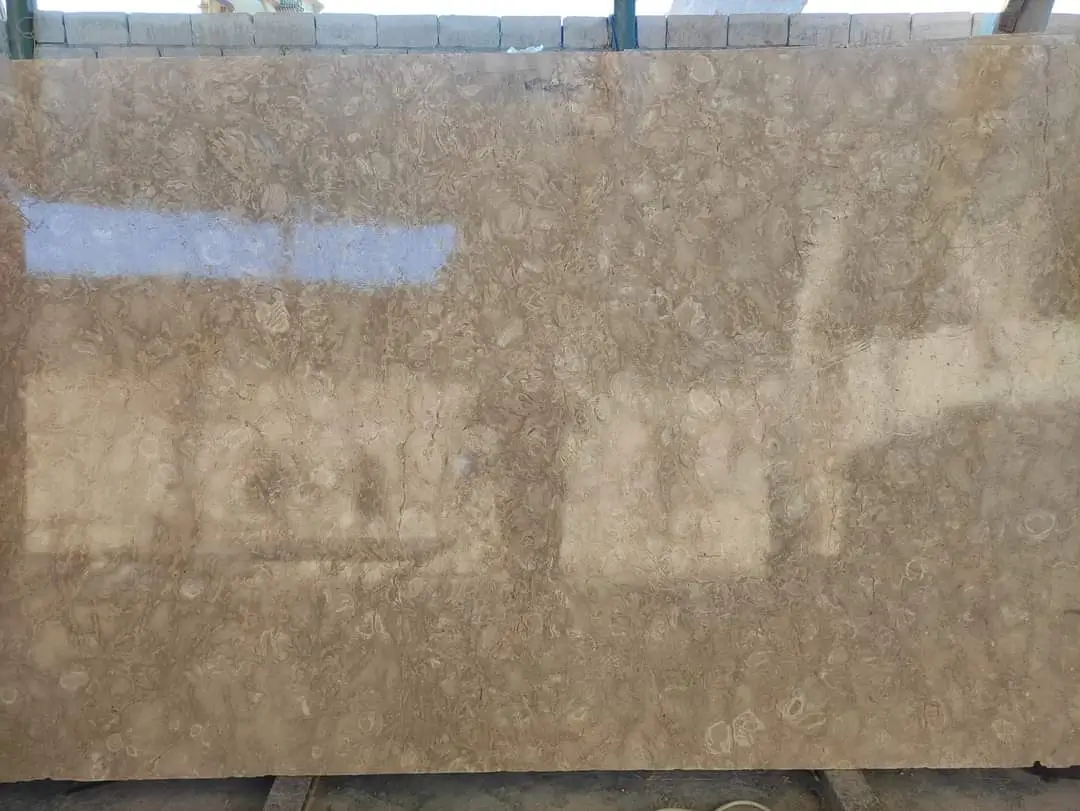
Sealing protocols matter more than most installers assume — a penetrating, breathable sealer applied every 3 to 5 years keeps limestone highly resistant to staining from soot and ash without trapping moisture behind the surface. At Citadel Stone, we verify absorption rates on each stone lot before it ships, which helps set realistic sealing intervals tailored to the specific batch a project receives.
Moving Forward
Getting a natural limestone fireplace right comes down to matching finish, texture, and thickness to the actual demands of the installation — not just the showroom sample. Decades of service life are realistic with correct anchoring, code-compliant clearances, and a sealing schedule matched to the specific stone lot installed.
Once the fireplace surround is specified, many of the same durability principles carry over to other load-bearing stone structures around a property — for a closer look at exterior stone applications, the limestone retaining wall construction guide covers anchoring and drainage details relevant to any exterior stone project. Product from Citadel Stone ships in hand-selected slabs cut for mantel and surround work, drawn from internationally sourced quarries.
Related reading: natural limestone landscape ideas · is limestone a natural stone · natural limestone colors guide.