Stone Selection Sets the Tone for Every Path
The design decisions that define rock stepping stones landscaping projects aren’t just aesthetic — they’re structural. Choosing the wrong thickness relative to span, or placing stones without accounting for ground movement, produces paths that shift, tip, and crack within two seasons. Your stone selection should start with a minimum 2-inch nominal thickness for any stepping application where adult foot traffic is expected, and that number climbs to 2.5 inches for organic soil beds where frost heave or moisture variation is significant. The material’s density and surface texture also determine long-term grip, which is why raw cleft finishes consistently outperform honed surfaces in outdoor pathway applications.
Design Styles That Work With Natural Stone Paths
Rock stepping stones landscaping adapts to an impressive range of garden aesthetics, and the design style you commit to should guide every downstream material decision — from stone shape to joint width to ground cover species. Broadly, garden stone paths fall into four recognizable design families, and understanding which one fits your project prevents costly mid-install changes.
- Naturalistic drift layouts use irregular flagstone shapes set with generous grass or moss joints, mimicking a path that emerged organically from the landscape
- Formal grid patterns use square or rectangular cuts at consistent spacing, typically set flush with a lawn or gravel surround for a clean architectural result
- Japanese-inspired arrangements prioritize deliberate stone placement with asymmetric spacing — each stone is a considered element, not just a functional tread
- Contemporary linear runs use elongated rectangular slabs with tight, dry-laid joints for a minimalist aesthetic that suits modern outdoor living spaces
Your choice between these styles determines whether you need sawn-edge material or naturally cleaved pieces, and that distinction feeds directly into your material sourcing specification. According to ASLA natural stone walkway and stepping stone design guidance, permeable joint treatments in pathway design also offer ecological benefits that align well with naturalistic and informal garden schemes.
Which Stone Types Suit Pathway Design
The material landscape for rock stepping stones landscaping is broader than most projects utilize. Limestone, basalt, granite, and flagstone each bring a distinct performance profile, and the right choice depends on your design direction as much as your climate zone.
Limestone for Stepping Paths
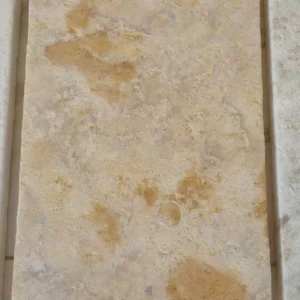
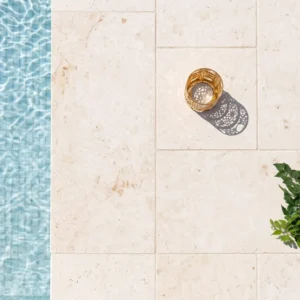
Limestone delivers warm, creamy tones that age beautifully in garden settings. Its naturally porous surface provides reliable grip when wet, and its relatively consistent cleavage planes make it predictable to shape and set. The trade-off is that high-traffic paths in acidic soil environments can show surface wear over 10–15 years, which is worth factoring into your maintenance expectations.
Basalt and Granite Stepping Options
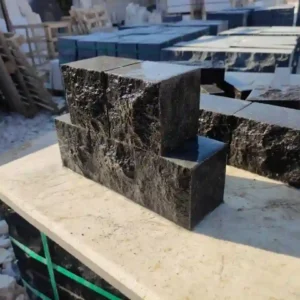
For projects where longevity is the priority, basalt and granite deliver compressive strength well above 15,000 PSI — a benchmark that virtually eliminates breakage risk under standard pedestrian loading. Basalt’s dark, fine-grained surface creates a sophisticated contrast against pale gravel or green plantings. Granite’s crystalline texture holds up exceptionally well in high-use areas and resists surface degradation even after decades of exposure.
Spacing and Layout Principles That Actually Work
Stride length is the metric most designers get wrong on the first draft. The average adult walking stride — measured center to center — lands between 24 and 28 inches, and your stepping stone spacing should sit at the lower end of that range to feel natural and unhurried. Spacing stones at 30 inches or more forces an awkward stretch that frustrates users and creates safety concerns on uneven ground.
Your layout process should start with a dry run using cardboard cutouts or temporary markers before any excavation happens. Walk the path naturally at different speeds and adjust your spacing based on how the rhythm feels underfoot — not how it looks from above. The two perspectives rarely agree, and foot feel is the one that matters for long-term satisfaction.
- Mark stone center points with stakes before cutting any turf or excavating your bed
- Allow for at least 12 inches of stone width on either side of the centerline for comfortable foot placement
- On curves, tighten your spacing slightly — curved paths require shorter steps to navigate comfortably
- Grade each stone position so the surface sits 0.5 to 1 inch above the surrounding lawn or ground cover
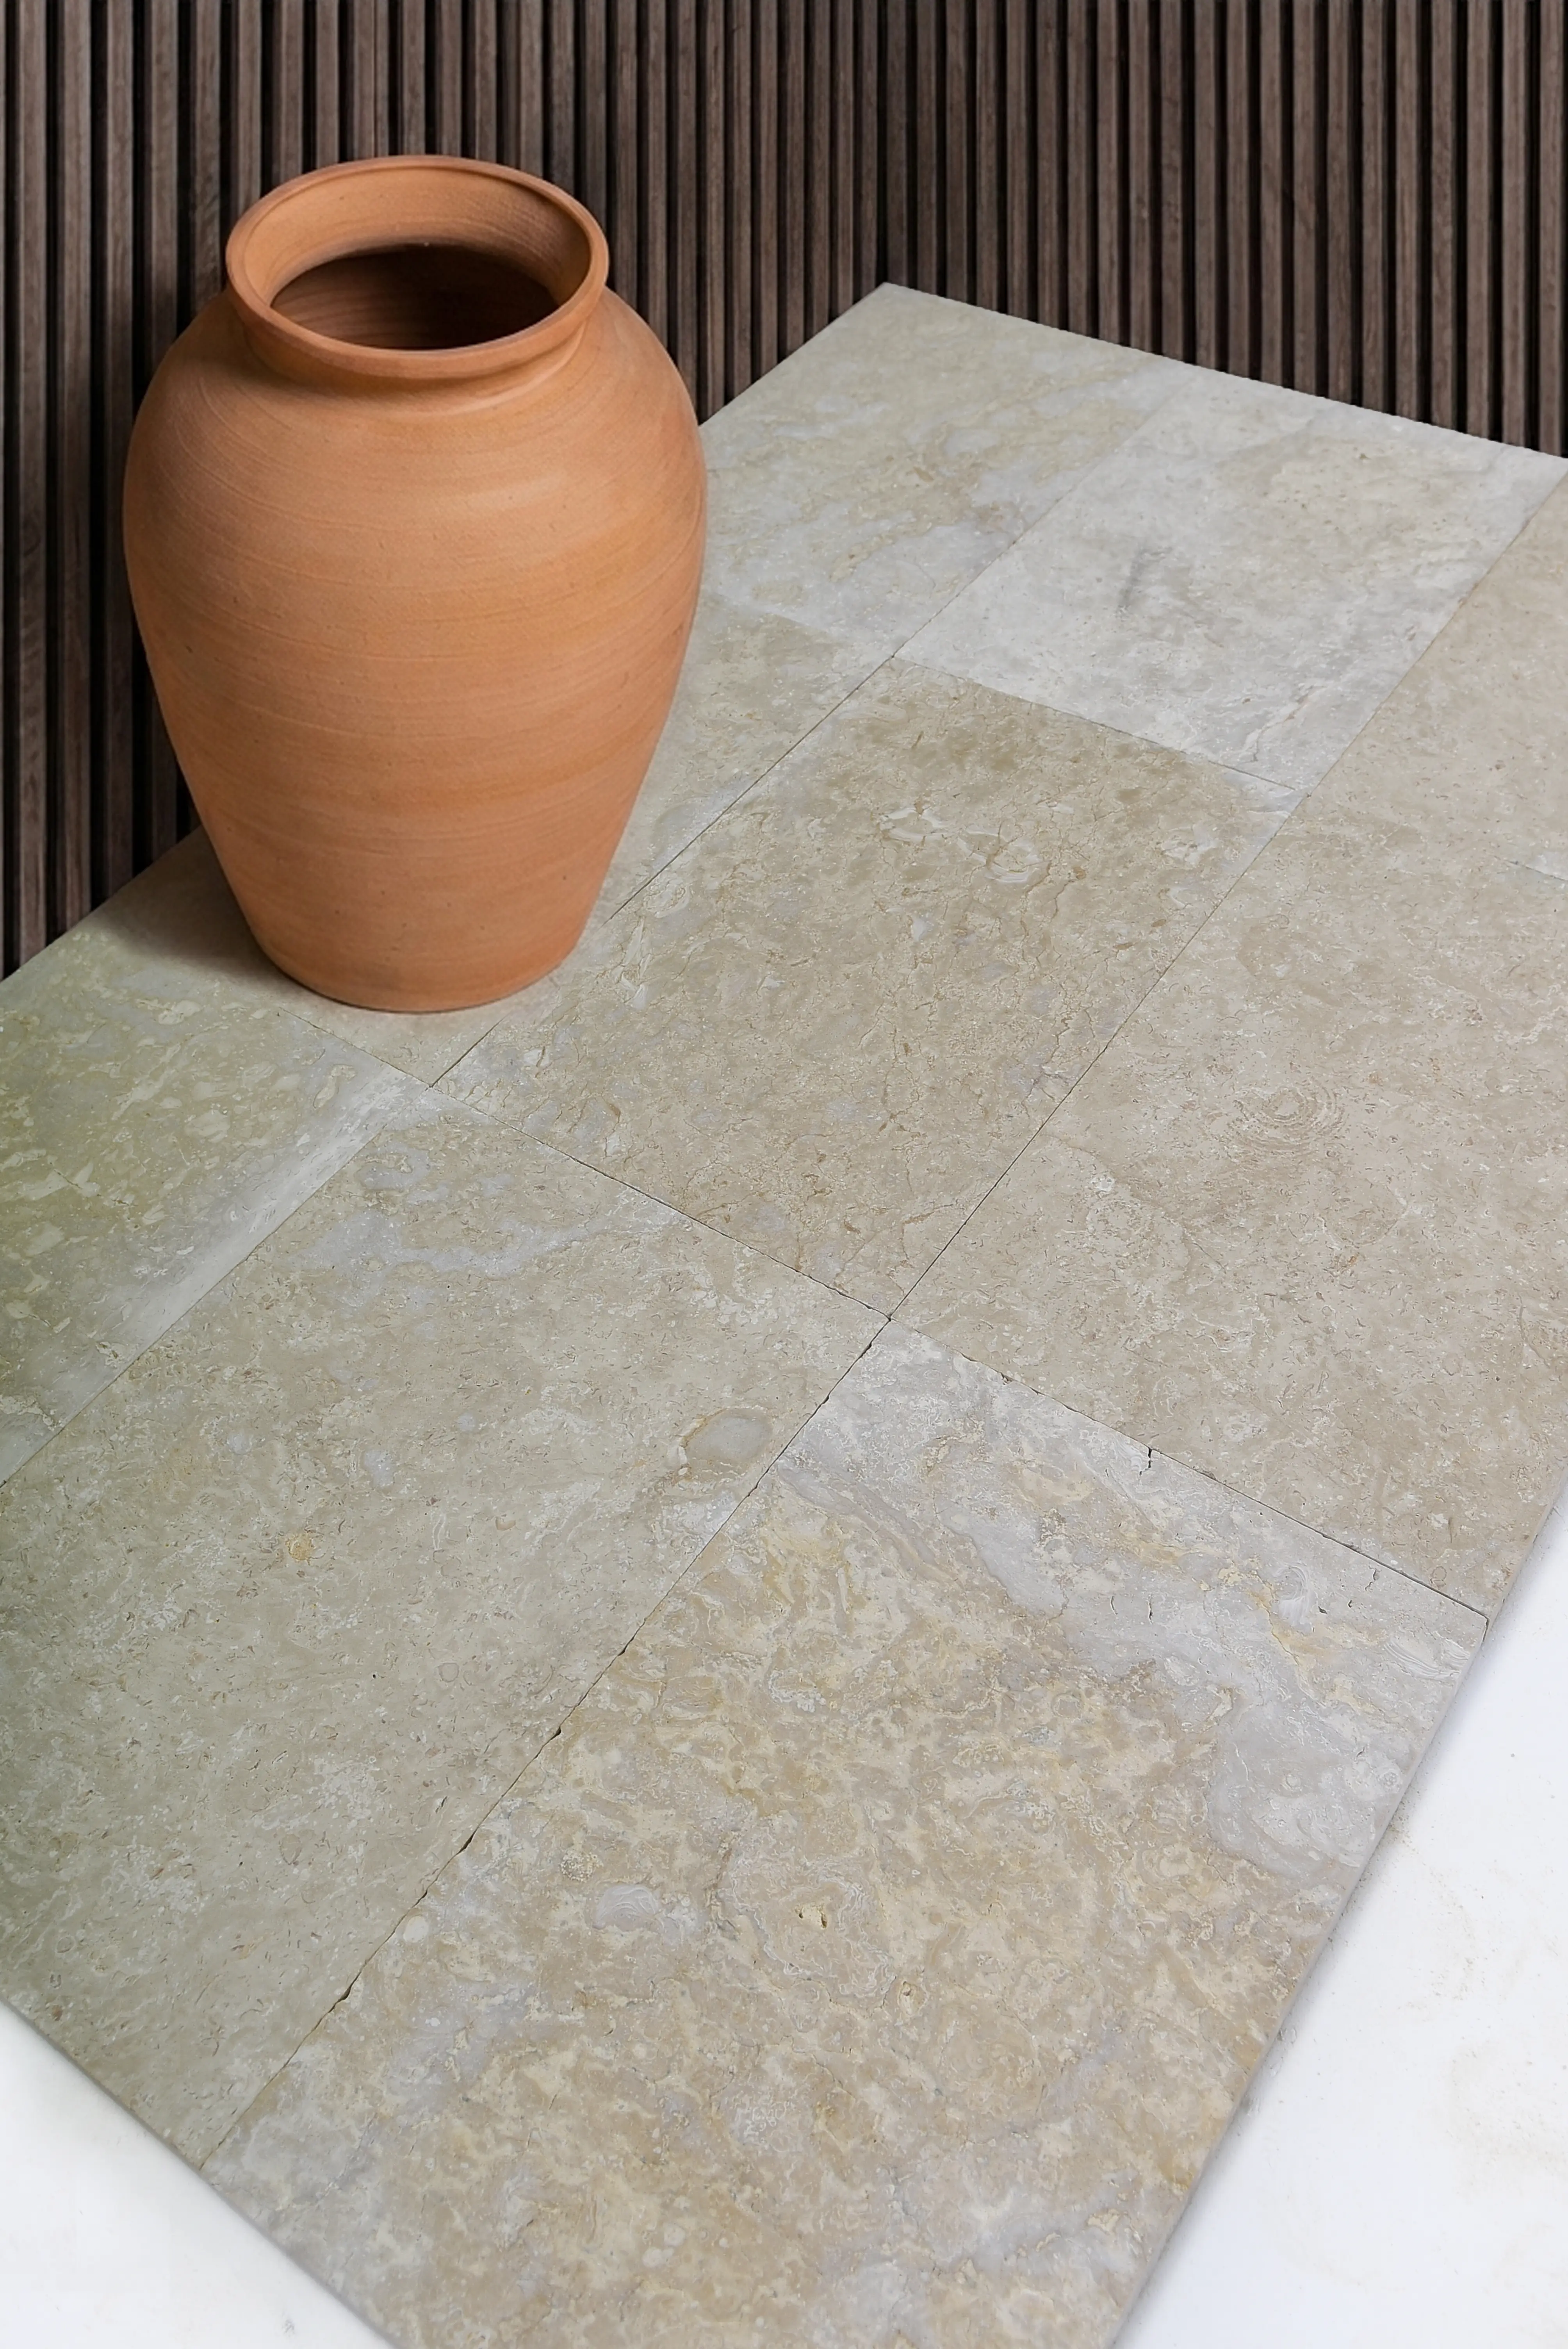
For a project planning a naturalistic drift layout, Citadel Stone natural rock slabs offer the irregular profiles and varied surface character that make these arrangements look genuinely found rather than installed.
Base Preparation for Lasting Results
The single biggest predictor of long-term stepping stone stability isn’t stone quality — it’s base preparation. A 4-inch compacted aggregate sub-base under each stone prevents settling in clay soils and limits the heave cycle damage that undermines paths in regions with significant temperature swings between seasons. Skipping this step to save time is the number one cause of paths that need resetting within three years.
Freeze-thaw cycling deserves particular attention in your base design. In areas where ground temperatures oscillate repeatedly through the freezing point across a single season, trapped moisture in the soil beneath your stones expands and contracts in a ratcheting pattern that gradually displaces even heavy flagstone pieces. A granular drainage layer — typically 4 inches of compacted clean crushed stone topped with 1 inch of coarse sand — interrupts this cycle by allowing moisture to drain away rather than accumulate beneath the stone. Day-to-night thermal swings in continental climates can also generate meaningful surface stress on the stones themselves: wider joints between pieces accommodate the minor dimensional expansion that occurs across a 40°F diurnal range, reducing the compressive edge loading that eventually cracks tightly butted stones.
- Excavate to a minimum depth of 6 inches below finished grade to accommodate aggregate base plus sand setting bed
- Compact aggregate in two lifts — never in a single deep pour — to achieve uniform density
- Maintain a 1% slope away from structures to ensure surface drainage
- In freeze-thaw climates, increase aggregate depth to 6 inches for stones set in organic soil beds
Five Natural Stone Landscaping Ideas Worth Specifying
Beyond the standard grass-and-stone combination, rock stepping stones landscaping opens up genuinely creative territory. Here are five design directions that translate well from concept to installation and hold their visual appeal over years of weathering.
- Gravel river beds: Set irregular limestone or granite pieces through a flowing gravel surround — the contrast of fixed stone against loose aggregate creates a dynamic, low-maintenance path that drains excellently
- Moss-jointed woodland paths: In shaded garden zones, deliberately wide joints seeded with moss establish a soft, naturalistic character that improves with age as the moss fills in
- Rectilinear kitchen garden paths: Sawn sandstone or limestone in a 600×400mm module creates the structured geometry that formal kitchen gardens require, with practical width for wheelbarrow access
- Mixed-material patchwork: Combining irregular basalt with pale limestone pieces — alternating tones across the path — creates visual rhythm without requiring any formal pattern
- Elevated stepping stone bridge: Setting large flagstone pieces across a dry creek or planting bed on buried concrete footings creates a genuine focal point that transforms a utility path into a designed experience
The ADA walkway surface firmness and accessibility standards are worth reviewing for any path that connects accessible entry points — natural stone set correctly can meet these requirements, but surface texture and joint width both factor into compliance.
Finish and Texture Selection for Outdoor Paths
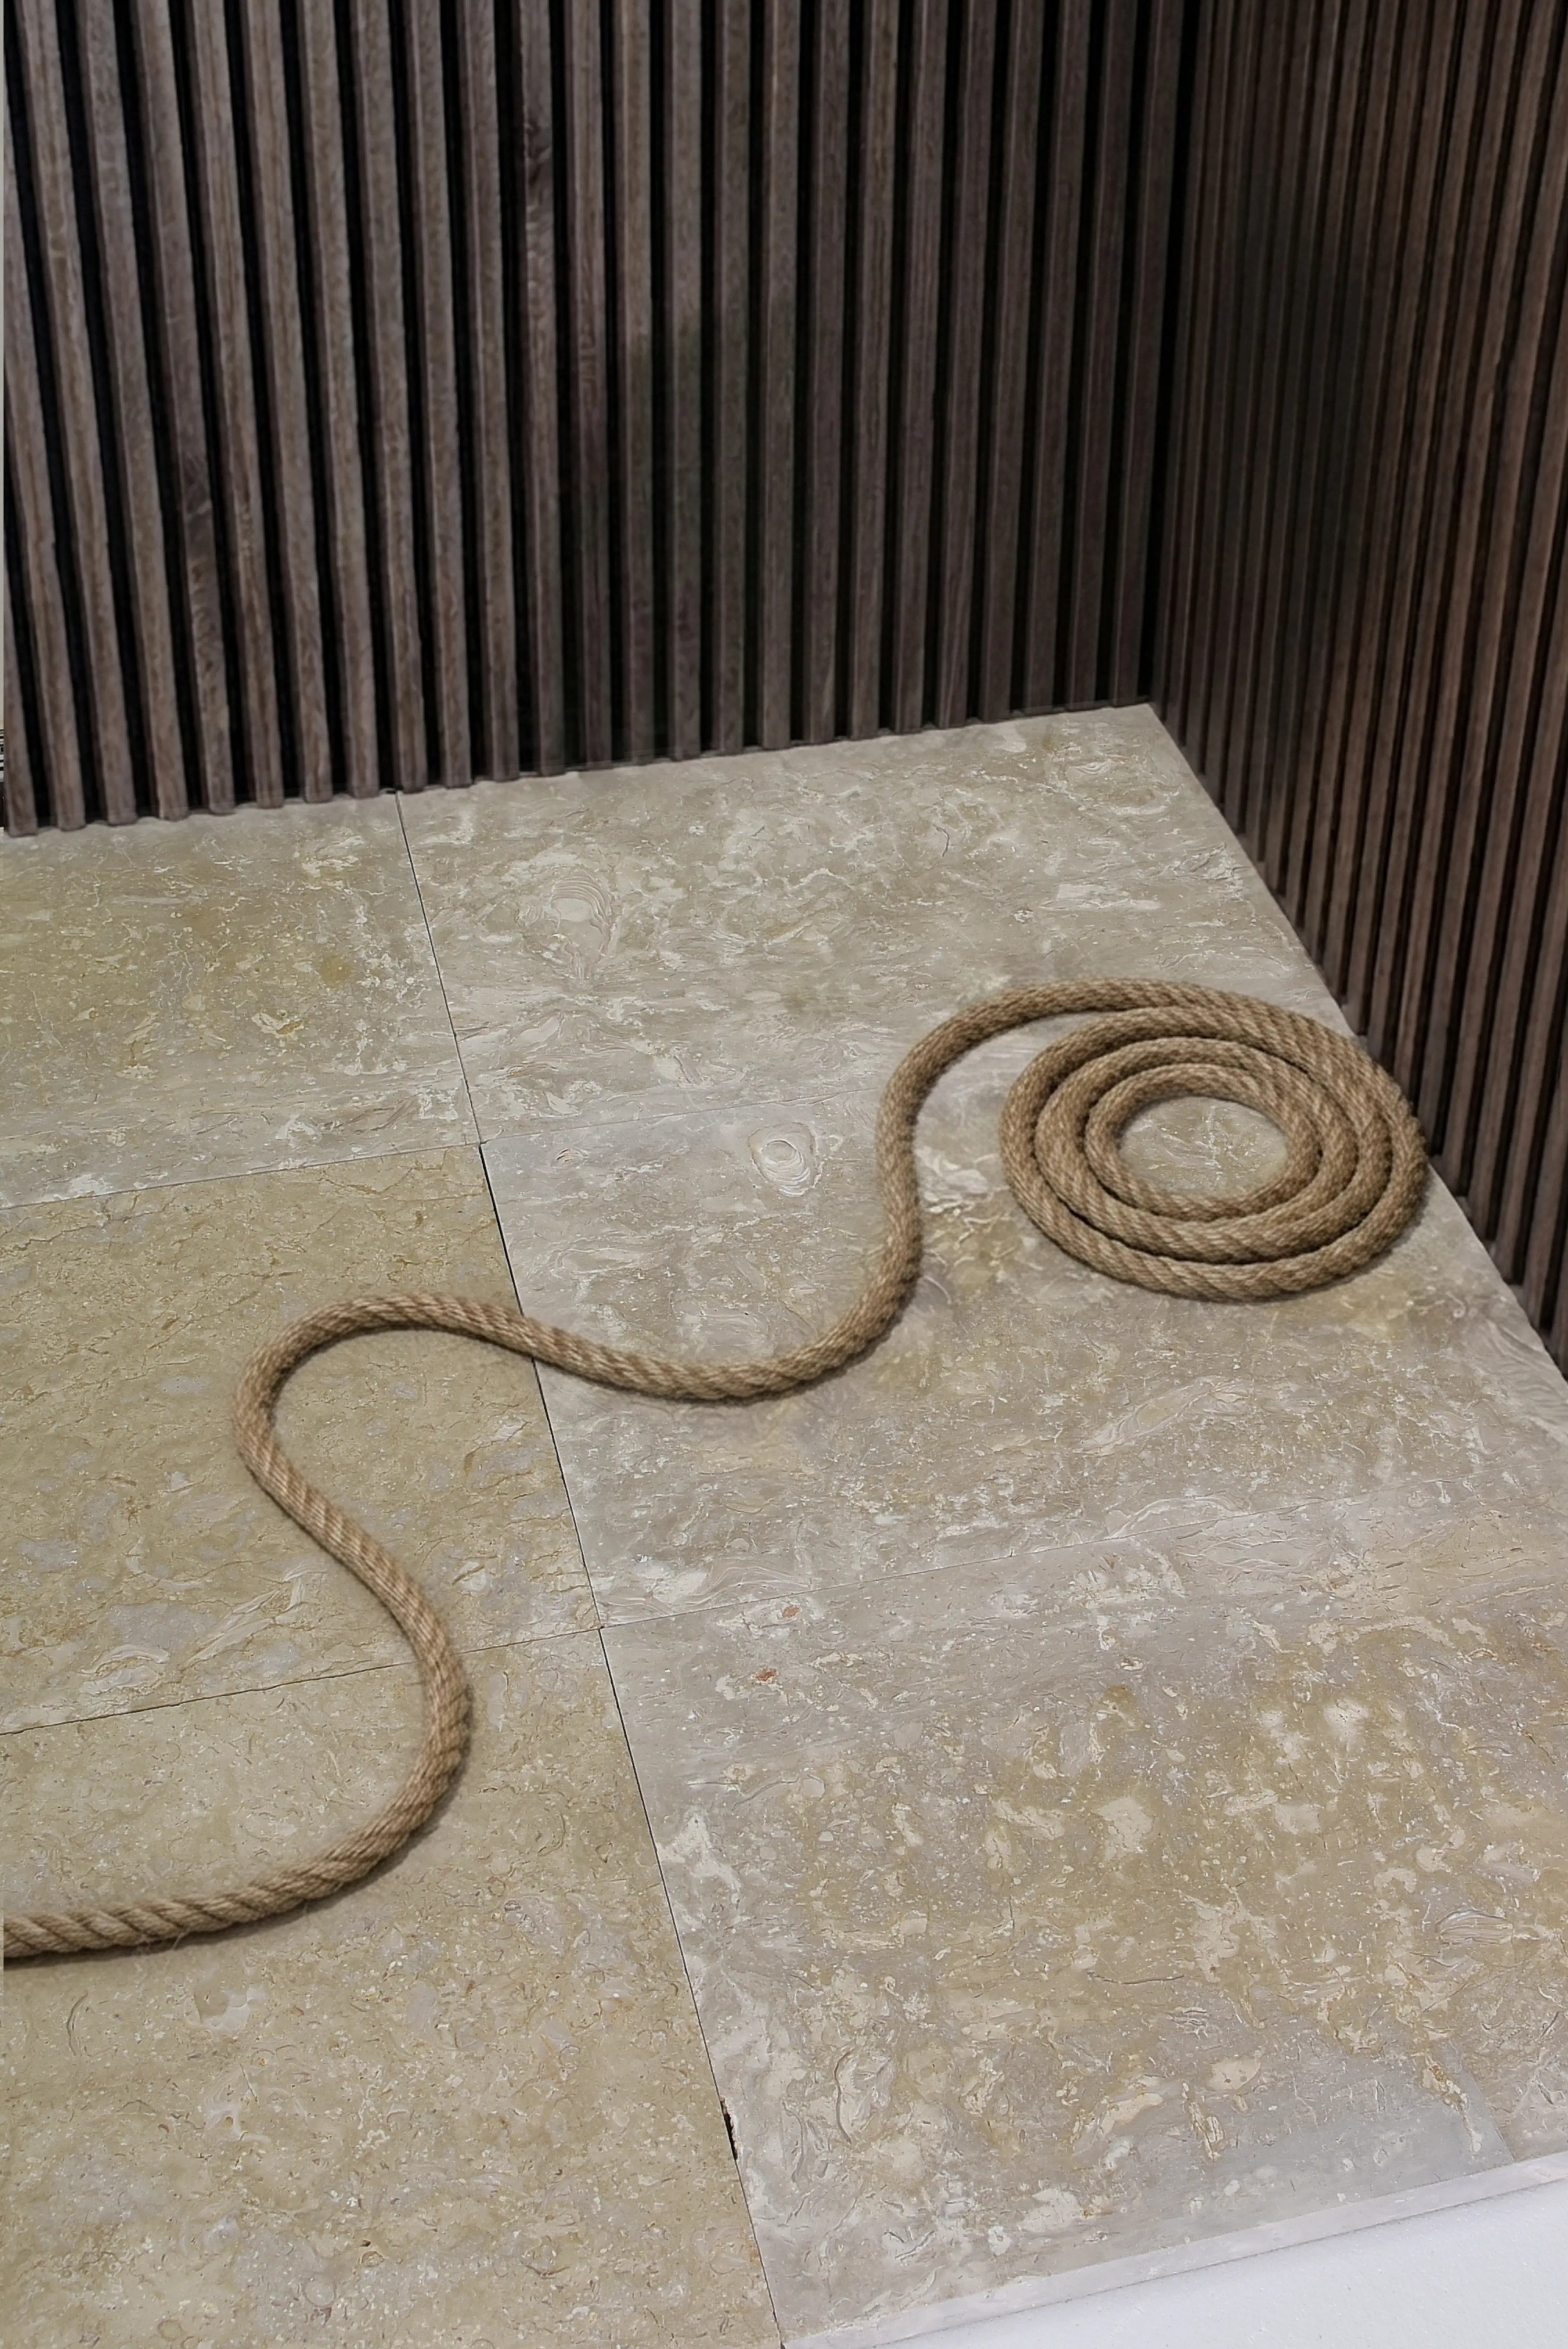
Surface finish is where many rock stepping stones landscaping projects make their first significant specification error. A honed finish looks refined in a showroom photograph and turns genuinely hazardous on a wet morning — particularly on convex or slightly crowned stone surfaces where water sheets rather than drains. For any exterior stepping stone application, your default should be a natural cleft, sandblasted, or flamed finish meeting the ANSI A326.3 minimum wet DCOF of 0.42, verified by standard slip resistance testing protocols.
The CDC slip-and-fall prevention guidelines for outdoor walking surfaces document outdoor walking surface safety requirements that directly inform finish specification for high-use paths. Textured finishes on rock stepping stones also weather more gracefully than polished surfaces — the visual character deepens rather than degrading as UV exposure and foot traffic accumulate.
- Natural cleft: Best all-round choice — inherent texture, no additional processing cost, excellent wet-weather grip
- Flamed: Thermally treated surface that opens the crystal structure — very high grip, particularly effective on granite and basalt
- Sandblasted: Creates a uniformly rough surface suited to formal geometric designs where consistent texture across the path is important
- Honed: Acceptable only in sheltered covered areas — never on exposed outdoor stepping stone paths subject to rainfall
Ordering, Logistics, and Lead Times
Your project timeline needs to account for stone lead times from the point of specification. At Citadel Stone, we maintain warehouse inventory across our national network, which typically brings delivery lead times down to one to two weeks for standard stepping stone formats — a significant advantage over the six-to-eight week import cycle that custom-quarried pieces require. Confirm warehouse availability before committing your installation subcontractor to a start date, because stone delivery is almost always the critical-path item.
Truck access to your site is a genuine logistics variable that’s easy to underestimate. Natural stone stepping slabs in the 600–900mm size range can weigh 80–150 lbs per piece, and delivery trucks typically require a hardstand area close to the drop point. Where truck access to the garden area is restricted, factor in a manual carry distance and the labor time it adds — a 20-meter hand-carry over soft ground on larger slabs will slow your installation significantly and should be reflected in your project budget.
Expert Summary
Rock stepping stones landscaping rewards careful upfront specification — specifically the decisions around stone thickness, base depth, finish selection, and stride-accurate spacing. Get those four variables right, and you build a path that requires minimal intervention across decades of use. Compromise on any one of them, and you’ll be resetting stones or addressing slip hazards within a few seasons. Natural stone sourced directly from quarries — rather than processed through multiple intermediaries — also gives you better consistency of thickness and surface character, which translates directly into a more predictable installation. As you plan the full scope of your garden hardscape, exploring related natural stone applications is worth the time; stepping stone install techniques covers the hands-on execution detail that bridges your design concept to a finished, stable path. Sourced direct from quarries in Turkey, the Mediterranean, and beyond, Citadel Stone rock stepping stones suit both formal and wild garden schemes.
Related reading: stepping stones sinking fix · stepping stones for landscaping · Large Stepping Stones for Walkways: A Sizing Guide.