

What Base Preparation Actually Decides
Most first-timer mistakes in diy stone walkway installation happen six inches underground, not at the surface. The base layer — not the stone selection, not the joint sand, not the sealer — determines whether your walkway looks the same in year fifteen as it did in year one. Get your compacted aggregate depth right and everything above it has a fighting chance. Shortcut it and you’re looking at rocking stones, sunken sections, and weed pressure within two seasons.
You’ll need a minimum 4-inch compacted gravel base for pedestrian walkways on stable, well-drained soil. On clay-heavy or expansive soils, push that to 6 inches and add a layer of geotextile fabric between native soil and aggregate. The fabric doesn’t just prevent weed intrusion — it separates your base material from fine soil particles migrating upward through freeze-thaw cycles, which is the mechanism that causes heaving.
Choosing Your Stone Material
Your stone choice shapes every downstream decision — base depth, bedding layer, joint width, and long-term maintenance. For a diy stone walkway installation, the practical shortlist comes down to flagstone, natural stone pavers, and porcelain. Each has a different installation logic.
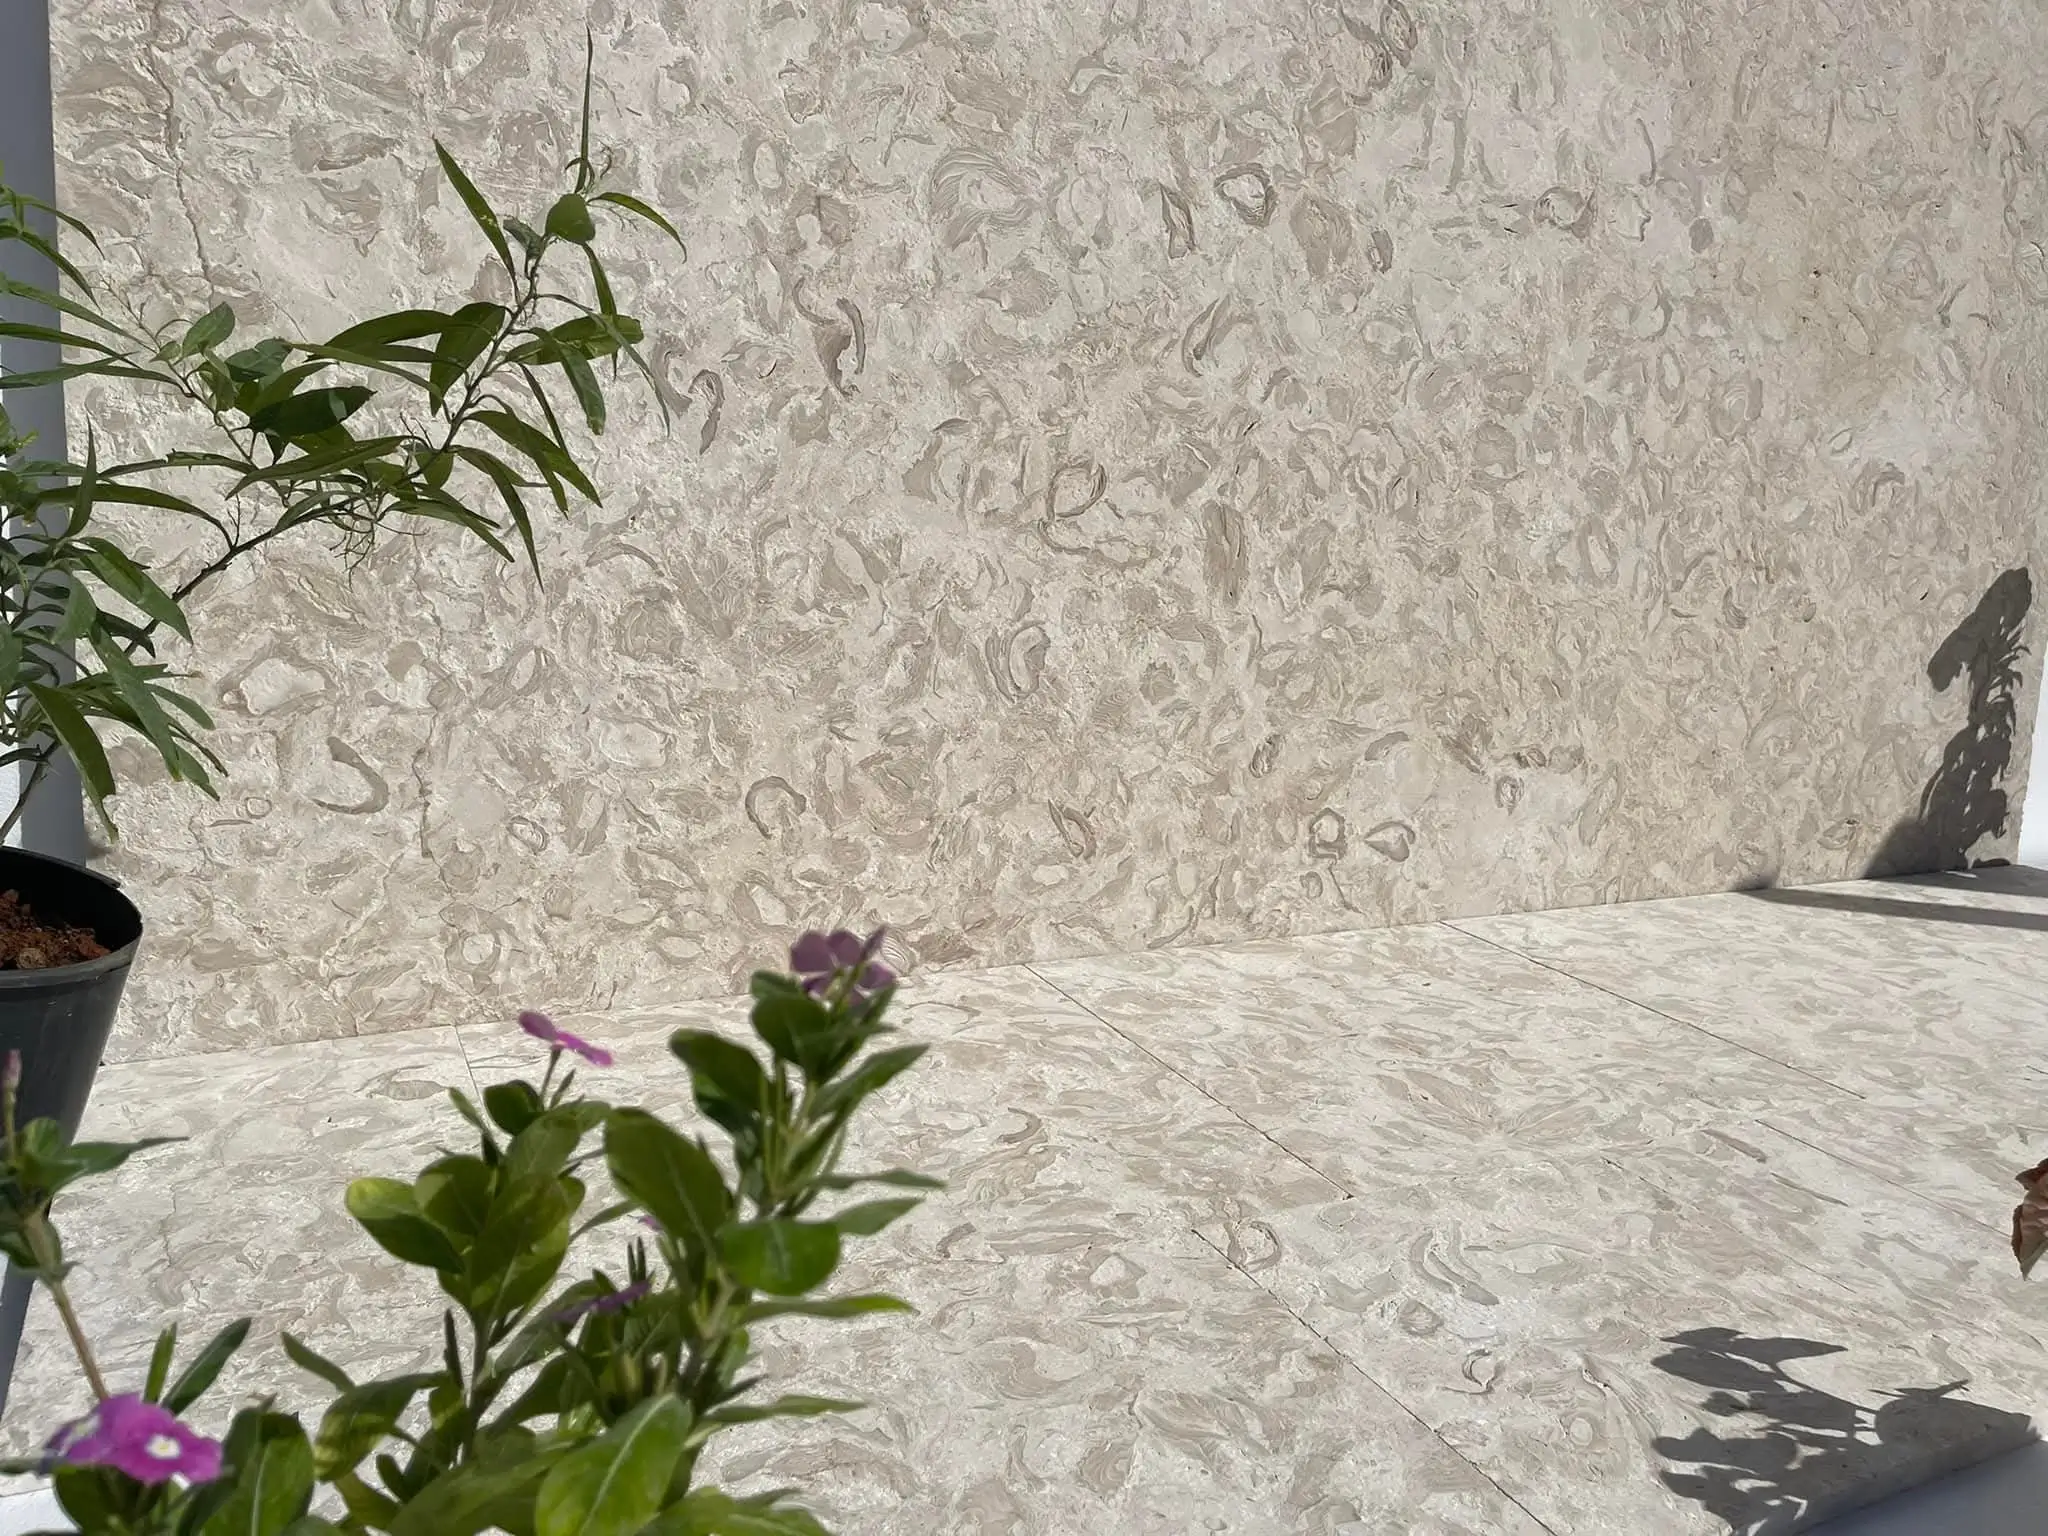
Flagstone (limestone, bluestone, slate, or quartzite) gives you the most organic, handcrafted look, but irregular thickness means more finesse during bedding. Natural stone pavers with consistent thickness are far more forgiving for first-timers — you set them into a sand or dry mortar bed and the uniform depth keeps everything level without constant adjustment. Porcelain paver walkways are growing in popularity precisely because they’re dimensionally consistent, low-maintenance, and highly slip-resistant, but they require a more rigid base than natural stone and don’t handle minor base settlement as gracefully.
- Flagstone: best for informal, naturalistic aesthetics — tolerates varied joint widths and organic layouts
- Natural stone pavers: consistent thickness makes leveling predictable — ideal for first-timers working in sand-set systems
- Porcelain paver walkways: zero-absorption surface resists staining, but installation requires more precision and a stiffer base
- Limestone and travertine: warm tones, moderate density, good for pedestrian-only paths in low-freeze climates
The Natural Stone Institute notes that stone selection should align with expected traffic load and surface finish requirements — NSI stone variety specifications provide comparative data on absorption, density, and finish options that are worth reviewing before you commit to a material. For most residential walkway projects, a 1.5-inch to 2-inch nominal thickness is the practical minimum for any set-in-sand application.
Layout Planning and Pattern Decisions
Dry-laying your entire walkway before you touch the base is one of the most valuable steps most beginners skip. Spread every stone out on a flat surface or the lawn first and work through your pattern. You’ll catch size mismatches, identify which pieces need cutting, and figure out joint spacing — all before the clock is ticking on your bedding layer.
Pattern choice matters structurally, not just visually. Running bond (offset joints) distributes load more evenly than stacked bond and reduces the visual impact of any minor settling. Random or ashlar patterns work well with flagstone, but consistent joint widths are essential — between 1/4 inch and 1 inch for natural stone, depending on whether you’re going with a formal or informal look. Tighter joints mean more precision during laying; wider joints are more forgiving but require more joint-filling material.
- Running bond: strongest load distribution, easiest for beginners to execute consistently
- Random flagstone: most natural appearance, requires more planning during dry-lay phase
- Circular or fan patterns: visually striking but demand precise cutting — not recommended for a first diy pavers project
- Stepping stone layout: simplest installation, no edge restraints needed, works well with inexpensive walkway pavers
Excavation Depth and Grading
Your excavation depth is a simple calculation: stone thickness + bedding layer + base depth + 1-inch buffer for compaction. A typical 2-inch paver on a 1-inch sand bed over a 4-inch compacted gravel base means you’re digging 7 to 8 inches below finished grade. Mark your excavation perimeter with spray paint or string lines before you break ground and stay precise — undercutting by even half an inch creates a soft spot that will show up as a sunken stone within a year.
Slope is non-negotiable. A 2% cross-slope (roughly 1/4 inch per foot) carries surface water away from any adjacent structure and prevents ponding that accelerates freeze-thaw damage. In freeze-thaw regions, standing water under stone is the primary cause of heaving — water expands roughly 9% when it freezes, and that expansion has to go somewhere. The ADA recommends walkway surfaces maintain slopes that don’t exceed 5% for accessible routes — ADA walkway accessibility and surface standards provide clear slope thresholds worth referencing if your path connects to an entry.
Bedding Layer Options and Trade-offs
The bedding layer is what your stone actually rests on, and you have two real options for a diy stone walkway installation: coarse bedding sand (ASTM C33) or a dry mortar mix (three parts sand to one part Portland cement, unhydrated). Sand is more forgiving — stones can be repositioned during installation and small leveling adjustments are easy. Dry mortar sets harder over time as moisture activates it, which reduces long-term stone movement, but you lose the ability to reposition stones once they’ve been set for more than a few minutes.
Keep your bedding layer at exactly 1 inch after screeding. Thicker beds compress unevenly under foot traffic and create soft spots. Screed your sand using two parallel lengths of conduit pipe set at grade — pull a straight board across them, then remove the pipes and fill the channels. This technique gives you a flat, consistent bedding surface without specialized tools.
- Coarse bedding sand: best for beginners — repositionable, widely available, no mixing required
- Dry mortar bed: more stable long-term, requires faster work pace and careful moisture management
- Never use fine play sand: it compacts poorly, retains moisture, and creates an unstable bedding layer
- Polymeric sand for joints: superior to regular sand for weed resistance and joint stability once the surface is complete
Cutting Stone for a Clean Fit
You’ll need to cut stone at borders, curves, and around obstacles regardless of which material you choose. For natural stone pavers, a diamond-blade angle grinder handles most cuts cleanly. For flagstone, a cold chisel and hammer works for irregular shapes — score a line, then strike firmly along the score. The key detail most beginners miss is that flagstone breaks along its natural cleavage plane, so score both faces and the edges before striking.
Wet-cutting with a tile saw gives the cleanest edge for formal patterns and porcelain paver walkway projects. Porcelain specifically requires a continuous-rim diamond blade and water cooling — dry-cutting porcelain causes edge chipping and shortens blade life dramatically. Rent a wet tile saw for porcelain work rather than pushing through with an angle grinder.
Edge Restraints and Border Stability
Sand-set systems rely on edge restraints to hold lateral pressure. Without them, stones at the perimeter migrate outward over time, joints open up, and the entire installation slowly unravels from the edges inward. Plastic paver edging staked with 10-inch spikes every 12 inches is the standard solution — it’s invisible below grade and holds well on straight runs. For curves, use flexible edging sections and space your stakes closer together, around 6 to 8 inches.
Natural stone border pieces or Belgian block edging are a durable aesthetic alternative to plastic edging and add significant visual weight to a walkway perimeter. They need to be set in a concrete haunch (a thin concrete collar poured against the outside face) to resist lateral movement. It’s more work, but it’s a detail that elevates the finished quality considerably. For inexpensive walkway pavers on a budget build, the plastic edging system gets the job done without adding material cost.
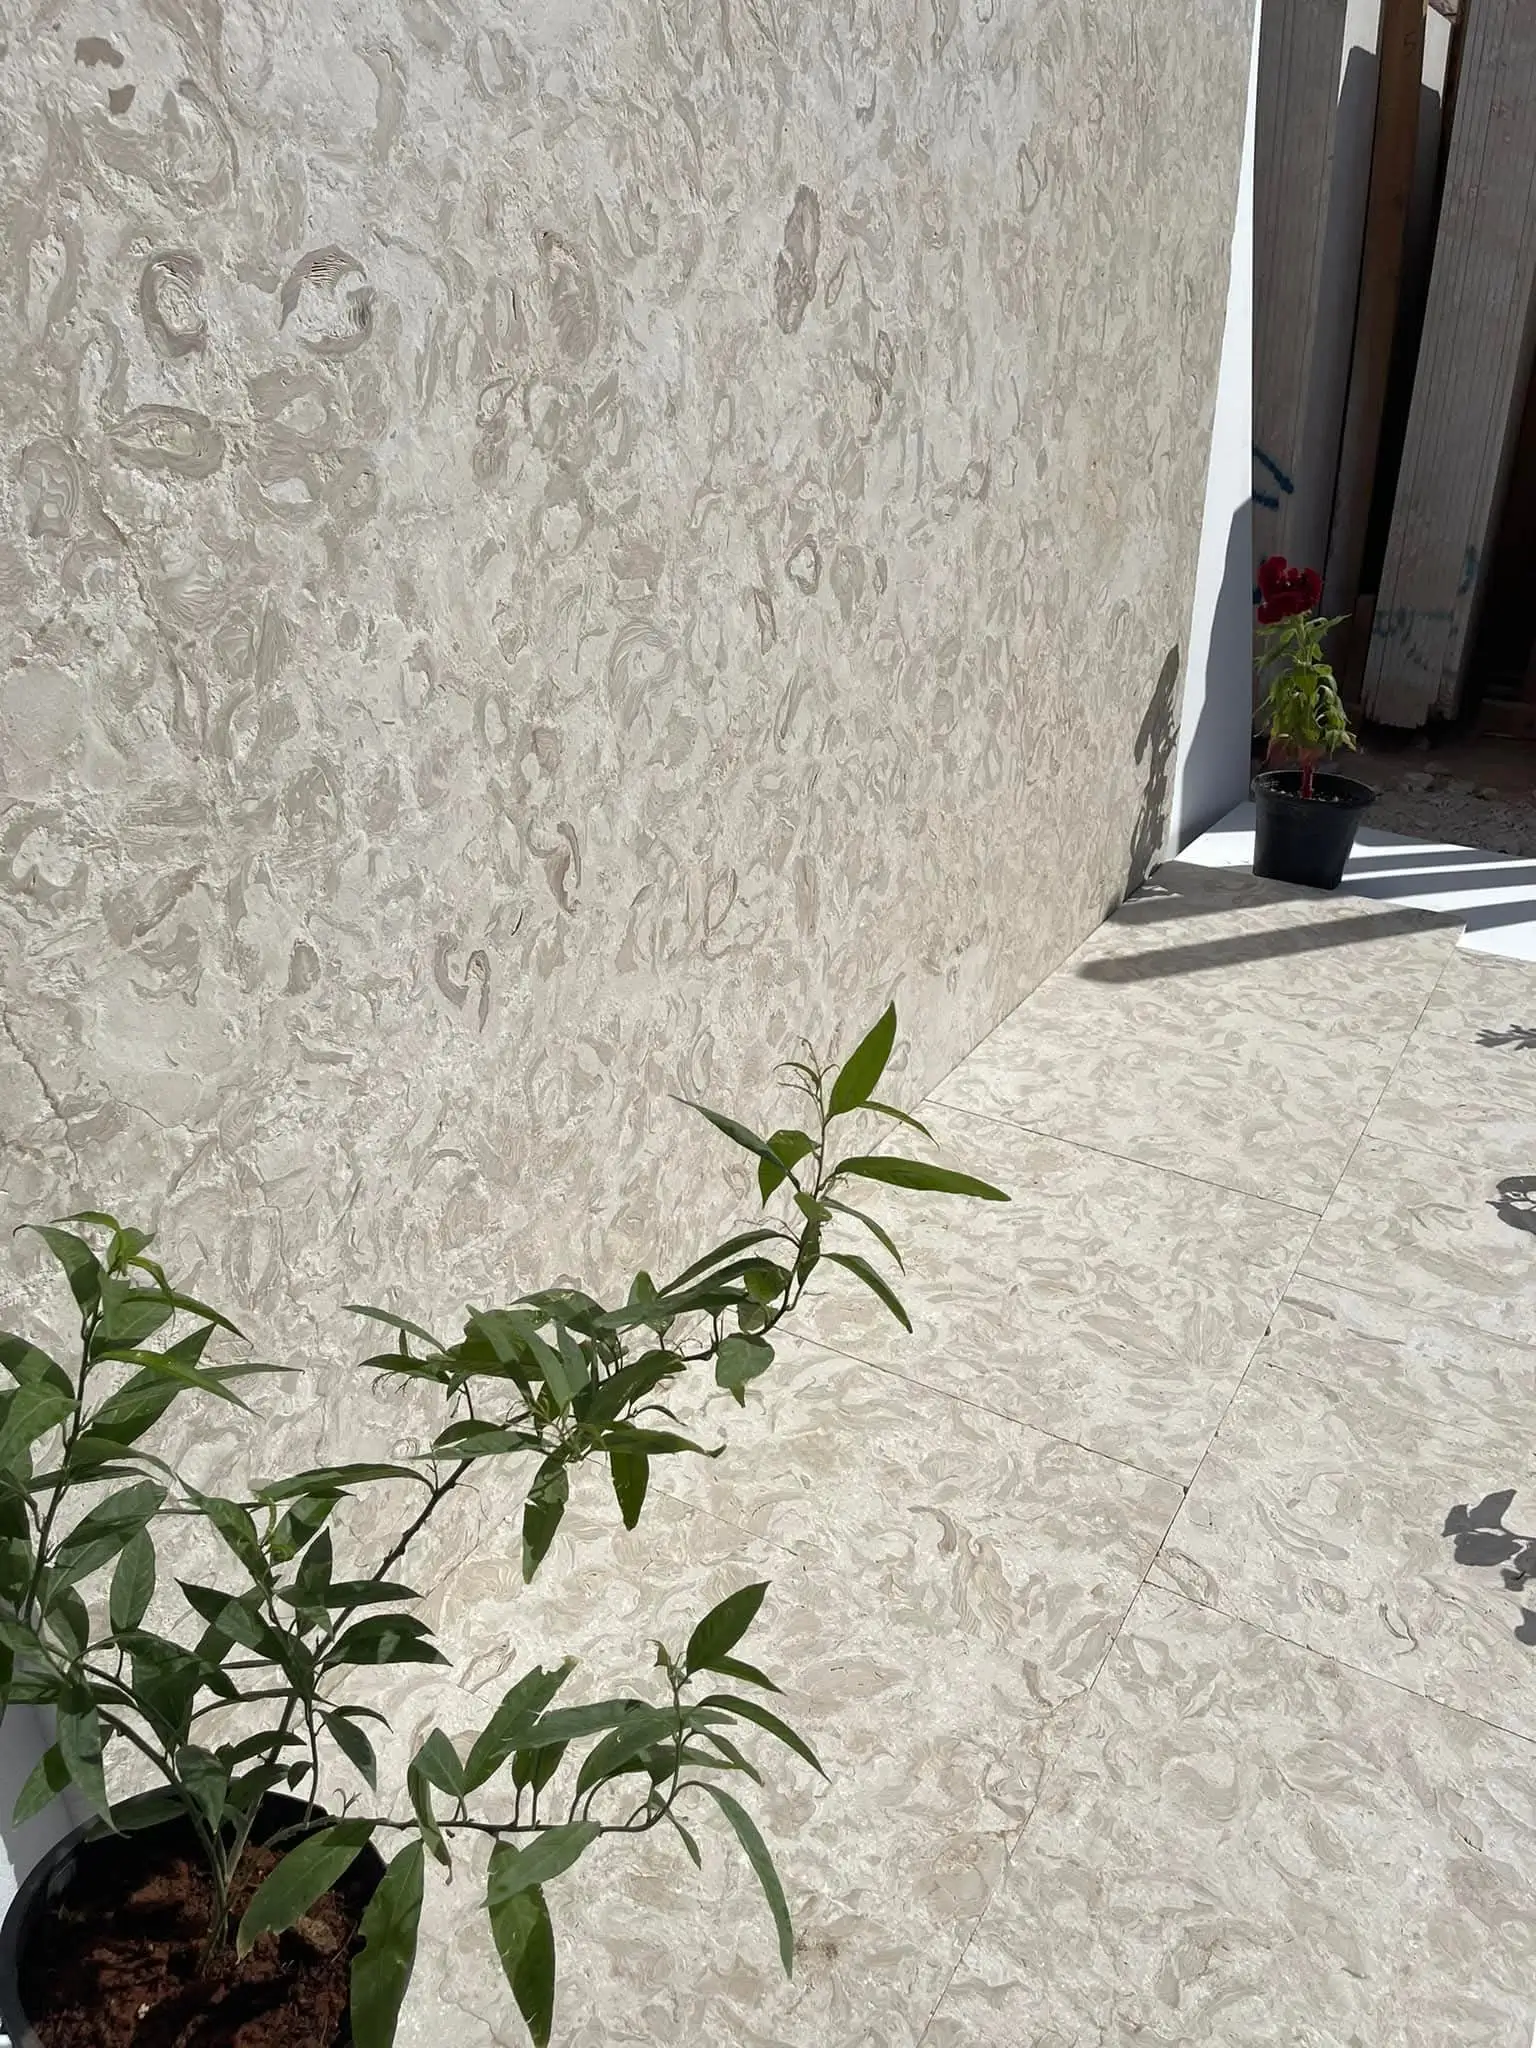
For projects where you’re sourcing natural walkway stone and want to explore material options before committing, Citadel Stone natural walkway stone covers the flagstone range available for residential and commercial walkway applications.
Joint Filling and Surface Finishing
Polymeric sand outperforms regular joint sand in every measurable way — it resists weed germination, locks harder under moisture activation, and significantly reduces ant activity in joints. The installation step most people rush is the compaction phase: you need to vibrate the stone surface with a plate compactor (use a rubber pad or carpet piece between the machine and stone face) to work sand down into joints before adding the final top-up layer. Do two passes before wetting.
Wetting polymeric sand requires a fine mist, not a stream. A hard stream of water washes activator out of the joint before it bonds. Mist lightly, wait 15 minutes, mist again. The surface should look damp but not saturated. Temperature matters here too — don’t apply polymeric sand if rain is forecast within four hours or if temperatures will drop below 32°F overnight. The chemical activation process needs ambient warmth to complete properly.
The ASLA’s outdoor paving guidance notes that permeable joint systems have both drainage and ecological benefits — ASLA permeable surface design standards address how joint systems interact with stormwater management if that’s a consideration for your project site.
Budgeting Your Walkway Project
Material-to-labor cost ratios shift significantly depending on how you source your stone. For a diy pavers project where you’re providing your own labor, stone material and base aggregate typically represent 60 to 75% of total project cost — which means sourcing decisions carry real weight. Freight distance from warehouse to delivery point affects per-unit cost more than most homeowners anticipate, particularly for heavy natural stone orders over 500 square feet.
Citadel Stone ships nationally, which means your delivered price reflects a standard freight calculation regardless of where you’re building. Confirming warehouse stock before you schedule delivery is worth a quick call — natural stone in specific thicknesses and colorways can cycle in and out of warehouse inventory, and a delayed truck delivery mid-project is a scheduling problem you want to avoid. Orders confirmed against verified stock typically ship within one to two weeks.
- Base aggregate and geotextile: typically 15 to 20% of total material budget — don’t cut corners here
- Stone material: the largest single cost variable — thickness, material type, and finish all affect price per square foot
- Polymeric sand and edge restraints: low cost relative to total budget but high impact on long-term durability
- Tool rental (plate compactor, wet saw): budget $80 to $150 per day depending on equipment and market — worth every cent versus hand-tamping
- Freight: confirm delivery point access before ordering — a truck that can’t reach your site means additional handling charges
Inexpensive walkway pavers in concrete or basic natural stone can bring material costs down to $4 to $8 per square foot, but natural stone in premium finishes can run $15 to $30 per square foot or more. The real value calculation is longevity: a properly installed natural stone walkway that performs for 25 years costs less per year than a budget concrete alternative replaced at year eight.
Common First-Timer Mistakes
The failure patterns in diy stone walkway installation repeat predictably. Skipping the dry-lay phase is the most common — it leads to awkward stone placement decisions made under time pressure during the actual installation. Inadequate base compaction is the second: a plate compactor run over native soil before you add aggregate, and again after each 2-inch lift of aggregate, is what creates the stable foundation your surface depends on. Hand-tamping rarely achieves adequate compaction density.
Ignoring drainage is the third and most consequential mistake in freeze-thaw climates. Water has to move off the surface and away from the base or it destroys the installation from below. Grade your base layer to match your finished surface slope — don’t assume the finished grade will correct a flat or inverted base. What the base does, the surface amplifies.
- Buying too little material: order 10 to 15% extra to account for cuts, breakage, and pattern matching
- Setting stone on an unscreeded bed: eyeballing a level surface leads to rocking stones within weeks
- Using mortar in cold weather: hydration stalls below 40°F — never mortar when overnight temps drop below freezing
- Skipping geotextile fabric: on clay-heavy soils this single omission accounts for the majority of premature base failures
- Rushing the compaction of polymeric sand: under-compacted joints allow sand washout within the first rainstorm
Decision Points
Reaching the end of a diy stone walkway installation project with a surface that performs well long-term comes down to three compounding decisions: base depth based on your actual soil conditions, stone thickness matched to your expected load, and joint-filling material that suits your maintenance tolerance. Each decision constrains the next — get the base right first, then let everything else follow from it.
Your stone type also determines how much surface maintenance you’ll carry forward. Natural limestone and travertine benefit from sealing every two to three years in high-traffic areas. Denser materials like basalt or granite need far less attention. Porcelain needs essentially none. Factor that maintenance reality into your initial material decision, not as an afterthought after installation.
As you plan your stone project, the choice of paver thickness can also influence your base design and overall cost — thin vs standard paver thickness options covers how that specification choice affects both installation method and long-term durability across different applications. Whatever material you choose, the base preparation work remains constant. A well-compacted base beneath Citadel Stone flagstone will generally do more for long-term walkway stability than any finish product applied afterward.
Related reading: porcelain pavers vs flagstone · paver base material guide · permeable pavers.