Plastic edging for pavers guide decisions often get made in about thirty seconds on a job site — someone grabs the roll of black flex edging, stakes it in, and moves on. That’s the moment that determines whether the finished installation holds its lines for fifteen years or starts creeping within the first two freeze-thaw seasons. The choice of edging profile, stake pattern, and anchoring method is far more consequential than most specs acknowledge, and the details that separate a lasting border from a failing one aren’t widely discussed.
What Plastic Edging Actually Does — and What It Doesn’t
Your paver field generates lateral thrust. Every vehicle that crosses it, every thermal cycle that expands the base material, every rain event that softens the sub-base — all of it pushes outward against the perimeter. Plastic edging is the restraint system that absorbs and redirects that force back into the field, keeping pavers from migrating and joints from opening up. Without it, or with an undersized profile, the outermost course of pavers gradually rotates outward and drops below grade.
What plastic edging doesn’t do is compensate for inadequate base compaction. That’s a mistake specifiers make repeatedly — treating the edging as the primary structural element when it’s actually the retention layer for an already-stable system. The base carries the load; the edging holds the geometry.
- Standard flex edging handles residential pedestrian and light vehicular loads in most conditions
- Heavy-duty commercial profiles resist the lateral thrust generated by forklift and delivery traffic
- Snap-together modular systems allow adjustment during installation but require precise staking to remain fixed
- Rigid straight-edge profiles maintain tighter tolerances for formal geometric layouts
Profile Selection by Application and Paver Weight
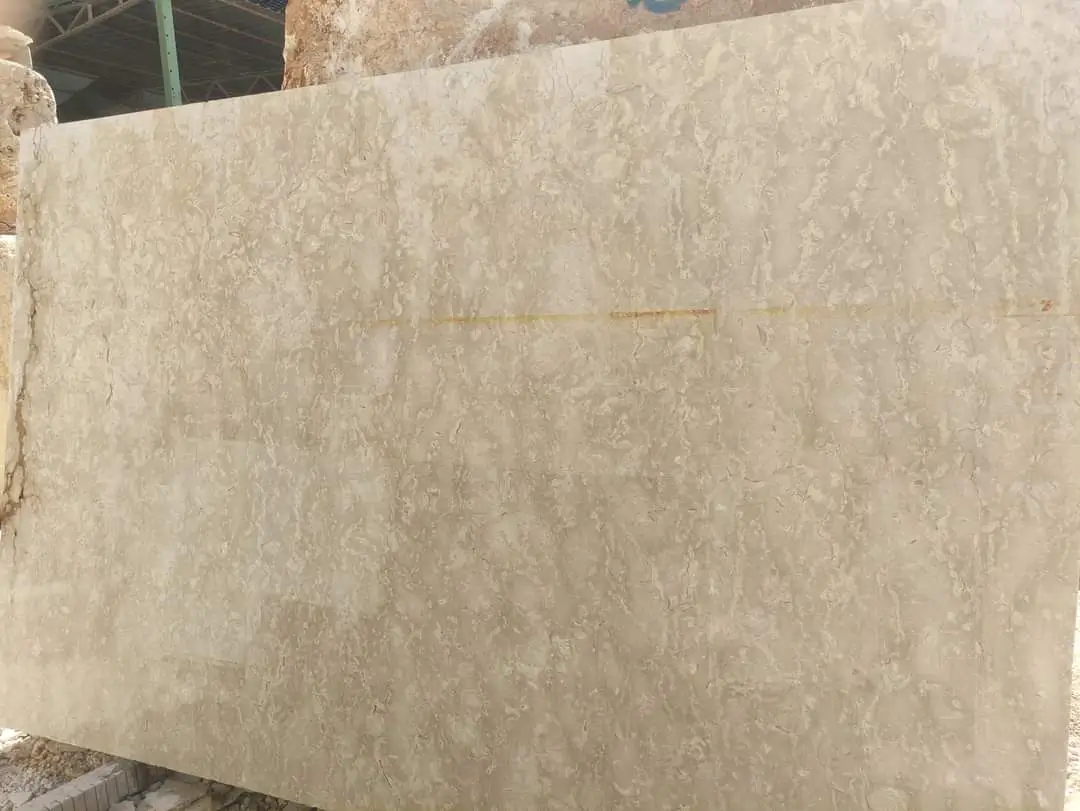
The edging profile height is what most installers get wrong first. A 3-inch-deep profile works adequately for standard concrete pavers in the 2.375-inch thickness range. Natural stone pavers — particularly thicker limestone or basalt formats running 1.5 to 2.5 inches — require matching the edging depth to the combined paver-and-base-course thickness, not just the paver face height. Undershooting this by even half an inch creates a fulcrum point where the edging rocks rather than anchors.
For precision paving layouts with tight pattern tolerances, the wall thickness of the edging profile matters as much as its depth. Thinner-wall profiles flex too readily under concentrated edge loads — this shows up as a subtle waviness in your border course within the first season. Specify a minimum 0.100-inch wall thickness for any application where you’re maintaining a straight run longer than 20 feet.
- Residential pedestrian paths: 3-inch depth, standard wall flex edging, stakes at 12-inch centers
- Driveway borders: 4-inch heavy-duty profile, stakes at 8-inch centers, doubled at corners
- Natural stone paver installations: match profile depth to total installation thickness plus 0.5-inch clearance
- Curved designs: select profiles with pre-scored flex points — field-cutting weakens the profile wall
- Formal geometric layouts: rigid straight-edge aluminum-reinforced plastic for runs over 15 feet
Stake Pattern and Anchoring Mechanics
Your stake pattern is doing more structural work than the edging profile itself in most installations. The edging is the face; the stakes are the anchor system that transfers lateral force into the sub-base. A common field shortcut — spacing stakes at 18 to 24 inches — leaves mid-span sections of edging unsupported, which is where migration starts. The industry-standard recommendation of 12-inch centers exists because it limits the unsupported span to a length where flex edging can’t develop meaningful lateral displacement under load.
Spike orientation matters too. Driving spikes at a slight inward angle — roughly 10 to 15 degrees from vertical — creates a mechanical interlock with the sub-base that resists outward pull far better than a vertical stake. According to ASLA guidance on hardscape edging and permeable surface design, the anchoring system at the paver perimeter is one of the primary factors in long-term pattern stability for outdoor stone installations. At corners and directional changes, install two stakes within 2 inches of either side of the transition — that’s the highest-stress location in the entire edging run.
Terrain, Slope, and Edging Performance on Graded Sites
Elevation changes introduce a variable that flat-site installations never encounter — gravity-driven lateral thrust. On a sloped installation, the downhill edge of your paver field carries the combined weight of every paver above it, transmitted through the base course. Standard residential edging profiles are rated for horizontal lateral loads; they’re not designed to resist the compounding downslope force on a site with more than a 2% grade.
For hillside or graded installations, the specification needs to step up to a heavy-duty profile anchored at 6-inch stake centers on the downhill perimeter and 10-inch centers on the uphill and side runs. On slopes exceeding 5%, consider whether plastic edging alone is the right solution — concrete haunching on the downhill edge, combined with plastic edging on the remaining three sides, is the more defensible spec for sites where slope drainage creates both hydraulic pressure and soil movement challenges. Grade management also affects where water exits the paver field; a properly integrated edging system includes deliberate low points or drainage gaps that prevent hydrostatic pressure from building behind the downhill restraint.
- 0–2% grade: standard profile, 12-inch stake centers on all sides
- 2–5% grade: heavy-duty profile, 8-inch centers on downhill edge, 12-inch on remaining sides
- 5%+ grade: concrete haunch on downhill perimeter, plastic edging on sides and uphill, evaluate drainage geometry before specifying
- Terraced hillside installations: treat each terrace as an independent edging system — do not attempt to run a single edging profile across elevation breaks
Natural Stone Pavers and Edging Compatibility
Natural stone formats present specific compatibility challenges that concrete paver installations don’t face. The variation in thickness across a natural stone field — which can run ±0.25 inch even in calibrated material — means edging height needs to reference the average finished surface plane rather than the nominal paver thickness. Set edging slightly proud of your target finish grade, then use your screed layer to bring individual pavers to consistent surface height. Attempting to use the edging as the screed reference plane introduces errors that compound across the field.
For flagstone formats and irregular-cut natural stone, the edging system takes on an additional role: it defines the visual terminus of an otherwise informal surface. The edging line becomes the precision element that frames the variation within the field. At Citadel Stone, we’ve worked with installers on projects where the edging specification was the single most consequential decision in the entire job — particularly with heavier natural stone formats where the edging is resisting meaningful mass. Exploring our natural stone paver range is a useful starting point when matching edging specifications to actual stone weights and formats.
The Natural Stone Institute’s technical stone specifications document thickness tolerances and weight ranges for dimension stone categories — data that directly informs edging profile depth and stake load calculations for natural stone installations.
Common Specification Errors That Show Up Within the First Year
Field experience across a range of project types reveals a consistent set of errors that appear in the first full seasonal cycle after installation. Most of them trace back to decisions made during specification rather than during installation — meaning the installer followed the spec correctly and still got a poor outcome.
- Specifying residential-grade edging for driveway applications where vehicular overhang loads the border course directly
- Using stakes shorter than 10 inches in sandy or loosely compacted sub-base material — they pull out under lateral load
- Running edging continuously without accounting for thermal expansion of the plastic profile itself in hot, dry climates — long runs of black plastic can grow measurably in summer sun
- Failing to back-fill and compact behind the edging before laying pavers — an unsupported profile deflects under side load from the compaction plate
- Connecting two edging sections with a butt joint at a high-stress location rather than at a mid-run low-stress point
The thermal expansion issue is one that catches even experienced specifiers. Black plastic edging in direct sun can expand at rates up to 0.8 inches per 100-foot run on a high-summer day. Pre-cutting lengths slightly short — about 0.25 inch per 10-foot section — provides room for expansion without the edging buckling inward and dislodging adjacent pavers.
Plastic Versus Alternative Edging Systems — Where Each Belongs
The plastic edging for pavers guide conversation inevitably raises the question of when to choose a different system entirely. Aluminium edging, steel edging, concrete haunching, and invisible edging each occupy a specific performance niche that plastic doesn’t cover well.
Steel edging handles high-impact driveway borders and commercial applications where a vehicle wheel could ride directly over the perimeter. The stiffness of steel eliminates the mid-span flex that plastic profiles develop under repeated loading. Aluminium occupies the middle ground — it resists oxidation better than steel and offers more rigidity than plastic, making it the preferred choice for high-end residential projects where the edging remains visible as a design element. For precision paving work, the choice between these systems often determines whether the finished installation holds its tolerances through multiple seasonal cycles.
- Plastic flex edging: pedestrian paths, residential patios, curved garden borders, mid-budget projects
- Heavy-duty plastic: light vehicular driveways, commercial pedestrian plazas, thick natural stone borders
- Aluminium: visible design edging, formal straight-run layouts, mid-to-high-end residential
- Steel: commercial driveways, high-traffic pedestrian areas, applications where vehicle contact with the edging is possible
- Concrete haunching: sloped sites with downgrade thrust, heavy natural stone formats, projects with sub-base instability
For projects where precision paving is a priority — tight tolerances, formal pattern work, or natural stone fields where surface variation needs to be tightly controlled — the edging system upgrade from standard plastic to aluminium or steel typically costs less than the rework required when a plastic system fails mid-project.
Installation Sequence and Quality Checks
Edging goes in after base compaction and before the bedding layer — not after pavers are laid, which is one of the most common sequencing errors in field installation. Setting edging after paver placement forces disruption of the outer course to get a stake into fully compacted base material, and that disruption almost always loosens the very pavers being retained.
The ASTM dimension stone and paving standards establish the compressive and lateral load thresholds that an edging system needs to manage — particularly relevant when working with natural stone that varies in density and thickness across a single pallet. Verify warehouse stock on edging profiles before committing to a delivery schedule; mismatched profile heights between two shipments create visible step discontinuities in long runs that are difficult to correct after installation.
- Step 1: Complete and verify base compaction to specified depth before edging installation
- Step 2: Set edging to finished grade reference, accounting for bedding sand and paver thickness
- Step 3: Drive stakes at specified centers, angled slightly inward, before proceeding to bedding layer
- Step 4: Back-fill and compact behind edging in 2-inch lifts before paver placement
- Step 5: Final check — confirm edging height relative to finished paver surface plane before accepting the installation
Quality verification at handover should include a string-line check along all straight runs and a visual arc-consistency check on all curved sections. A displacement of more than 0.25 inch from the specified line at any point indicates either a missed stake, an under-compacted back-fill, or a profile-height error — all of which are correctable at this stage and irreversible after the paver field is complete.
Project Planning, Sourcing, and Timing Considerations
Lead time coordination between the edging system and stone delivery is a practical consideration that affects project scheduling more than most specs acknowledge. Citadel Stone maintains warehouse inventory across stone formats nationwide, which means stone lead times can run as short as one to two weeks for stocked material. Edging profiles from specialty suppliers can sometimes run longer — particularly for heavy-duty commercial profiles or aluminium systems in specific lengths. Coordinate both deliveries so edging is on-site before stone arrives, not after.
Truck access to the installation site also affects how the material drop is sequenced. If a project site has restricted access — a narrow driveway, a rear-yard installation with a gate, or a hillside property with a limited turning radius — confirm that edging material arrives in manageable lengths that can be hand-carried to the work area. Standard 8-foot and 20-foot sections are the industry norm; longer coil rolls offer continuous runs without joints but require more maneuvering to position in tight spaces.
Getting Your Plastic Edging Specification Right
The plastic edging for pavers guide decision tree is more nuanced than it looks from the supply house aisle. Profile depth, wall thickness, stake pattern, anchoring angle, thermal expansion allowance, and slope-load calculations all contribute to whether the system holds for a decade or starts showing migration within two seasons. Get the edging specification right the first time and it becomes invisible — which is exactly what good restraint systems do. As you plan your full hardscape specification, related joint considerations are worth examining alongside your edging choices — troubleshooting paver joint filler issues covers the complementary side of paver system performance that edging decisions directly influence. Choosing between spike-set plastic edging and concrete haunching depends largely on the stone weight and format available through Citadel Stone.
Related reading: how to seal patio pavers · porcelain pavers vs flagstone · paver base panel.