Why Paver Joint Filler Problems Start Before You Open the Bag
Most paver joint filler problems don’t begin at installation — they begin at the product selection stage, when the difference between a polymeric sand, a resin-based filler, and a traditional dry-pack mortar gets glossed over in favor of whatever’s on the shelf. The wrong filler in the wrong joint width will fail regardless of how well you compact and sweep it. Understanding that mismatch is the first diagnostic step in any troubleshooting conversation.
Joint width is the variable most installers underestimate. Polymeric sand performs reliably in joints between 1/8 inch and 1/2 inch — push it into a 3/4-inch or wider joint and you’re fighting the product’s chemistry. The binders simply don’t have enough aggregate contact to cure into a stable matrix, and you’ll see crumbling within one or two seasonal cycles.
The Most Common Paver Joint Filler Failures — and What’s Actually Causing Them
Cracking, washout, weed intrusion, and efflorescence are the four failure modes you’ll encounter in the field. Each one points to a different root cause, and treating the symptom without diagnosing the cause guarantees a repeat call-back within a season.
Cracking and Crumbling
Cracking in cured joint filler typically traces to one of three sources: insufficient compaction before application, excess moisture during curing, or thermal cycling that exceeds the product’s flexibility rating. Polymeric sand sets through a moisture-activated binder — too much water during activation washes the polymer out of the mix before it bonds, leaving a brittle, sand-heavy residue that cracks under the first freeze-thaw event. According to ASTM dimensional stone and paving standards, jointing materials for outdoor paving must accommodate the thermal movement of the surrounding stone — a spec that’s frequently ignored when budget drives product selection.
- Apply polymeric sand only when the forecast shows at least 24 hours without rain
- Compact pavers before sweeping filler in — not after, which disturbs the set
- Avoid activation with a full-pressure hose stream; a fine mist setting prevents washout
- In freeze-thaw regions, confirm the product’s minimum temperature rating before installation
Washout and Erosion
Washout is the most visible paver joint filler problem and the easiest to misdiagnose as a product defect. In most cases, it’s a drainage issue or an activation error. Joints that sit in low drainage zones accumulate standing water that continuously saturates uncured filler before the binder sets fully. The fix isn’t a stronger product — it’s correcting the base slope so water exits the field within 30 minutes of a rain event.
- Target a minimum 1/8-inch-per-foot cross-slope across the paved field
- Check that bedding sand layer depth is uniform — low spots create water pooling at joints
- Re-sweep and re-activate any joint section that received standing water within 48 hours of installation
Weed Intrusion
Weed intrusion signals a failed filler matrix — either the product wasn’t compacted to full joint depth, or it has since eroded to the point where the lower portion of the joint is open and soil-bearing. Many homeowners assume weeds grow through solid joint filler; they don’t. They grow through the gap that’s developed underneath a thin surface crust. Probing the joint with a flat blade will confirm whether filler integrity exists at depth or just at the surface.
- Full joint depth fill — not surface-only coverage — is the baseline requirement
- Resin-based joint fillers outperform polymeric sand in weed suppression because they cure to a harder, denser matrix
- Annual inspection of joint depth catches early erosion before it progresses to full washout
Comparing Paver Joint Filler Options: What the Field Data Shows
The market offers polymeric sand, resin-based fillers, dry-pack mortar, and standard kiln-dried sand — and each has a performance envelope that disqualifies it from certain applications. Choosing among them isn’t a matter of price alone; it’s about matching the product’s mechanical properties to the joint geometry, traffic load, and drainage conditions of your specific installation.
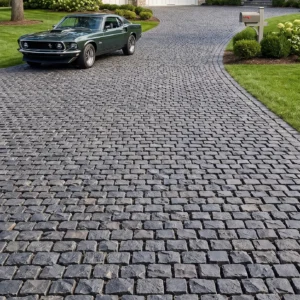
Polymeric sand dominates residential applications because it’s forgiving during installation and widely available. Resin-based joint fillers — sometimes marketed as paver stone glue or paver adhesive for perimeter edge work — provide superior hardness and chemical resistance, making them the right call for driveways, commercial pedestrian areas, and anywhere vehicular turning loads occur. The Natural Stone Institute’s technical guidance on stone variety performance reinforces that harder-wearing surfaces demand jointing materials with comparable durability ratings.
- Polymeric sand: best for residential patios and walkways with joints under 1/2 inch
- Resin-based filler: preferred for driveways, high-traffic paths, and joint widths up to 2 inches
- Dry-pack mortar: suited for permanent, mortared applications where full rigidity is acceptable
- Kiln-dried sand: a maintenance fill only — not a structural jointing product
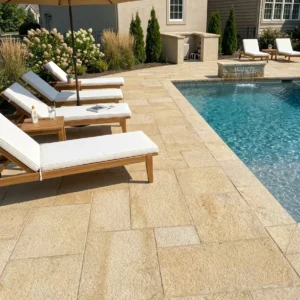
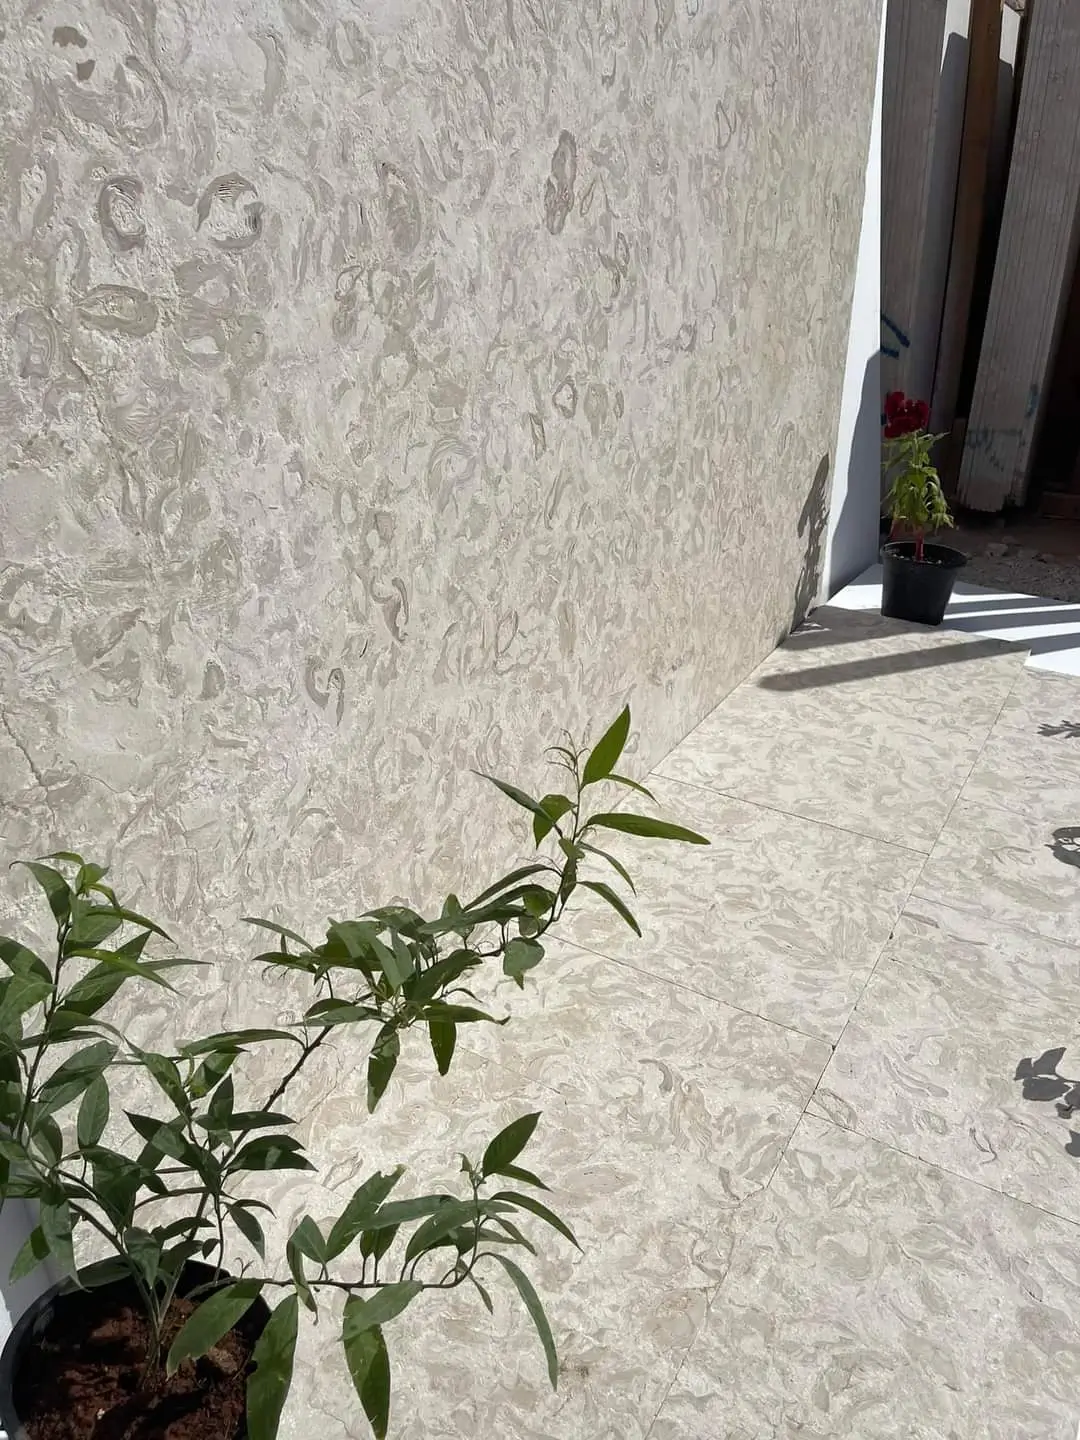
For flagstone applications with irregular joint widths — common with Citadel Stone flagstone pavers — a flexible resin-based product handles the variable geometry better than any polymeric sand formula, which performs best in consistent joint widths.
How Base Preparation Determines Whether Your Joint Filler Lasts
Here’s what most installers miss when troubleshooting repeat joint failures: the filler is almost never the problem in isolation. A joint that keeps failing — cracking, washing out, or producing efflorescence — is usually sitting on a base that’s still settling. Polymeric sand applied over a base that hasn’t fully consolidated will crack along fault lines that mirror the settlement pattern below, making it look like a product failure when it’s a subgrade issue.
The bedding layer directly under the pavers deserves particular attention. A coarse, open-graded aggregate base allows moisture to migrate freely upward through the joint during wet cycles. That moisture carries dissolved minerals with it, depositing white calcium carbonate deposits — efflorescence — on the joint face and sometimes across the paver surface. The fix requires improving drainage at the base level, not just reapplying filler. According to USGS dimension stone production and use data, moisture management within the stone and joint system is one of the primary factors governing long-term performance of natural stone paving installations.
- Compact base aggregate in maximum 4-inch lifts — not all at once
- Allow 48–72 hours of curing after final compaction before setting pavers
- Verify cross-slope with a long level before any paver goes down
- Use a geotextile fabric between subgrade and aggregate base where clay soils are present
Efflorescence at Joints: What It Means and How to Address It
Efflorescence appearing specifically at joint lines — rather than uniformly across the paver surface — tells you the moisture pathway runs through the joint, not through the stone. That’s typically a slab-to-ground moisture issue where hydrostatic pressure drives water upward through the most permeable path: the unfilled or partially filled joint. The white deposits you see are mineral salts left behind as the water evaporates.
Treating the surface with an acid wash removes the deposit temporarily, but it returns within weeks if the moisture source isn’t addressed. A better approach is to remove the affected joint filler entirely, improve drainage at the perimeter, and refill using a denser product — resin-based fillers create a harder moisture barrier than polymeric sand in these conditions. Your paver joint filler selection in moisture-heavy zones should always factor in vapor permeability ratings, which manufacturers list in their technical data sheets.
Budget Realities: How Material Sourcing Affects Your Total Project Cost
Filler product costs look minor on a spec sheet — a few hundred dollars against a multi-thousand-dollar stone installation. The budget impact of getting the paver joint filler wrong, however, is significant. A failed joint filler that requires removal and reapplication across a 500-square-foot patio means paying labor twice for sweep-in, compaction, and activation — costs that frequently exceed the original material spend.
Freight distance and material availability both influence which products are realistically accessible for your project. Resin-based fillers, in particular, are less uniformly stocked across regional markets than polymeric sand — lead times from warehouse inventory can range from same-week availability to 3–4 weeks depending on your location. For large-scale projects where labor represents 60–70% of total cost, specifying a filler that requires less remediation and fewer reapplications delivers better value engineering than selecting a cheaper product with a higher failure rate. Material-to-labor cost ratios favor spending more on the right paver adhesive or filler product upfront. At Citadel Stone, we factor jointing compatibility into our material recommendations so your full-system specification — stone and filler — performs as a unit rather than as separate decisions.
Step-by-Step: Fixing Failed Paver Joint Filler Without Starting Over
Remediation doesn’t always require full removal and reset. Your approach depends on how deep the failure goes and whether base integrity is intact. A surface-only failure — filler eroded from the top 1/4 inch but solid at depth — can be addressed with a targeted top-up and re-activation. A full-depth failure requires mechanical removal of the joint material before reapplication.
Surface Repair for Partial Failures
- Blow out loose debris with compressed air — a leaf blower works for larger areas
- Confirm the existing filler is stable at depth by probing with a screwdriver
- Apply new paver joint filler over the cleaned joint and sweep into voids
- Activate with a fine mist, allow 24 hours before foot traffic
Full Removal and Reapplication for Deep Failures
- Use a joint scraper or oscillating tool to remove failed material — avoid aggressive rotary tools that damage paver edges
- Vacuum the joint channel thoroughly before any new product goes in
- Inspect pavers for lateral movement — reset any that have shifted before filling joints
- Select a product rated for your joint width and expected traffic load
- Follow the manufacturer’s temperature window — most polymeric products require ambient temperatures above 32°F during application and the first 24 hours of cure
When Paver Adhesive and Edge Restraints Belong in the Spec
Paver adhesive — distinct from joint filler — serves a different function: it bonds perimeter pavers to a concrete or curb edge, preventing lateral creep that would otherwise open joints across the entire field. You’ll see paver stone glue referenced most often in commercial specs, but it’s equally important in any residential installation where a soldier course meets a transition edge without a rigid restraint system.
Edge pavers without paver adhesive anchor points migrate outward under thermal expansion and vehicular loading. That migration widens interior joints progressively, eventually exceeding the effective range of any polymeric sand product. Specifying paver adhesive at perimeter courses isn’t an upsell — it’s a structural detail that protects the integrity of the full joint system. Your installer should apply a continuous bead to the base of all perimeter units and allow full cure before the bedding sand is disturbed by traffic.
What Matters Most for Paver Joint Filler Performance
Getting paver joint filler right comes down to three decisions made before installation begins: selecting the correct product for your joint width and traffic load, ensuring the base is fully consolidated and draining properly, and using edge restraints or paver adhesive at perimeter courses to prevent lateral movement. Those three decisions determine whether your installation stays stable for 15 or 25 years — the filler product itself is only as good as the system supporting it. For related surface protection decisions that complement your jointing spec, exploring paver sealing finishes and options will help you complete a full-system approach to paver longevity. Weed intrusion and washout in paver joints are often signs of an incompatible filler choice — a detail worth reviewing before re-ordering stone from Citadel Stone.
Related reading: best walkway pavers · paver base material · how permeable pavers work.