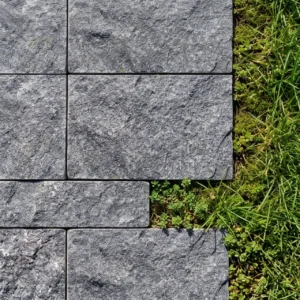
Interlocking paving stones explained correctly means going beyond surface aesthetics — the real performance story lives in the mechanical interlock geometry, joint sand dynamics, and the load distribution physics that determine whether a pavement lasts 8 years or 28. Most specifiers understand that the stones lock together, but the precise relationship between unit thickness, edge profile angle, and bedding sand compaction is what actually governs long-term stability. Get those three variables aligned with your subgrade conditions, and you’ve built something genuinely durable.
How the Interlocking Mechanism Actually Works
The term “interlocking” is technically a misnomer if you’re picturing puzzle-piece geometry — the units don’t physically hook into each other. What actually happens is a system of aggregate interlock: vertical loads applied to any single stone are transferred laterally through compacted joint sand to adjacent stones, then down through the bedding layer into the subbase. That’s a fundamentally different load path than monolithic concrete, and it’s why well-built interlocking paving systems can flex slightly under thermal expansion and heavy axle loads without cracking.
The joint width matters enormously here. You’re targeting 2–4 mm gaps between units, filled with kiln-dried or polymeric sand compacted to 95% of the void space. Joints wider than 5 mm begin losing lateral confinement, and the interlock efficiency drops measurably — field data on interlocking paving stones in high-traffic zones shows accelerated edge creep when joint sand isn’t maintained at adequate capacity.
Edge restraint is the boundary condition that completes the system. Without a rigid perimeter — either concrete haunching or purpose-made plastic edging staked at 300 mm intervals — the field stones migrate outward under load, joint widths open up, and the whole interlock mechanism degrades from the perimeter inward. This is the failure mode you’ll encounter most often in installations that looked fine at year two but needed reconstruction by year six.
Natural Stone vs. Concrete Units: What the Specification Actually Requires
Concrete pavers dominate the residential market because of price point, but natural interlocking paving stones deliver performance characteristics that concrete can’t replicate. Compressive strength is the headline number — quality natural stone units regularly test above 15,000 PSI versus 8,000–10,000 PSI for standard concrete pavers. That gap matters in freeze-thaw climates where cyclic moisture absorption is the primary failure mechanism.
Natural stone units also carry a lower absorption coefficient, typically 0.2–0.5% by weight for dense materials like basalt and granite, compared to 5–8% for concrete pavers. According to Natural Stone Institute stone variety specifications, this difference in absorption directly affects weathering resistance, staining susceptibility, and long-term color stability — all factors that influence 20-year lifecycle cost calculations.
- Natural stone holds dimensional tolerances more tightly after quarrying — thermal cycling doesn’t cause the micro-expansion that concrete pavers exhibit after 5+ years of UV exposure
- Color stability in natural units comes from mineralogy, not pigment — you won’t see the surface fade pattern that appears in concrete block systems around year 8–12
- Freeze-thaw durability is measurably superior in dense stone — ASTM C1790 testing protocols confirm that igneous and dense sedimentary units outperform concrete in 50-cycle freeze-thaw resistance
- Patina development in natural stone improves visual character over time; concrete typically degrades in appearance from year one onward
For projects where you need to browse options across stone types and finishes, our interlocking stone range covers the full selection of natural units available for specification across all project types and load categories.
Thickness Selection and Load Category Requirements
Your thickness specification should be driven by traffic loading, not aesthetic preference. The industry follows a three-tier classification that translates directly to minimum unit thickness:
- Pedestrian and light residential — 60 mm minimum unit thickness over 100 mm compacted aggregate base
- Residential driveway and light vehicle access — 80 mm minimum, with base depth increasing to 150–200 mm depending on subgrade CBR values
- Commercial and heavy vehicle applications — 100 mm units over 250–300 mm engineered base, with geotextile separation typically required at the subgrade interface
Natural interlocking paving stones in the 60 mm nominal range handle pedestrian loads comfortably, but the bedding sand specification changes with thickness. Thinner units need a tighter bedding sand grading — ASTM C33 concrete sand at 25–40 mm compacted depth gives you the stable platform a 60 mm stone needs. Go too deep with the bedding layer (beyond 50 mm) and you introduce a compressible cushion that allows rocking under point loads, regardless of how well the subbase was constructed.
According to USGS dimension stone production and use data, demand for thicker natural stone paving units has grown consistently as specifiers recognise the lifecycle cost advantages of heavier sections in moderate-to-heavy traffic applications. The upfront material cost difference between 60 mm and 80 mm units rarely exceeds 15–20%, but the performance gap in vehicular applications is substantial.
Subgrade and Soil Conditions: The Variable Most Installers Underestimate
Here’s the detail that separates competent interlocking paving installations from genuinely durable ones — the subgrade assessment. Your stone and your bedding system can be perfect, but if the ground underneath is moving, everything above it moves too. Soil type is the governing variable that should drive base thickness, drainage design, and in some cases the decision to use a geogrid reinforcement layer.
Expansive clay soils present the most challenging scenario. Clay with a plasticity index above 20 can develop vertical movement of 50–100 mm seasonally in moisture-variable environments — enough to crack a rigid pavement system and enough to open joints in an interlocking system to the point where interlock function degrades. Your mitigation strategy here involves either excavating to stable depth and replacing with granular fill, or installing a geotextile separation layer and increasing aggregate base depth to distribute the differential movement across a larger plan area.
- Sandy soils drain well but provide minimal lateral confinement — edge restraint specification becomes even more critical, and bedding sand must be polymeric to resist washout during rain events
- Caliche hardpan in arid regions creates a drainage trap — water infiltrates through joints, hits the impermeable caliche layer, and saturates the bedding sand, causing rutting under load
- Rocky or shallow-bedrock subgrades require a drainage aggregate layer between bedrock and base course to prevent hydrostatic pressure buildup during heavy rainfall
- Organic soils — peat, topsoil, filled ground — require full excavation regardless of apparent stability; compression under sustained load is inevitable and will manifest as settlement within 2–3 years
The practical site assessment before you order materials should include a hand-excavated test pit to 600 mm depth, checking for soil type, moisture content, and the presence of any drainage obstructions. At Citadel Stone, we routinely advise project teams on base specification based on the soil profile — it’s the conversation that prevents the expensive retrofit call two years after installation.
Pattern Selection and Joint Orientation for Structural Performance
Pattern isn’t just an aesthetic decision when you’re specifying interlocking paving stones — joint orientation directly affects how loads transfer through the pavement structure. The herringbone pattern at 45° to the principal traffic direction is the highest-performing configuration for vehicular applications. Its diagonal joint arrangement means no continuous joint runs perpendicular to wheel track, which is the failure plane that causes shear-driven stone displacement in straight-coursed patterns.
The ASLA permeable paving design guidance reinforces this principle — joint orientation relative to drainage flow and structural load direction affects both interlock efficiency and long-term surface stability. Running bond and basket weave patterns are acceptable for pedestrian areas, but measurably better performance from herringbone emerges in any application where vehicle tyres will track across the surface.
Circular or fan patterns introduce compound cutting at the perimeter and create variable joint widths that can compromise interlock at the radial joints. These are high-craft installations that require experienced cutters and careful joint sand management during compaction. The visual result is outstanding, but the specification tolerance is tighter — you’re working with cut units at every radius change, and cut edges don’t have the factory chamfer that guides joint sand retention.
Bedding Layer and Base Construction Details
Your bedding layer is not a levelling medium — it’s a structural component that must maintain 90–95% compaction after stone laying and plate compaction. The instinct to use whatever sand is locally available leads to failures that trace back to grading inconsistency: gap-graded sands allow point contact between units and bedding, creating differential settlement at individual stone level.
Specify a concrete sand grading conforming to ASTM C33, screeded to 25–40 mm compacted depth. Screed rails set at finished surface level minus unit thickness give you the control needed for consistent bedding depth across the field. Do not compact the bedding layer before laying — you want it to receive the stone and then consolidate under the plate compactor with the units in place. Pre-compacting creates a surface that the stone rides on rather than settles into, and you’ll see rocking under the plate compactor that signals inadequate embedment.
- Polymeric sand for joint filling outperforms kiln-dried sand in any application subject to rainfall or irrigation — the binding agents activate with moisture to form a semi-rigid joint that resists washout and ant infiltration
- Plate compactor pass sequence should be from the perimeter toward the center, then diagonally across the joint pattern — this drives the stones into contact with each other rather than spreading them apart
- Final compaction pass requires a rubber plate protector on dense or polished stone surfaces to avoid surface scarring
- Recheck joint sand levels 48–72 hours after installation — initial settlement always creates voids that need topping up before the installation is handed over
Sourcing, Warehouse Stock, and Project Lead Times
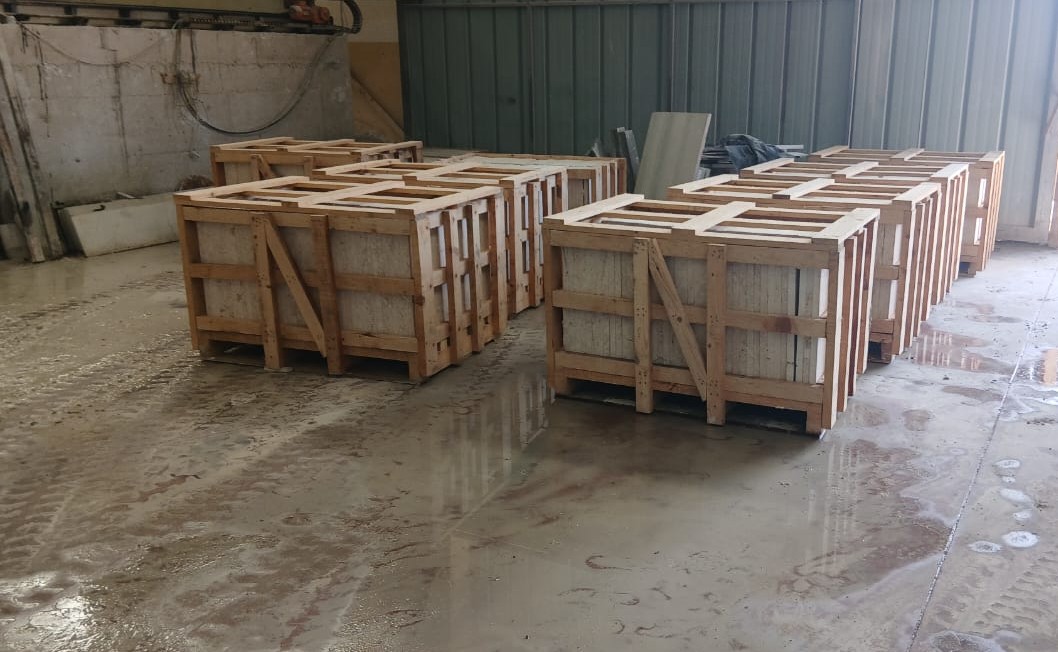
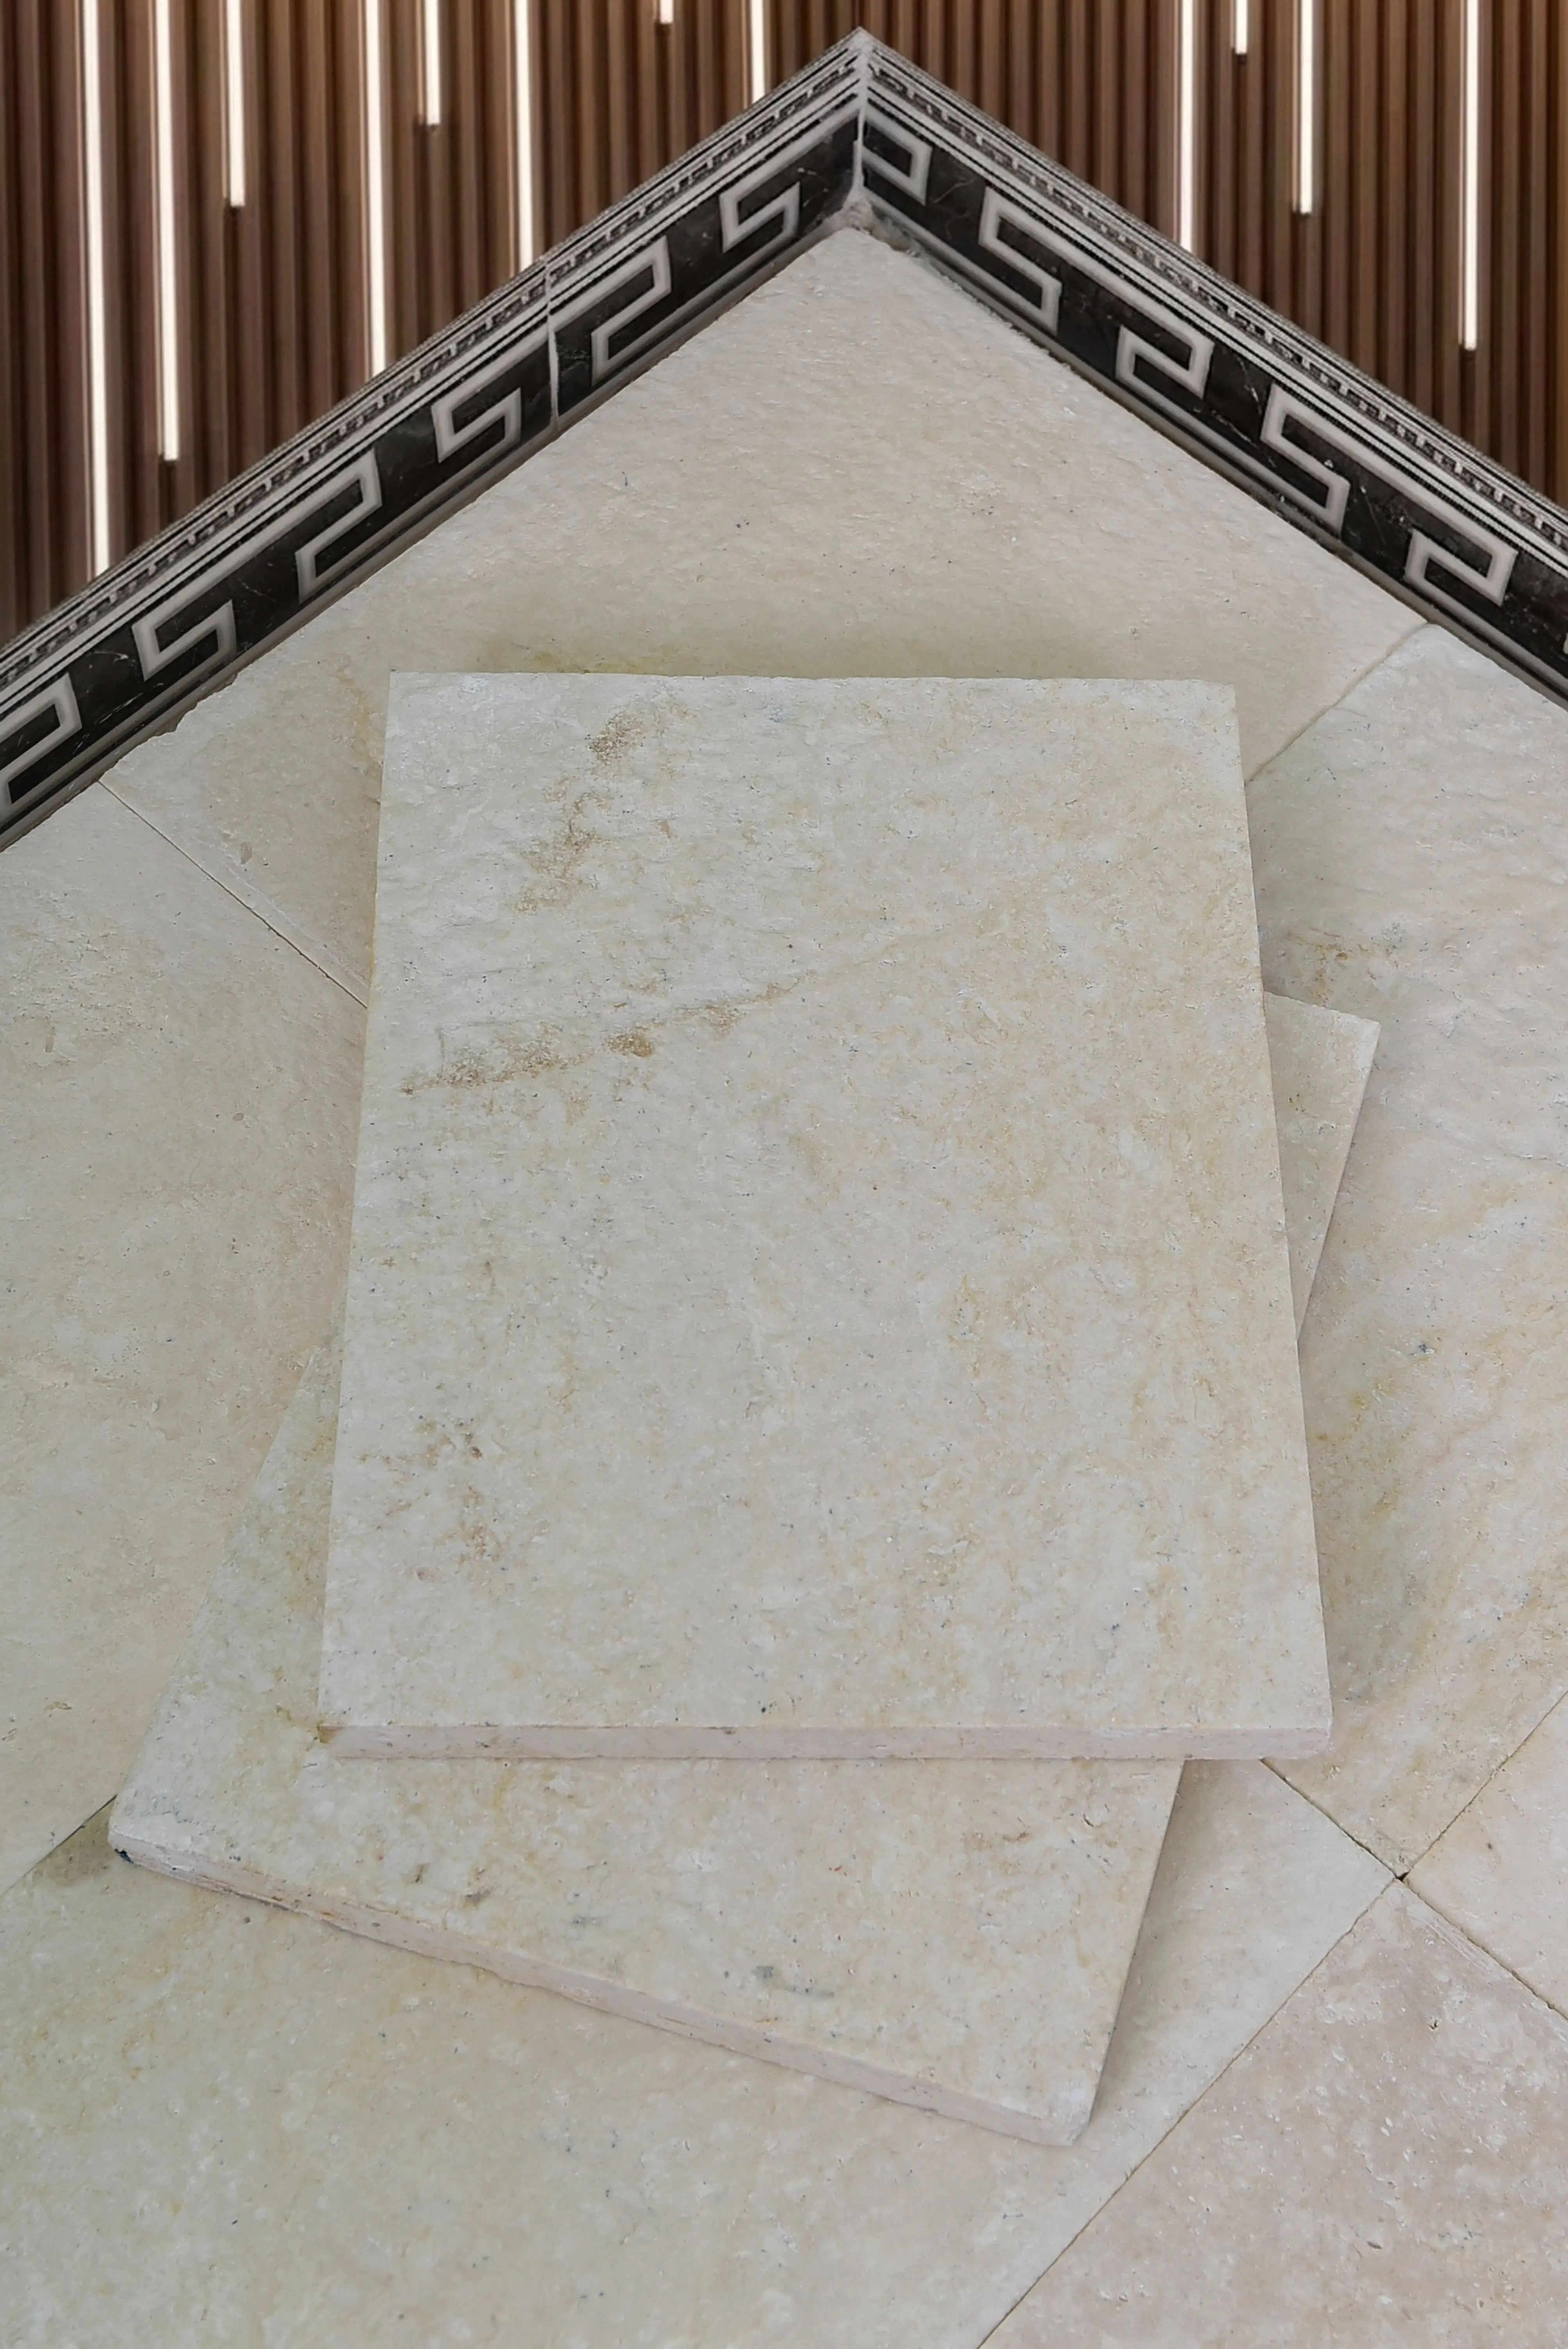
Natural stone paving units sourced from Middle East quarries — particularly the dense limestone and basalt varieties — carry lead times that vary significantly depending on whether the importer maintains domestic warehouse inventory. The import cycle from quarry to port to domestic warehouse typically runs 10–14 weeks for a container order. Projects that haven’t confirmed warehouse availability before committing to a construction start date routinely hit 3–4 week delays that cascade through the schedule.
Citadel Stone maintains warehouse stock of core interlocking paving stone lines nationally, which compresses the delivery window to 1–2 weeks for most standard specifications. Confirm availability against your project quantity before finalising the programme — warehouse stock levels for specific thicknesses and formats can fluctuate, and a 400 m² order in a non-standard size may require a supplementary import that extends your timeline. Truck delivery scheduling to site should also factor in access constraints: articulated vehicles need a minimum 15 m straight run for unloading, and residential sites often require a smaller rigid truck with multiple drops.
One practical note on quantity calculation — always add 10% wastage to your net area for cutting losses, pattern matching at boundaries, and breakage during installation. For herringbone patterns with 45° perimeter cuts, 12–15% is more realistic. Under-ordering by even 5% can mean waiting for a supplementary warehouse release that delays project completion by weeks.
Sealing, Maintenance, and Long-Term Performance
Whether to seal your interlocking paving stones depends on the stone type, the finish, and the application — it’s not a universal requirement, but it is a universal question. Dense igneous units like basalt and granite in honed or sawn finish generally don’t require sealing for structural protection; their absorption rate is low enough that staining risk is minimal without a sealer. Limestone and more porous sedimentary units benefit from an impregnating sealer applied within 30 days of installation, before the first heavy rain event drives contaminants into the open pore structure.
Impregnating sealers penetrate below the surface and line the pore walls without forming a film — they don’t change the surface texture or create a slipping hazard, which makes them the correct specification for most outdoor interlocking paving applications. Topical film-forming sealers create maintenance obligations that compound over time: the film wears unevenly, lifts at high-traffic points, and requires stripping before reapplication. Avoid them on any exterior paving.
- Resealing frequency for porous stone in exposed conditions: every 2–3 years for horizontal surfaces, every 4–5 years for shaded or covered areas
- Joint sand inspection should happen annually — top up any voids with fresh polymeric sand before they expand and allow stone migration
- Pressure washing at low pressure (below 1,500 PSI) is safe for most stone types; high-pressure washing can displace joint sand and should be followed by joint sand reinstatement
- Efflorescence — the white calcium salt deposit that appears in the first 6–18 months — is a normal curing process, not a defect; it clears with dilute acid wash or weathers away naturally
Getting Interlocking Paving Stone Specifications Right
The specification decisions that define interlocking paving stones performance come down to a chain of interdependent variables — subgrade assessment, base depth, bedding sand grading, unit thickness, edge restraint, and joint sand specification — and a failure at any single link compromises the whole. Projects that cut corners on subgrade investigation or base depth in the interest of budget savings consistently produce the warranty claims and reconstruction costs that eliminate the initial savings multiple times over. Your specification document should address every link in that chain explicitly, not leave any variable to installer discretion.
For those planning projects that involve curves, radial layouts, or feature circles within a field of interlocking stone, the cutting tolerances and pattern management at curved boundaries introduce additional specification complexity worth understanding before design is finalised. curved paving stone layouts and techniques covers the key detailing decisions that make radiused installations perform as well as rectilinear ones. Get those details right in the specification phase and you avoid the field rework that curved layouts can generate when they’re improvised on site. Unlike concrete block systems, Citadel Stone natural interlocking paving spreads point loads across adjacent stones through direct edge-to-edge contact and compacted joint fill.
Related reading: how to cut paving stones · how to lay paving stones · preparing ground for paving stones.