Why Base Preparation Determines Everything
The most common failure point in rock landscape edging installations isn’t the stone selection or the setting technique — it’s what happens six inches below grade before a single piece of edging stone gets placed. Knowing how to install rock landscape edging correctly starts underground, and that’s where most DIY and even contractor-level projects cut corners they later regret. Your base layer dictates whether the finished line holds its geometry through a full seasonal cycle or starts heaving and drifting within 18 months.
The target for a compacted aggregate base is 4 to 6 inches of crushed stone or compactible gravel, tamped to at least 95% Proctor density. In expansive clay soils, push that to 6 to 8 inches — clay’s volumetric shift under saturation can exceed 10%, and that movement transfers directly to your edging line if the base isn’t thick enough to absorb it. A plate compactor in two-inch lifts is the field standard; don’t try to compact the full depth in a single pass.
Choosing Your Edging Stones for Landscaping
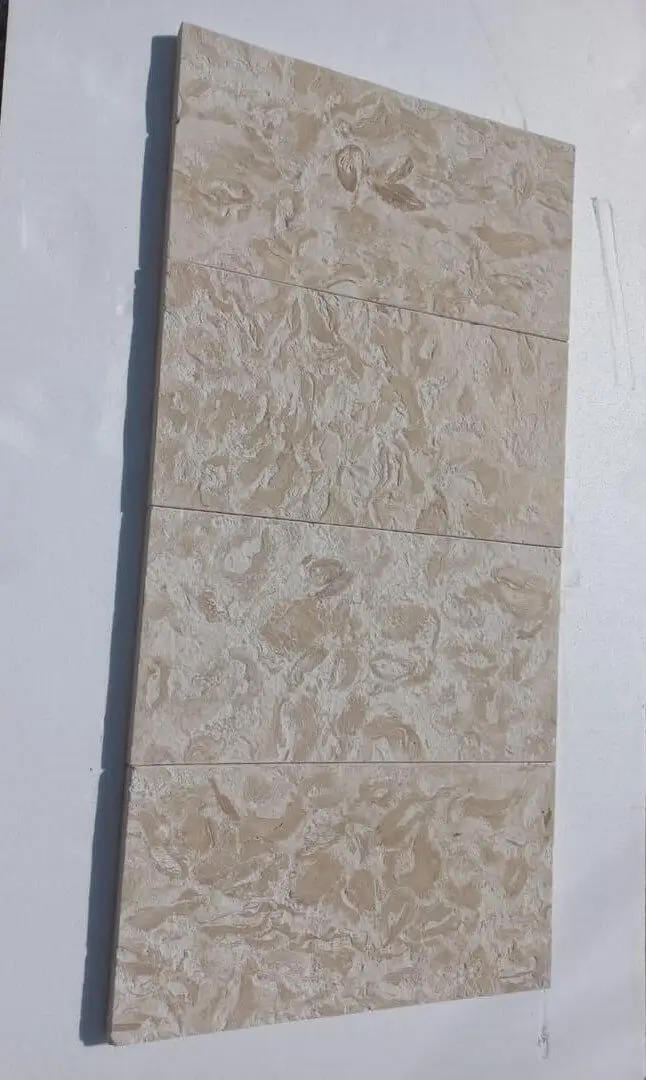
Stone selection for landscape edging is more nuanced than picking what looks good in a photo. You’re choosing a structural element that needs to resist lateral soil pressure, foot traffic nudges, and the relentless push-pull of freeze-thaw cycling in colder regions. Edging stones for landscaping that perform over the long term share a few consistent characteristics: compressive strength above 8,000 PSI, low absorption rates below 3%, and a consistent thickness that allows predictable bedding depth.
Granite and basalt are the workhorses here — dense, tight-grained igneous stones that shed moisture rather than absorbing it. Limestone edging performs well in drier conditions but requires more attention to sealing in high-moisture environments because its absorption rate typically runs between 3 and 7%. Fieldstone and river rock create a more informal aesthetic and suit naturalistic garden styles beautifully, though their irregular geometry demands more patience during installation to hold a clean line. According to Natural Stone Institute stone variety technical data, each stone type carries distinct porosity and density profiles that directly affect outdoor performance — matching those properties to your site conditions is the first specification decision to get right.
- Granite: compressive strength 19,000–25,000 PSI, absorption below 0.4%, ideal for high-traffic borders
- Limestone: compressive strength 4,000–15,000 PSI, absorption 3–7%, best suited to dry or well-drained sites
- Basalt: extremely dense at 18,000+ PSI compressive strength, near-zero absorption, excellent freeze-thaw resistance
- River rock and fieldstone: variable strength, suited for informal beds and naturalistic planting schemes
- Quarried edging blocks: uniform thickness simplifies installation and produces crisper finished lines
Laying Out Your Rock Border Landscaping Line
Accurate layout is what separates a professional-looking installation from one that wanders. Pull a string line between stakes at both ends of your edging run — this is your reference for height and horizontal alignment throughout the entire installation. For curved borders, use a garden hose to define the line first, then mark it with spray paint or sand before you dig. Curves that are laid out freehand without a reference almost always develop flat spots and irregular radii that become more obvious as the edging settles.
Excavate a trench that’s 2 to 3 inches wider than your edging stone on each side — you need working room to adjust individual pieces. Depth depends on your stone thickness and base spec: for a 4-inch compacted gravel base with 3-inch-thick edging stones, your trench should be approximately 7 to 8 inches deep to finish with the top of the stone at or just above grade. Setting edging stones flush with soil level is standard for mowing clearance; raising them 1 to 1.5 inches above grade creates a more defined visual line and gives you a meaningful barrier against mulch migration. Rock border landscaping that finishes at the right height relative to surrounding grade looks deliberate rather than incidental.
Step-by-Step Installation Process
Spread your compacted gravel base material and tamp in lifts as described. Once the base is compacted and level, add a 1-inch setting bed of coarse bedding sand — this is your fine-adjustment layer, not a structural component. The sand bed lets you make small height corrections stone by stone without disturbing the compacted base below. Do not use polymeric sand or fine mason’s sand as a setting bed; coarse concrete sand or grit provides better drainage and stays workable longer during placement.
Place each edging stone tightly against its neighbor. For rock border landscaping with irregular fieldstone or river rock, dry-fit a full section before committing to final placement — this lets you select pieces that butt together naturally and minimizes gaps. For cut or quarried edging blocks, consistent joint spacing of 3 to 6mm allows for minor thermal movement without creating visible gaps. Once you’re satisfied with the layout, backfill the trench on both sides with compacted gravel, working in 2-inch lifts, and check your string line alignment after each course is set.
- Compact base gravel in 2-inch lifts using a plate compactor or hand tamper
- Add 1-inch coarse bedding sand as the setting and adjustment layer
- Dry-fit irregular stones in full sections before final placement
- Maintain 3–6mm joints between cut blocks for thermal movement allowance
- Backfill both sides of the trench with compacted gravel immediately after setting
- Re-check string line alignment after every 4 to 5 feet of installation
Landscape Edging Rocks and Design Integration
The functional performance of your edging installation and the aesthetic it creates are inseparable — and that’s where landscape edging rocks offer a genuine design advantage over plastic or metal alternatives. Stone carries visual weight and permanence that reads as intentional design rather than afterthought. The stone type you choose should connect to the broader material palette of your property: the stone used in walls, steps, and paving areas ought to share a family resemblance with your edging so the landscape reads as a coherent composition rather than a collection of unrelated materials.
Different landscape design vocabularies call for different edging choices. A modern minimalist garden benefits from cleanly cut basalt or granite blocks with tight, consistent joints — the geometry reinforces the design language. Naturalistic and cottage-style planting schemes suit irregular fieldstone or tumbled limestone, where slight variation in height and texture feels intentional rather than sloppy. Desert xeriscaping and gravel garden designs often use larger, more massively proportioned landscape edging rocks that anchor the visual weight of gravel mulch and drought-tolerant planting. Explore our landscape edging rocks to find profiles suited to each of these design directions — the range spans from cut granite blocks to tumbled river limestone in multiple sizes.
Tropical and lush planting styles benefit from darker, moisture-resistant stones like basalt or dark granite, which provide contrast against the greens of dense foliage. Traditional colonial and formal garden designs tend toward limestone or light-toned granite edging that references the historic use of quarried stone in formal borders. According to ASLA landscape material guidance for residential design, material choices in hardscape borders influence both the ecological performance of a planting bed and its long-term visual character — a point that validates treating edging stone selection as a genuine design decision, not just a functional one.
Handling Slopes and Grade Changes
Sloped terrain is where rock landscape edging installations either prove their value or reveal their weaknesses. On grades steeper than 5%, your edging needs to step down in a terraced pattern rather than following the slope continuously. Continuous slope installation on grades above 5% creates downhill lateral pressure on every stone in the run — over time, that cumulative load causes the lower end of the run to push out and the joints to open up. Stepping down in 3 to 4-inch vertical increments distributes the forces, and each step creates a mini-retaining condition that’s stable at small scale.
At each step, set a larger anchor stone — typically 20 to 30% heavier than your standard edging pieces — that acts as a structural end stop for the run above it. The anchor stone should be set deeper into the base, with at least 6 inches of compacted gravel beneath it and soil compacted firmly on the downhill face. Field experience with stepped edging consistently shows that these anchor points are where failures initiate if they’re undersized or undersupported, so it’s worth spending extra time on them.
Sealing and Long-Term Maintenance
Not every edging stone requires sealing, but the decision is worth making deliberately rather than by default. Dense igneous stones — granite, basalt — can go unsealed indefinitely in most conditions without meaningful degradation. Limestone and softer sedimentary stones benefit from a penetrating impregnator sealer applied within the first month of installation and reapplied every 3 to 5 years depending on exposure. The sealer reduces moisture absorption, which is the primary driver of freeze-thaw spalling in porous stone.
Your maintenance routine for rock landscape edging is straightforward but needs to happen on a schedule. Check joint integrity in early spring after the ground has settled from winter movement — this is when gaps open and weeds establish. Re-tamp any stones that have shifted more than 3mm from their original position; minor corrections at this stage prevent compounding misalignment over subsequent seasons. Pull weeds at the root before they establish in joint gaps, since root growth in joints exerts enough pressure over 2 to 3 seasons to displace individual stones. The USGS dimension stone data on natural stone durability confirms that properly installed and maintained natural stone edging outperforms concrete and composite alternatives significantly over 20-plus-year timescales.
- Seal limestone and softer sedimentary edging within 30 days of installation
- Reapply penetrating sealer every 3–5 years depending on climate exposure
- Inspect and re-tamp shifted stones each spring after ground movement season
- Remove weeds before root systems establish in joints — typically spring and midsummer
- Granite and basalt edging can remain unsealed; inspect annually for surface condition
Planning Your Order and Logistics
Quantity calculations for rock landscape edging depend on your stone profile dimensions, joint spacing, and the linear footage of your borders. For standard cut edging blocks at 12 inches in length with 6mm joints, you need approximately 1 stone per linear foot — add 8 to 10% for cuts, breakage, and dry-fit rejects. For irregular fieldstone, calculate by weight rather than count: most fieldstone edging projects run 80 to 120 lbs per linear foot depending on stone size and how tightly pieces can be fit together.
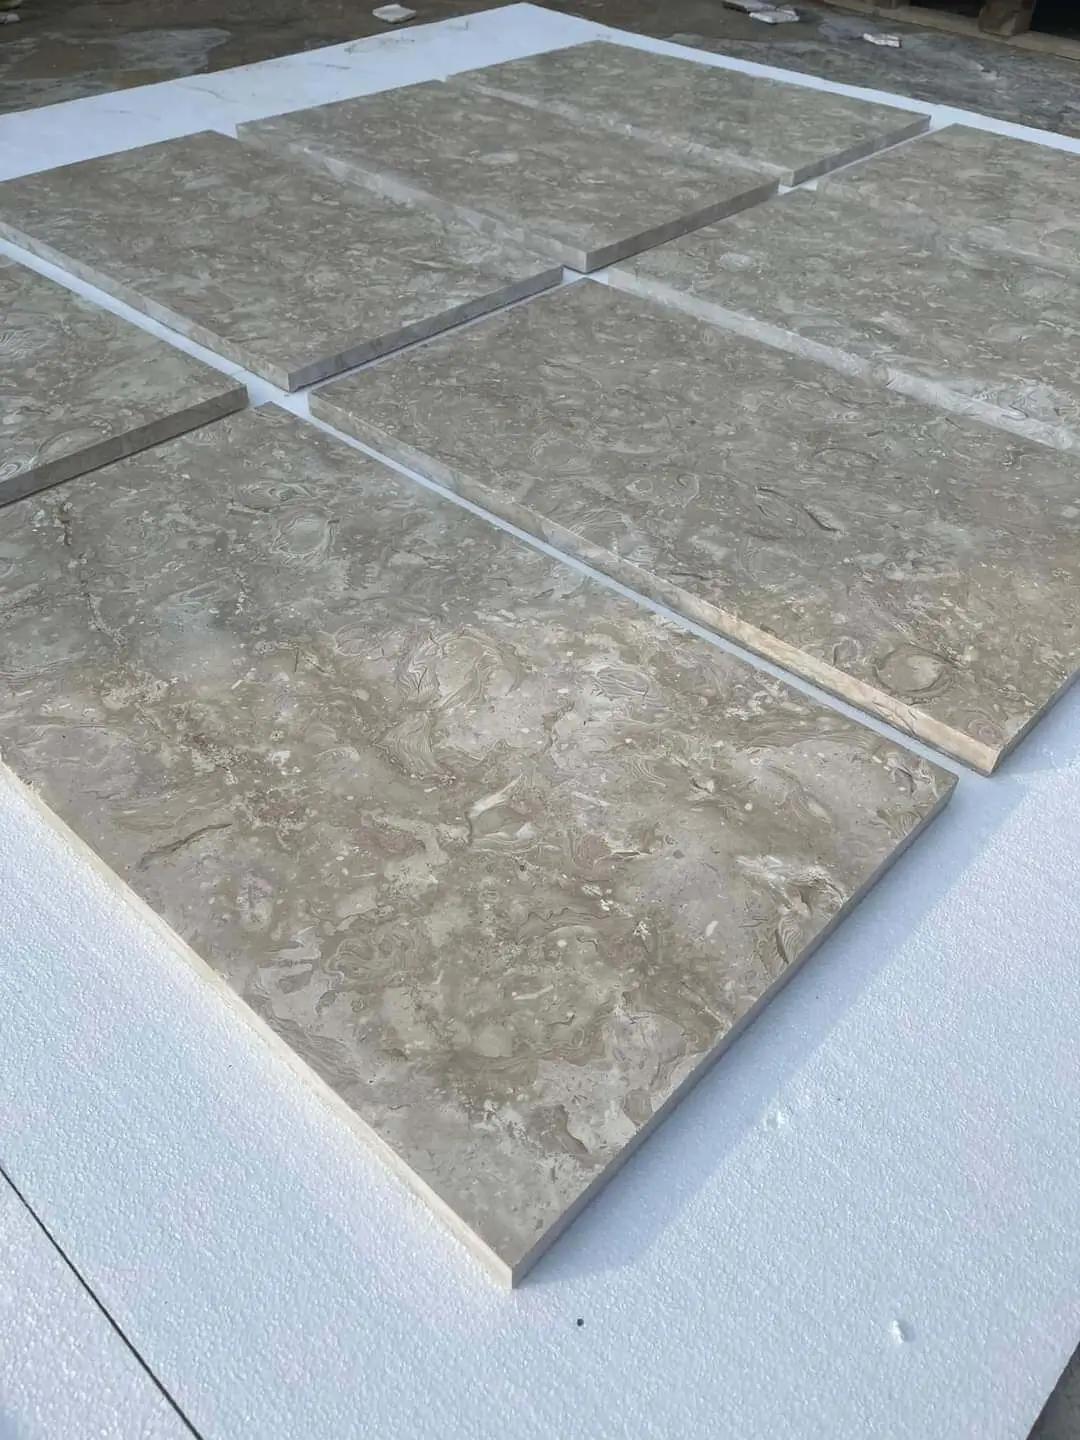
Verify warehouse stock levels with Citadel Stone before locking in your installation start date, particularly for less common stone profiles that may ship from specific quarry sources. Citadel Stone maintains national warehouse inventory across key stone types, which generally supports lead times of 1 to 2 weeks on standard edging profiles versus the 6 to 8-week import cycle that applies to specialty or custom-cut materials. Confirm your truck access conditions when placing your order — palletized stone delivers best by flatbed or liftgate truck, and tight residential driveways or narrow gates occasionally require a smaller delivery vehicle that your supplier needs to know about in advance.
Order a 10% overage on all cut stone and a 15% overage on irregular fieldstone. The math seems conservative until you’re three-quarters through the installation with a complex curved section remaining and no spare stock available from the warehouse. Running short on a matching stone mid-project is one of the most avoidable problems in landscape edging, and the cost of carrying a modest overage is negligible against the cost of delaying completion.
Before You Specify
The installations that hold their line for 20-plus years share a consistent set of decisions made before the first stone is placed: a properly depth-specified and compacted aggregate base, stone selected for the site’s moisture and thermal conditions rather than appearance alone, and a layout process that uses physical reference lines rather than freehand judgment. Your edging specification should address all three before you commit to material quantities or installation sequence.
Stone type, base depth, and joint treatment are interdependent — changing one affects the others. A switch from cut granite blocks to irregular fieldstone, for example, changes your quantity calculation method, your joint treatment options, and the level of base precision required. Make these decisions as a system, not independently. Understanding how to install rock landscape edging as a complete system — from base compaction through joint treatment — is what distinguishes installations that last from those that require correction within a few seasons. As you scale into larger or more complex landscape projects, natural stone features often extend well beyond flat edging runs — for guidance on working with larger format natural stone elements, placing large landscape boulders covers the next level of stone placement technique in detail. According to ASTM stone durability and compressive strength standards, specifying stone with verified physical properties rather than relying on visual assessment alone is the professional baseline for any structural or semi-structural stone application — and edging that holds grade and resists seasonal movement qualifies. A compacted gravel base beneath Citadel Stone border rocks is generally the most reliable way to keep edging lines straight through seasonal ground movement.
Related reading: white rocks for landscaping · Landscaping Rock Bulk Cost: Coverage and Pricing · front yard rock landscaping ideas.