

Why Thickness and Profile Matter More Than You Think
Limestone edging for garden beds performs best when you treat it as a structural element first and a decorative one second. The profile depth — typically 3 to 4 inches for standard border applications — determines how well each piece resists lateral soil pressure from frost heave and root expansion. Thin pieces under 2 inches look sharp on installation day but tend to tip and migrate within two seasons, especially in beds with heavy organic mulch that shifts during wet periods. Your specification should start with material thickness, not color or finish.
Limestone Edging Ideas That Hold Up in the Field
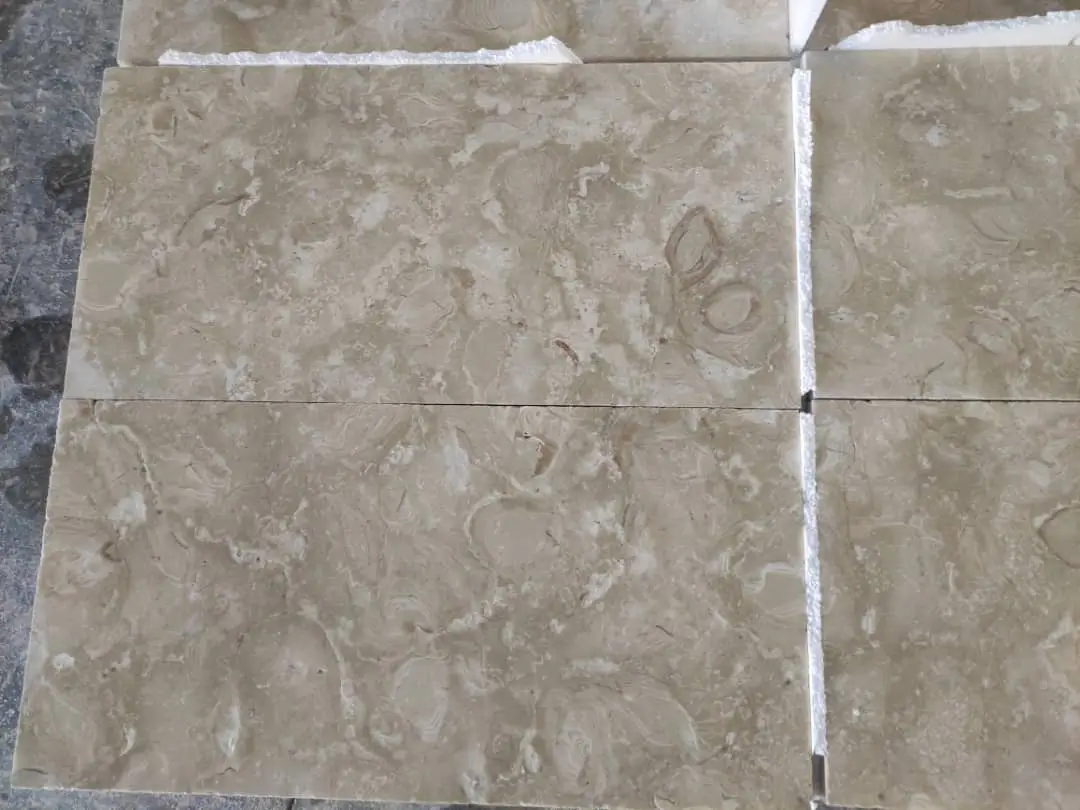
The strongest limestone edging ideas aren’t always the most complex ones. Clean sawn edges set flush with grade create a crisp lawn-to-bed transition that’s easy to maintain and difficult to improve on aesthetically. Raised borders — set 2 to 4 inches above grade — work particularly well around raised planting beds where you need to contain mulch or define a grade change cleanly. The material’s natural color variation means two pieces side by side will never look identical, which reads as intentional rather than mismatched when you keep the profile consistent.
- Flush-set edging: installs level with the surrounding lawn, minimizes trip hazards, suits formal garden designs
- Raised border edging: set 2–4 inches above grade, effective for mulch containment and bed definition
- Angled or battered installation: slight outward lean of 5–8 degrees resists soil pressure more effectively than plumb-set pieces
- Tumbled limestone edging: softened arrises reduce chipping risk and suit cottage-style or naturalistic plantings
- Sawn-face edging: precise, consistent faces ideal for contemporary or minimalist garden design
Lime vs Limestone: Understanding the Difference
The lime vs limestone distinction matters in a garden context more than most people expect. Limestone is the parent rock — calcium carbonate (CaCO₃) in sedimentary form, quarried, cut, and used structurally. Lime is a processed product derived by heating limestone to around 1,650°F, driving off CO₂ and leaving calcium oxide, which then hydrates to form calcium hydroxide. You use limestone as a hardscape material; you use lime as a soil amendment, mortar component, or stabilizer. Confusing the two can lead to genuine specification errors — particularly if someone attempts to use crushed lime products as a setting bed material under natural stone edging, which creates long-term pH and stability problems in soil-adjacent applications.
According to limestone formation and characteristics, the rock forms from accumulated marine organisms and calcium-rich sediment, which explains the variation in density, porosity, and color you’ll observe between different quarry sources. That geological variability is exactly why sourcing matters — two pieces labeled “limestone edging” from different quarries can differ significantly in compressive strength and absorption rate.
Bullet Edging Stones: A Profile Worth Considering
Bullet edging stones — pieces with a rounded or bullnose top profile — solve a specific problem that flat-topped edging doesn’t: edge chipping under mower contact. The rounded crown deflects rather than absorbs impact, which significantly extends the service life of individual pieces in lawn-bordered beds. Limestone takes this profile well because it machines cleanly without the micro-fracturing you sometimes see in denser igneous alternatives. Bullet edging stones are used heavily in garden applications where the mower deck passes within inches of the border — it’s a practical specification, not just a stylistic one.
- Rounded crown profile reduces mower-impact chipping by redirecting force laterally
- Suitable for limestone because the material’s crystalline structure responds well to profiling
- Available in both sawn-face and tumbled versions depending on your design aesthetic
- Typical dimensions: 8–12 inches in length, 4–6 inches tall, 3–4 inches deep
- Easier to install on curved bed profiles than rectangular sawn pieces
Base Preparation: The Step Most Installations Get Wrong
Your edging installation is only as stable as the material beneath it. A 4-inch compacted aggregate base — typically crushed stone or road base at 95% Proctor density — is the minimum for limestone edging pieces intended to stay plumb and level over multiple growing seasons. Skipping compaction or using ungraded fill leads to differential settlement that no amount of re-leveling will permanently fix. The compacted base also provides drainage, which keeps the underside of each piece from sitting in prolonged moisture contact.
The Natural Stone Institute limestone technical specifications emphasize that absorption rate directly affects freeze-thaw durability. Limestone edging for garden applications performs most reliably when pieces carry an absorption rate of 3% or lower — higher rates allow more groundwater ingress and increase susceptibility to spalling when trapped moisture freezes and expands. Use a free-draining aggregate base to minimize prolonged saturation regardless of climate.
Freeze-Thaw and Thermal Cycling in Garden Edging
Temperature cycling creates forces inside natural stone that most specifiers underestimate. A garden bed edge experiences both diurnal cycling — the swing between daytime highs and nighttime lows — and seasonal cycling through freeze-thaw events. In freeze-thaw regions, the real damage mechanism isn’t the cold itself; it’s the repeated expansion of water trapped in micro-pores as it freezes, then contraction as it thaws. Limestone with an open interconnected pore structure can lose 15 to 20% of its surface integrity over a decade of repeated freeze-thaw cycles if the material selection and base drainage aren’t correct.
Thermal expansion coefficients for limestone run approximately 4.4 × 10⁻⁶ per °F. Across a 40°F diurnal range — common in many regions regardless of season — a 12-inch limestone edging piece experiences roughly 0.002 inches of movement per cycle. That sounds negligible in isolation, but over thousands of cycles across a bed perimeter measuring 80 linear feet, the cumulative joint stress becomes significant. Setting pieces with a 1/8-inch dry joint rather than tight-butted prevents the lateral buckling that tight installation produces over time. According to USGS limestone composition and construction applications, the mineral composition of limestone — predominantly calcite — gives it moderate thermal stability compared to siliceous stones, but joint design remains the critical variable in cycling environments.
- Specify limestone with absorption rate below 3% for freeze-thaw-exposed applications
- Maintain 1/8-inch dry joints to accommodate thermal expansion without lateral buckling
- Free-draining compacted aggregate base reduces saturation risk before freeze events
- Diurnal temperature swings above 30°F require joint design attention even outside freeze-thaw zones
- Re-check joint sand levels annually — cycling loosens infill faster than most homeowners expect
Sealing Limestone Edging: What Actually Helps
Sealing limestone garden edging is one of those recommendations that gets oversimplified. A penetrating silane-siloxane sealer reduces water absorption without altering the surface appearance — the right choice for exterior edging exposed to rain, irrigation, and soil contact. Film-forming sealers trap moisture beneath the surface and create flaking problems within two to three seasons, particularly on pieces that experience frequent wetting from irrigation systems. Your sealer choice matters as much as whether you seal at all.
Reapplication every two to three years maintains effective protection. You can test whether your existing sealer is still active by dropping water on the surface — if it beads, the sealer is working; if it absorbs immediately, it’s time to reapply. At Citadel Stone, we recommend cleaning the stone thoroughly with a pH-neutral cleaner and allowing a minimum 48-hour dry time before sealing, particularly for pieces installed in shaded bed areas where moisture retention is higher.
Ordering and Logistics: Planning Your Edging Project
Calculating linear footage is straightforward — measure your bed perimeter, add 10% for cuts and breakage, and convert to the piece count your chosen edging format requires. What catches most projects off-guard is lead time. Citadel Stone maintains warehouse stock across nationally distributed inventory, which typically reduces fulfillment to 1–2 weeks rather than the 6–8 week import cycle you’d face sourcing directly offshore. That matters if you’re working against a planting schedule or a landscaping contractor’s installation window.
Truck delivery logistics deserve attention before you finalize your order. Limestone edging ships on pallets — standard pieces in the 3–4 inch thickness range run approximately 22–25 lbs per linear foot, so a 200-linear-foot project arrives at roughly 4,400 to 5,000 lbs. Confirm truck access to your site before scheduling delivery; curbside drops on long driveways or narrow access points add significant manual handling that affects your installation timeline. The ASLA landscape edging and border stone design guidance reinforces that material logistics planning is as important to project success as the specification itself.
- Measure bed perimeter accurately and add 10% for cuts, breakage, and irregular corners
- Confirm warehouse stock availability before scheduling installation crew or landscaping work
- Verify truck access — full pallets of limestone edging require clear, firm access routes
- Allow 48 hours from delivery to installation for material to acclimate to site conditions
- Order matching material from the same warehouse batch to minimize color variation across the project
Getting Your Limestone Edging Specification Right
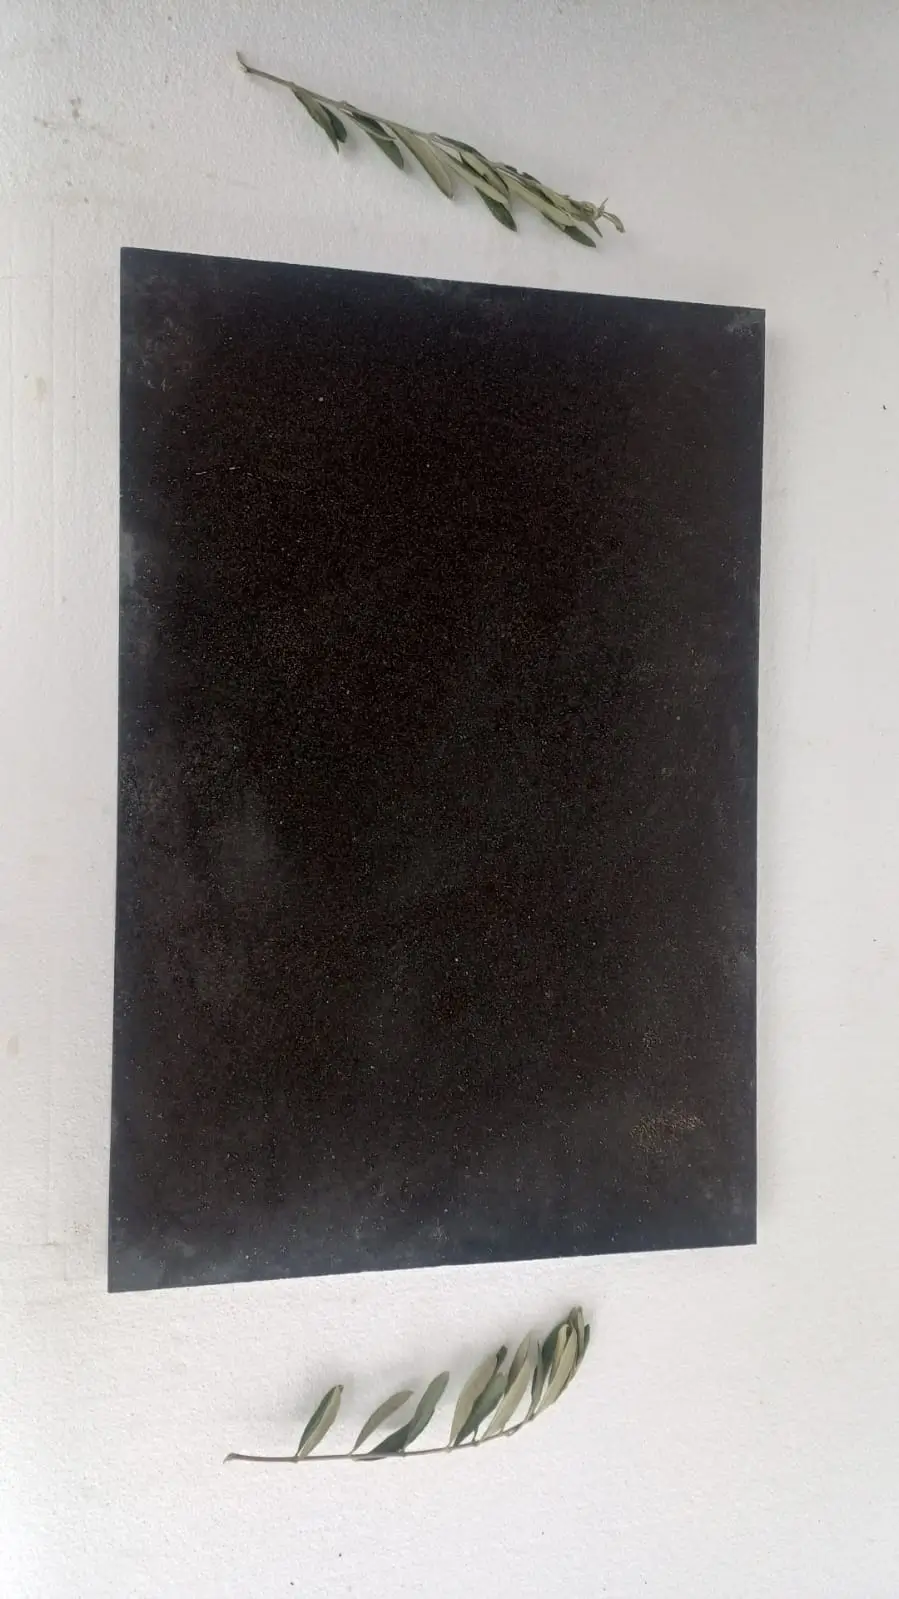
Limestone edging for garden beds rewards the specifiers who treat material selection and base preparation with the same rigor they give to planting design. The profile, thickness, absorption rate, joint spacing, and sealer type all interact — get any one wrong and you’re likely back-filling, re-leveling, or replacing pieces within three years. Get them right and the edging becomes a permanent feature of the landscape that outlasts everything planted behind it. For projects where you want an equally sharp contrast to natural limestone, black edging stone options offer a striking alternative worth reviewing before finalizing your border specification. Supplied from internationally sourced quarries, garden edging can be laid flush or raised for a clean bed border.
Related reading: limestone landscape blocks · limestone planter · Limestone Driveway Edging: A Practical Buyer’s Guide.