

Base Preparation Determines Everything
Most limestone pavers patio failures trace back to one decision made before the first stone was ever laid — base depth and compaction. The paver itself rarely fails; the substrate beneath it does. You need a minimum of 4 inches of compacted crushed aggregate (¾-inch clean crushed stone is the standard), but in areas with expansive clay soils or notable freeze-thaw cycling, bump that to 6 inches without hesitation. Skimping here is the single fastest way to turn a 25-year installation into a 10-year replacement project.
Your subgrade preparation starts with excavation to a depth that accounts for the aggregate base, a 1-inch bedding sand layer, and your paver thickness — typically 1¼ to 1½ inches for residential patios, 2 inches for areas that will see vehicle access or heavy furniture loads. Compact the subgrade itself before you bring in aggregate. A plate compactor run in two perpendicular passes will get you to the 95% Proctor density you need. Bring in aggregate in 2-inch lifts and compact each lift separately — pouring 6 inches of aggregate and compacting it once is not the same thing, and you’ll feel the difference underfoot within two seasons.
Choosing the Right Limestone Thickness
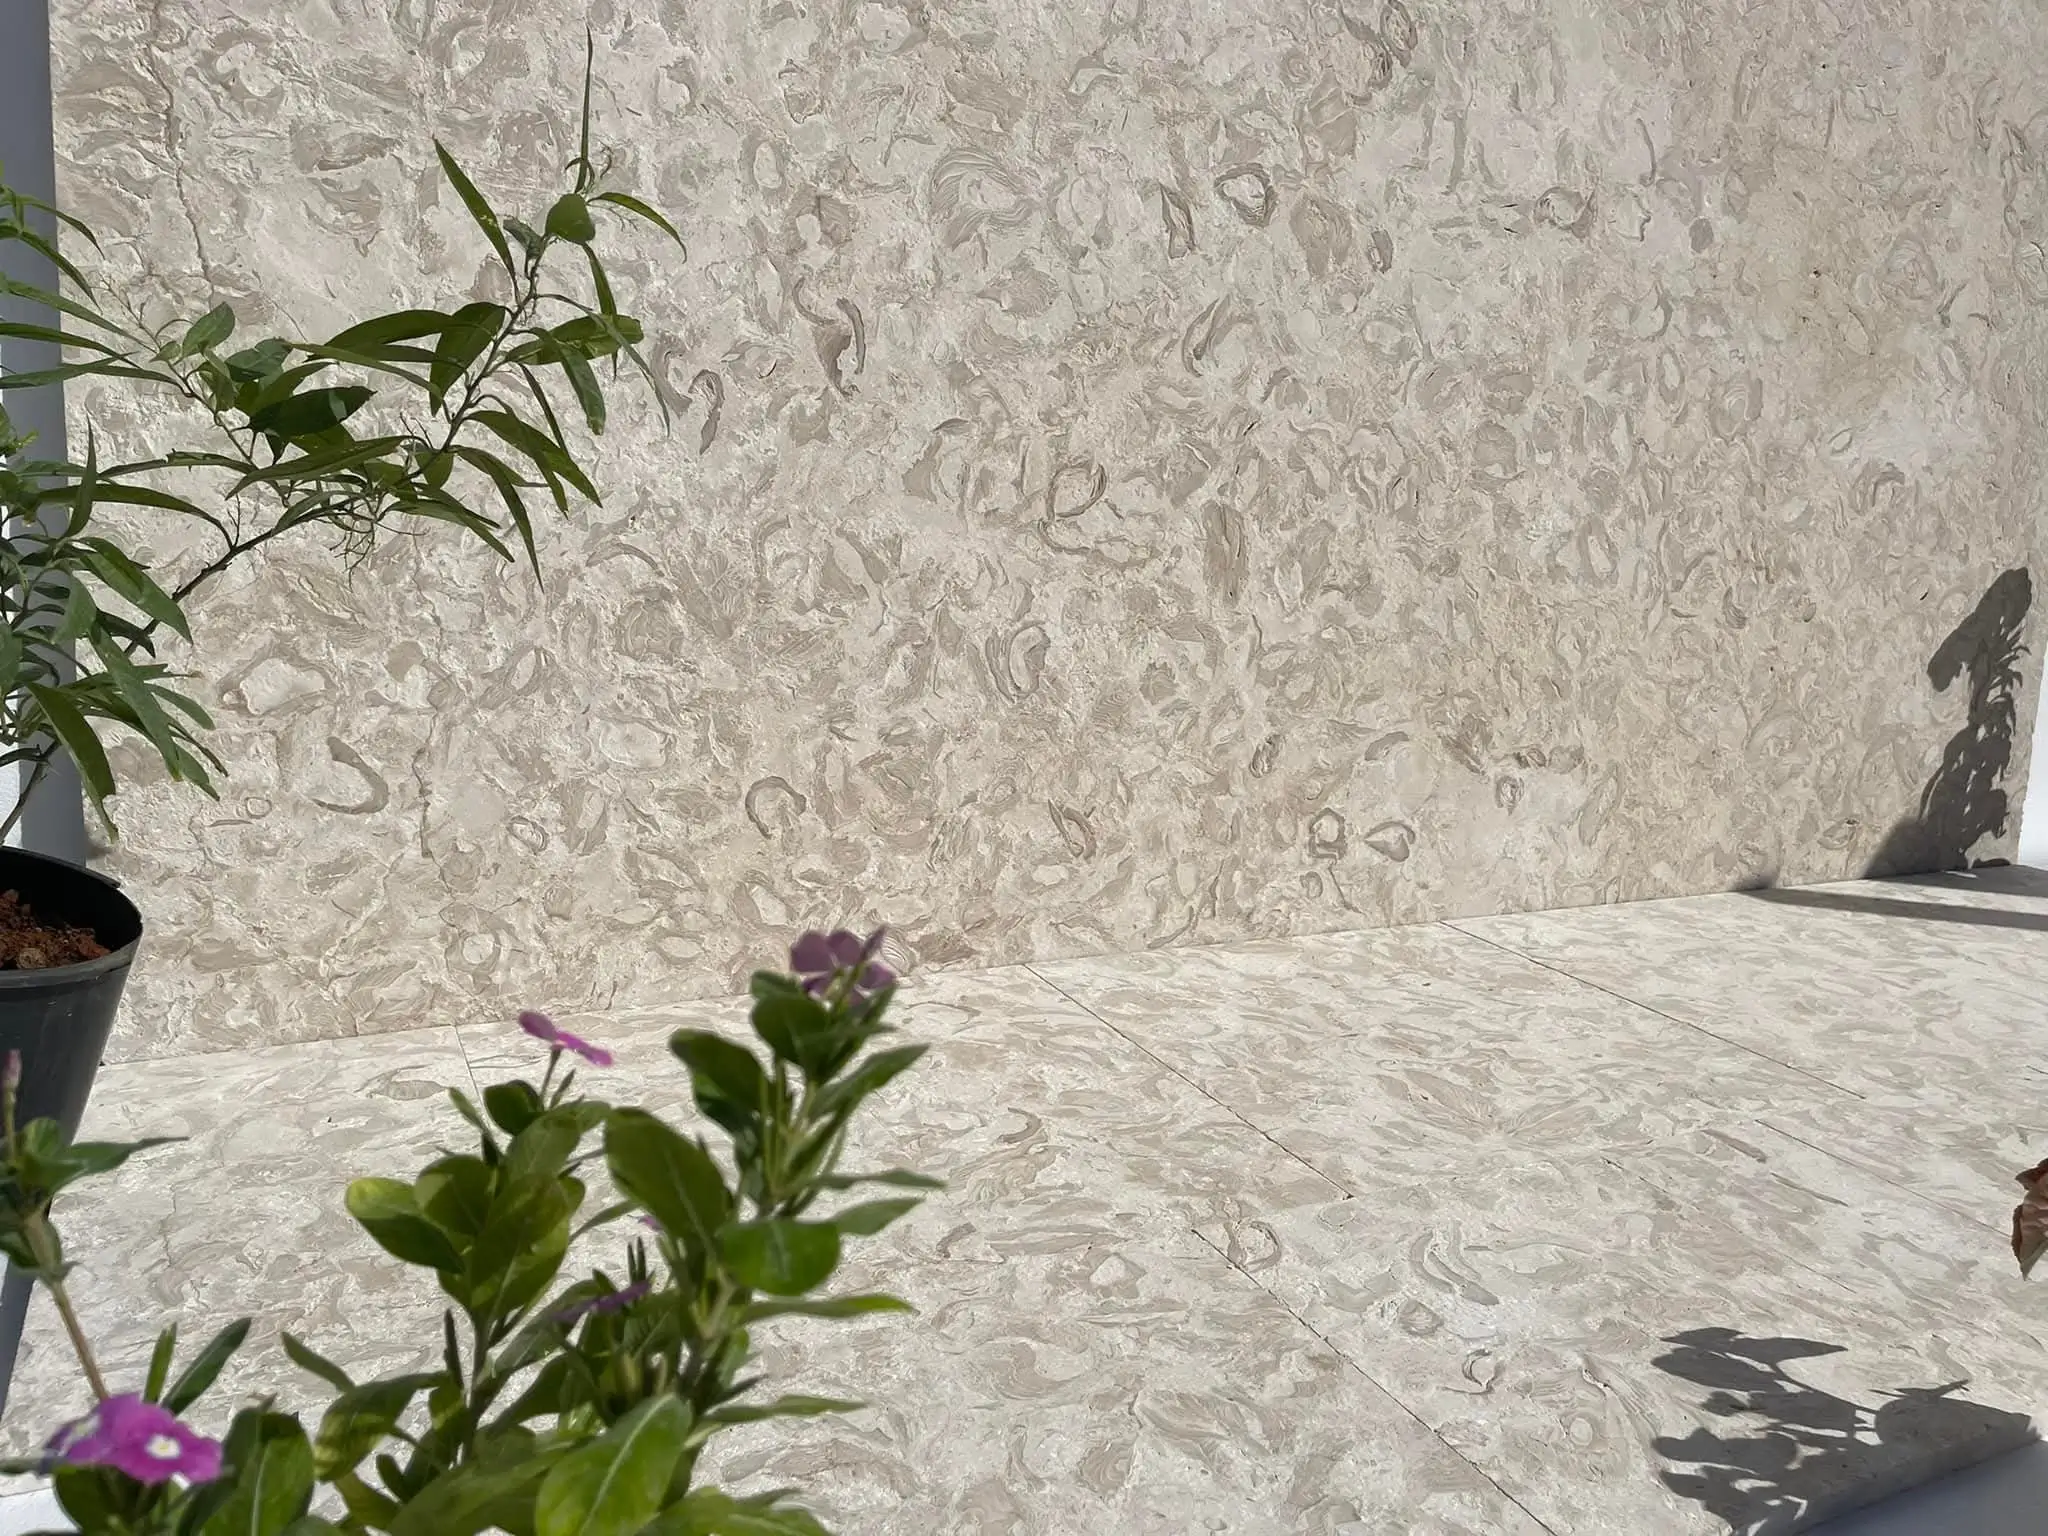
Thickness selection for a limestone pavers patio isn’t just a structural question — it affects your finished grade, your step transitions, and how forgiving the installation is when minor base inconsistencies appear during laying. For standard residential patios with foot traffic only, 1¼-inch (30mm nominal) pavers are the practical minimum. Move to 1½-inch (40mm) if you’re specifying for a dining or entertaining space where concentrated loads from furniture legs are routine. At 2 inches (50mm), you’re into territory suited for driveways and heavy-use commercial patios — likely more than most residential projects need, but worth considering for high-end installations where longevity is the non-negotiable requirement.
Spanish limestone in particular tends to run slightly denser than Turkish or Portuguese equivalents, which means a 1¼-inch Spanish limestone paver will outperform a softer limestone at the same thickness. According to NSI limestone technical data, compressive strength in commercial limestone used for paving typically ranges from 4,000 to 18,000 PSI depending on formation density — a range wide enough that thickness alone won’t save an under-specified installation if you’ve selected a low-density material for a demanding application.
- 1¼ inch (30mm): standard residential foot-traffic patios with stable base conditions
- 1½ inch (40mm): dining areas, entertaining patios, moderate furniture loads
- 2 inch (50mm): heavy-use zones, vehicle overhang areas, or commercial-grade residential patios
- Verify actual measured thickness on delivery — nominal dimensions can vary 2–3mm from stated specs
Limestone Patio Installation: Step-by-Step
The step-by-step walkthrough below assumes a dry-set installation — the method that gives you the best combination of long-term performance, replaceability, and drainage on a residential limestone pavers patio. Mortar-set is viable on concrete substrates but introduces different failure modes and repair complexity that most homeowners don’t want to deal with.
Step One: Layout and Dry Run
Start every installation with a dry run — lay your first 4 to 6 rows without adhesive or bedding. This lets you verify pattern alignment, check for size variation across your batch, and identify any pavers you’d want to set aside for cuts. Limestone pavers patio installations that skip this step invariably end up with a visible pattern break somewhere in the field. Snap chalk lines in both directions from your starting point, and always begin from the most visible corner or edge — not the back of the space.
Step Two: Bedding Sand and Screed
Your bedding layer should be coarse, angular sand — not play sand, not mason sand. Concrete sand (ASTM C33 gradation) gives you the interlocking particle geometry that resists lateral movement under load. Screed it to a consistent 1-inch depth using pipe guides set to your finished grade elevation. Pull your screed board across the pipes in a sawing motion; don’t press down. You’re creating a reference plane, not compacting the sand. Once screeded, avoid walking on the sand bed — any disturbance creates an uneven surface that shows up immediately in your finished patio.
Step Three: Setting the Pavers
Place each paver with a slight rocking motion to seat it into the sand, then tap it level with a rubber mallet. Use 3mm spacers for a tight joint, or 6–8mm for a wider jointing profile. Check level across every three to four pavers — don’t wait until you’ve laid a whole section before discovering a creeping lip. Your target is no more than 1mm variation across adjacent paver surfaces; anything beyond that creates a trip hazard and looks uneven under raking light.
Step Four: Jointing and Compaction
Once all pavers are set, run a plate compactor over the surface with a rubber pad attached — compacting directly on limestone without protection risks surface fracturing and edge chipping. Make two passes in perpendicular directions. After compaction, spread polymeric joint sand across the surface and work it into joints with a broom. Blow off the excess, then mist the surface lightly to activate the polymer binder. Allow a minimum 24-hour cure before foot traffic and 48 hours before furniture placement.
Seasonal Timing and Installation Windows
Timing your limestone pavers patio installation isn’t just about convenience — it directly affects bedding sand behavior, polymeric jointing compound performance, and the dimensional stability of your pavers during placement. Polymeric sand manufacturers typically specify an ambient temperature range of 32°F to 95°F for activation, but the practical sweet spot sits between 55°F and 85°F. Outside that window, you’re either fighting a product that won’t fully cure or one that flash-cures before the sand has properly settled into joints.
Early morning work sessions have a real advantage during warmer months. Stone surface temperatures before 10 a.m. are typically 15–25°F cooler than midday readings, which matters when you’re handling pavers by hand for extended periods and when you need the polymeric sand mist cure to happen gradually rather than immediately. Rushing a late-afternoon jointing operation in direct sun during peak summer temperatures is a common cause of incomplete joint cure — the surface sets while the interior of the joint is still dry.
- Ideal installation window: late spring through early fall, with overnight temperatures consistently above 40°F
- Avoid installation within 24 hours of forecast rain — wet subgrade undermines compaction and bedding accuracy
- Schedule jointing and sealing for morning sessions to allow full-day cure before evening dew
- In freeze-thaw regions, allow minimum 6 weeks before first frost after jointing to ensure full polymer cure
- Cold-weather installation below 40°F requires heated polymeric sand formulas and extended cure times — verify product specifications before proceeding
The USGS dimension stone data on limestone composition and construction applications notes that limestone’s relatively low thermal expansion coefficient makes it more dimensionally stable across temperature swings than many synthetic alternatives — but that stability only translates into a tight, consistent installation when the setting bed is undisturbed during cure.
Drainage Slope and Pattern Layout
Every limestone pavers patio needs positive drainage — 1/8 inch per foot minimum, ¼ inch per foot preferred. That’s a 1-inch drop over an 8-foot run, which is barely perceptible to the eye but makes the difference between a surface that dries within an hour of rain and one that stays wet for half a day. Water that pools on limestone accelerates biological growth, stains the surface, and in freeze-thaw regions creates the exact conditions that cause joint sand washout and eventual paver settling.
Direct your drainage slope away from the house foundation and toward a lawn, garden bed, or designated drainage channel. For patios over 15 feet in either dimension, consider a crown profile — sloping toward both sides from a central high point — rather than a single directional slope, which can look and feel tilted at larger scales. Establish your slope during subgrade preparation, which is far easier than trying to build it into the bedding sand layer.
For pattern selection, a running bond (brick pattern) is the strongest structural choice — offset joints distribute point loads across multiple pavers rather than concentrating stress at a single joint line. Herringbone at 45 degrees is even more interlocking and is the preferred pattern for areas that see any lateral load from vehicle tires. Stack bond (grid pattern) looks clean but creates continuous joint lines that allow paver migration over time, so reserve it for low-traffic decorative zones only.
Spanish Limestone and Material Selection
Not all limestone performs identically in outdoor paving applications, and the source formation matters more than most buyers realize. Spanish limestone — sourced primarily from the Crema Marfil and Fossil Brown formations — tends to exhibit higher density and lower water absorption than softer Turkish or Egyptian equivalents. Water absorption below 3% (ASTM C97) is your benchmark for outdoor paving; materials above that threshold will show biological staining more quickly and are more vulnerable in freeze-thaw cycles.
Pavers limestone is available in honed, brushed, and tumbled finishes for patio applications. Honed gives you the cleanest aesthetic and the most consistent color expression, but it’s also the most slip-prone when wet. Brushed (or sandblasted) finishes open the texture slightly and improve wet traction without the rustic look of tumbled stone. Tumbled edges soften the profile and create a naturally aged appearance that looks excellent in informal garden settings. For a patio that functions year-round, a brushed or lightly textured finish is typically the better specification choice. The Britannica limestone reference outlines how formation density and calcite crystal structure influence surface hardness — factors that directly affect finish durability and maintenance frequency in outdoor applications.
You can explore the full range of surface finishes and format options through our limestone paver collection, which includes both Spanish limestone and Mediterranean sourced varieties across standard and custom thicknesses.
Sealing and Long-Term Maintenance
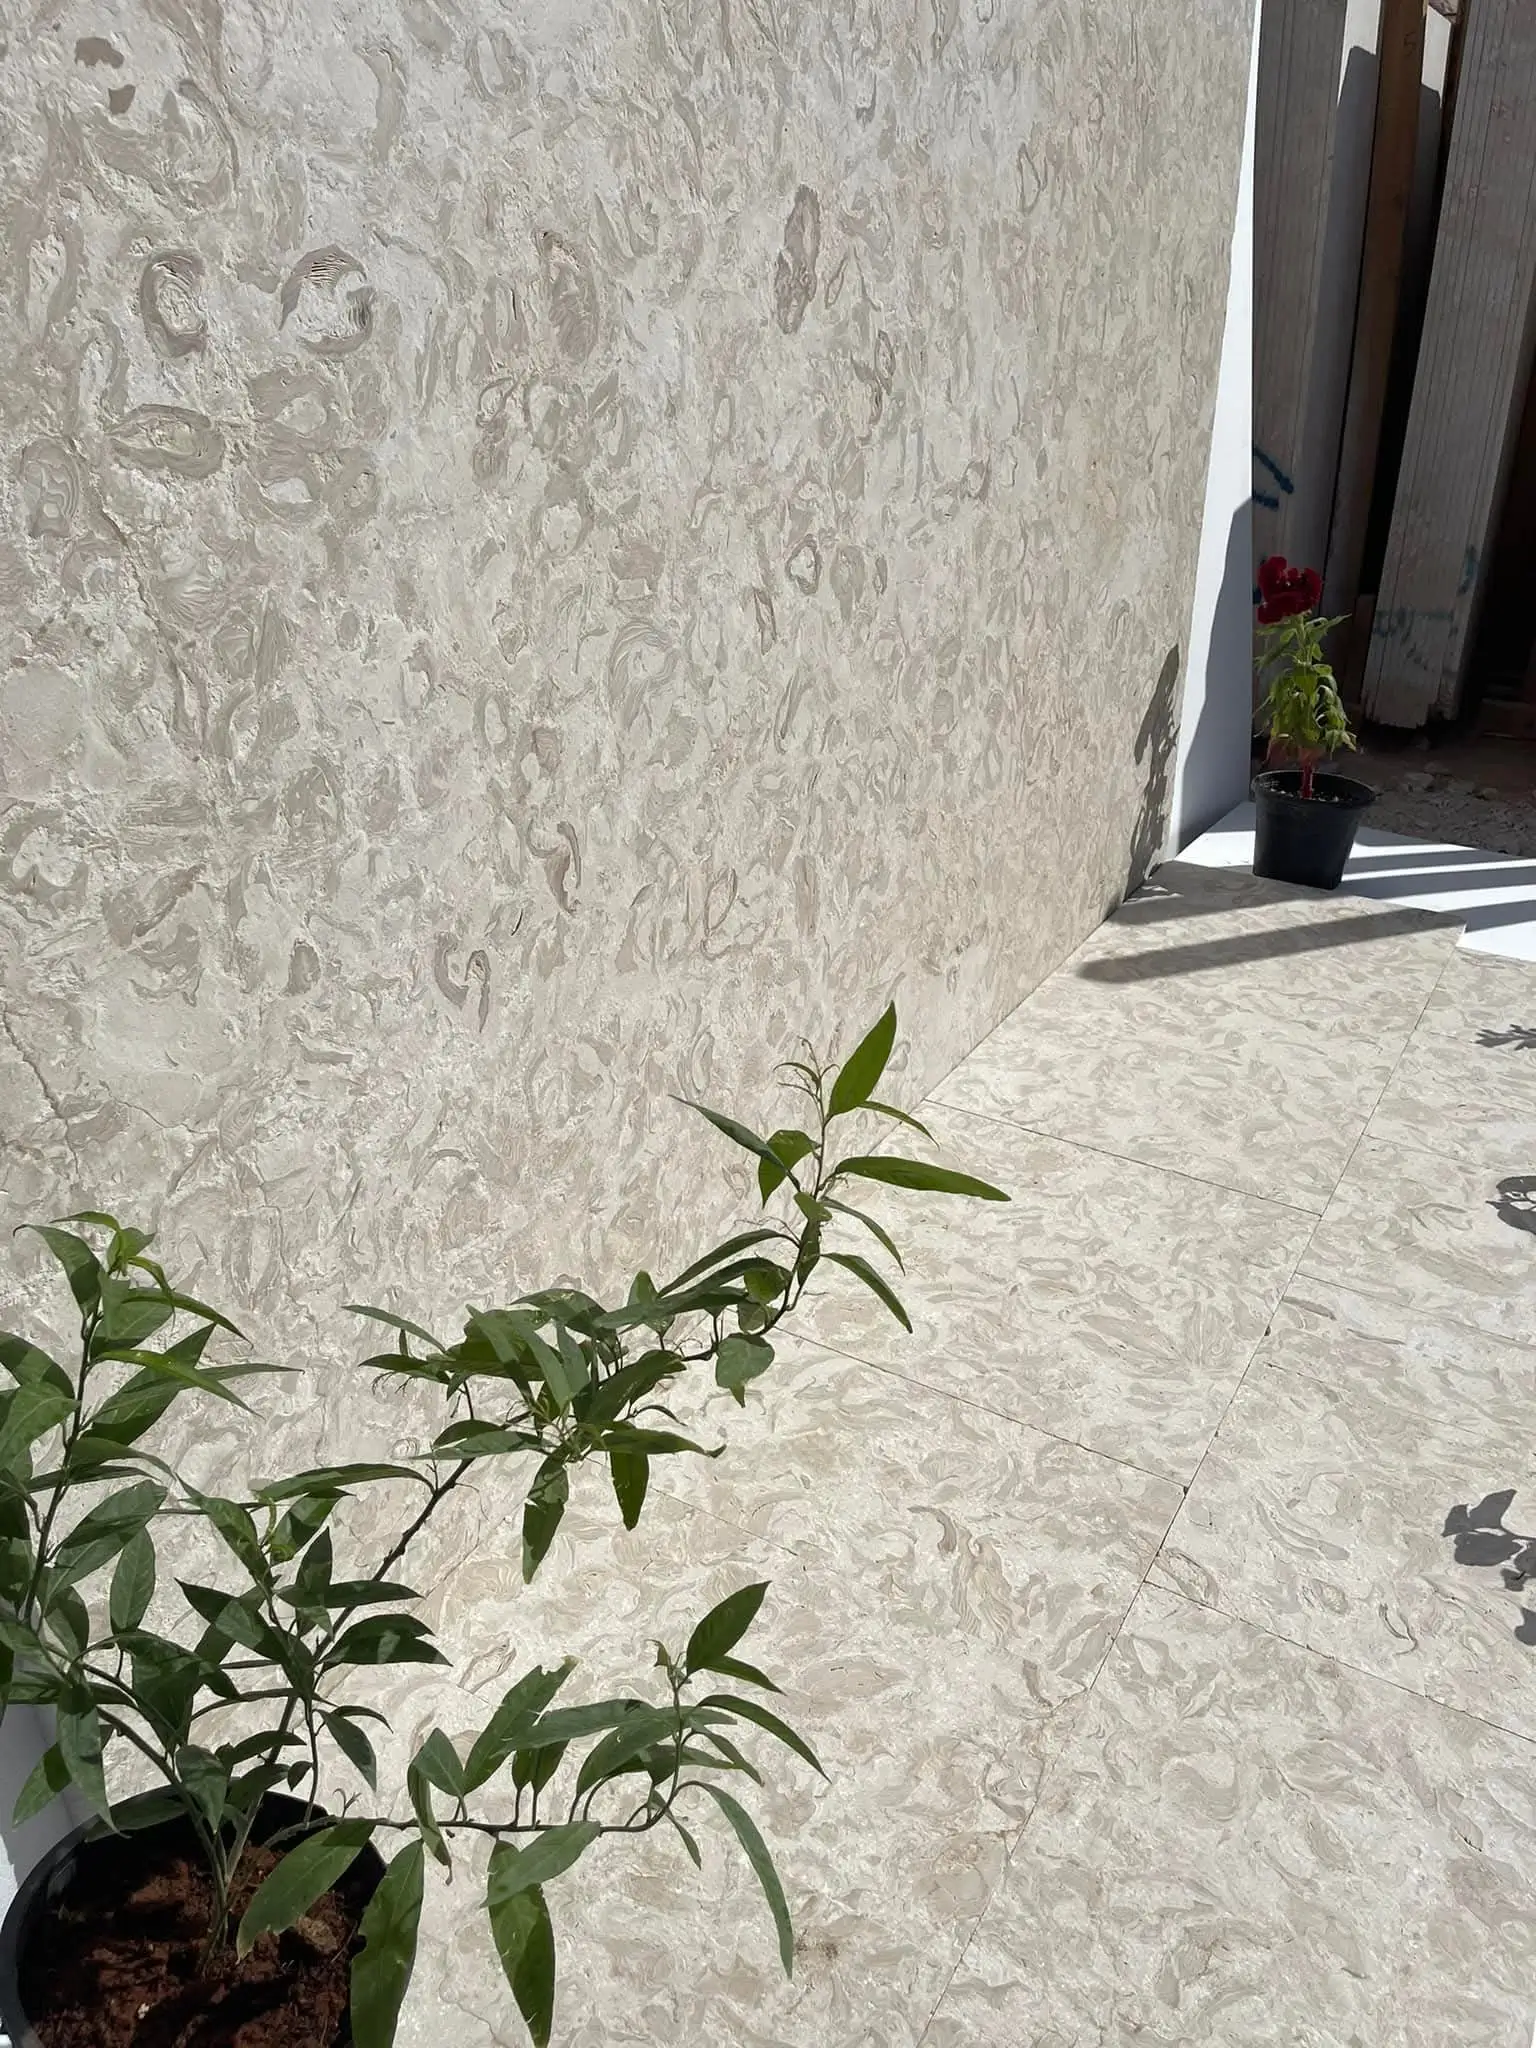
Sealing a limestone pavers patio is not optional if you want to maintain appearance over the long term — the question is which sealer type to use and when. For outdoor limestone paving, a penetrating impregnator sealer (silane-siloxane based) is the correct specification. These products work below the surface, filling the pore structure without creating a topcoat film that can peel, yellow, or trap moisture beneath. Topical acrylic sealers may look attractive initially but are categorically wrong for outdoor limestone — they trap moisture vapor, accelerate spalling in freeze-thaw conditions, and require complete removal before re-application.
- Apply first sealer coat minimum 28 days after installation — allow full mortar or polymeric sand cure
- Two thin coats outperform one heavy coat — work in 4-foot sections and avoid puddling
- Re-seal every 2–3 years for standard exposure, annually for high-traffic or high-UV installations
- Test water absorption annually: pour water on the surface — if it absorbs within 30 seconds rather than beading, it’s time to reseal
- Clean biological growth (moss, algae) with a pH-neutral stone cleaner before resealing — never use bleach or acid-based cleaners on limestone
The limestone base for pavers — meaning the aggregate sub-base — also needs periodic inspection. Check joint sand levels annually and top up with fresh polymeric sand wherever washout has occurred. Sunken or rocking pavers should be reset promptly; a single unstable paver creates a pivot point that accelerates settlement in adjacent stones.
Ordering, Logistics, and Project Planning
Calculate your material quantity by measuring the patio area in square feet, then add 10% for cuts and breakage — 15% for complex patterns like herringbone or any layout with significant diagonal cuts. Order your complete quantity from a single production batch where possible; limestone color and texture can vary meaningfully between production runs, and a mid-project reorder from a different batch will show in the finished surface.
Verify warehouse stock levels before you commit to a project start date. Citadel Stone maintains national warehouse inventory across standard limestone formats, which typically compresses lead times to 1–2 weeks for stocked items — considerably faster than the 6–8 week import cycle that overseas direct-order purchasing often involves. For larger projects or custom thicknesses, confirm allocation with the team before finalizing your installation schedule so truck delivery timing aligns with your base preparation completion.
Your truck delivery logistics need planning too. Full-pallet limestone deliveries arrive on standard freight trucks, and the driver needs at least 50 feet of clear access for tailgate unloading. If your site has restricted access, request a smaller truck at the time of order — not after the truck has already arrived. Stone pallets typically run 2,500 to 3,500 lbs, so driveway load capacity is worth confirming before delivery day. At Citadel Stone, we recommend staging pallets as close to the installation area as possible to minimize double-handling — limestone is dense material and unnecessary carries across a job site add real time and fatigue to the installation day.
Getting Your Limestone Patio Specification Right
A well-executed limestone pavers patio comes down to sequencing the right decisions in the right order: correct base depth for your soil conditions, accurate thickness specification for your load profile, a dry-set installation with properly graded drainage, and a penetrating sealer applied after full cure. Get those fundamentals right and you’re looking at a 25-year installation with routine maintenance — skip any one of them and the timeline shortens considerably. The ASLA outdoor patio stone guidance reinforces that material selection and substrate preparation are the two highest-impact decisions in any natural stone patio project. For broader patio planning, limestone patio design ideas and layouts covers pattern selection, border detailing, and how finish choices interact with your overall outdoor space. Sourced from quarries across the Mediterranean and Middle East, Citadel Stone limestone pavers arrive dimensioned for straightforward patio installation.
Related reading: how limestone weathers outdoors · Choosing Limestone for Gardens: A Buyer’s Guide · Crushed Limestone Landscaping Problems and Fixes.