

Why Crushed Limestone Landscaping Problems Start Below the Surface
Most crushed limestone landscaping problems don’t originate at the surface — they trace back to what’s happening two to eight inches underneath it. The gradation you select, the base you compact, and the subgrade you’re working over all interact in ways that determine whether your installation looks sharp in year three or turns into a weedy, rutted mess by the end of the first season. Understanding the root causes puts you in a position to fix them properly instead of just raking material around and hoping for the best.
Surface Migration and Material Drift
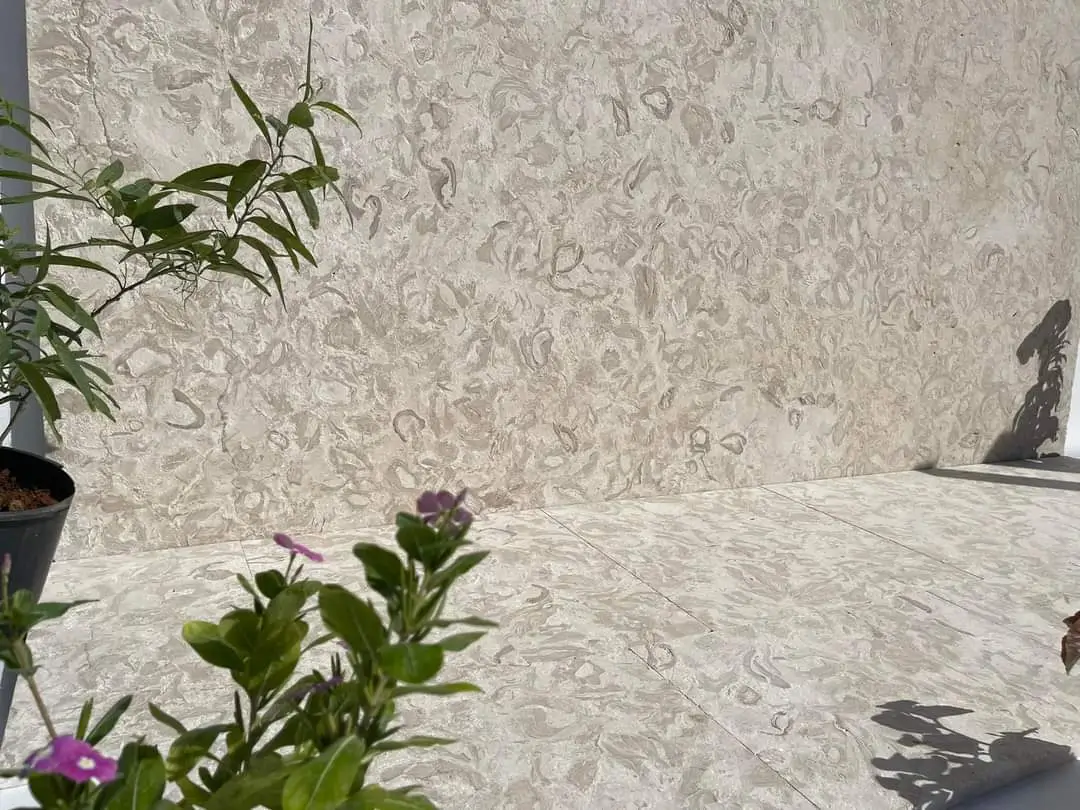
One of the most common crushed limestone landscaping problems you’ll encounter is surface drift — stone migrating away from where you placed it. This happens for a few distinct reasons, and each one requires a different fix. Foot traffic pushing fines to the edges is the obvious culprit, but poor gradation is often the deeper issue. Angular crushed limestone in a well-graded mix locks together under load. Rounded, poorly graded material doesn’t — it behaves more like loose gravel and shifts underfoot.
Your gradation specification matters enormously here. A clean #57 or #67 crushed limestone has gaps between particles that allow movement under pressure. A dense-graded base mix — with fines filling those voids — compacts into a stable matrix. For pathways and patio areas carrying regular foot traffic, spec a dense-graded crushed limestone rather than an open-graded product. According to NSI limestone specifications, the binding characteristics of limestone fines make them particularly effective for stable surface construction when properly graded and compacted.
- Open-graded stone (clean #57 or larger) — drains freely but migrates under traffic
- Dense-graded mix (crusher run or road base limestone) — compacts firmly, resists migration
- Fines-heavy material without compaction — behaves like loose powder, worst for drift
- Surface edging without restraint — allows lateral migration regardless of gradation
Weed Intrusion Through Crushed Limestone
Weed intrusion is arguably the most frustrating crushed limestone landscaping problem for homeowners and specifiers alike. Here’s what most people miss: landscape fabric under crushed limestone is a short-term fix, not a long-term solution. Over two to four years, wind-blown organic matter accumulates in the stone voids, creating a growing medium right on top of the fabric. Weeds then root into that surface layer without ever penetrating the fabric at all.
The better approach combines depth with gradation. A minimum four-inch compacted base layer of dense-graded limestone significantly reduces weed establishment by limiting the organic matter pockets that seeds need to germinate. Where you do use weed barrier, opt for non-woven geotextile fabric rated at 4 oz/yd² or heavier — it allows drainage without the rapid breakdown that lighter fabrics exhibit. Consistent particle sizing from your supplier is the element that ties this together: inconsistent gradation creates oversized voids that collect debris and accelerate weed establishment far more than a uniform crushed limestone landscaping product does.
- Install minimum 4 inches of compacted dense-graded limestone as the base layer
- Use 4 oz/yd² non-woven geotextile rather than thin poly sheeting
- Top dress with 1.5 to 2 inches of consistent-gradation crushed limestone to limit organic accumulation
- Edge restraints prevent material migration that opens weed-friendly gaps at borders
How Soil Type and Subgrade Conditions Amplify Issues
Your subgrade is the variable that most specs ignore and most problems trace back to. Expansive clay soils heave seasonally, and that movement works its way up through a compacted base, fracturing the stable matrix you built. The result appears as surface undulation — areas that were level becoming rolling or cracked at the edges. Sandy or rocky subgrades create a different challenge: inconsistent bearing capacity that causes differential settlement, where one section of your installation sinks while the adjacent area stays put.
Caliche layers, common in drier interior regions, present their own problem. They create a near-impermeable layer that traps water above the stone base, leading to saturation and freeze-thaw cycles that destabilize even well-compacted installations. Before placing a single ton of crushed limestone, probe your subgrade to a depth of 12 inches. In clay-heavy soils, add a 4-inch layer of compactable aggregate below your limestone base to act as a buffer against seasonal movement. For sandy subgrades, compact in lifts no deeper than 4 inches and verify density with a plate compactor before proceeding. According to USGS limestone composition data, limestone’s calcium carbonate base gives it a natural affinity for binding with mineral-rich soils — but that benefit only materializes when the subgrade is prepared to support it.
- Expansive clay — add a 4-inch compactable aggregate buffer below the limestone base
- Sandy subgrades — compact in 4-inch lifts, verify density before adding limestone
- Caliche layers — address drainage above the impermeable layer before installation
- Rocky, uneven subgrades — scarify and re-grade to establish consistent bearing capacity
Compaction Failures and Settling Patterns
Settling in crushed limestone installations almost always points to inadequate compaction — either of the limestone itself or of the subgrade beneath it. The specification failure most often seen in the field is placing material in a single deep lift and assuming a plate compactor will do the work. Crushed limestone bases should be placed in maximum 3-inch compacted lifts, with full compaction passes at each stage before the next lift goes down. Skipping this step means you’re compacting the top inch while the material below stays loose.
For crushed limestone for patio and pathway applications, your finished base should achieve 95% Proctor density before you place the surface course. That’s not achievable in one pass on deep lifts. Factor in the compaction requirement when calculating your material quantities — limestone crushed from loose to compacted volume typically reduces by 20 to 25%, so your tonnage order needs to account for that shrinkage or you’ll come up short mid-project. Checking warehouse stock levels before you begin helps you avoid mid-project delays when you discover you need additional material.
Drainage Problems and Surface Puddling
Standing water on or around crushed limestone is a sign that something is wrong with either the grade, the base permeability, or both. Properly installed crushed limestone drains freely — its angular particle shape and interstitial voids make it one of the better-performing permeable hardscape options available. Puddling typically means one of three things: the surface grade has reversed due to settlement, the base has been over-compacted with fines to the point where permeability is compromised, or an impermeable layer beneath is saturating the base.
Establish a minimum 2% cross-slope (roughly 1/4 inch per foot) during grading to direct water away from structures and toward planted areas or drainage channels. In freeze-thaw regions, this drainage slope becomes non-negotiable — water that pools in the base and freezes exerts enough pressure to heave an entire installation. For projects where drainage is a documented concern, a perforated pipe at the base perimeter captures subsurface water before it saturates your limestone base. The ASLA permeable surfaces guidance reinforces the importance of proper slope and drainage integration in any permeable hardscape system.
- Maintain 2% minimum surface slope away from structures at all times
- Verify base permeability hasn’t been compromised by over-compacted fines
- Install perimeter drainage pipe where subsurface water is a documented issue
- Avoid blocking natural drainage paths with edging or landscape borders
Discoloration, Staining, and Surface Appearance Changes
Crushed limestone landscaping changes color over time — that’s normal and expected. Fresh crushed limestone arrives with a bright white or cream tone that weathers to a softer grey over the first 12 to 18 months. What isn’t normal is orange or rust-colored staining, which indicates iron oxidation from either the stone itself or from metal edging and hardware in contact with wet limestone. Select powder-coated or plastic edging systems rather than bare steel where crushed limestone abuts metal borders.
Organic staining — dark streaks from decomposing leaves and debris — is the other common appearance issue. This is primarily a maintenance problem rather than a material defect, but your initial design can minimize it. Avoid installing crushed limestone directly beneath deciduous trees with heavy leaf drop. Where that’s unavoidable, use a coarser gradation that allows debris to blow off the surface rather than a fine, dust-heavy product that traps organic material. For patio installations where aesthetics are a priority, the limestone crushed material you specify should be washed and screened to remove excess fines before delivery.
Edge Restraint Failures and Border Breakdown
Your edge restraint system is load-bearing — treat it that way. Plastic edging staked with 6-inch spikes into soft or sandy soil migrates outward under lateral pressure within a single season. This is one of the most preventable crushed limestone landscaping problems and one of the most commonly overlooked. For any installation larger than a small accent bed, use 4-inch aluminum or 20-gauge steel edging driven to a minimum depth of 6 inches, with stakes at 18-inch intervals.
At Citadel Stone, we recommend specifying the edging system before ordering limestone — the type and depth of your border directly affects how you set your base grades and what depth you’re targeting for the surface course. When edge restraints fail mid-project, you end up with limestone spreading into lawn areas and an installation that requires complete re-edging before it looks right again. Concrete mow strips or natural stone border elements are the most durable long-term option for high-traffic crushed limestone areas like driveways and frequently used pathways.
- Use 4-inch aluminum or heavy-gauge steel edging for installations larger than accent beds
- Drive stakes at 18-inch intervals minimum — 12-inch intervals on curves
- Set edging to contain limestone at your planned surface depth plus 1 inch of freeboard
- Concrete mow strips or natural stone borders outperform plastic in high-traffic zones
Selecting the Right Product to Prevent Crushed Limestone Landscaping Problems
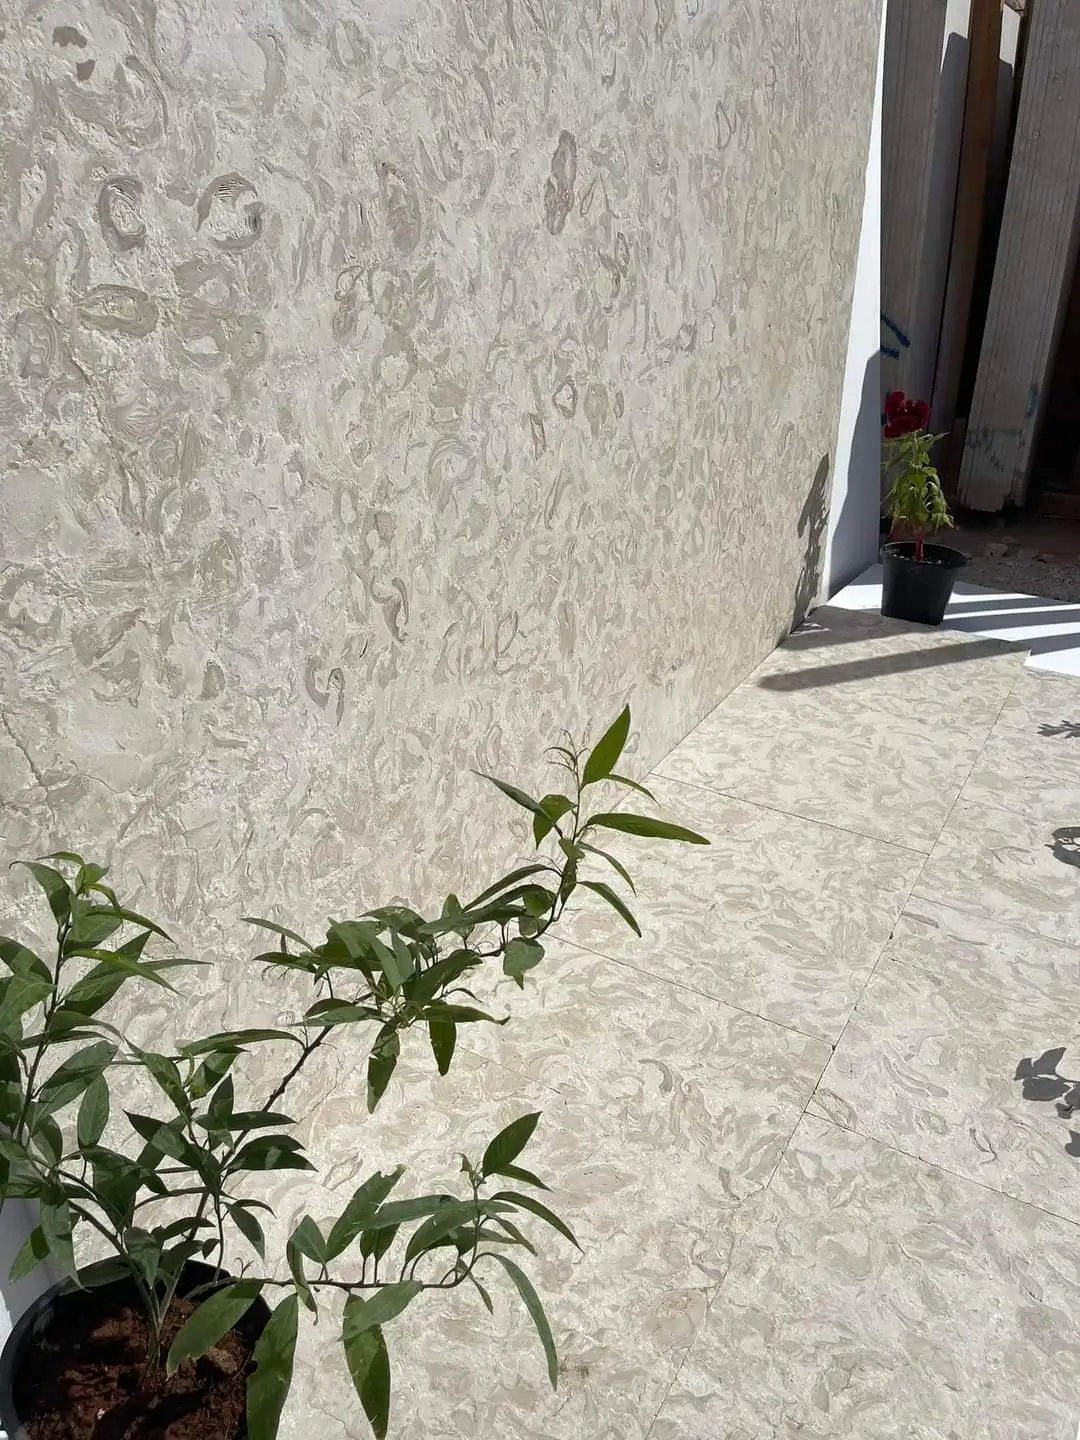
Many crushed limestone landscaping problems are really material selection problems in disguise. The range of crushed limestone products is wider than most buyers expect — crusher run base, #57 clean stone, #8 chip, agricultural lime screenings, and decomposed limestone all behave fundamentally differently under the same conditions. Using the wrong product for the application is a guaranteed path to the problems described throughout this article.
For pedestrian pathways and patios, crusher run (dense-graded limestone with fines) compacts into a firm, stable surface that resists migration. For drainage applications and French drains, #57 clean limestone provides the void space you need. For accent mulch areas and decorative beds, #8 limestone chip gives you a clean appearance with reasonable stability. Sourcing limestone materials from Citadel Stone means you have access to consistent gradations and product specifications that let you match the material to the application with confidence rather than guessing at what the quarry has available that week.
- Crusher run or road base limestone — best for compacted pathways, driveways, and patio bases
- #57 clean crushed limestone — best for drainage applications and French drain fill
- #8 chip or pea-size limestone — best for decorative mulch areas and accent beds
- Decomposed limestone — best for naturalistic pathways in dry-climate gardens
Getting Your Crushed Limestone Landscaping Specification Right
Crushed limestone landscaping problems are solvable — but the window to solve most of them cleanly is during planning and installation, not after the material has shifted, settled, or been colonized by weeds. Your subgrade preparation, gradation selection, compaction method, edge restraint detail, and drainage grade each contribute to an outcome that either holds up for decades or requires constant maintenance. Get those variables right and crushed limestone is one of the most cost-effective, durable, and visually appealing hardscape materials available. Get them wrong and you’re re-doing the work in two to three years.
For projects where limestone appears in multiple contexts — ground cover, base material, and decorative elements — it’s worth reviewing how the material performs in different applications. Limestone in garden applications covers how Citadel Stone materials perform across a range of garden and landscape contexts, which can sharpen your product selection decisions before you commit to a specification. Planning your material orders early also helps — confirm warehouse availability well before your installation window, particularly for larger tonnage quantities that may require truck scheduling coordination. Sourcing consistent gradation from a supplier like Citadel Stone helps reduce the weed intrusion and surface drift that often result from inconsistent particle sizing.
Related reading: limestone weather · Flagstone Patio vs Pavers: Which Should You Choose? · How to Build a Paver Patio: A DIY Step-by-Step Guide.