

Limestone paving tiles have a deceptive learning curve — most buyers get the material selection broadly right, then lose performance years in the details of thickness tolerances, bedding depth, and joint specification. The gap between a 12-year installation and a 25-year one almost always traces back to decisions made before a single tile hits the ground. This article walks through the specification variables that actually matter, so you can approach your project with the same framework a seasoned specifier would use.
Understanding Limestone Grades and What They Mean for Your Project
Not all limestone paving tiles carry the same performance credentials, and the grade classification system is worth understanding before you commit to a material. Density, porosity, and compressive strength vary significantly between limestone types — and those variations translate directly into how the tile performs under load, freeze-thaw cycling, and sustained foot or vehicle traffic.
- Dense limestone with a compressive strength above 8,000 PSI suits high-traffic patios, pool surrounds, and walkways without requiring oversized thickness
- Medium-density grades (4,000–8,000 PSI) are appropriate for residential patios and garden paths where loading is moderate and base preparation is sound
- Highly porous limestone — absorption rates above 12% — will require enhanced sealing protocols and may not suit freeze-thaw regions without specific installation safeguards
- Check for consistent bedding face flatness across your batch; variation greater than 3mm across a 600mm tile signals quarry inconsistency that will cause lippage in the finished surface
According to Natural Stone Institute limestone specifications, paving limestone is assessed across absorption, modulus of rupture, and compressive strength — and cross-referencing all three metrics gives you a more complete picture than any single figure alone. Your supplier should be able to provide test data on all three before you finalise your order.
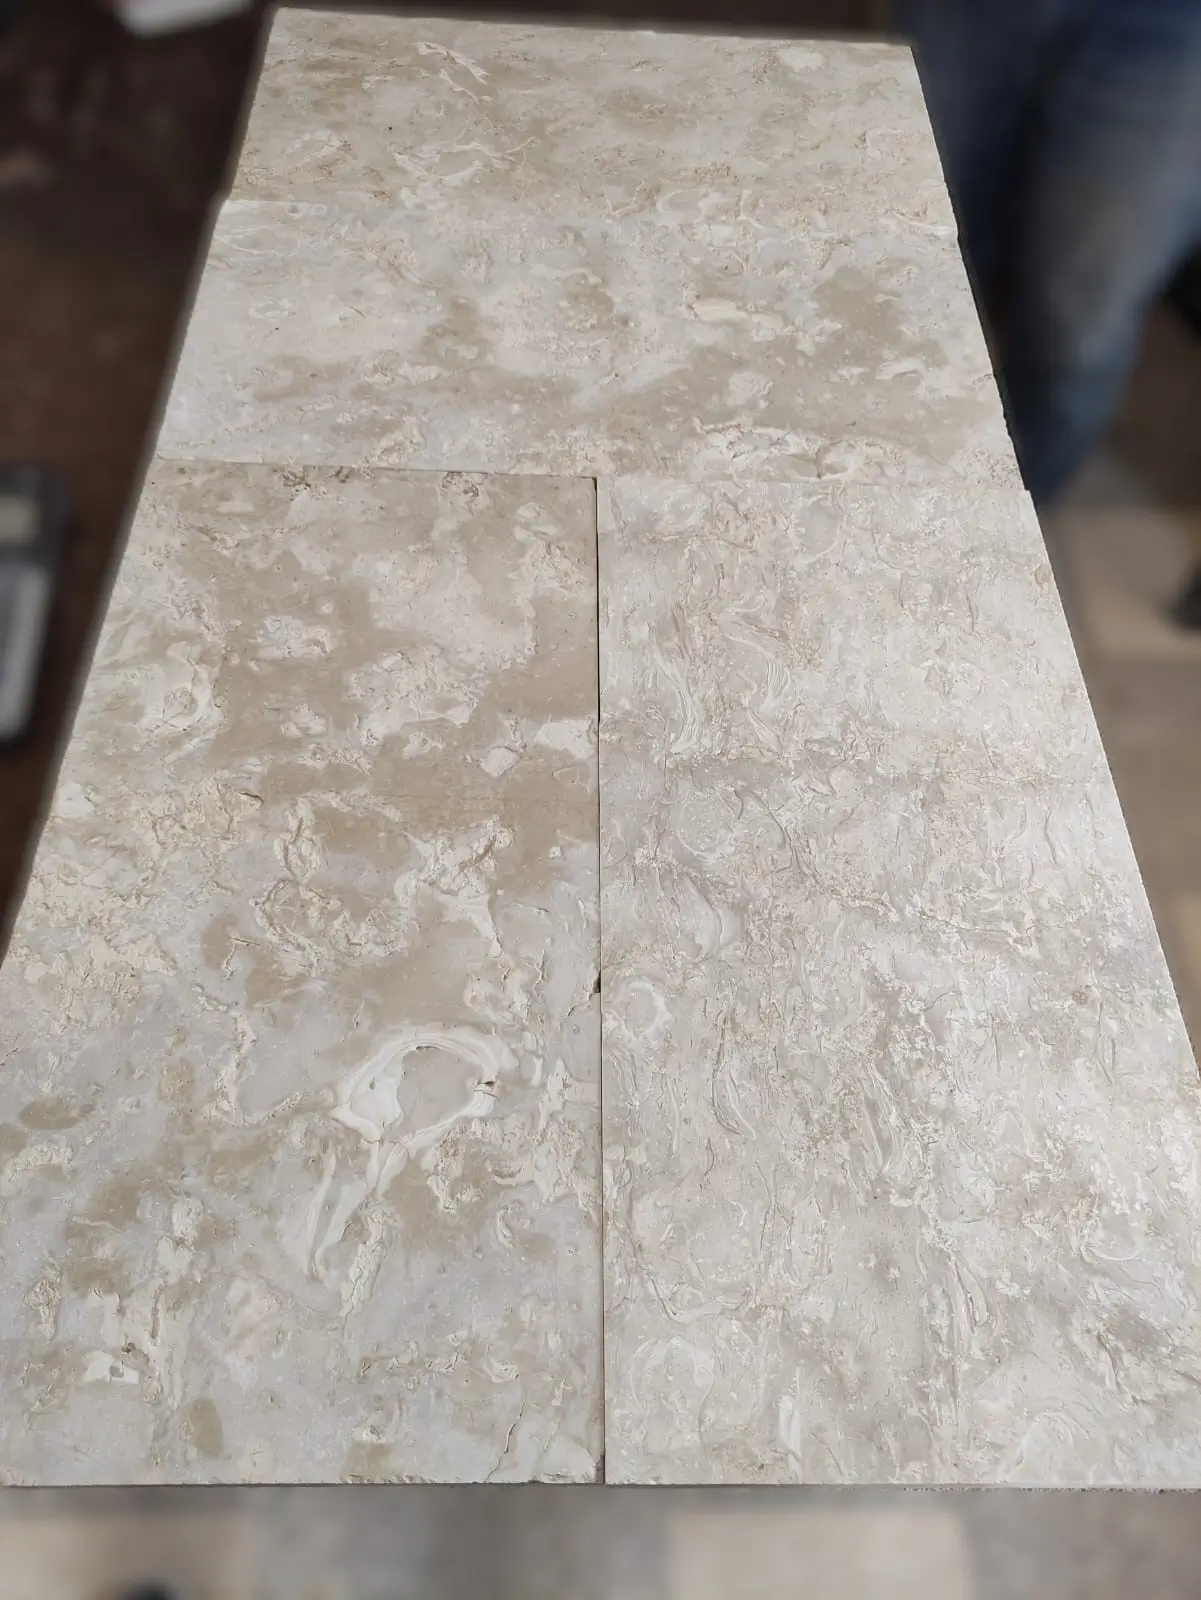
Thickness and Format: Getting the Specification Right
Format and thickness selection depends on application, base type, and the loading category you are designing for — and getting this wrong is one of the most common and costly mistakes in paving limestone projects.
- 20mm nominal thickness suits pedestrian-only applications bedded on a full mortar bed over a concrete sub-base
- 30mm is the practical minimum for driveways with light domestic vehicle traffic — anything less risks flexural failure under point loads at tyre contact patches
- 40mm+ is appropriate for commercial pedestrian zones or anywhere loading is variable and unpredictable
- Large-format tiles (600×900mm and above) require a full-bed mortar installation — dot-and-dab is not acceptable for these sizes regardless of thickness
- Calibrated tiles allow tighter joint widths (3–5mm is achievable); uncalibrated or riven-face tiles require 8–15mm joints to accommodate natural dimensional variation
The format decision also affects how your installation handles thermal cycling. Smaller tiles — 400×400mm and below — accommodate differential movement more forgivingly than large slabs. For surfaces with direct sun exposure for extended periods, account for thermal expansion in your joint specification rather than relying on a generic figure from a product sheet.
Base Preparation: The Variable Most Buyers Underestimate
Field performance data on limestone paving tiles consistently points to base failure as the primary cause of premature deterioration — not the stone itself. Your base is not just a foundation; it is the load distribution and drainage system that determines whether the tile above it stays stable for two decades or starts rocking within three years.
The standard for a well-loaded pedestrian application requires a minimum 100mm compacted hardcore sub-base, topped with a 50mm sharp sand or dry-lean concrete bed. For vehicular areas, that sub-base should increase to 150–200mm of well-compacted MOT Type 1 aggregate, with a minimum 75mm concrete slab above it before any bedding mortar. According to USGS limestone geological data, limestone’s mineral composition makes it responsive to moisture cycling from below — poor drainage under the tile will accelerate deterioration at the base of the tile faster than surface wear ever will.
- Achieve a minimum 1:80 fall across all paved surfaces to prevent standing water from migrating into joints and bedding layers
- Install a geotextile membrane between the subgrade and hardcore where clay soils are present — this prevents fines migration that destabilises your compacted base over time
- Allow concrete sub-bases to cure for a minimum of 28 days before laying — residual moisture in green concrete causes differential movement that telegraphs straight to your tile surface
- In freeze-thaw regions, sub-base depth may need to increase to keep the tile surface above the frost penetration depth — local frost depth data should inform this decision
Joint Integrity and Wind-Driven Rain Performance
Joint specification is often treated as an afterthought, but it is the detail that most directly governs long-term performance — particularly in exposed locations subject to storm events and wind-driven rain. Water that penetrates a failed joint does not just sit there; it migrates laterally under the tile, erodes bedding mortar, and creates the voids that eventually cause rocking and lippage.
For exposed paved areas where wind-driven rain is a realistic loading scenario, a semi-rigid pointing mortar is significantly more durable than a dry-brush sand fill. Polymeric jointing compounds offer good flexibility and resist washout, but their long-term performance depends on correct installation — the joints need to be clean, dry, and free of loose debris before application, and the product needs to be fully cured before the surface is exposed to rain. Rushing this step is the most common failure point in otherwise well-executed installations.
- Check joint depth before pointing — joints should be cleared to a minimum depth of 20mm below the tile surface to give pointing compound adequate bite
- Avoid pointing in temperatures below 5°C or above 35°C — both extremes compromise cure quality and long-term bond strength
- For areas exposed to hail or high-impact storm events, avoid very narrow joints (under 3mm) — they concentrate stress at tile edges and can initiate spalling at corner contact points
- Re-inspect joints annually in the first two years after installation and repoint any areas showing shrinkage or voids before water infiltration becomes a structural issue
Edge restraint integrity matters just as much as internal joint specification. Limestone paving tiles in an open-field installation without perimeter edging will migrate laterally under repeated thermal cycling and impact loading — wind loading on exposed elevated decks can accelerate this movement considerably. A continuous concrete haunch or robust mechanical edge restraint system should be standard specification for any open perimeter, regardless of whether the application looks low-risk.
Surface Finish Options and How They Affect Performance
The finish you select does more than determine aesthetics — it controls slip resistance, maintenance frequency, and long-term wear characteristics. Each option presents a different balance of performance trade-offs worth understanding before you finalise your specification.
- Honed finish: smooth, matte surface with moderate porosity; suitable for covered outdoor areas and interior applications where a refined look is required; requires sealing every 1–2 years in outdoor use
- Brushed or antiqued finish: mechanically textured surface that improves slip resistance without sacrificing the stone’s natural character; a practical choice for pool surrounds and garden paths
- Sawn finish: clean, precise face with consistent planarity; preferred for contemporary installations and large-format layouts where lippage control is critical
- Tumbled finish: rounded edges and a naturally aged appearance; excellent for informal garden settings; the irregular surface provides good grip but makes cleaning slightly more involved
- Flamed or bush-hammered finish: thermally treated or mechanically textured to create an open-pored, high-traction surface; best suited to high-traffic commercial exteriors or areas with persistent wet conditions
Slip resistance is a non-negotiable factor for any wet application. The pendulum test value (PTV) classification system is the most reliable guide for specifiers — a PTV above 36 is considered low risk for pedestrian surfaces, and anything below 25 should not be used in wet outdoor conditions without a traction-enhancing treatment. Finish selection should be validated against a PTV test result, not assumed from a product description.
Sealing Limestone Paving Tiles: What Actually Works
Sealing is where a lot of project owners make well-intentioned decisions that actually compromise their installation. The instinct to seal early and seal often is understandable, but applying the wrong sealer — or sealing before the material is fully dry — creates problems that are expensive to reverse.
Stone needs to be completely dry and clean before any sealer is applied. For newly installed limestone paving tiles, that means waiting a minimum of 28 days after grouting and ensuring no residual moisture is trapped in the bedding layer below. Sealing over damp stone traps moisture under an impermeable film, which accelerates spalling and creates the white efflorescence blooms that are frustratingly difficult to remove. At Citadel Stone, we recommend an impregnating penetrating sealer for most outdoor paving limestone applications — it protects without altering the surface texture or creating a film that can delaminate under UV exposure.
- Apply sealer in two thin coats rather than one heavy application — thin coats penetrate the pore structure more effectively and reduce surface pooling
- Test your chosen sealer on an off-cut before applying to the full surface — some sealers darken lighter limestone tones more than the product description suggests
- Re-seal every two years for outdoor applications with direct weather exposure; covered areas can extend to three years between applications
- Avoid topical film-forming sealers on textured or tumbled finishes — they tend to collect in the texture recesses, creating an uneven appearance over time
Ordering, Logistics, and What to Confirm Before You Buy
The practical side of purchasing limestone paving tiles introduces variables that do not appear in material spec sheets — and getting them wrong adds cost and delay to projects that are already on a tight timeline. Answers to all of the following should be confirmed before placing an order.
Verify warehouse stock levels before committing your programme to a specific start date. Natural stone is a volume-limited product, and a confirmed specification will not protect your timeline if the batch sells out between your order and your delivery window. Citadel Stone maintains warehouse inventory that covers most standard limestone tile formats, with lead times typically in the 1–2 week range for in-stock material — a significant advantage over the 6–8 week import cycles that can derail project schedules. Browse our limestone paving selection to check current format availability before making any programme commitments.
- Order 10–15% additional material above your measured quantity to account for cuts, breakages, and pattern matching — returning for a top-up from the same batch is not always possible
- Confirm truck access dimensions before scheduling delivery — stone pallets are heavy and low-clearance sites may require a smaller vehicle or manual offloading from the nearest accessible point
- Check whether your order includes delivery to a specific drop point or kerb-side only — the difference matters for sites where stone needs to be moved a significant distance from the delivery vehicle
- For large projects, request a sample batch before full delivery to verify colour, finish consistency, and calibration against your specification
Batch consistency is one of the most important and least-discussed aspects of natural stone procurement. Limestone quarried from different seams — or even from the same seam at different times — can show measurable colour and tonal variation. If your project requires consistent appearance across a large area, specifying from a single warehouse batch is essential. This is a conversation worth having with your supplier before the order is confirmed, not after the second pallet arrives looking noticeably different from the first.
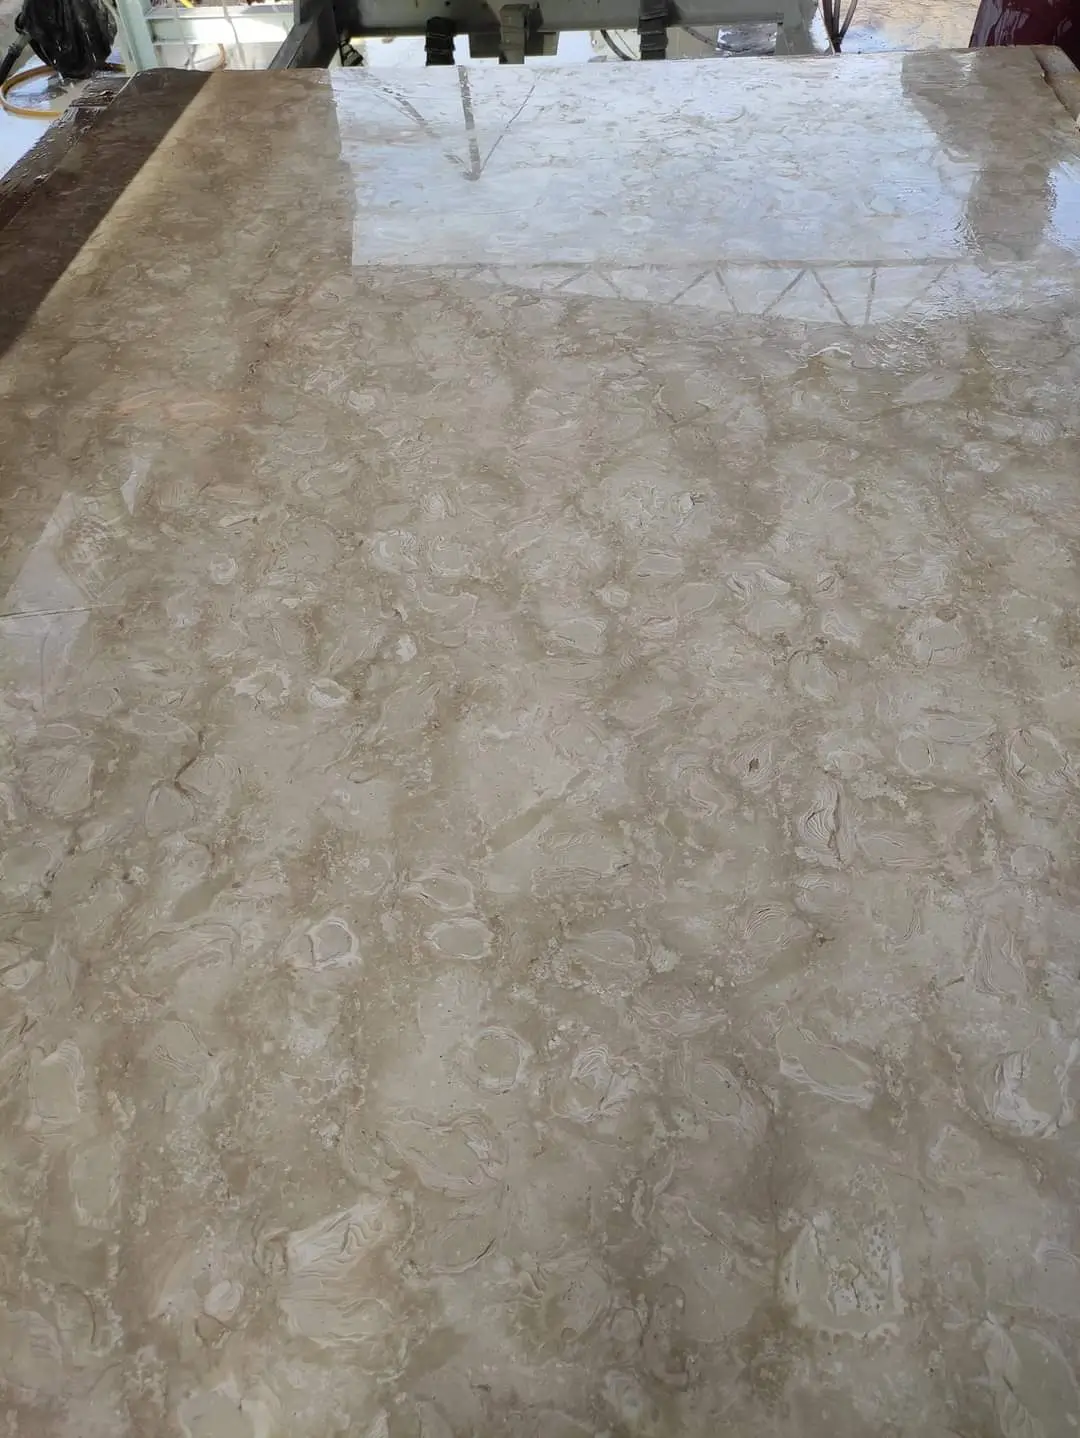
Limestone Wall Applications and Complementary Uses
Paving limestone and limestone wall cladding often appear in the same project, and understanding how the material performs vertically informs how you should specify and detail the two elements together. A limestone wall in an exterior application faces a different stress profile than the floor — wind-driven rain penetration, freeze-thaw cycling at the face of the stone, and adhesive bond strength under sustained thermal movement are the key performance considerations.
For exterior limestone wall cladding, your adhesive specification needs to accommodate the differential movement between the stone and its substrate. A standard cementitious adhesive without a flexible additive will fail at the bond line within a few seasons of thermal cycling — this is a field observation, not a theoretical risk. Using a flexible S1 or S2 classified adhesive, as defined in EN 12002, provides the movement tolerance that exterior wall stone requires. The Britannica limestone formation reference notes that limestone’s calcium carbonate matrix responds to acid-based cleaning agents — a detail that matters when specifying the maintenance regime for exterior wall applications.
- Back-butter wall tiles fully rather than relying on adhesive ribs — full coverage eliminates voids behind the tile that can trap moisture and cause freeze-thaw spalling
- Specify movement joints at maximum 3-metre intervals on exterior wall cladding — thermal and moisture cycling over a full year produces enough cumulative movement to crack a rigid installation
- Avoid acid-based efflorescence removers on exterior limestone wall applications — they attack the stone’s surface carbonate structure and accelerate long-term deterioration
Marble Tile and How It Compares to Paving Limestone
The comparison between marble tile and limestone paving tiles comes up regularly, and it is a useful one because the two materials share a geological family but diverge significantly in performance characteristics for outdoor applications. Marble is a metamorphic rock — limestone subjected to heat and pressure that recrystallises its structure, producing a denser material with lower porosity in most commercial grades. That density is both an advantage and a limitation depending on your application.
For outdoor paving, marble’s lower porosity is advantageous in terms of staining resistance, but its polished surface finishes create slip resistance challenges in wet conditions that limestone’s more textured options avoid. Marble tile also tends to be more reactive to acidic precipitation and poolside chemicals, which can etch the surface and progressively dull polished finishes in exposed installations. Paving limestone — particularly in a brushed or antiqued finish — often delivers better long-term appearance retention in outdoor environments where surface maintenance is limited. That said, honed marble tiles perform well in covered outdoor areas and are a legitimate specification choice where aesthetics drive the brief and maintenance commitment is high.
Getting Limestone Paving Tile Specifications Right
Every specification decision in a limestone paving tiles project — grade selection, thickness, base design, joint compound, sealer type — compounds on the others. Getting three out of five right still produces a substandard installation, which is why the best outcomes come from treating the specification as a complete system rather than a series of independent choices. The details covered in this article represent the variables that consistently separate installations that perform across decades from those that start showing distress within years.
As you finalise your project specification, related hardscape elements can also shape your broader material decisions. If your project includes a French-quarried stone option or you are evaluating origin-specific performance data, French limestone paving characteristics and selection offers additional technical context worth reviewing alongside your current specification work. Stone for nationwide projects ships in multiple tile formats, letting buyers match limestone paving tiles to patio, path, and courtyard layouts.
Related reading: how to clean limestone paving · limestone paving sealer · weathered limestone paving over time.