

Why Base Preparation Makes or Breaks Your Stone Edge
Base preparation is the single variable that determines whether a stone edge installation holds its line for decades or begins rocking and sinking within two seasons — and it is where the gap between professional and amateur results is widest. The base layer is the foundation of every successful stone edging for landscaping project, and it is where most DIY failures originate. You are not just setting stone on dirt; you are engineering a narrow structural element that has to resist lateral pressure from soil on one side and foot or equipment traffic on the other.
Your excavation depth should reach at least 6 inches below finished grade for a standard garden stone edging border — 8 inches if you are in a region with pronounced freeze-thaw cycles. The bottom of that trench needs compacted granular base material, typically a 4-inch layer of compacted crushed aggregate, before any bedding sand or mortar goes down. Skipping this step is the single fastest way to end up with a wavy, sunken border within two seasons.
Selecting the Right Stone for Garden Edging
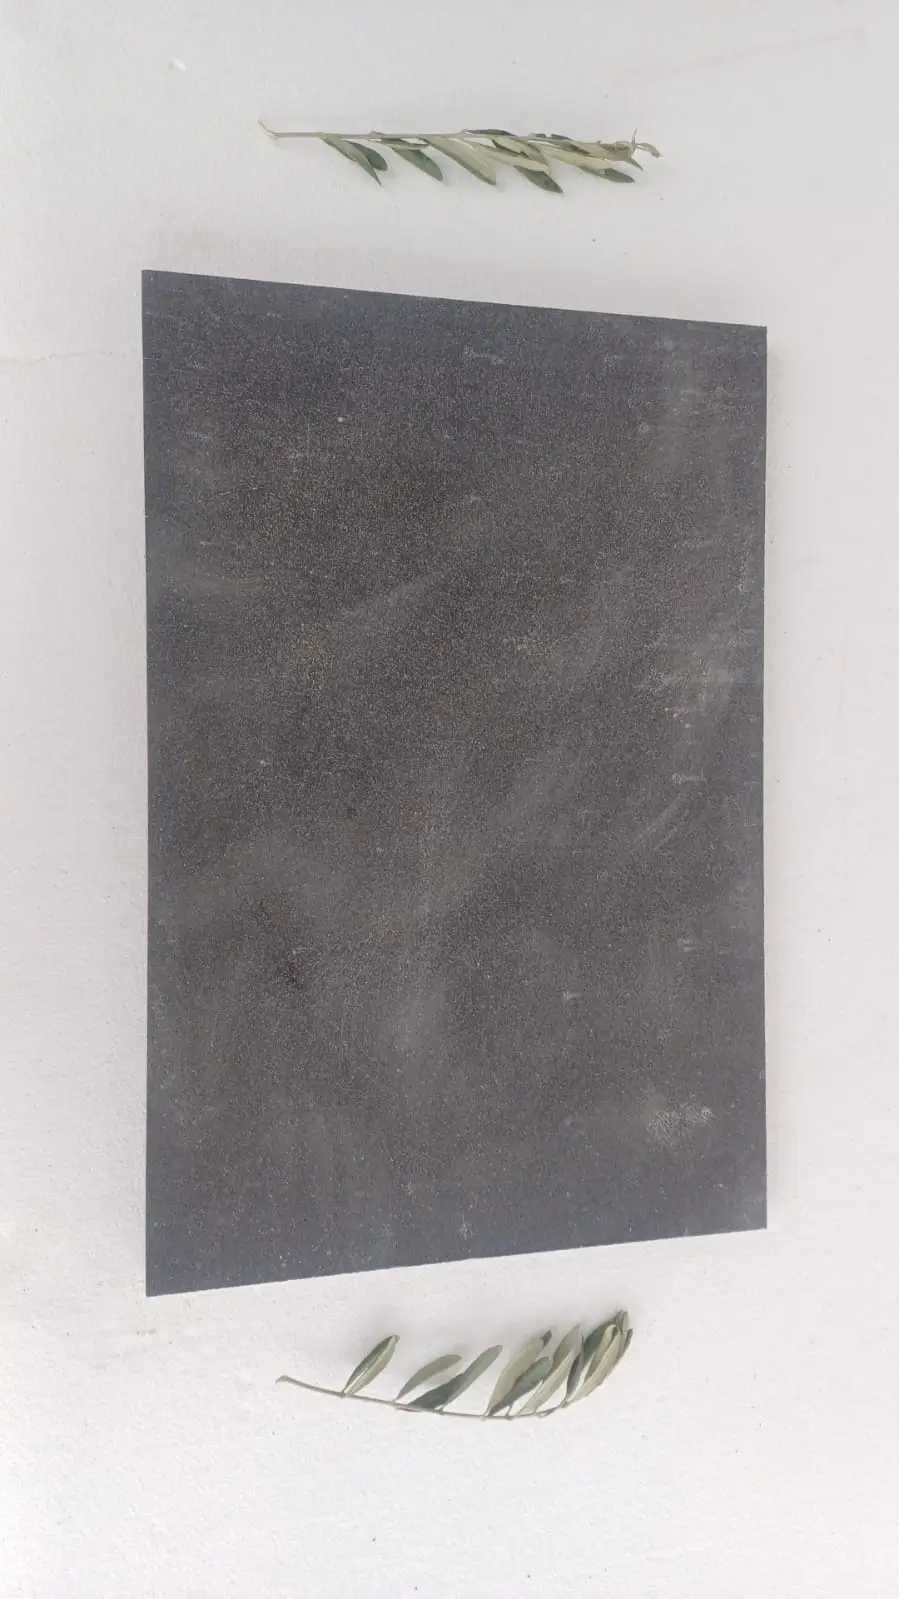
Not every natural stone performs equally as a garden border. Stone edge applications put material through a specific stress cycle — repeated wet-dry transitions, lateral soil pressure, UV exposure, and occasional impact — that separates durable stone from a material that looks good in the showroom and disappoints in the ground. Limestone, basalt, and granite all have legitimate roles here, but your choice should be driven by the performance demands of your specific installation.
- Limestone edging offers a clean, architectural look with enough density for reliable performance; look for pieces with a minimum 2.5-inch face thickness to resist chipping along the top edge
- Granite setts and cobbles deliver exceptional compressive strength — well above 20,000 PSI — making them the right call for borders adjacent to vehicle access or heavily trafficked lawn areas
- Basalt provides a dense, low-absorption profile that holds up well in moisture-heavy environments without the surface scaling risk that affects softer sedimentary options
- Irregular flagstone works well for naturalistic garden designs, but you will need more patience during the fitting process and a thicker mortar bed to compensate for thickness variation
Stone edging installation using natural stone also means thinking about absorption rates. A stone with an absorption coefficient above 0.75% will cycle moisture into its structure during wet seasons, which accelerates weathering at the edges. For regions with heavy rain seasons or standing water risk, prioritize denser materials and plan your drainage accordingly.
Tools and Materials You Need Before You Start
Pulling materials together before breaking ground saves you the stop-start frustration that leads to rushed work. A proper stone edge installation requires a clear material list and the right tools staged at the work site.
- Spade or border spade for clean vertical trench cuts — a flat blade gives you the straight walls you need for tight stone placement
- Plate compactor or hand tamper for base layer consolidation — a tamper works for short runs, but a plate compactor is worth renting for anything over 20 linear feet
- Crushed aggregate (3/4-inch minus) for the compacted base layer
- Coarse bedding sand or dry-mix mortar depending on your setting method
- String line and stakes for maintaining consistent elevation along the run
- Rubber mallet for seating stone without cracking face edges
- Level — you will use it constantly, not just at the start
- Safety glasses and gloves for cutting and handling stone
Your stone quantity calculation should add 10–15% to your linear footage measurement to account for cuts, breakage, and the occasional piece that does not make the fit. Warehouse stock levels at Citadel Stone are updated regularly, and confirming availability before you commit to a start date prevents the mid-project delays that push installations past seasonal windows.
Layout and Marking Your Garden Bed Border
The layout phase is where you lock in the geometry of your finished border — and it deserves more precision than most people give it. A string line pulled taut between stakes tells you your horizontal alignment; a second line set at finished grade elevation gives you your height reference. These two references together are your installation guides from trench to final piece.
For curved borders, a garden hose laid on the ground lets you dial in the radius before you commit to digging. Photograph the hose position from above before you start marking — it is surprisingly easy to lose the curve you liked once you are working at ground level. Mark the line with spray paint or flour along the edge, then remove the hose and dig to the inside of your mark.
Your trench width should be about 2 inches wider than your stone’s depth measurement — that clearance gives you room to adjust positioning without forcing the stone into a tight channel where it binds. Consistent trench depth matters more than perfect width; uneven depth produces uneven surface height, and fixing that after bedding is significantly more labor than getting it right upfront.
Trench Excavation and Drainage Planning
Excavation and drainage are inseparable in a well-specified stone edge installation — and this is the section most how-to guides compress into two sentences. Your trench is not just a void to fill with stone; it is a drainage structure that needs to move water away from both the garden bed and the adjacent lawn. In climates that experience intense rain seasons, monsoon-pattern precipitation, or extended wet cycles, poorly drained edging trenches become frost heave and washout sites.
The base of your trench should have a subtle pitch — roughly 1 inch of fall per 10 linear feet — directing water away from the bed toward a natural drainage outlet or a perforated drain pipe if your site lacks a natural outlet. According to ASLA landscape edging and border stone design guidance, permeable base systems under hardscape elements significantly reduce runoff velocity and standing water accumulation, which directly extends material service life.
Your compacted aggregate base layer does double duty here: it provides structural support and acts as a free-draining buffer that prevents water from ponding against the stone’s lower face. In areas with heavy clay soils — where drainage naturally slows — consider extending your aggregate layer an inch deeper and adding a filter fabric liner against the trench walls to prevent clay migration into the base over time.
Setting the Stone Edge Step by Step
Placement technique determines whether your finished garden stone edging looks hand-crafted or haphazard. Work from one end toward the other in a single direction — do not jump sections, as this leads to accumulating alignment errors that are impossible to correct without pulling everything back out.
- Lay your first piece at the highest elevation point of the run, using it as your grade reference for all subsequent pieces
- Set each stone onto your bedding layer and check it with a level in both directions before moving on — adjustments are fast now and slow later
- Tap the stone down with a rubber mallet until the top surface meets your grade line; do not strike the face edge directly
- Maintain a consistent joint width between pieces — 1/4 inch to 3/8 inch for a tight formal look, or 1/2 inch to 3/4 inch if you are planning to fill joints with gravel or ground cover
- Backfill the garden-side of the trench firmly as you go, using the compacted soil to brace the stone laterally — do not wait until the full run is placed to backfill
- Check your string line alignment every 4 to 6 feet and make corrections before they compound
For material selection guidance, the Natural Stone Institute stone variety reference confirms that edging applications follow the same durability criteria applied to paving — absorption coefficient, compressive strength, and freeze-thaw resistance are the three non-negotiable performance variables to confirm before purchase.
Mortar vs. Dry-Set: Which Method Fits Your Project
The choice between mortar setting and dry-set bedding comes down to how much movement your installation will experience and how permanent you want the result. Both methods work for garden stone edging when executed correctly — the trade-offs are real in both directions.
Mortar setting locks stone in place with precision and is the right call for formal borders, straight-run installations, and any application where heaving or shifting would be visually unacceptable. Use a Type S mortar mix — not Type N — because the lateral soil pressure on a garden border demands the higher bond strength. Mix to a stiff consistency, not soupy; mortar that slumps under the stone’s weight will not hold your elevation reference.
Dry-set bedding with compacted coarse sand gives you a forgiving system that is faster to install and easier to repair. If a piece settles or shifts over time, you can pull it, re-level the sand, and reset it in minutes. The limitation is that dry-set borders are more vulnerable to lateral migration in saturated soil conditions — in areas with significant rainfall events or irrigation runoff, mortar provides meaningfully better long-term stability.
Cutting and Fitting Stone Edge Pieces
Cuts at corners, radius points, and end terminations are where a stone edge project either looks professional or reveals its shortcuts. Three practical options exist: a dry-cut angle grinder with a diamond blade, a wet-saw tile cutter, or a cold chisel and hammer for rough breaks on softer stone. For limestone and granite edging, a diamond wet-saw produces the cleanest result with the least risk of cracking the piece along an unintended grain line.
Score before committing to a full cut on any piece — run the blade at minimal depth along your cut line first to establish a guide groove, then deepen in two or three subsequent passes. This technique prevents blade wander on curved cuts and significantly reduces breakout along the cut edge. Wear safety glasses and a dust mask regardless of whether you are wet- or dry-cutting; natural stone dust is a respiratory hazard.
At corners, a mitered cut at 45 degrees produces a sharp, architectural finish. Working with irregular or tumbled stone where a mitered corner would look out of place, a tight butted corner with stones running perpendicular creates a traditional, handmade aesthetic that suits naturalistic garden designs well.
Backfilling, Jointing, and Finishing
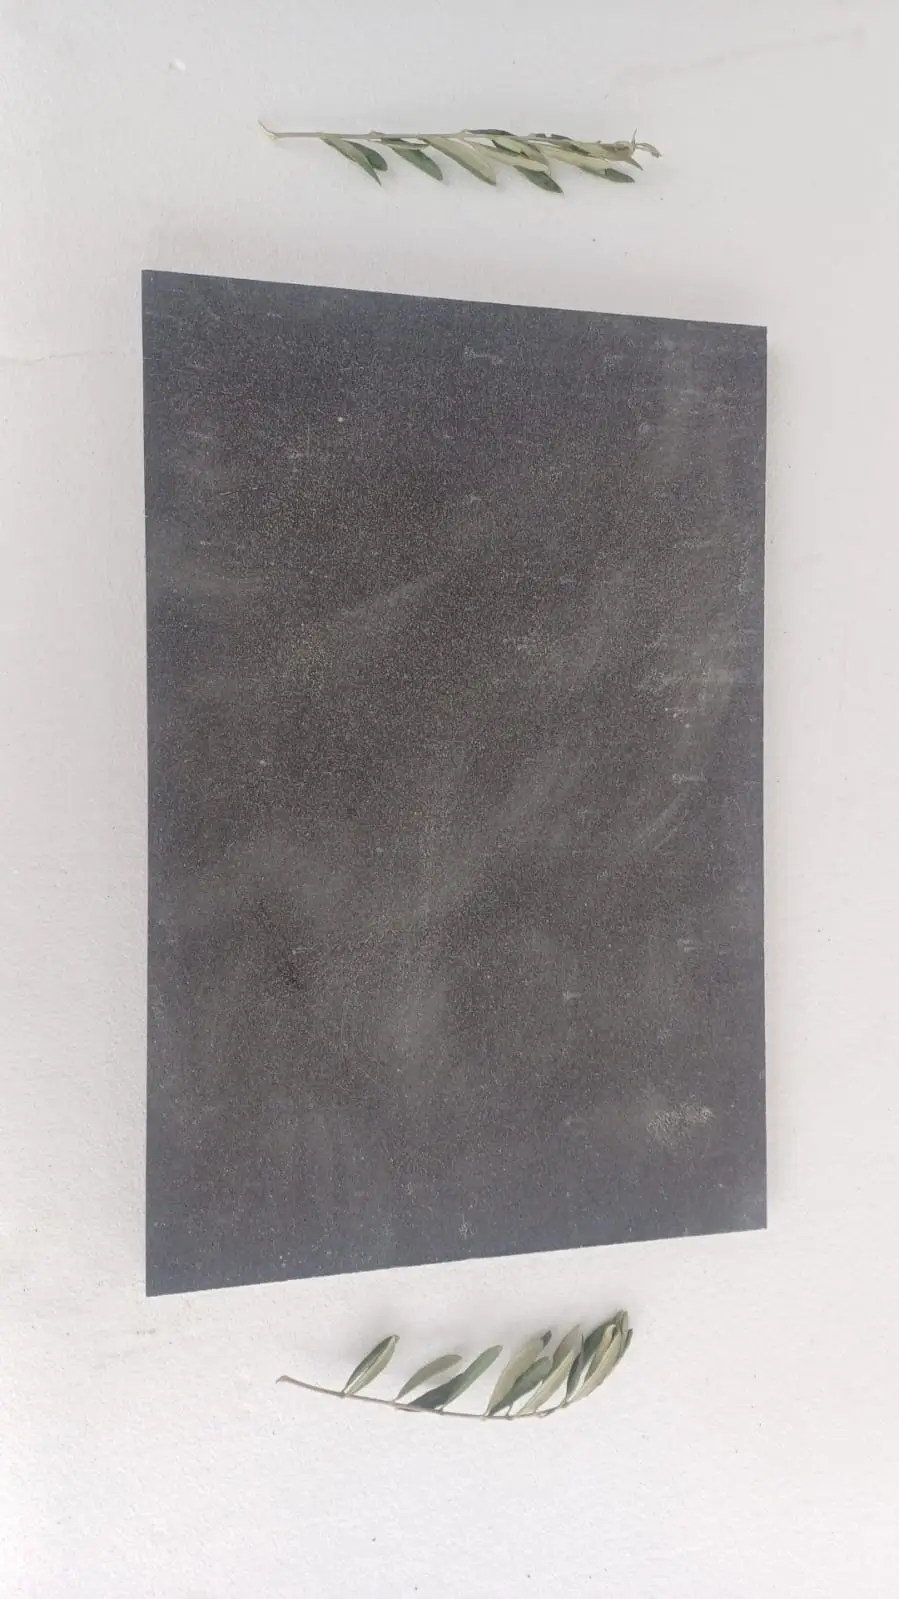
The finishing phase is where your stone edge transitions from a construction site to a completed landscape feature — and the details here determine how the border weathers over its first few seasons. Backfill both sides of the completed border firmly, working in 2-inch lifts and tamping each lift before adding the next. Loose backfill settles unevenly and allows the stone to rock under lateral load.
Joint filling options include polymeric joint sand for tight, stable joints that resist ant intrusion and weed germination; pea gravel or fine crushed stone for a permeable, informal look; or mortar pointing for permanent borders where weed control is a priority. Polymeric sand requires a dry stone surface and a light water activation — read the manufacturer’s curing window carefully, because moisture during the initial cure period prevents the binding agents from activating properly.
For Citadel Stone edging materials, the natural stone portfolio includes options suited to both formal and informal garden borders, with material dimensions confirmed before dispatch so you are not sorting through undersized or oversized pieces on site.
A light surface brush with a stiff broom after jointing removes loose sand from the stone face and reveals the final texture. Do not seal the stone immediately after installation — allow at least 28 days for any residual moisture in the base and bedding to migrate out before applying a penetrating sealer. Premature sealing traps moisture in the stone body and can cause surface spalling in the first freeze cycle.
Long-Term Maintenance for Stone Edging
A well-installed stone edge is genuinely low-maintenance — but low-maintenance is not the same as no-maintenance. Your border will perform best with a simple annual inspection and occasional intervention before minor issues become structural ones.
- Check joint sand depth annually and top up polymeric sand where it has compacted below the stone surface — shallow joints invite weed seed germination and freeze-thaw moisture cycling
- Re-level any pieces that have shifted more than 3/8 inch from their original elevation — early correction prevents adjacent pieces from following
- Inspect the border after significant rainfall events for soil washout behind the stone face, particularly in areas that receive heavy seasonal precipitation or experience runoff from adjacent hard surfaces
- Reapply penetrating sealer every 2 to 3 years on limestone or softer sedimentary stone; granite and basalt edging can extend to a 4 to 5-year resealing cycle
- Remove organic debris from joints promptly — decomposing plant matter raises joint pH over time and can accelerate surface weathering on calcium carbonate stones like limestone
According to USGS dimension stone data on granite curbing and natural stone installations, properly maintained natural stone edging and border installations consistently outperform concrete and synthetic alternatives in long-term service life when base preparation and drainage have been correctly specified from the outset. The material investment pays off when the installation behind it is executed with that same precision.
Stone Edge Installation: Spec Wrap-Up
Getting stone edge installation right is a cumulative process — each stage builds directly on the quality of the one before it, and the gaps in performance over time are almost always traceable to a shortcut taken at base prep, drainage, or jointing. Your garden borders will outlast concrete alternatives by decades when the base is properly compacted, the drainage is engineered rather than accidental, and the stone is selected for absorption and compressive performance rather than aesthetics alone.
Stone edging projects also benefit from realistic planning around lead times. Citadel Stone maintains warehouse inventory that covers standard edging dimensions, and truck delivery to most project sites can be arranged within 1 to 2 weeks of order confirmation — significantly shorter than the import cycle for specialty stone. For complementary hardscape ideas that extend beyond the garden border, stone terrace design ideas for your backyard covers how natural stone performs across a broader range of outdoor applications. Edging stone from Citadel Stone ships from premium quarries in Turkey and the broader Middle East region, sized for tight seams.
Related reading: quarry stone · crushed stone calculator · How to Lay a Stone Path That Lasts for Years.