

Pool coping installation demands more precision than most contractors anticipate — the margin between a watertight, code-compliant edge and a chronically leaking failure is often a matter of millimetres at the mortar bed. Knowing how to install pool coping correctly — with the slope, the overhang, and the joint width dialled in before the first piece drops into position — separates a durable 25-year installation from one that starts cracking and lifting within three seasons. This step-by-step walkthrough covers the full process, from substrate assessment through final sealing, with the kind of field-specific detail that only comes from setting thousands of linear feet of coping across dozens of pool builds.
What Is Pool Coping and Why Does It Matter?
Pool coping is the cap material that finishes the top edge of the pool shell — it sits between the water and the surrounding deck, covering the bond beam and providing a finished, safe edge for swimmers to grip. The material you choose and how you install it directly affects water management, structural integrity, and slip resistance. A poorly installed coping edge allows water to migrate behind the pool shell, which leads to efflorescence, freeze-thaw spalling in colder regions, and eventual bond beam deterioration. Natural stone pool coping installation done correctly creates a mechanical and chemical bond that isolates the pool structure from the deck slab, allowing each element to move independently without transferring stress.
- Coping provides the primary waterproofing transition between the pool shell and the deck
- It creates a safe, tactile edge that swimmers can grip when exiting the water
- Properly installed coping allows for thermal expansion without cracking the bond beam
- The overhang dimension — typically 1 to 1.5 inches — protects the pool wall from water sheeting
- Material choice affects surface temperature, slip resistance, and long-term maintenance requirements
Choosing the Right Stone for Pool Coping
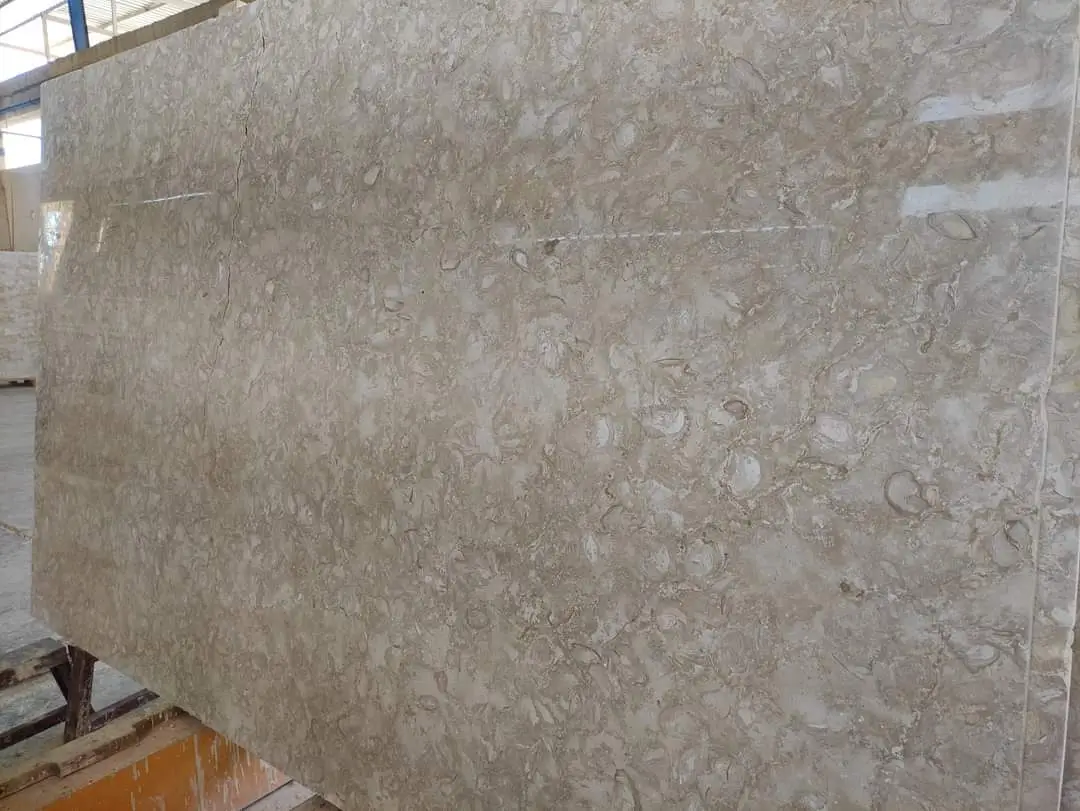
Your material choice sets every downstream installation variable — mortar type, joint width, sealing schedule, and long-term maintenance frequency. Natural stone options range from travertine and limestone to bluestone and granite, and each brings a different set of performance trade-offs that affect the pool coping installation process itself. Travertine is forgiving under thermal cycling and produces a textured tumbled finish, but its open-pore structure demands a penetrating sealer applied before installation and again within 90 days of grouting. Limestone requires a lower-alkali mortar to prevent carbonation staining at the surface, which can permanently alter the stone’s appearance within the first wet season — a detail that distinguishes limestone installing pool coping procedures from those used with granite.
- Travertine: open pore structure, excellent thermal comfort, requires pre-sealing before mortar contact
- Limestone: lower surface temperature than granite, requires pH-neutral mortar and early sealing
- Bluestone: dense, low absorption, handles freeze-thaw well, requires a polymer-modified setting mortar
- Granite: highest compressive strength, minimal absorption, but retains heat — factor surface temperature into barefoot use areas
- All natural stone coping should be a minimum 2 inches thick at the nose to prevent chipping under swimmer loads
According to Natural Stone Institute stone performance data, absorption rates and surface porosity vary significantly between stone types — a detail that directly determines your primer and mortar compatibility choices during pool coping installation. Selecting the wrong combination causes bond failure at the stone-mortar interface within two to three freeze-thaw cycles, or in constantly wet pool environments, within the first two years of service.
Tools and Materials You’ll Need on Site
Pulling together the right toolkit before the first piece lands saves two trips to the supplier and one argument with the site crew. Installing pool coping with natural stone requires a few specialised items beyond the standard tile setter’s kit — particularly around diamond blade selection and mortar mixing equipment.
- 4.5-inch or 7-inch angle grinder with dry-cut diamond blade for notching and undercutting
- Polymer-modified Type S mortar or a dedicated pool-grade stone adhesive mortar — confirm compatibility with your stone species before ordering
- Non-sanded grout rated for joints 1/8 inch and under; sanded grout for joints wider than 1/8 inch
- Margin trowel, notched trowel (3/8-inch V-notch for most coping thicknesses), and pointing trowel
- String line, laser level or 4-foot spirit level for establishing pitch
- Rubber mallet and beating block (never strike natural stone directly)
- Tile spacers or plastic shims — 1/8-inch to 3/16-inch depending on joint spec
- Penetrating sealer appropriate to the stone species, applied before grouting
- Caulking gun with polyurethane or silicone sealant for expansion joints
Substrate and Base Preparation
Base preparation is where most pool coping installation failures originate — and it’s the step most crews underestimate. The bond beam must be clean, structurally sound, and at the correct elevation before a single piece of coping is laid. Chip off any previous adhesive, curing compounds, or form-release agents using a cold chisel and angle grinder fitted with a concrete prep disc. Any hollow spots, cracks, or delaminated sections in the bond beam need to be filled with a structural patching mortar and allowed to cure fully — 72 hours minimum — before proceeding.
Soil conditions around the pool perimeter deserve serious attention here. Expansive clay soils exert lateral pressure on the pool shell during wet cycles, causing the bond beam to shift by 3 to 6 millimetres — enough to crack coping joints and break mortar bonds if the installation doesn’t account for it. In areas with sandy or unstable subgrade, the deck slab adjacent to the pool may settle unevenly relative to the shell, creating a differential movement situation that standard mortar can’t accommodate. Always confirm whether the pool engineer specified a movement joint between the coping and the deck slab — and if not, install one anyway at 8 to 10-foot intervals. Arid-region ground conditions can make post-installation drainage from the coping difficult if slope angles aren’t set aggressively enough from the start.
- Bond beam surface must be clean, rough-textured, and free of oils, curing compounds, and loose material
- Check bond beam elevation around the entire perimeter — acceptable variation is plus or minus 1/8 inch over 10 feet
- Correct high spots with a grinding disc; fill low spots with fast-set structural patching mortar
- Confirm that the deck slab and pool shell have separate movement joints — do not bridge them with coping mortar
- Pre-wet the bond beam before mortar application to prevent the concrete from drawing moisture out of the setting bed too quickly
Setting the Slope and Establishing Layout
Your slope angle determines whether water runs away from the pool shell or back into the expansion joint — and getting this wrong is the kind of mistake you only make once. The coping surface should pitch away from the pool at a minimum of 1/8 inch per foot, and in high-rainfall regions, 1/4 inch per foot is a safer target. Establish your slope using a string line stretched between benchmark pins set at each corner of the pool, and verify with a digital level at every third piece during the lay. The critical number to nail down first is the finished surface elevation at the inside edge — that dimension drives everything else, including mortar bed thickness.
Pool coping installation layout also needs to account for the return radius at corners and step entries before cutting a single piece. Dry-lay the entire run first, adjusting joint spacing so you don’t end up with a sliver of stone at any corner or transition. A 3/16-inch joint variation across a 30-foot run is acceptable; anything beyond that becomes visible and creates an uneven grout profile that traps dirt and algae.
- Minimum slope: 1/8 inch per foot away from the pool; target 3/16 to 1/4 inch per foot for better drainage
- Dry-lay the full perimeter before committing to mortar — adjust spacing at corners and steps first
- Mark the bond beam with a chalk line indicating the inside edge position of the coping for consistent overhang
- Standard overhang beyond the pool wall face: 1 to 1.5 inches — confirm with pool engineer spec sheet
- Account for thermal expansion: leave a 3/8-inch gap at all fixed structure transitions (steps, walls, equipment pads)
Mixing and Applying the Mortar Bed
Mortar bed consistency is non-negotiable — too wet and the coping sinks under its own weight; too dry and you’ll get hollow spots that become water infiltration points within two seasons. The target is a stiff but workable mix that holds a ridge when trowelled and doesn’t slump when you press your thumb into it. For most natural stone pool coping installation steps, a polymer-modified Type S mortar mixed to a roughly 5:1 aggregate-to-water ratio by volume gives you a working window of about 45 minutes in moderate temperatures.
Apply mortar to both the bond beam and the back of the stone — a technique called back-buttering — which is mandatory for pool environments where water is constantly wicking through the substrate. A single-sided application creates voids that fill with water, expand during thermal cycling, and detach the stone from the shell. Spread the mortar on the bond beam using a 3/8-inch V-notch trowel, then back-butter the stone with a flat margin trowel, covering at least 95% of the stone’s back face. The PHTA pool deck stone and coping safety standards reinforce full-coverage mortar contact as a structural requirement for wet-environment stone installations — not just a best practice recommendation.
Setting the Coping Stones
Place each piece of natural stone coping into position from the inside (pool side) first, pressing the nose of the stone down to your chalk overhang line. Lower the field edge onto the mortar bed and tap into final position with a rubber mallet and a padded beating block — never tap bare stone directly with the mallet or you risk micro-fracturing the surface, particularly at the nose where the stone is most vulnerable to edge chipping. Check level and slope at each piece before moving to the next; mortar that has skinned over for more than 20 minutes won’t allow adjustment without complete removal and re-application.
For Citadel Stone coping installation material, our technical team consistently flags the importance of confirming the stone’s moisture content before setting — stone delivered directly from our warehouse in cold or damp conditions can carry absorbed moisture that temporarily weakens mortar bond strength at the interface. Allow refrigerated or recently delivered stone to acclimatise on-site for at least four hours before setting, particularly in summer months when thermal shock between the cold stone and warm mortar bed is significant.
- Set inside edge (pool side) first, align to chalk overhang line before dropping the field edge
- Use tile spacers to maintain consistent joint width — 1/8 inch for tight-jointed spec, 3/16 inch for standard pool installations
- Check slope and level at every piece — don’t assume the previous piece is your reference benchmark
- Remove excess mortar squeezed into joints immediately — hardened mortar in joints is extremely difficult to remove without damaging the stone face
- Allow 24 hours of cure time before grouting and 72 hours before allowing foot traffic on the coping
Grouting, Jointing, and Expansion Gaps
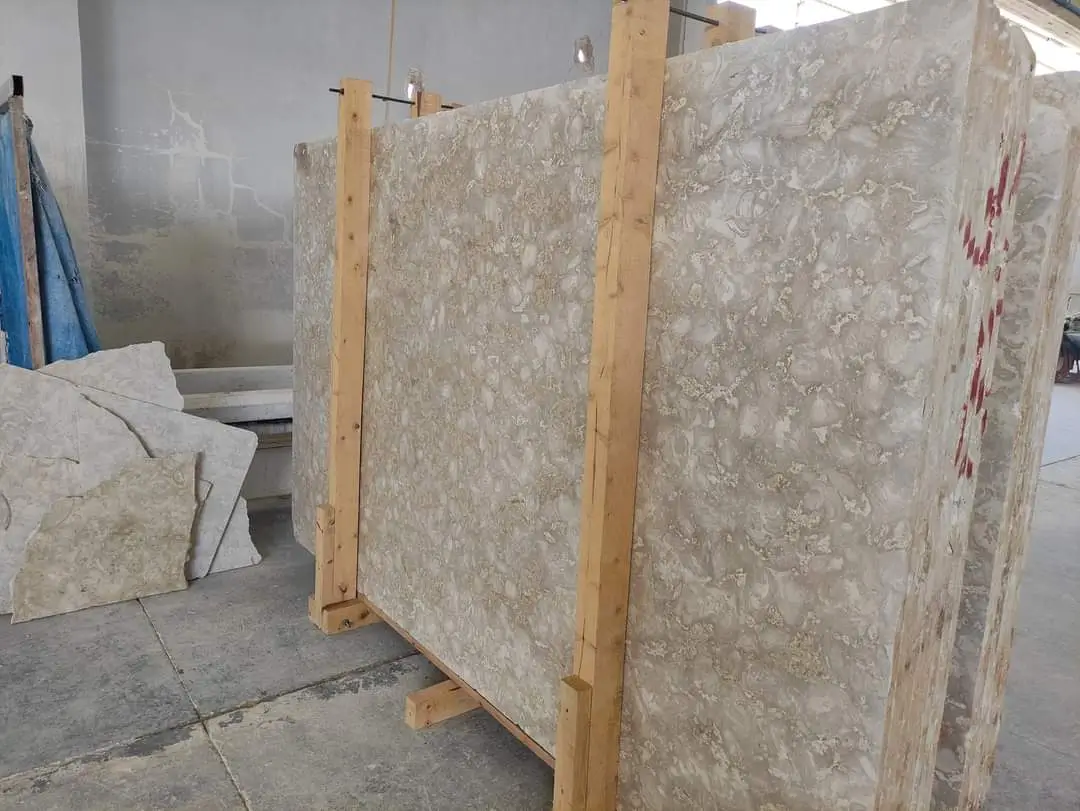
Grouting pool coping is different from grouting interior tile in one fundamental way: every joint in a pool coping installation is a wet-zone joint, which means standard cement grout isn’t appropriate for the movement-exposed expansion positions. Your layout should have already defined which joints are fixed grout joints and which are flexible sealant joints — if it hasn’t, establish that now before grouting anything. Fixed grout joints between individual coping stones can use a sanded or unsanded cement grout matched to your stone species. Expansion joints at the coping-to-deck transition, at corners, and at every 8 to 10-foot interval must be tooled out and filled with a polyurethane or silicone sealant rated for pool and exterior use — never grout these positions.
Mix grout to a smooth, lump-free consistency and pack joints with a grout float held at a 45-degree angle, working diagonally across the joint lines to prevent pulling grout back out of the joint as you move. Clean the stone face within 10 to 15 minutes using a barely damp sponge in a circular motion — waiting longer on natural stone, particularly limestone and travertine, causes grout haze that requires acidic cleaners that can etch the surface finish. Installing pool coping with porous stones like travertine demands this cleanup step be treated as a timed checkpoint, not an afterthought.
- Use sanded grout for joints wider than 1/8 inch; unsanded for joints at or under 1/8 inch
- Never grout expansion joint positions — these must receive flexible polyurethane or silicone sealant
- Apply sealant to expansion joints only after grout has cured for a minimum of 72 hours
- Match grout colour to the stone — mid-tone greys and buffs tend to disguise calcium mineral deposits better than white in pool environments
- Slope tool all grout joints slightly below the stone surface to shed water and reduce standing moisture at the joint face
Sealing Natural Stone Pool Coping
Sealing is the step that determines whether your natural stone pool coping installation looks good in five years or looks tired in two. The first application of penetrating sealer should happen before grouting — after the mortar has cured but before grout contacts the stone face. This step prevents grout pigment from permanently staining the stone’s pore structure, which is almost impossible to remove from travertine or light-coloured limestone after the fact. Apply a second coat of sealer 30 days after grouting, once the grout has fully carbonated and the stone surface is completely dry.
The ASTM slip resistance and stone specifications for pool coping highlight that sealer selection affects the coefficient of friction at the stone surface — always confirm that your chosen sealer maintains or improves the measured wet DCOF rather than creating a glossy film that reduces traction in wet conditions. Penetrating sealers that work below the surface are preferable for pool environments because they don’t create a film layer that can peel, bubble, or trap moisture beneath the stone.
- First seal: after mortar cure, before grouting — prevents grout stain penetration
- Second seal: 30 days after grouting, once grout is fully cured and stone is dry
- Maintenance resealing: annually for travertine and limestone; every 2 to 3 years for dense bluestone and granite
- Use penetrating (impregnating) sealers only — avoid topical film-forming sealers in wet pool environments
- Test sealer on a hidden section of stone before full application — some stones with high calcium carbonate content react with certain sealer chemistries
Common Pool Coping Installation Mistakes to Avoid
Here’s what most crews get wrong on their first few pool coping jobs, and what the field data consistently points back to as the source of callbacks. The number one failure mode is bridging the expansion joint between the coping and the deck slab with mortar or grout — it looks neater in the short term, but that rigid connection transfers deck slab movement directly into the coping, and the coping always loses that fight. Number two is insufficient mortar coverage at the back of the stone; a 70% coverage rate feels adequate on interior tile jobs but fails in the constant moisture environment of a pool edge. Understanding how to install pool coping correctly means treating both of these as non-negotiable structural requirements, not optional upgrades.
- Bridging the deck-to-coping expansion joint with grout — always leave this as a sealant joint
- Back-buttering less than 95% coverage — voids become water infiltration points within two seasons
- Setting coping before verifying bond beam elevation — high spots create rocking stones that fracture at the nose
- Using interior-grade tile mortar instead of polymer-modified pool-rated mortar — bond strength drops sharply in constant wet conditions
- Skipping the pre-seal step before grouting — grout pigment permanently stains porous stones within hours
- Allowing foot traffic before 72-hour mortar cure — premature loading shifts stone position and breaks the mortar bond
How to Install Pool Coping That Lasts: Final Considerations
A well-executed pool coping installation comes down to precision at every transition point — the mortar bed depth, the slope angle, the movement joint placement, and the sealing sequence all need to work together as a system rather than as isolated steps. The most durable results come from treating each phase as a quality checkpoint rather than a box to tick before moving on. Confirm warehouse stock for your chosen stone species early in the project timeline — natural stone pool coping can carry lead times of one to two weeks depending on inventory, and delays at this stage hold up the entire deck installation schedule. At Citadel Stone, we supply pool coping installation material nationwide and our technical team can assist in confirming mortar compatibility, thickness tolerances, and sealing protocols for your specific stone selection before the project begins. For design inspiration that complements your material choices, pool coping style and design options covers a range of natural stone profiles and finishes worth reviewing as you finalise your specification. Proper mortar bed depth and slope angle are two variables that Citadel Stone frequently flags for contractors preparing a stone coping substrate.
Related reading: What Is Pool Coping and Why Does It Matter? · pool coping options · pool coping material guide.