Why the 16×24 Format Drives Design Decisions Before Anything Else
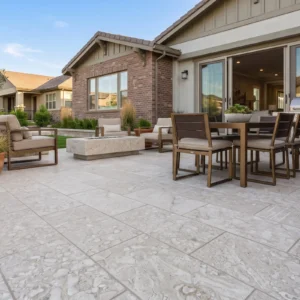
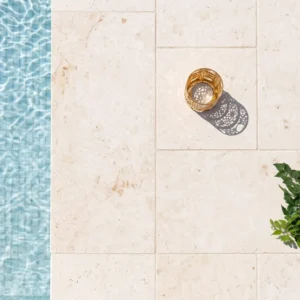
The proportion you choose for a paver dictates what every layout decision downstream looks like — and 16×24 travertine layout ideas consistently outperform square-format options when the goal is to create visible rhythm across a large horizontal surface. That rectangular ratio — roughly 2:3 — carries enough length to anchor a directional flow without making the plane feel like a runway. You’ll notice the difference most clearly when you’re standing at the far edge of a completed pool deck or patio and looking back across the field: a well-executed 16×24 pattern stretches the eye laterally or longitudinally in a way that square tiles simply don’t.
The format also changes your grout joint calculus. With two unequal dimensions in play, you have genuine choices about which axis runs with the building line and which cuts across it — and that decision shapes everything from material yield to visual weight at the borders.
Running Bond: The Workhorse of 16×24 Travertine Layouts
Running bond — offsetting each course by half the tile length — is the pattern most specifiers reach for first with the 16 x 24 travertine tile format, and for good reason. Your eye reads the staggered joint as a continuous horizontal or vertical line that grounds the whole surface. Oriented with the long dimension running parallel to the house, it visually pushes the patio outward and makes a modest yard feel more open than it is.
The offset percentage matters more than most people expect. A true half-bond (50% offset) creates a very regular, almost predictable rhythm. Dropping to a 33% offset — sometimes called a modified running bond — introduces a subtler, more artisan-looking pattern that works particularly well with travertine’s natural variation in tone and fill. You’ll want to decide on that offset before your installer sets any tile, because it affects how cuts land at borders and how the field reads from above.
- Half-bond (50% offset) suits formal patio layouts aligned with strong architectural lines
- One-third offset reads as more casual and emphasizes travertine’s natural character over geometric precision
- Longer field dimensions favor a horizontal run; narrower spaces often benefit from a vertical orientation that adds perceived depth
- Running bond minimizes tile cuts at interior field joints, reducing waste relative to diagonal patterns
Herringbone and Diagonal Options for 16×24 Travertine
Herringbone requires two tiles per unit of the pattern — each rectangular piece locks at 90 degrees to its neighbor. With a 16×24 tile, that relationship produces a tighter, more compressed herringbone than you’d get with a classic brick format, and the result looks intentional rather than borrowed from an interior tile aesthetic. It reads as genuinely architectural outdoors.
Your cut loss climbs sharply with herringbone — plan for a meaningful overage because border cuts generate more off-cuts than any field pattern. The diagonal variant (herringbone rotated 45 degrees to the building line) amplifies that waste further, but the payoff is a surface that reads from multiple approach angles simultaneously, which suits open pool surrounds where guests arrive from several directions at once. According to Natural Stone Institute travertine outdoor suitability data, travertine’s inherent variation in tone and veining makes directional patterns like herringbone particularly effective at masking minor color variation across production batches.
- Standard herringbone: lower cut waste than diagonal, stronger sense of directionality
- Diagonal herringbone at 45 degrees: omnidirectional visual impact, higher material yield requirement
- Both patterns benefit from a consistent joint width — irregular spacing disrupts the interlocking geometry
- Herringbone demands careful dry-lay planning before any adhesive is opened
Stacked Joint and Ashlar Combinations
Stacked joint — running all vertical seams continuously in the same axis — gives a clean, contemporary result with 16×24 travertine that photographs exceptionally well and suits minimalist pool surrounds. The trade-off is structural: continuous vertical joints create a long uninterrupted plane that magnifies any base movement. Your expansion joint spacing needs to be tighter than it would be in a broken-bond layout, and your base preparation has to be correspondingly more thorough.
Ashlar patterns combine the 16 x 24 travertine tile with a smaller complementary size — typically an 8×24 or 8×16 — to create irregular coursing that mimics the look of hand-laid flagstone while maintaining dimensional consistency. This is one of the more underused 16×24 travertine layout ideas in residential work, but it’s worth considering when the goal is a naturalistic rather than geometric result. The field looks varied and unhurried without any of the substrate challenges of true irregular flagstone. For projects where structural thickness matters, 30mm travertine pavers offer the panel footprint with added cross-section for demanding load conditions.
UV Exposure, Finish Selection, and Long-Term Color Retention
Sun-exposed installations introduce a performance variable that pure layout thinking can’t resolve: UV and light exposure affect how travertine looks five years from installation, not just on day one. The calcium carbonate matrix in travertine is relatively stable under UV compared with some polymeric materials, but the sealer system sitting over it is not — and it’s sealer degradation that most homeowners mistake for stone fading. A sealer that yellows or chalks under strong sun exposure changes the entire tone of the surface even if the stone underneath remains unchanged.
Finish selection intersects with UV performance in a specific way. Polished finishes carry a thinner effective sealer film because the stone surface itself provides the reflective quality — the sealer is there primarily for stain resistance. Honed and brushed finishes have a more open surface texture and require a denser initial sealer application to achieve equivalent protection. Under sustained UV exposure, the denser film on a honed finish degrades more visibly as it breaks down, so you’ll reseal a honed pool surround more often than a polished interior floor under equivalent sealer chemistry. Your sealer manufacturer’s stated recoat interval is the governing schedule — not a generic annual rule. According to ASTM C1527 travertine dimension stone specifications, surface finish is a defined specification variable that influences maintenance and appearance performance in ways that go beyond aesthetics alone.
- Choose a sealer with explicit UV-stable chemistry for any full-sun installation — not a generic stone sealer
- Lighter travertine tones (ivory, silver) show UV-driven sealer breakdown more clearly than mid-tone varieties
- Reapply sealer on the manufacturer’s schedule rather than waiting for visible water-bead failure
- A brushed finish with a penetrating impregnator typically offers the most maintenance-practical combination for pool surrounds
Orienting the Layout to Pool and Building Edges
The relationship between your tile grid and the dominant edge of the space — whether that’s the pool coping line or the house foundation — determines whether the whole surface reads as considered or accidental. Most experienced installers establish the pattern axis from the most visible sightline, which is usually the view from the main indoor living space looking outward. Running the long dimension of the 16×24 tile parallel to that sightline reinforces the depth of the outdoor space; running it perpendicular broadens the apparent width.
Pool surrounds introduce a secondary alignment challenge: the pool edge is typically curved or has an irregular geometry that will never align perfectly with a rectangular grid. Your specifier or installer needs to decide early whether the grid aligns to the coping edge (producing consistent border cuts at the house side) or to the building line (producing irregular cuts at the pool edge). Neither choice is wrong — but the decision needs to be made before layout begins, because reversing it after tiles are set is a full-removal scenario. The USGS limestone and travertine mineral formation data is worth reviewing to understand why travertine’s natural void structure means cut edges benefit from edge-filling before installation, particularly at pool coping interfaces where water infiltration is a sustained concern.
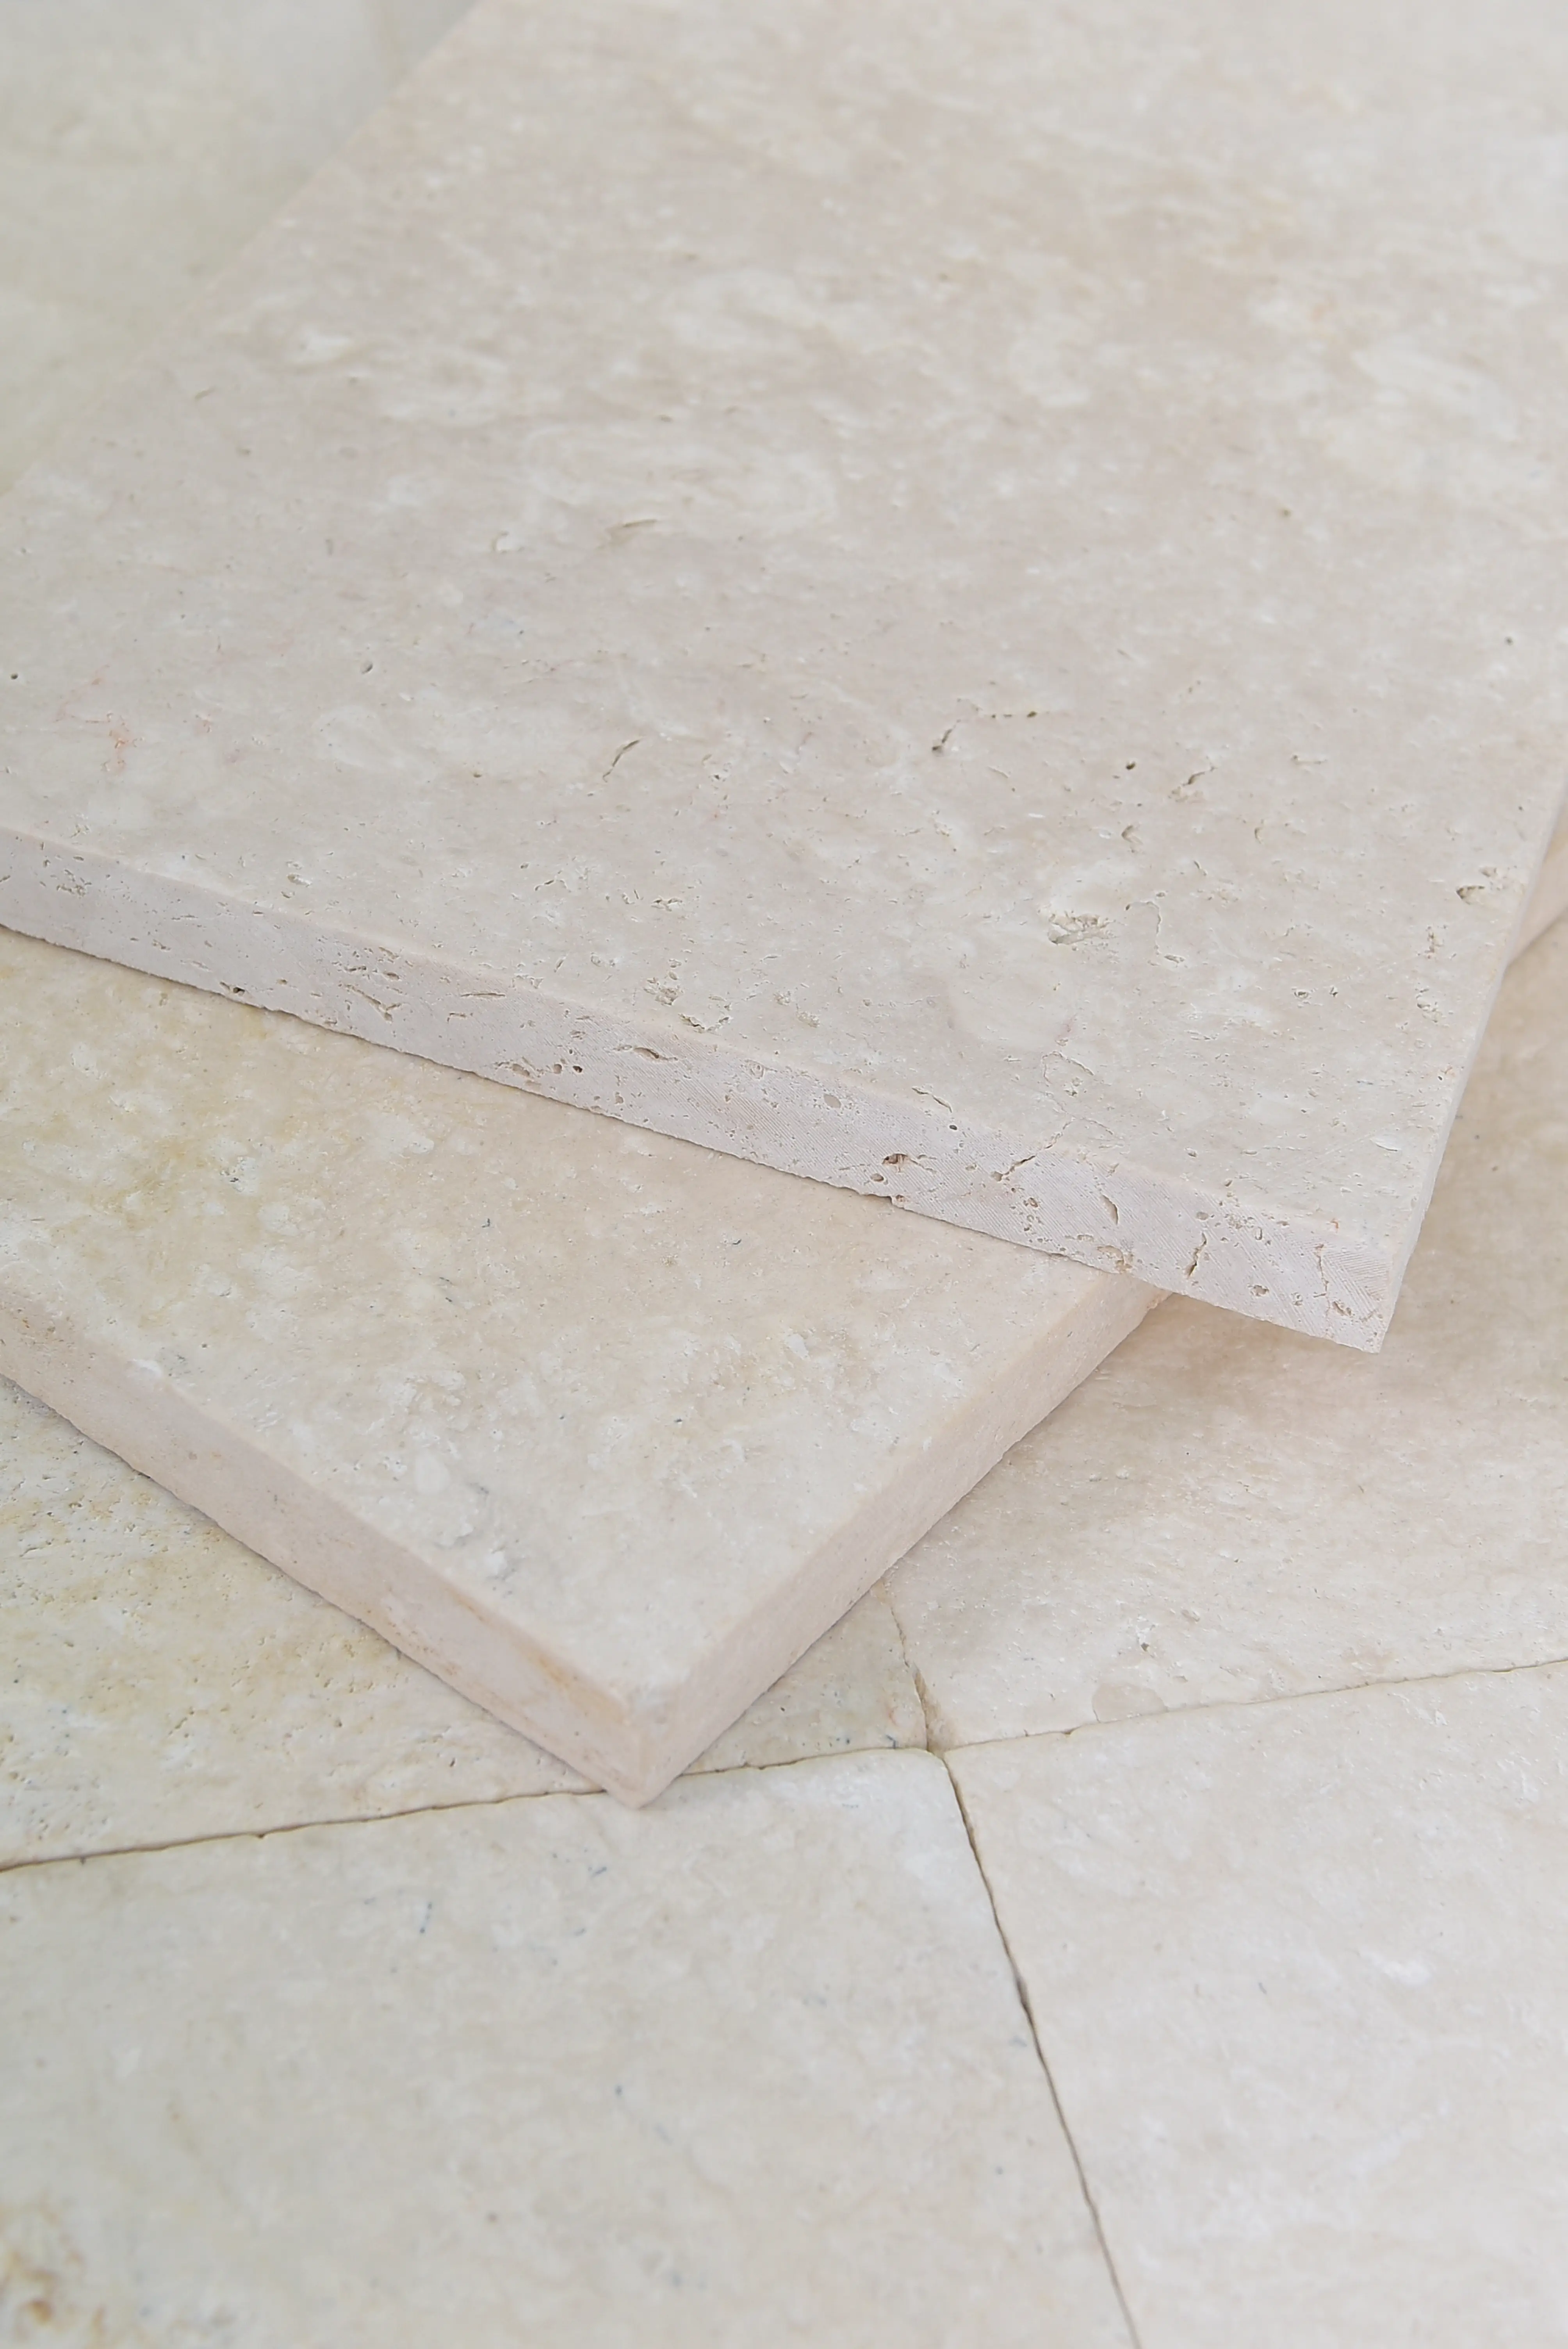
Base Preparation and Thickness for Outdoor Installations
The layout pattern you choose affects how forgiving the installation is of minor base irregularities. Running bond is the most tolerant — small variations in the base plane are absorbed across the staggered joint without creating an obvious lippage line. Stacked joint and herringbone, by contrast, make base flatness problems visible immediately, because the eye follows the continuous joint line directly to any deviation.
Your aggregate base depth should be established from your soil bearing capacity and expected load, not from a standard rule of thumb. Outdoor patio and pool deck conditions vary significantly by region and by soil type — a clay-heavy base expands and contracts seasonally in a way that compacted gravel over sandy loam does not, and your base depth should respond to that specific condition. The 16×24 travertine layout ideas you’re considering all depend on that base behaving consistently across the full field; differential settlement in one corner will show in the pattern regardless of which layout you choose. Citadel Stone sources this material cut to specification directly from our selected quarries, so dimensional consistency across the field is controlled from the point of production.
- Confirm base depth with your geotechnical assessment, not a generic thickness rule
- Use a compacted aggregate base over a geotextile membrane in any installation where soil drainage is uncertain
- Slope the entire base plane at a minimum of 1% away from the structure for drainage — the stone layout follows the slope, not the other way around
- Allow the base to settle fully before tile placement where scheduling permits
Ordering, Logistics, and Planning Your Material Quantities
Calculating material for 16×24 travertine layout ideas requires accounting for the specific cut waste your chosen pattern generates. Running bond at 50% offset in a rectangular space typically requires a 10–12% overage allowance. Herringbone in the same space runs closer to 15–18% depending on border complexity. Diagonal patterns can push overage requirements beyond 20% in spaces with multiple angles or curves. Get your pattern and border treatment confirmed before you finalize your order quantity — changing the pattern after ordering frequently means either a shortage or significant leftover material.
Delivery scheduling for large patio and pool surround projects deserves early attention. Your project’s site access constraints — including vehicle clearance at the access point and offloading distance from the drop zone to the installation area — affect how the delivery is staged. Coordinate offloading arrangements before the delivery date so that material doesn’t land in a location that creates a secondary handling problem. Lead times are confirmed at the point of order. As you plan your travertine paving project, related warm-tone material options can inform your border and coping selections — noce travertine for coping and borders covers how warmer-toned travertine varieties coordinate with ivory and silver field tiles in mixed-material designs.
Parting Guidance
The layout decision for a 16×24 travertine installation is a structural choice as much as an aesthetic one — it determines your cut waste, your base tolerance requirements, your sealer maintenance schedule, and how the surface reads from every sightline across the project. Running bond rewards you with efficiency and visual length; herringbone rewards you with visual complexity at a higher material cost; ashlar combinations reward you with naturalistic character that holds up over years of UV exposure without looking dated. The finish you pair with the pattern determines how you’ll maintain it over the service life, and that decision should happen before the stone is ordered, not after it arrives on site. The 16×24 format supports running-bond and offset patterns that visually elongate open outdoor spaces.
Related reading: Travertine Paver Thickness Guide: Is 30mm Right? · How to Choose Travertine Paver Sizes for Any Project.