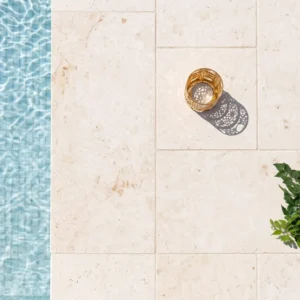
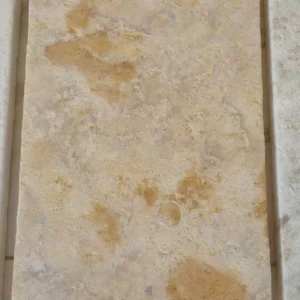
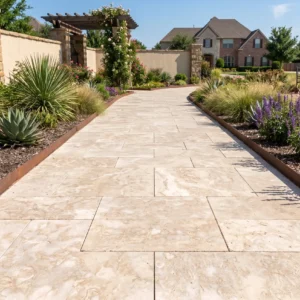
What the 12×12 Format Actually Means in Practice
Thickness variation is the first specification to nail down when sourcing 12×12 travertine floor tile — and it’s the spec most often glossed over on submittal sheets. Nominal 12×12 tiles arrive in two common thickness ranges: 3/8 inch (roughly 10mm) for wall and light-duty residential applications, and 1/2 inch (12-13mm) for standard floor use. The floor-rated thickness matters because travertine’s inherent void structure concentrates point loads at the edges of unfilled pockets, and a tile that’s too thin will micro-crack at those stress points well before you’d expect visible failure.
The 12×12 format also sits at an interesting intersection for layout geometry. It’s large enough to minimize grout joint frequency and create visual continuity, but small enough that a single installer can handle tiles without mechanical assistance — an important consideration for labor scheduling on multi-room projects. You’ll find that 12×12 travertine floor tile works cleanly in both running bond and stacked patterns, though the material’s natural veining rewards diagonal layouts by masking the directional grain that can read as repetitive in straight-set applications.
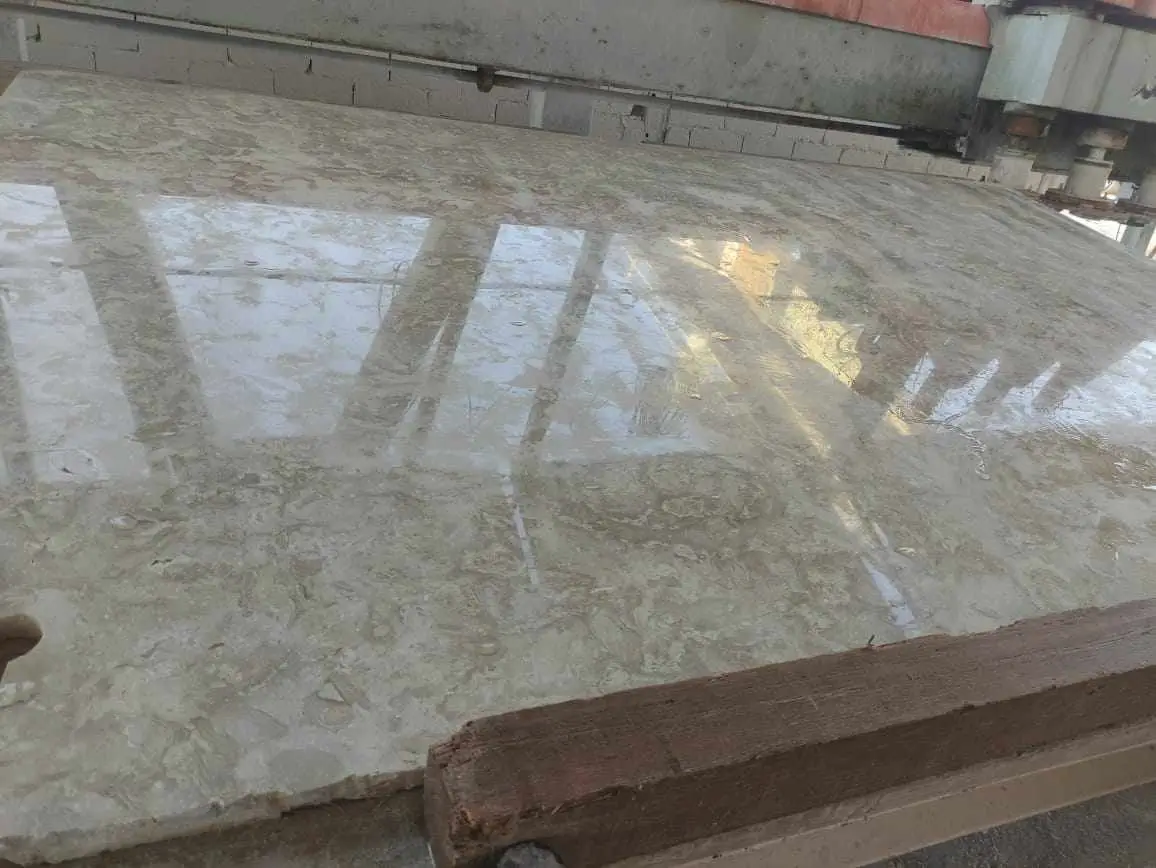
Travertine Formation and What It Tells You About Performance
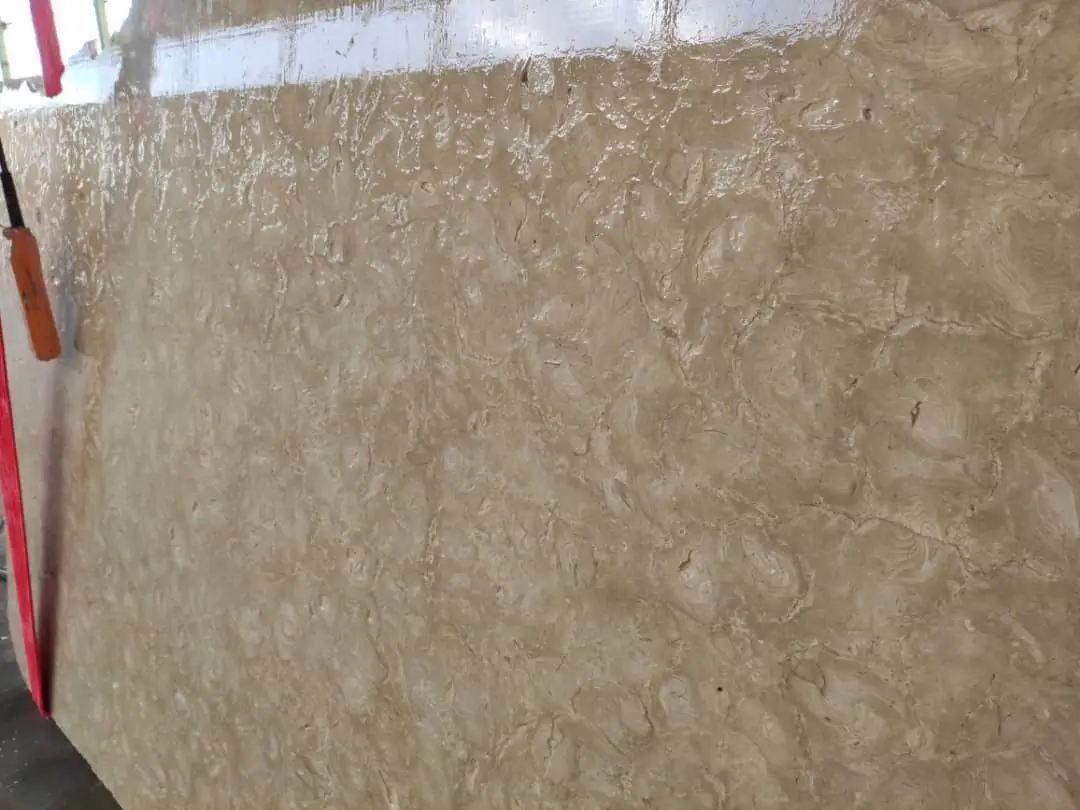
Travertine forms through a precipitation process in thermal springs and limestone caves, where calcium carbonate-rich water deposits successive mineral layers around gas-escape channels. Those channels become the characteristic voids — the ones that either get filled with grout or left open depending on the finish you specify. Understanding this isn’t just geology trivia; it directly predicts how the material will perform under your specific loading and moisture conditions. According to USGS limestone and travertine natural mineral formation, the banded, porous structure of travertine reflects its depositional environment, which is why density and absorption rates vary meaningfully between quarry sources.
Absorption rate is the performance variable that separates installations that age gracefully from ones that start showing efflorescence and spalling within a few years. Travertine typically absorbs between 3% and 8% by weight depending on density and fill quality, compared to less than 0.5% for dense porcelain. That difference doesn’t make travertine a problematic choice — it makes sealing protocol non-negotiable. A quality penetrating sealer applied before grouting and reapplied every two to three years keeps moisture infiltration within acceptable limits for decades of reliable service life.
Finish Options: Tumbled, Honed, and Polished Compared
Your finish selection shapes both the installation method and the long-term maintenance commitment, so it’s worth understanding what each option actually delivers on the floor.
- Tumbled travertine presents a weathered, textured surface with softened edges — the 12×12 tumbled travertine tile format is widely used in rustic, Mediterranean, and transitional interior styles where a worn, natural aesthetic is the goal
- Honed travertine provides a flat, matte surface with consistent sheen — excellent slip resistance without a polished gloss, and the preferred specification for high-traffic residential and light commercial floors
- Polished travertine achieves a reflective, mirror-like finish through progressive grinding — visually striking but requires the most rigorous sealing and maintenance program to protect the surface layer
- Brushed travertine splits the difference between tumbled and honed, with a slightly textured surface that’s more refined than tumbled but more forgiving than polished
For floor applications specifically, honed is the workhorse finish. It handles daily foot traffic without the slip risk that polished surfaces introduce in wet entry zones, and surface scratches blend into the matte texture far better than on a polished face. The 12×12 floor tile dimension works particularly well in honed finish because the flat surface reads cleanly in both large and small spaces. Lighter-toned material — sometimes specified as 12×12 white floor tile — suits honed finish especially well, as the matte surface enhances the stone’s natural veining without the glare that polished white travertine can produce.
Base Preparation and Structural Requirements
Travertine is unforgiving of inadequate substrate preparation — more so than most ceramic alternatives because its natural void structure provides less internal distribution of point loads. Your concrete slab or mortar bed needs to meet three criteria before tile installation begins: flatness within 1/8 inch over a 10-foot straightedge, compressive strength of at least 3,500 PSI, and a surface that’s clean and free of curing compounds that would interfere with adhesive bond.
Deflection is the variable most often overlooked on wood-frame substrates. Industry guidelines from the Tile Council of North America installation standards specify that wood subfloors must not deflect more than L/360 under live load — for a 10-foot joist span, that’s no more than 1/3 inch of deflection. Travertine’s lower tensile flexibility compared to porcelain means that substrate movement telegraphs directly into tile cracks, often at grout joints first and then propagating across the tile face. If your subfloor doesn’t meet L/360, either stiffen the framing or specify an uncoupling membrane before proceeding.
Mortar bed thickness also matters for thermal mass management. A full mud-bed installation at 1.25 to 1.5 inches creates a more thermally stable substrate than thinset alone, which becomes relevant in rooms with radiant floor heating where temperature cycling is a daily constant.
Adhesive Selection and Grout Joint Specifications
Medium-bed polymer-modified thinset is the correct adhesive for 12×12 travertine floor tile on concrete substrates — standard thinset applied at the usual coverage rate doesn’t support the back of the tile fully, and unfilled voids beneath travertine become stress risers under load. You’re targeting 95% mortar contact coverage on the tile back, which means back-buttering is not optional — it’s standard practice for stone tile regardless of what the installer’s routine calls for.
- Use a 1/2-inch square-notch trowel as a starting point, adjusting based on tile back texture
- Back-butter every tile before setting — don’t rely on trowel ridges alone to fill the back surface
- Allow full cure time (minimum 24 hours, 48 hours preferred) before grouting
- For heated floor systems, confirm adhesive compatibility with the specific heating system’s temperature range before specifying
Grout joint width for 12×12 tumbled travertine tile runs between 1/8 to 3/16 inch to accommodate irregular edges, while precisely milled honed tile can work at 1/16 inch. Don’t try to force a tumbled tile into a 1/16-inch joint — the edge variation will create lippage that catches light and reads as installation error. Unsanded grout handles the narrower joints; sanded grout is required at 1/8 inch and above.
Slip Resistance and Safety Performance
The coefficient of friction (COF) for travertine flooring varies significantly by finish, and understanding the numbers helps you specify correctly for each application. According to ASTM natural stone tile absorption strength and slip resistance testing, the dynamic COF threshold for residential floor tile is typically 0.42 or above under dry conditions. Honed travertine generally exceeds this threshold comfortably in dry conditions, while polished travertine can approach or fall below it when wet — making finish selection a genuine safety decision, not just an aesthetic one.
Tumbled travertine carries the most pronounced surface texture of the three primary finishes, and it appears frequently in mudroom, entry, and bathroom floor specifications. The surface irregularity creates mechanical resistance to lateral foot movement that smooth finishes can’t replicate. For wet-area applications, you can also specify a light bush-hammered texture on the honed surface — this maintains most of the visual refinement of honed while improving wet-condition traction noticeably.
Cost Factors, Sourcing, and Project Budget Considerations
The total installed cost of 12×12 travertine floor tile varies more than most buyers expect before they start getting quotes. Material price is just the starting point — freight distance from the distribution warehouse to your project site, local labor market rates, and the fill condition of the tile all feed into the final number. Unfilled travertine requires a fill-and-grout step that adds roughly 15-20% to labor time compared to pre-filled tile, which affects cost calculations meaningfully on larger installations.
Sourcing decisions carry real budget implications. Travertine quarried in Turkey and sourced through Middle East quarries tends to arrive at competitive price points because of established trade volume and efficient logistics, while specialty quarry sources with limited production runs command a premium. At Citadel Stone, we source directly from select quarry operations and hold warehouse inventory ready for national delivery, which typically compresses lead times to one to two weeks rather than the six to eight week import cycle that project-specific orders require. That shorter lead time translates directly into reduced carrying cost for contractors who can’t afford to float material costs across a long procurement window.
Labor-to-material cost ratios for 12×12 floor tile installation typically run between 1.2:1 and 1.8:1 in most markets — meaning labor often costs more than the material itself. This ratio makes material quality selection more consequential than it might appear: specifying a lower-grade tile to save 15% on material often costs more than that in rework time when lippage and fill inconsistency slow the installation. Freight zone pricing also matters — truck delivery to sites far from primary distribution hubs adds $200–$600 per order depending on distance and order size, a line item worth factoring into value engineering discussions early. If you’re comparing bids across suppliers, confirm whether freight is included or quoted separately before drawing conclusions about material cost.
For complementary flooring options at a larger format, Citadel Stone floor stone in the 18×18 dimension offers a useful reference point for how travertine performs across different tile sizes and applications.
Filling Voids and Surface Preparation Before Sealing
Pre-filled travertine arrives from the warehouse with voids already grouted at the factory — but field conditions often mean some of those fills work loose during shipping or cutting. Your installation checklist should include a void inspection pass after tile is set and cured, before grouting begins. Any open voids wider than 1/8 inch get filled with matching grout at this stage; smaller voids can be addressed during the grout application itself.
- Use a non-sanded grout or travertine filler that matches the tile’s background tone for factory-fill repairs
- Allow filler to cure fully before applying the full grout joint to avoid shrinkage cracking at the interface
- Sand the filled surface flush with 220-grit paper on honed tile before sealing — any proud fill creates a texture interruption that collects dirt
- On polished tile, filled voids require repolishing with a variable-speed polisher to restore surface consistency
Surface preparation before sealing is a step that genuinely separates durable installations from ones that look great at punch-list and deteriorate within 18 months. The tile surface must be completely clean, dry, and free of grout haze before penetrating sealer goes down. Grout haze — the thin film of dried grout residue — acts as a barrier that prevents sealer from penetrating into the stone’s pore structure where it does its protective work. Use a stone-safe haze remover, not a general acid cleaner, and confirm pH compatibility with travertine’s calcium carbonate chemistry before applying any cleaning product.
Long-Term Maintenance and Realistic Performance Expectations
Travertine’s maintenance profile is straightforward once you understand what the material actually needs — and what it doesn’t. The Natural Stone Institute outlines a clear framework for stone maintenance in its NSI ASTM tile stone specifications, and the consistent thread across all natural stone categories is that pH-neutral cleaners used consistently outperform any periodic deep-cleaning regimen with aggressive chemistry. Acidic cleaners — including common household products like vinegar-based solutions — etch the calcium carbonate surface and accelerate wear on both polished and honed finishes.
- Daily maintenance: pH-neutral stone cleaner diluted per manufacturer instructions, damp mop only
- Sealing interval: penetrating impregnating sealer every 18 to 36 months depending on traffic volume and finish type
- Polished finish: annual inspection of surface sheen; professional re-honing or re-polishing every 5 to 8 years in high-traffic areas
- Honed and tumbled finishes: lower maintenance demand — sealing is the primary long-term commitment
- Grout joint inspection: annually for hairline cracking, especially in areas subject to thermal cycling or minor structural movement
Properly installed and maintained 12×12 travertine floor tile can realistically deliver 25 to 40 years of attractive service life — but that performance window narrows quickly without the sealing schedule. Unsealed travertine in a busy kitchen or entry will begin to show deep staining within one to two years of installation as cooking oils and foot traffic work organic material into the open pore structure.
Specifying 12×12 Travertine Floor Tile: What the Decision Comes Down To
Specifying 12×12 travertine floor tile well comes down to a sequence of decisions that each build on the last: the right thickness for your loading conditions, a finish matched to the wet-versus-dry use environment, a substrate that meets deflection requirements before a single tile is set, and a sealing program that starts before grouting and continues on a consistent schedule. None of these steps is complicated, but skipping or shortcutting any one of them is where long-term performance problems originate. The material itself is highly resistant to daily wear and delivers genuine aesthetic depth that manufactured alternatives can’t replicate — but it rewards thorough specification and honest maintenance in ways that demand your attention up front.
Budget planning should incorporate freight, labor complexity, and fill condition from the earliest project discussions rather than treating them as line items to address after material selection. Whether you’re working with 12×12 tumbled travertine tile in a rustic entry or a honed 12×12 white floor tile in a light-toned interior, sealing protocol deserves the same specification attention as the tile itself — for practical guidance on protecting your investment long-term, the travertine sealer selection and application guide covers the technical detail you’ll need before your installation closes out. Sourced from select natural stone quarries worldwide, Citadel Stone offers 12×12 travertine floor tile in tumbled and honed finishes.
Related reading: 24×24 floor tile patterns · 18×18 Tile Buyer’s Guide: Choosing the Right Fit · 18×18 ceramic floor tile.