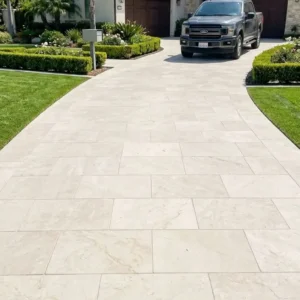
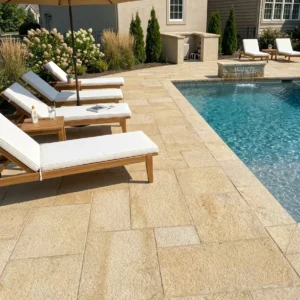
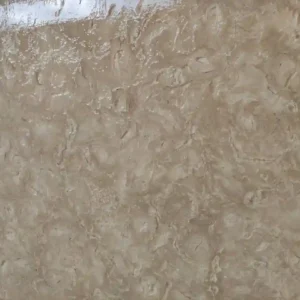
Sequence errors during travertine tile ivory installation are almost never about the tile itself — they trace back to decisions made before a single piece touches the substrate. The porosity profile of ivory travertine (typically 3–8% water absorption by mass) means your mortar chemistry, joint sizing, and curing window interact in ways that denser stones like granite simply don’t present. Get those variables locked in early, and you’re working with a material that rewards you with decades of performance. Miss them, and you’ll see lippage, hollow spots, and premature joint failure within the first heating season.
Understanding Ivory Travertine Before You Start
Travertine tile ivory is a sedimentary calcium carbonate stone formed through mineral-rich hot spring deposits, which creates its characteristic open-pore structure and warm, variegated coloring. That pore structure isn’t a defect — it’s the material’s defining character. But it does require you to make decisions upfront about fill type, finish treatment, and substrate compatibility that you wouldn’t need to make with a non-porous tile.
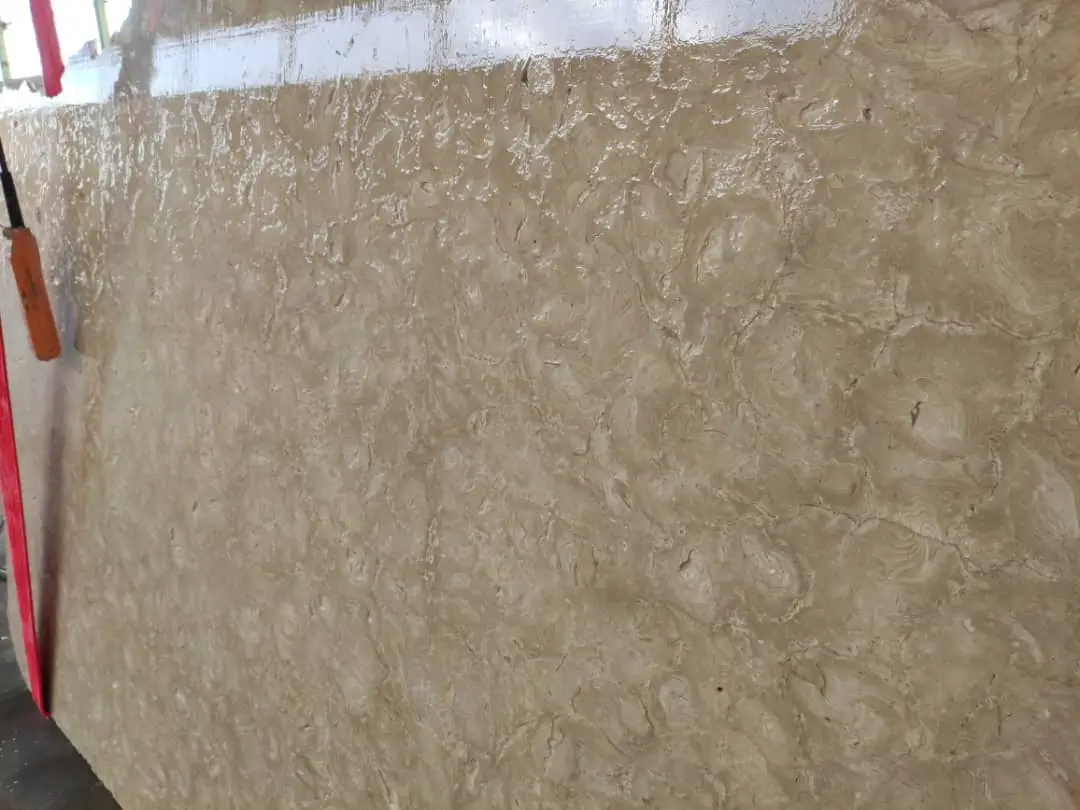
The ivory color range in travertine spans from pale cream to warm beige with subtle rust and walnut veining. That variation is natural and desirable, but it demands deliberate blending from multiple boxes during installation. According to Natural Stone Institute travertine properties and outdoor suitability, travertine’s open vesicular structure and calcium carbonate composition require specific installation conditions to achieve rated performance over time. Understanding the material’s physical characteristics before you start protects your specification decisions downstream.
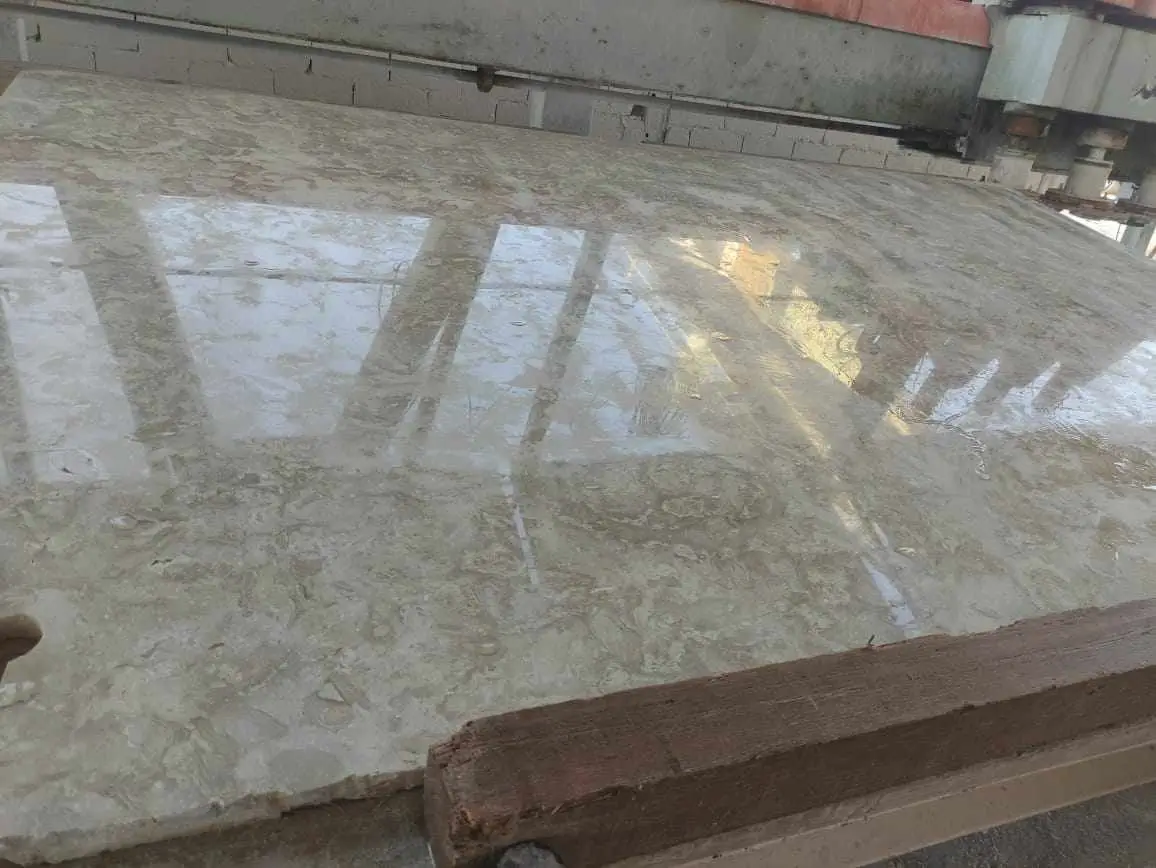
Substrate Preparation and Base Requirements
Your substrate is doing more structural work than the tile, and no amount of premium material recovers a failed base. For interior travertine bathroom floor applications over a concrete slab, you need a minimum flatness tolerance of 3mm under a 3-meter straightedge before any decoupling membrane or mortar bed is installed. Over wood subfloors, the deflection limit tightens considerably — target L/720 or better, which typically means doubling up your subfloor sheet thickness in older residential construction.
For exterior applications, base depth depends heavily on your drainage geometry. In freeze-thaw regions, a compacted aggregate base of 150–200mm prevents the frost heave that undermines even perfectly set travertine tile ivory installations. In areas with high seasonal rainfall or monsoon-pattern precipitation, your sub-base drainage layer needs to function as actively as your surface drainage does. Standing water beneath an exterior slab creates hydrostatic pressure against your setting bed — and travertine’s absorption characteristics mean that pressure cycles will eventually compromise bond strength at the tile-to-mortar interface.
- Concrete substrate: minimum 28-day cure before tile installation, surface pH tested between 8 and 9
- Wood subfloor: minimum 19mm structural panel plus 12mm cementboard overlay before setting bed
- Exterior slab: slope minimum 2% away from structures, aggregate base compacted to 95% Proctor density
- Heated subfloor systems: complete one full thermal cycle before tiling to seat any residual shrinkage
Mortar Selection for Travertine Tile Ivory
The mortar chemistry choice for travertine tile ivory is one of the most consequential decisions in the entire installation sequence. Standard grey Portland-based mortars contain free alkalis that can migrate through travertine’s pore network and cause persistent efflorescence on light ivory surfaces. White polymer-modified thinset is the correct specification — not just for aesthetics, but because the polymer content bridges minor substrate deflections that would otherwise telegraph as hollow spots over time.
Coverage is where most installations underperform. Generic specifications call for 80% mortar coverage on floor tile; travertine with its irregular back texture requires you to push that to 95% minimum. The back-buttering technique — applying a skim coat to both the substrate and the tile back before setting — is the only reliable method to achieve that coverage rate consistently. According to ASTM C1527 travertine dimension stone standard specifications, proper bond coverage and joint integrity are foundational to performance compliance for travertine dimension stone. Cutting corners on coverage percentage is the primary driver of hollow-spot callbacks in travertine installations.
- Use white polymer-modified thinset rated for natural stone (ANSI A118.4 or higher)
- Avoid rapid-set mortars in hot or dry conditions — open time drops sharply above 32°C
- Mix to a thick peanut butter consistency, not a slump — slump indicates excess water weakening bond strength
- Discard any mortar that has begun to skin over on the notch ridges before tile is placed
Layout Planning and Blending Across Boxes
Dry-lay your full field before mixing a single bucket of mortar. This step is non-negotiable for ivory tumbled travertine tile — the color and vein variation between dye lots can be significant even within a single production batch. Pull tiles from a minimum of three boxes simultaneously and rotate them through your layout until the variation reads as intentional, organic character rather than obvious patchwork.
Your starting point determines everything else. Find the true center of the room, snap perpendicular layout lines, and test your tile placement from that center out to all four walls. Adjust your starting point so that cut tiles at opposite walls are equal in width — anything narrower than one-third of a tile width at a wall looks unresolved and is difficult to execute cleanly in travertine because the material can chip during narrow cuts. For diagonal layouts, shift your center point accordingly and account for the increased material waste, typically 15–20% above square layouts for diagonal patterns.
- Blend tiles from a minimum of three open boxes throughout installation
- Mark your layout lines with a chalk line, then confirm square with a 3-4-5 triangle check
- Minimum perimeter cut width: one-third of the full tile dimension
- Diagonal layouts require 15–20% additional material — factor this into your warehouse order quantity
- Stagger grout joints in the direction of primary sightlines for visual continuity
Cutting Travertine Tile Cleanly
Ivory light travertine cuts cleanly with a wet saw equipped with a continuous-rim diamond blade rated for natural stone — not the segmented blades appropriate for ceramic or porcelain. The calcium carbonate matrix is relatively soft (Mohs 3–4) but its void structure means chip-out at the cut edge is a real risk if blade speed or feed rate is wrong. Run your blade at full speed, feed the tile slowly and steadily, and let the water cooling do its job without interruption.
For curved cuts around fixtures or coping elements, a 4-inch angle grinder with a turbo-rim diamond disc gives you the control that a wet saw can’t. Score your curve in multiple light passes rather than attempting a single deep cut — travertine will fracture along internal void lines under excessive cutting pressure. For inside corners, drill a pilot hole with a diamond core bit before making your straight cuts to prevent the tile from cracking inward toward the field.
Setting Tile and Managing Joint Width
Your joint width choice has more downstream impact than most installers acknowledge upfront. For ivory light travertine in interior floor applications, a 3mm joint is the minimum that allows adequate grout penetration and thermal movement accommodation. At 4–5mm, you gain meaningful tolerance for the slight dimensional variation typical in natural stone and easier grouting on tumbled-edge profiles. Wider joints also let you use a sanded grout with higher compressive strength, which performs better under point loads in high-traffic areas.
Place each tile with a firm downward press and a slight twisting motion to collapse the mortar notch ridges and achieve full coverage. Check your work periodically by lifting a tile and inspecting the mortar contact pattern — you want to see consistent coverage across the entire back face, including corners. Travertine tile ivory installation on exterior surfaces in climates with heavy wet seasons requires particular attention to joint consistency because standing water exploits any gap in the joint system during prolonged saturation events.
For complete specification options across our product line, explore our ivory travertine tile range — it covers thickness options, finish types, and size availability that affect your joint and mortar specifications.
Filling Voids and Pre-Grouting Preparation
Here’s what separates a polished ivory travertine installation from a rough one: void filling before grouting. Travertine’s natural pits and voids on the face of the tile need to be addressed deliberately, not ignored. For filled travertine (which arrives with factory-applied resin fill), a light inspection pass is enough — look for any voids that opened during cutting and touch them up with color-matched caulk or epoxy filler. For unfilled travertine, you have a choice to make: fill before grouting with a penetrating resin or grout-fill the voids as part of the grouting process.
The grouting-in-place method works, but it requires you to force grout into the face voids with a margin float before the main grouting pass, let it initial-cure, then complete the field grouting. This avoids the sunken, hollow-looking voids that result when standard grouting pressure isn’t sufficient to fully fill deeper pits. For travertine bathroom floor installations specifically, filling all face voids is a hygiene decision as much as an aesthetic one — unfilled voids trap moisture and organic material in wet environments.
- Filled travertine: inspect cut edges and touch up any opened voids before grouting
- Unfilled travertine: pre-fill deep face voids with margin float, allow initial set, then grout field
- Wet areas and travertine bathroom floor applications: fill all face voids regardless of tile type
- Allow mortar to cure minimum 24 hours (48 hours preferred) before beginning grouting
Grouting and Joint Finishing
Grout selection for travertine tile ivory comes down to joint width and application environment. For joints up to 3mm, unsanded grout at the correct shade keeps the profile tight and avoids aggregate scratch risk on softer travertine surfaces. For joints of 3mm or wider — which you’ll be using on most travertine tile ivory installation sequences — sanded grout provides the structural integrity and dimensional stability the joint needs. Epoxy grout is appropriate for commercial wet environments or food service applications but requires a faster working pace and more thorough cleanup chemistry than cementitious options.
Work in sections no larger than you can grout and clean in 20–25 minutes — travertine’s absorption rate will pull moisture from the grout faster than dense tile does, accelerating set time. Dampen the tile surface lightly before grouting to slow absorption without saturating the mortar bed. Apply grout diagonally across joints with a rubber float, pack it firmly, and remove excess in a second diagonal pass. Wait for the grout to haze to a matte finish, then clean with a barely damp sponge in circular motions. Two clean water rinses and a final dry buff complete the process.
Sealing Travertine Tile for Long-Term Protection
Sealing protocols for travertine tile ivory installation differ from standard stone maintenance because the open pore network means penetrating impregnator sealers — not topical film-forming products — are the correct specification. A quality impregnating sealer penetrates 3–6mm below the surface, lines the pore walls with a hydrophobic barrier, and leaves the surface appearance largely unchanged while dramatically reducing liquid absorption. Film-forming sealers trap moisture beneath the surface in high-humidity environments, causing the clouding and peeling that give sealed travertine a bad reputation.
Apply your first sealer coat after grout has cured fully — minimum 72 hours for cementitious grout, longer in cool or humid conditions. Work in small sections, apply generously, allow 5–10 minutes penetration time, then remove all excess before it dries to a residue. A second coat applied within 30 minutes of the first (while the first is still chemically active in the pore) achieves measurably better protection than two fully cured coats. Annual resealing in high-traffic areas, and biennial resealing in moderate-traffic zones, maintains the protection envelope over time. According to USGS limestone and travertine natural mineral formation, travertine’s calcium carbonate matrix is particularly susceptible to acid etching and surface moisture penetration without appropriate protective treatment.
- Specify penetrating impregnating sealer — silane or siloxane chemistry preferred for natural travertine
- Never apply sealer to damp stone — tile must be dry minimum 48 hours post-grouting
- Remove all sealer excess within 15 minutes of application — dried residue is difficult to remove cleanly
- In wet climates with extended rainy seasons, increase resealing frequency for exterior applications
- Test sealer effectiveness annually with a water bead test — if water absorbs within 5 minutes, reseal
Drainage Design for Exterior Travertine Installations
Exterior travertine tile ivory installations live and die by their drainage geometry. In regions with heavy seasonal rainfall, hurricane-season precipitation, or drought-to-saturation cycles, your slope design isn’t aesthetic — it’s structural. A minimum 2% fall (roughly 6mm per 300mm of run) toward perimeter drains or open landscape keeps the surface dry within minutes of a rain event. Flat or counter-sloped installations accumulate standing water at grout joints, accelerating calcium carbonate leaching and promoting biological growth on the ivory surface.
Your sub-base drainage layer matters as much as surface slope. A 50–75mm layer of washed angular aggregate beneath the compacted base allows groundwater to migrate laterally rather than building hydrostatic pressure under the slab. In areas with clay-heavy soils that expand and contract with moisture cycling, this drainage layer also reduces the differential movement that causes tenting and joint failure in bonded ivory tumbled travertine tile installations. Connecting your sub-base drainage to a perimeter French drain system completes the water management circuit and keeps the base condition stable through both wet and dry seasonal extremes.
Project Planning and Ordering Logistics
Your material order quantity should include 10% overage for a straight-lay installation, 15–20% for diagonal or herringbone patterns, and an additional 5% buffer if your project involves complex cuts around fixtures, columns, or pool features. Order all material from the same production batch — warehouse stock from a single batch ensures consistent color and finish across the entire installation without the dye-lot variation that causes visible seams in the finished floor.
Citadel Stone maintains national warehouse inventory of travertine tile ivory, which typically reduces lead times to 1–2 weeks for most project sizes rather than the extended wait common with direct import orders. Confirm your full quantity is available from a single batch before scheduling your installation crew — splitting an order across two production runs mid-project creates the kind of color inconsistency that’s nearly impossible to correct after installation. At Citadel Stone, we recommend confirming your warehouse batch allocation at the point of deposit, not at dispatch, so your project timeline is protected from stock fluctuations. Truck delivery scheduling should account for site access — slab stone requires flat-bed or liftgate capacity, and coordinating truck arrival with your substrate preparation completion prevents unnecessary material exposure on site.
Your Action Plan for Travertine Tile Ivory
The installation sequence for travertine tile ivory rewards systematic preparation more than almost any other natural stone tile. Your substrate flatness, mortar coverage, void management, and sealing sequence are the four variables that determine whether your installation performs for 15 years or 30. Skip or compress any one of them and you’re building a callback into the project from the start.
Prioritize your material blending strategy before your first tile goes down, confirm your drainage geometry before your first mortar trowel hits the substrate, and specify your sealer type before your grouting crew finishes — not after. These decisions are far easier to make in planning than to correct in the field. As your project scope expands to include complementary hardscape elements, ivory travertine paver specification details covers outdoor format selection, thickness requirements, and base preparation criteria for paver-scale applications that pair with interior tile work. Tile from Citadel Stone arrives face-numbered so travertine tile ivory blending stays even across an entire living space.
Related reading: travertine ivory french pattern · ivory travertine backsplash ideas · Ivory Vein Cut Travertine Guide: Cuts, Look & Use.