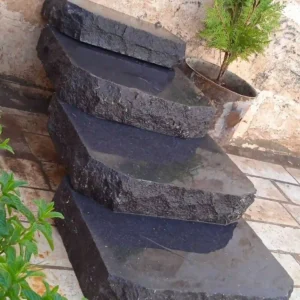
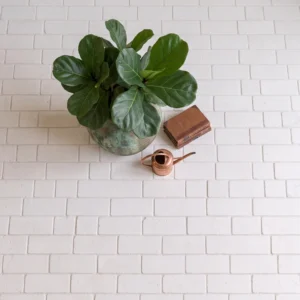
Why Slope Geometry Defines Everything
Stone steps on a slope live or die by one variable most installers underestimate: the relationship between riser height, tread depth, and the actual grade angle beneath them. You can select the most beautiful natural stone on the market, but if your step geometry fights the slope instead of working with it, you’ll be pulling treads and releveling bases within three to five years. The slope dictates your stepping pattern before a single stone leaves the warehouse. Get that geometry locked in first, and every other decision becomes considerably easier.
The standard rule of thumb — two risers plus one tread equals 26 inches — holds on flat ground, but on a graded site you need to factor in how accumulated grade change interacts with your total run. A 12% slope over 40 linear feet gives you roughly 4.8 feet of total elevation change. Divide that by your target riser height (typically 5.5 to 7 inches for outdoor steps) and you’ll know your step count before you break ground. Running those numbers early prevents the frustrating scenario where your last step lands either underground or floating in mid-air.
Base Preparation and Subgrade Stability
Here’s what most specifiers miss when planning stone steps on a slope: the subgrade is rarely uniform along a graded run. You might encounter firm native soil at the top of the flight and soft, moisture-retaining fill material at the bottom — all within the same short stair run. That variability demands a thorough subgrade investigation before you set a single footing, not after you’ve already noticed differential settlement in your first winter.
Soil type plays a significant role in how you build your base. Expansive clay soils — common across many interior regions — swell when saturated and shrink dramatically during dry periods. That cyclic movement is the primary cause of tread rocking and riser gaps on sloped stone stair installations. In sandy or loose soils, the main concern shifts to erosion undercutting the base between steps, particularly on steeper grades where concentrated runoff accelerates at every riser face. Caliche layers, encountered in drier hardpan zones, can present the opposite problem: an apparently stable base that fractures under load because it lacks cohesion once disturbed.
- Compact subgrade to at least 95% Proctor density before placing any aggregate base material
- Use a minimum 6-inch compacted crushed stone base for each step footing on stable soils — increase to 8–10 inches on expansive clay or fill material
- Install a geotextile fabric layer between native soil and aggregate base in sandy or erosion-prone conditions to prevent fines migration
- On clay-heavy subgrades, consider a 2–3 inch layer of coarse gravel directly beneath the aggregate to promote positive drainage away from the footing
- In freeze-thaw regions, extend your aggregate base depth below the local frost line to prevent heave from lifting treads unevenly
According to NSI stone steps design specifications, the structural performance of natural stone treads is directly contingent on the stability and drainage capacity of the underlying base system — not just the stone’s own compressive strength. A 12,000 PSI tread on a poorly prepared base will fail before a 7,000 PSI tread on a properly engineered footing.
Choosing the Right Stone for Sloped Steps
Material selection for stone steps landscaping applications needs to prioritize three performance characteristics above aesthetics: flexural strength, absorption rate, and surface texture. All three interact with the slope environment in ways that become apparent only after the first heavy rain season.
Flexural strength matters because treads spanning between footings experience bending stress, not just compressive load. A stone with excellent compressive strength but low flexural capacity — some softer sandstones fall into this category — can crack across the span when foot traffic concentrates at the center of an unsupported tread. For spans beyond 24 inches, flexural strength above 1,500 PSI is the target. Limestone, granite, and basalt all comfortably exceed this threshold when properly dimensioned, but verify the specific quarry’s test data, not just the stone family’s general reputation.
- Absorption rate below 0.5% minimizes water infiltration into the tread body — critical for freeze-thaw durability in colder climates
- Granite offers the lowest absorption and highest abrasion resistance for high-traffic sloped stair applications
- Limestone delivers excellent performance in moderate-traffic situations and cuts more easily for custom riser heights
- Basalt provides exceptional compressive strength and a naturally textured surface texture without additional processing
- Avoid polished or honed finishes on tread surfaces — flamed, brushed, or split-face textures give measurably better wet traction on a slope
For stone steps on a slope, tread thickness is non-negotiable. A 2-inch nominal thickness is the practical minimum for a freestanding tread; 3 inches is preferable for treads spanning more than 30 inches or supporting concentrated loads from wheelbarrows or heavy equipment. Thinner slabs save money upfront but introduce flexural risk that compounds over time as base material gradually shifts under seasonal loading cycles.
Drainage Design That Actually Works
Drainage for backyard stone steps isn’t just about keeping the surface dry underfoot — it’s about protecting the structural integrity of the entire flight over a multi-decade service life. The slope that makes your steps necessary also concentrates runoff directly into your installation. Every riser face becomes a potential dam, and every tread joint becomes a potential infiltration point if you don’t design both for active water management.
Build a 2% cross-slope into each tread during installation. That means the front edge of the tread sits approximately 3/8 inch lower than the back edge on a 12-inch deep tread. Two percent sounds trivial, but it’s the difference between water shedding cleanly off the tread face and pooling in the joint where tread meets riser — which is exactly where freeze-thaw cycles do their most destructive work. Set each tread with a slight front-low pitch before your mortar or bedding material sets, and check it with a level and a tape measure, not by eye.
- Install French drain channels or perforated pipe alongside the step flight wherever the grade directs significant volume toward the stairs
- Keep joint gaps between 1/4 and 3/8 inch and fill with polymeric sand rated for step applications — finer joints trap debris and retain moisture
- Design catch points at the base of each step flight to redirect accumulated runoff laterally away from the footing
- On heavily sloped sites, consider cutting stepped retaining wings into the hillside on either side of the stair to prevent slope wash from undermining the installation
According to ADA surface and accessibility standards for exterior steps, exterior steps must maintain consistent riser heights within a flight — a tolerance of no more than 3/8 inch variation is the standard threshold. Differential settlement caused by poor drainage is the most common reason riser heights drift out of tolerance over time, creating both a safety hazard and a costly releveling job.
Setting and Bedding Techniques for Sloped Installations
The bedding method you choose for stone steps on a slope affects long-term performance more than most installation decisions. Two primary approaches dominate field practice: dry-set on compacted aggregate, and mortar-set on a concrete footing or mortar bed. Each has a clear place — and the slope conditions on your site should drive that decision, not habit or budget alone.
Dry-set on compacted aggregate works well on stable native soils with good drainage and moderate slopes up to about 15%. It allows the system to flex slightly with freeze-thaw movement without cracking treads or risers, and it’s far easier to adjust individual treads that settle over time. The limitation is that it demands near-perfect base compaction and excellent drainage — if water infiltrates the aggregate layer and freezes, heave becomes a real concern that a mortar system would resist better in the short term.
Mortar-set on a concrete footing is the right call on unstable subgrades, steep slopes above 20%, or where soil conditions involve significant clay expansion. The concrete footing decouples the stone from direct soil contact, and the mortar bed locks each tread and riser into a unified monolithic mass. Pair our natural stone stair slabs with a continuous concrete footing stepped to follow the grade, and you’ll have a system that handles substantial lateral soil pressure without migrating downhill over time.
- For mortar-set applications, use a Type S mortar (minimum 1,800 PSI) to maintain bond strength through moisture cycling
- Back-butter each tread with a full mortar coat — spot bonding leaves unsupported spans that fracture under impact loading
- Allow a minimum 28-day cure on concrete footings before setting stone — early loading compresses the footing unevenly and creates slope problems later
- Use stainless steel or hot-dipped galvanized anchors for any vertical riser panels — standard steel anchors corrode rapidly in contact with mortar and soil moisture
Slip Resistance and Surface Finish Selection
Tread finish selection has real safety consequences on a sloped installation. Stone steps on a slope are inherently more hazardous than flat-grade steps because the approach angle changes your center of gravity before you even reach the tread. A surface that feels acceptably textured on a flat patio can become genuinely dangerous when approached at a downhill angle in wet conditions.
The coefficient of friction (COF) to target for exterior sloped steps is a minimum 0.6 dynamic COF in wet conditions — that’s the threshold where the risk of slip-and-fall incidents drops to an acceptable level for most foot traffic scenarios. ASTM slip resistance and flexural standards for stone steps provide the testing methodology used to verify this metric across different stone finishes. Flamed granite, thermal basalt, and split-face limestone all consistently test above 0.65 wet COF. Honed limestone or polished granite, by contrast, can drop below 0.45 in wet conditions — a significant liability on a stepped slope used as backyard stone steps or entry stairs.
- Flamed finish: best wet traction, adds a slightly rustic visual quality, ideal for high-traffic or steep slopes
- Sawn and brushed: good traction, cleaner aesthetic, appropriate for moderate slopes and mixed residential-entertaining use
- Tumbled finish: excellent texture for informal garden stair applications, but verify that tumbling hasn’t introduced micro-fractures in thinner material
- Bush-hammered: maximum texture, typically reserved for commercial or industrial applications where aesthetics are secondary to grip
- Avoid: polished, honed, or resin-filled finishes on any exterior sloped tread surface
Planning, Logistics, and Material Quantities
Accurate material takeoffs for stone steps landscaping projects on a slope require you to account for waste, cutting losses, and the structural depth of each tread — not just the visible surface area. The most common ordering mistake is calculating only the top face dimensions and forgetting that a 3-inch-thick tread weighing 22 lbs per square foot adds significant delivery and handling complexity that affects your project timeline.
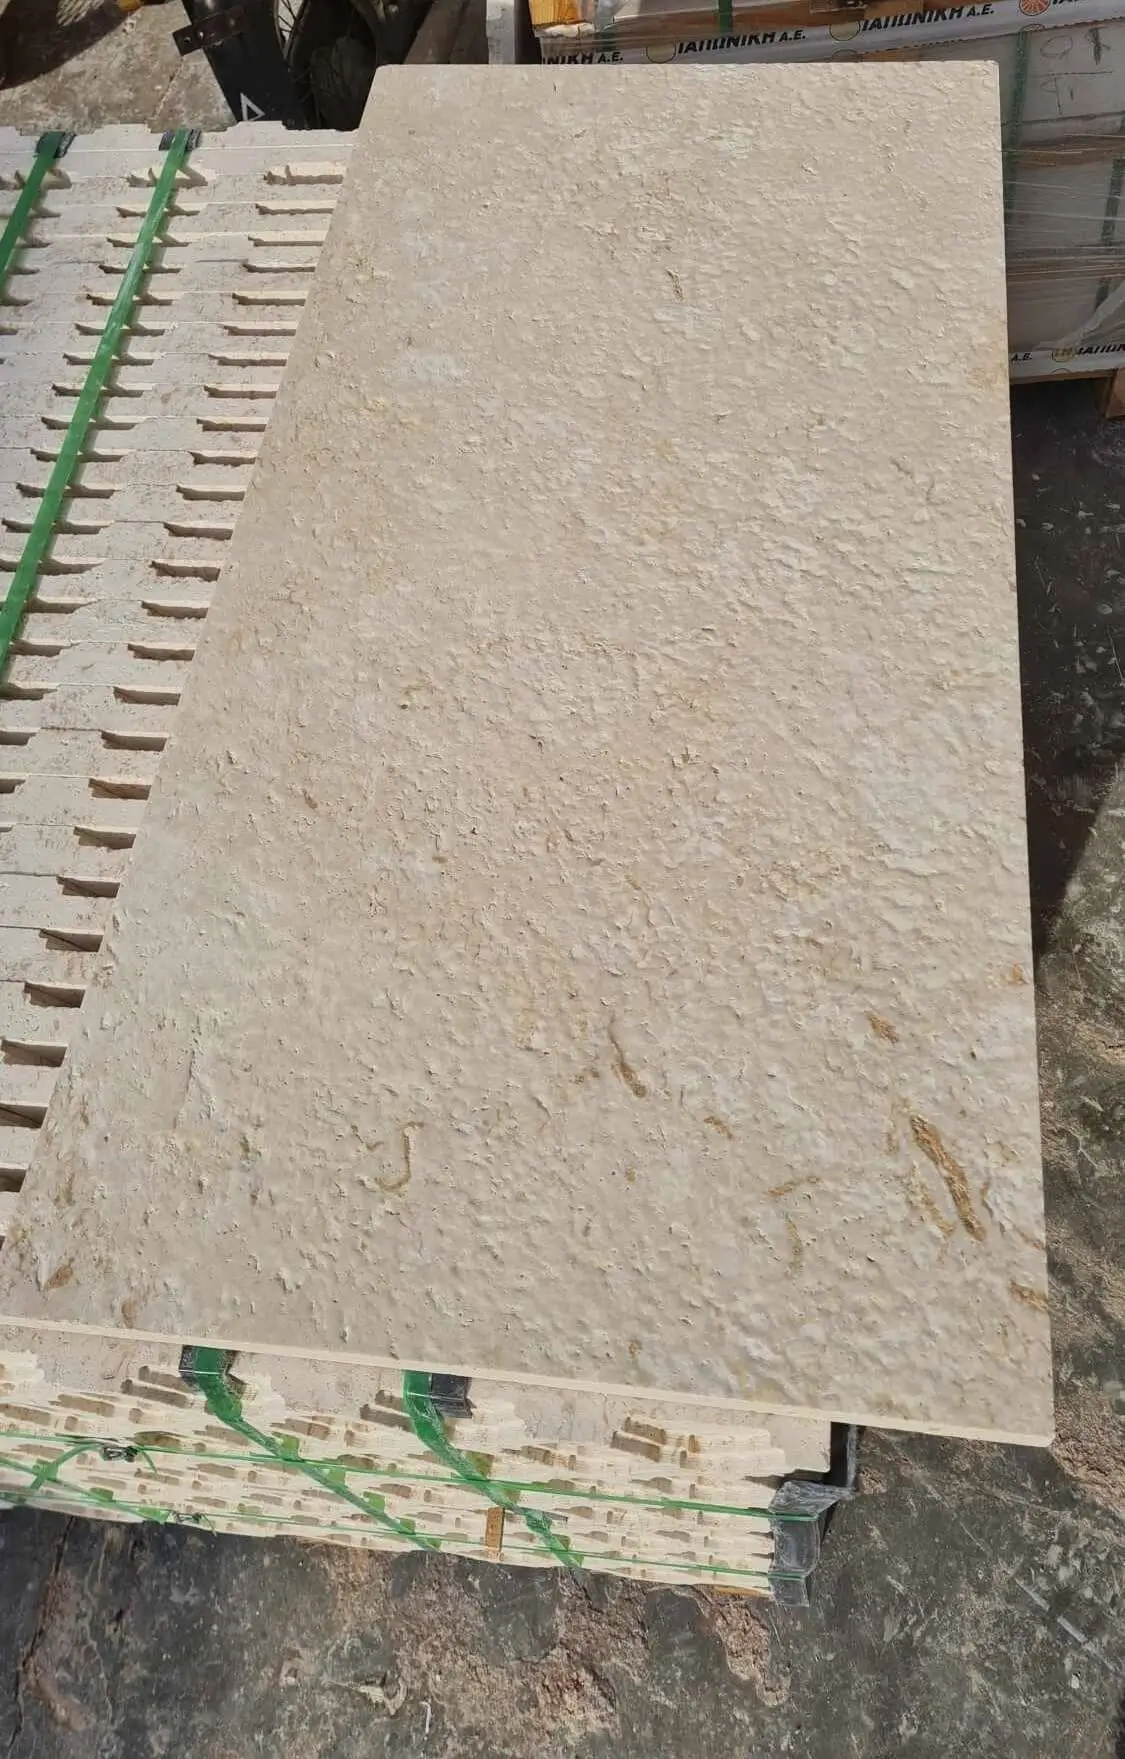
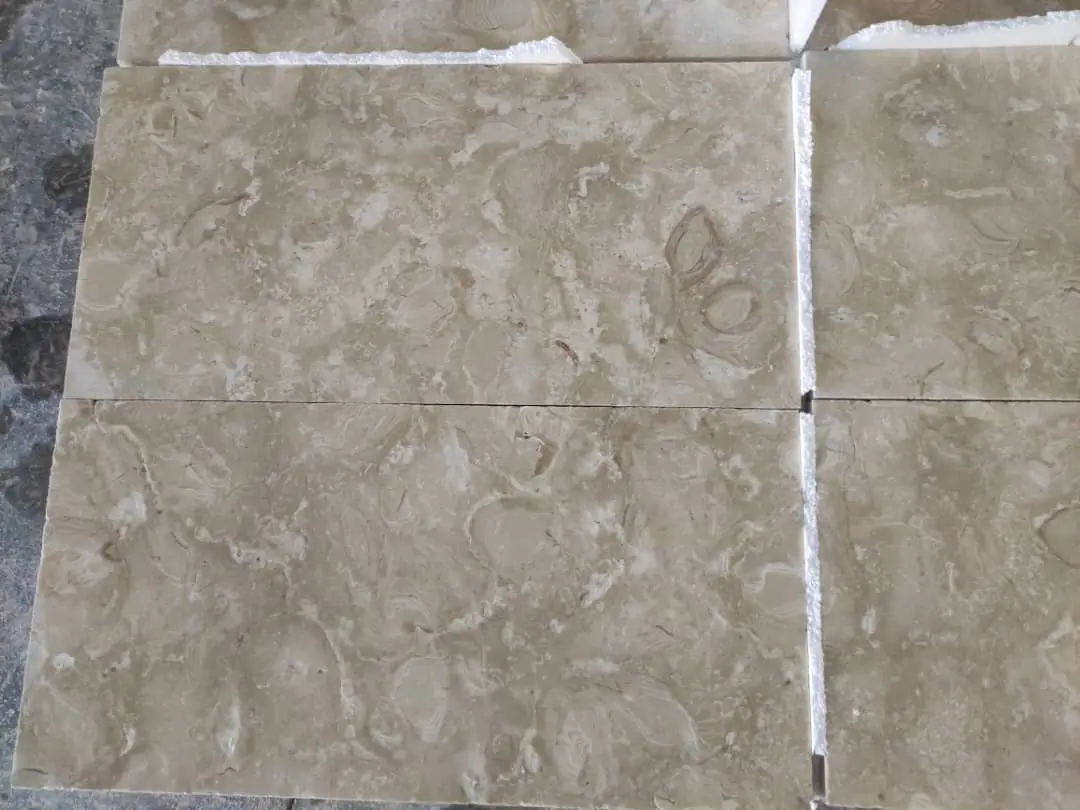
Verify warehouse stock levels for your chosen stone before finalizing your project schedule. Natural stone runs in batch lots from the quarry, and color or veining can vary noticeably between production runs. Ordering your complete step quantity — plus 10–15% for cutting waste and breakage — from a single warehouse batch guarantees visual consistency across the entire flight. Citadel Stone maintains consistent national inventory levels, which typically compresses lead times to 1–2 weeks rather than the 6–8 week import cycle that can stall a project mid-construction.
- Calculate total tread area by multiplying tread depth × tread width × number of steps, then add 12% for cutting waste on angled or custom-cut steps
- Factor in riser material separately — many installations use a thinner 1.5-inch slab for vertical risers rather than full tread thickness
- Confirm truck access to the delivery point before scheduling — a fully loaded stone delivery on a narrow driveway or steep approach requires advanced planning to avoid damage or undeliverable loads
- Heavier treads (3-inch granite or basalt) may require mechanical handling equipment on steep sites — include that cost in your project budget early
- Coordinate delivery timing so stone arrives after concrete footings have cured but before your mortar crew is scheduled — material sitting on a sloped site uncured is a safety risk
Long-Term Maintenance and Performance
Stone steps on a slope need a different maintenance mindset than a flat patio. The grade creates persistent water movement across the installation, which means joint sand, sealer, and the base itself all experience more stress than they would on level ground. The good news is that a well-built sloped stone stair installation is genuinely low-maintenance — but “low” doesn’t mean zero, and the specific tasks matter a great deal.
Plan on inspecting the flight twice a year — once after winter and once after any significant storm season. Look for three things: tread rocking (indicating base settlement), joint erosion (indicating drainage issues or polymeric sand failure), and surface spalling (indicating freeze-thaw infiltration through an inadequate sealer). Catching any of these early keeps the repair simple. Ignoring rocking treads through a second winter almost always leads to a complete base rebuild for those steps.
- Reseal exterior stone steps every 2–3 years using a penetrating impregnator sealer — avoid topical film sealers that peel under freeze-thaw cycling
- Re-bed polymeric sand annually in any joints showing erosion or gaps wider than 1/2 inch
- Clear debris from drainage channels and the base perimeter of the stair flight after each major storm — blocked drainage is the fastest path to structural damage
- Address any rocking tread immediately — reset it on a properly re-compacted base rather than attempting to shim it, which is a temporary fix that fails within one to two seasons
- In areas with heavy organic debris (leaves, seed pods), increase cleaning frequency to prevent staining and the biological growth that reduces traction
Your Action Plan for Stone Steps on a Slope
Stone steps on a slope reward careful planning at every phase — geometry first, base engineering second, material selection third, and maintenance fourth. Skipping or rushing any one of those phases creates problems that compound rather than resolve over time. The most durable installations share a common trait: every specification decision was made with the specific soil conditions, slope angle, and traffic demands of that site in mind, not borrowed from a generic installation guide.
Start with a thorough site assessment that documents slope angle, soil type, drainage patterns, and truck access before pricing a single stone. That information shapes every subsequent decision. For the step-by-step construction sequence that bridges specification to field execution, the complete stone steps construction guide covers the full build process in practical detail — an essential reference whether you’re tackling a two-step garden entry or a multi-flight hillside installation. At Citadel Stone, we’ve supplied stone stair treads for projects across the full range of those scenarios, and the consistent feedback from contractors is that material dimensioning and base prep account for more than 80% of long-term performance outcomes. Builders working on graded lots often specify Citadel Stone treads for their weight and flat-bedding surface, which aids stability on angled bases.