

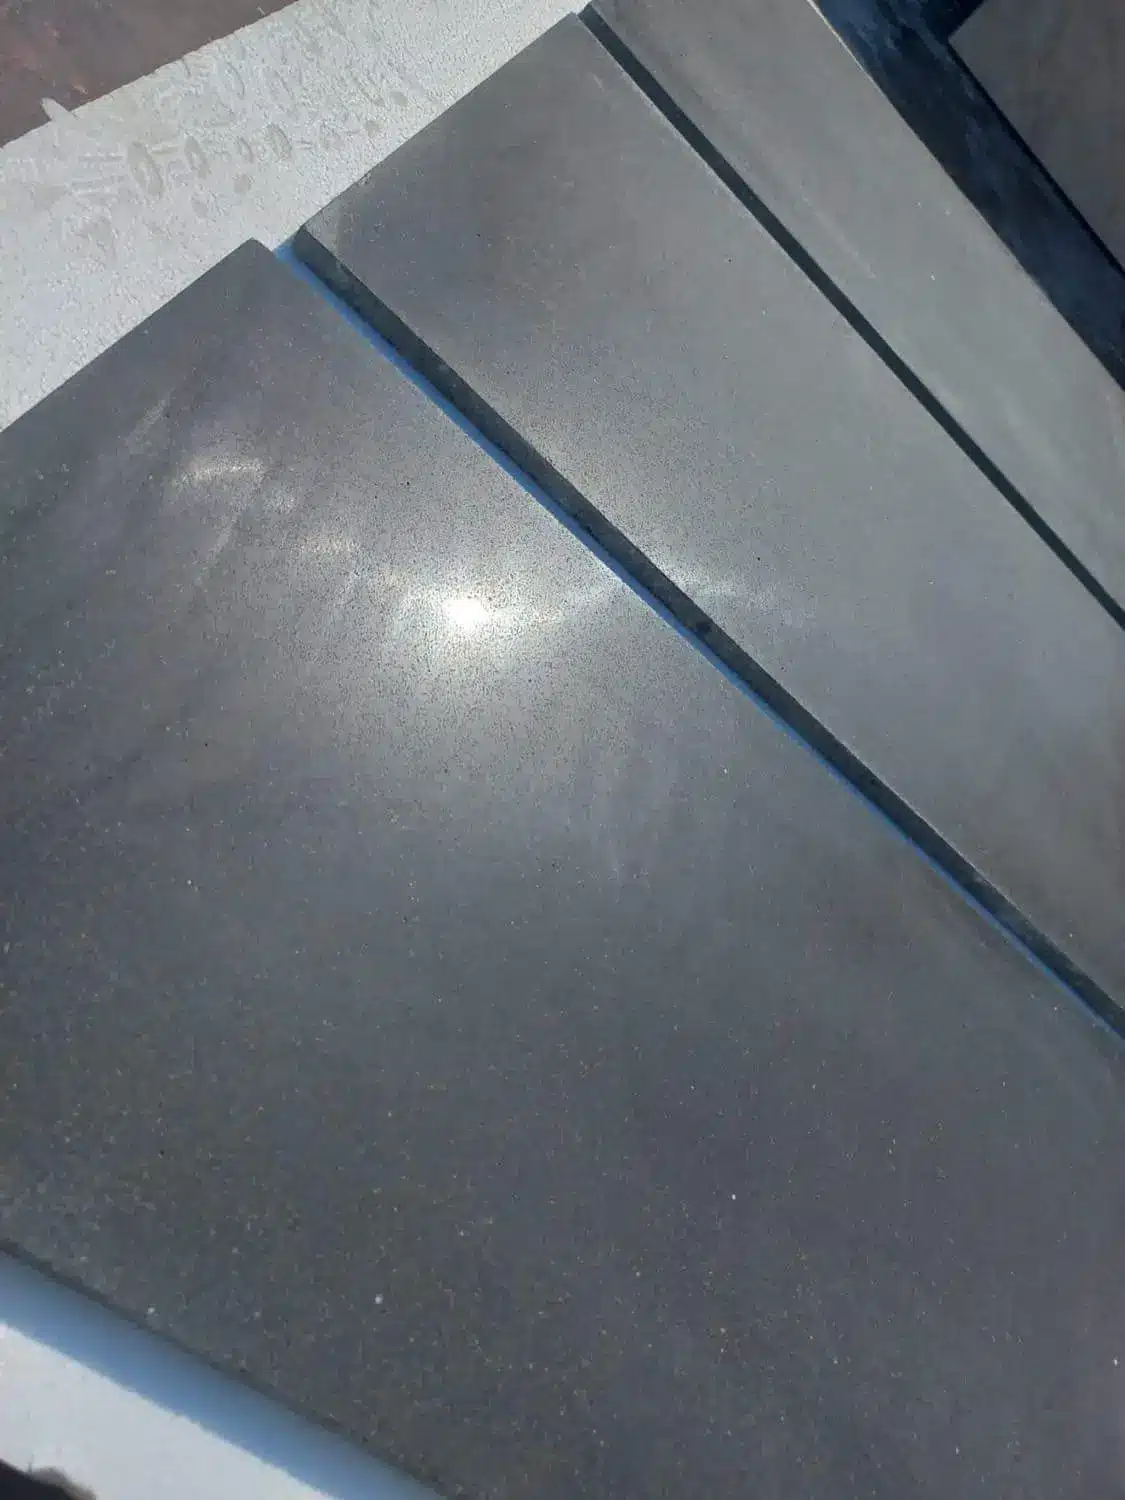
Basalt pavers are a timeless choice for outdoor spaces, prized for their durability, elegance, and natural beauty. However, even these robust stones can lose their luster over time. Weather exposure, foot traffic, and the passage of years can leave them stained, faded, or cracked. Fortunately, restoring old basalt pavers doesn’t require a complete overhaul. With the right approach, you can bring them back to their original glory—and at Citadel Stone, we’re here to guide you every step of the way.
In this in-depth guide, we’ll cover the three essential phases of basalt paver restoration: cleaning, resealing, and repairing cracks. Whether you’re a DIY enthusiast tackling a weekend project or a homeowner seeking expert advice before hiring a professional, this article offers practical tips, detailed instructions, and insider knowledge to ensure success. By the end, you’ll have everything you need to transform your worn basalt pavers into a stunning centerpiece for your outdoor area.
Why Restore Old Basalt Pavers?
Before we get into the nitty-gritty of restoration, let’s explore why it’s worth the effort to revive your basalt pavers rather than replacing them outright.
The Benefits of Restoration
- Cost Savings: Restoring existing pavers is significantly cheaper than tearing them out and installing new ones.
- Aesthetic Revival: Basalt’s sleek, dark tones and smooth texture are signature features. Restoration highlights these qualities, making your space look polished and inviting.
- Longevity: Proper maintenance can extend the life of your pavers by years, postponing costly replacements.
- Property Enhancement: A beautifully restored patio, walkway, or driveway boosts curb appeal and can even increase your home’s market value.
At Citadel Stone, we’re passionate about helping you maximize the potential of your outdoor surfaces. Restoration isn’t just about fixing what’s broken—it’s about celebrating the enduring charm of basalt.
Step 1: Cleaning Old Basalt Pavers
The foundation of any successful restoration project is a thorough cleaning. Over time, dirt, grime, moss, and stains can obscure the natural beauty of basalt pavers. Cleaning them properly sets the stage for resealing and repairs, ensuring a flawless finish.
Tools and Materials You’ll Need
- Pressure washer (or a garden hose with a high-pressure nozzle)
- Stiff-bristle brush (avoid wire brushes to prevent scratching)
- Mild detergent or a stone-safe cleaning solution
- Bucket and water
- Protective gloves and eyewear
- Broom
How to Clean Basalt Pavers: Step-by-Step
- Clear the Surface: Use a broom to sweep away loose debris like leaves, dirt, or small stones. This prevents scratching during the cleaning process.
- Pre-Rinse: Wet the pavers with a garden hose to loosen surface dirt and prepare them for deeper cleaning.
- Prepare the Cleaning Solution: In a bucket, mix warm water with a mild detergent. For tougher stains, opt for a cleaner specifically designed for natural stone—avoid acidic solutions like vinegar or bleach unless diluted and tested, as they can etch the surface.
- Scrub the Pavers: Dip your stiff-bristle brush into the solution and scrub each paver in a circular motion. Pay extra attention to stained or discolored spots.
- Rinse Thoroughly: Use a pressure washer on a low setting (typically 1,200-1,500 PSI) or a hose with a high-pressure nozzle to wash away the cleaner and debris. Too much pressure can erode the stone, so keep the nozzle at least 12 inches from the surface.
- Dry Completely: Let the pavers air dry for 24-48 hours. This ensures no moisture remains before you proceed to resealing.
Tackling Stubborn Stains
- Oil or Grease: Create a poultice with baking soda and water. Spread it over the stain, cover with plastic wrap, and let it sit for 24 hours before scrubbing and rinsing.
- Moss or Algae: Mix equal parts water and white vinegar, apply it to the affected area, wait 15-20 minutes, then scrub and rinse. For heavy growth, repeat as needed.
- Rust: Use a stone-safe rust remover (available at hardware stores). Follow the product’s instructions carefully to avoid discoloration.
Pro Cleaning Tips
- Test any cleaner on a small, hidden section of your pavers first to ensure it won’t damage the basalt.
- Avoid cleaning in direct sunlight—detergents can dry too quickly and leave streaks.
At Citadel Stone, we recommend regular cleaning to prevent buildup, but a deep clean like this is the perfect starting point for restoration.
Step 2: Resealing Basalt Pavers
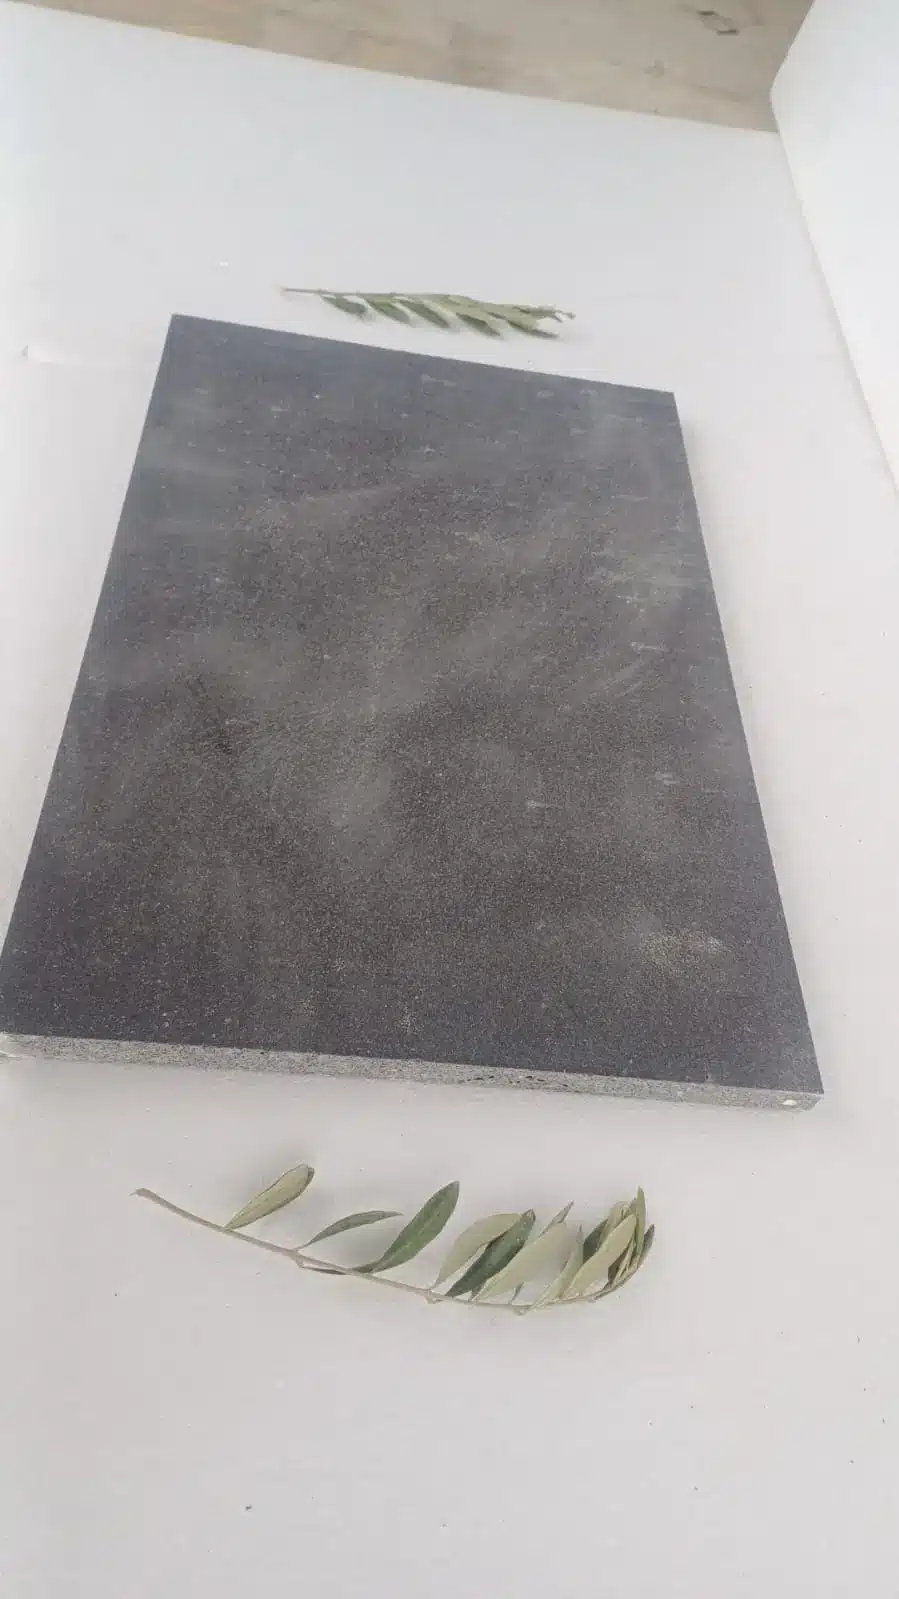
After cleaning, resealing your basalt pavers is the next critical step. A quality sealant protects the stone from future damage, enhances its appearance, and simplifies ongoing maintenance.
Why Reseal Your Pavers?
- Protection: Sealants shield against stains, UV fading, and water penetration.
- Visual Appeal: They can intensify basalt’s rich, dark tones, giving it a “wet look” that highlights its natural elegance.
- Durability: By reducing water absorption, sealants help prevent cracks caused by freeze-thaw cycles in colder climates.
Choosing the Right Sealant
For basalt pavers, a penetrating sealant is typically the best choice. Unlike topical sealants, which form a glossy layer on the surface, penetrating sealants soak into the stone, preserving its natural texture while offering robust protection. At Citadel Stone, we recommend water-based options—they’re environmentally friendly, low-odor, and easy to apply.
- Matte Finish: Ideal for a natural look.
- Color-Enhancing: Deepens the stone’s hues without excessive shine.
How to Reseal Basalt Pavers: Step-by-Step
- Verify Cleanliness and Dryness: Ensure the pavers are free of dirt and completely dry. Trapped moisture can cloud the sealant or cause it to peel.
- Test First: Apply a small amount of sealant to an inconspicuous area. Wait 24 hours to check for unexpected color changes or reactions.
- Apply the Sealant: Using a paint roller (for large areas) or a handheld sprayer, spread the sealant in thin, even coats. Work in manageable sections to avoid overlap marks or pooling.
- Wipe Excess: If puddles form, use a clean cloth to blot them up before they dry.
- Cure Time: Let the sealant dry for 24-48 hours, avoiding foot traffic or rain during this period.
- Optional Second Coat: For high-traffic zones like driveways, a second coat adds extra durability. Wait until the first coat is fully dry before applying.
Maintenance After Sealing
- Check the sealant’s lifespan (usually 2-3 years) and reapply as needed.
- Avoid harsh chemicals that could degrade the sealant over time.
Resealing isn’t just a protective measure—it’s a chance to elevate the look of your outdoor space. At Citadel Stone, we carry a range of sealants to suit your needs—contact us for recommendations!
Step 3: Repairing Cracks in Basalt Pavers
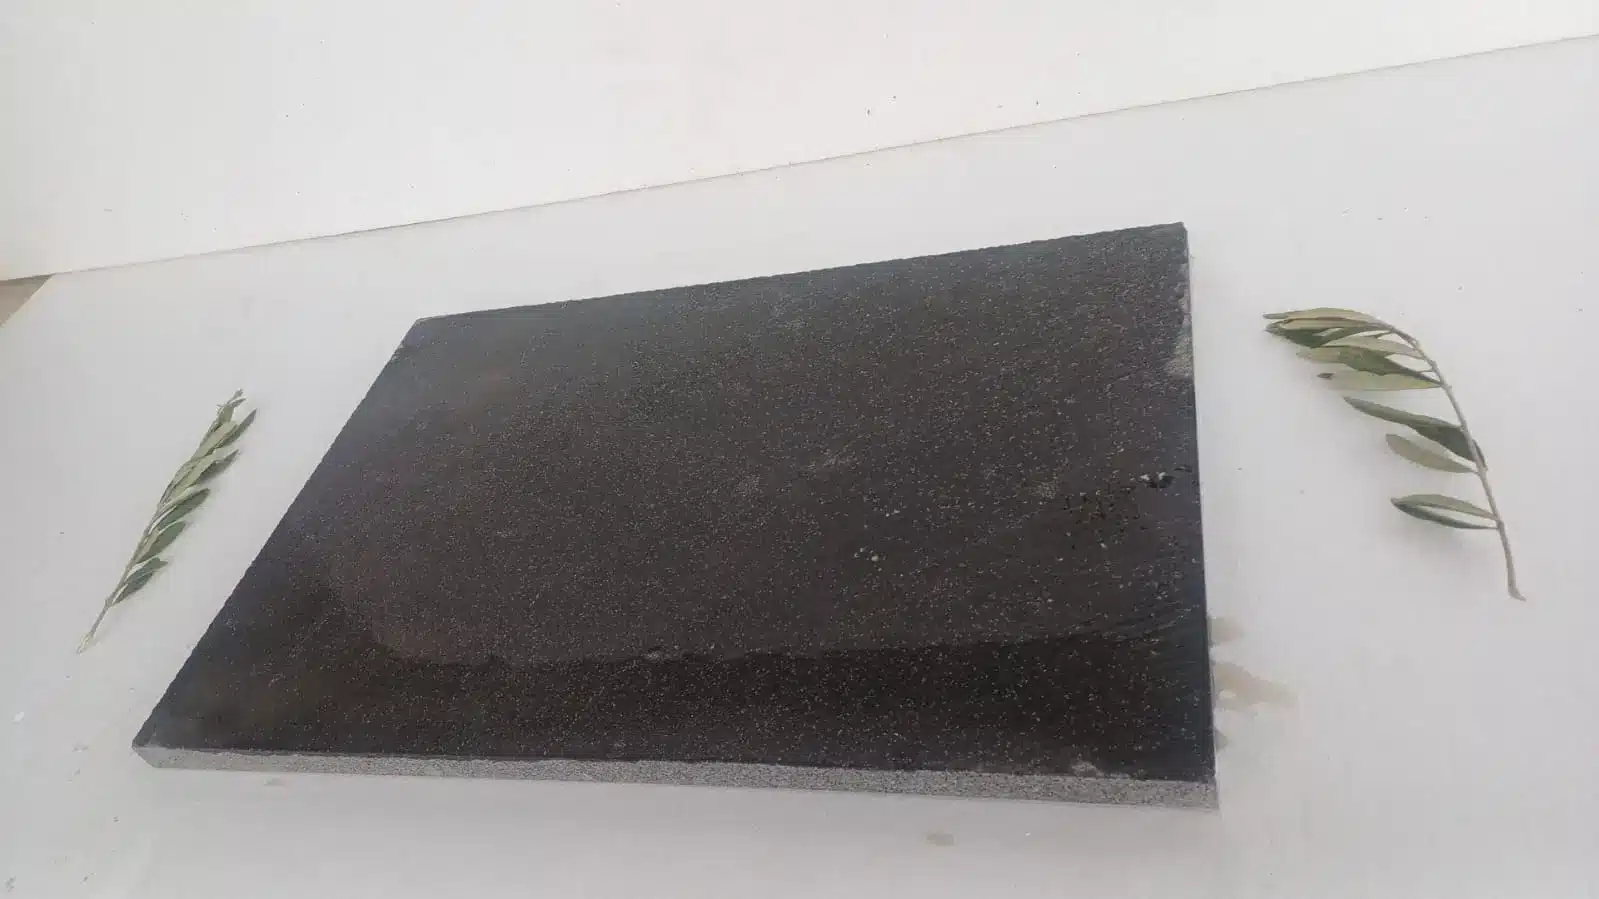
Cracks are an inevitable reality for older pavers, but they don’t have to ruin your surface. Whether they’re minor hairline fractures or deeper splits, repairing them can restore both function and beauty.
Evaluating the Damage
Start by assessing the cracks to determine the best repair method:
- Hairline Cracks: Shallow and narrow, these can often be filled and sealed.
- Deep or Wide Cracks: If the crack compromises the paver’s structure, replacement may be necessary.
- Widespread Cracking: Multiple damaged pavers could signal an issue with the underlying base, requiring further investigation.
Tools and Materials for Crack Repair
- Stone epoxy or polyurethane crack filler
- Putty knife or small trowel
- Fine-grit sandpaper (120-150 grit)
- Matching polymeric joint sand (for re-sanding joints)
- Wire brush or compressed air canister
How to Repair Cracks: Step-by-Step
- Clean the Crack: Remove dirt, dust, and loose particles with a wire brush or compressed air. A clean crack ensures the filler adheres properly.
- Fill the Crack: Apply stone epoxy or polyurethane filler with a putty knife, pressing it into the crack. Smooth the surface to blend with the surrounding paver.
- Cure the Filler: Let it dry for the time specified on the product (typically 24 hours). Avoid disturbing the area during this period.
- Smooth It Out: Once cured, sand the repaired spot with fine-grit sandpaper until it’s flush with the paver’s surface.
- Re-Sand Joints: If the crack affected the joint sand between pavers, sweep in fresh polymeric sand and mist with water to set it.
When Replacement Is the Better Option
If a paver is shattered or has multiple deep cracks, replacing it is more practical than repairing it. Here’s how:
- Lift the damaged paver with a flathead screwdriver or pry bar.
- Check the base layer—add sand or gravel if it’s uneven.
- Install a new basalt paver from Citadel Stone, ensuring it matches in size and color.
- Re-sand the joints to secure it in place.
Preventing Future Cracks
- Ensure a stable, well-compacted base during initial installation.
- Use joint sand to keep pavers interlocked and reduce shifting.
Crack repair is a small investment that pays off in both appearance and longevity. For replacement pavers or expert advice, Citadel Stone has you covered.
Extra Tips for a Flawless Basalt Paver Restoration
To make your restoration project a standout success, consider these additional pointers:
Ongoing Maintenance
- Weekly Sweeping: Keeps debris from grinding into the surface.
- Monthly Rinsing: Prevents dirt buildup with a quick hose-down.
- Annual Checkups: Inspect for new cracks or sealant wear.
Handling Discoloration
- Stone Enhancers: These products revive faded areas, restoring uniform color.
- Gentle Cleaners: Stick to pH-neutral solutions to avoid unintended bleaching.
When to Call a Professional
For expansive areas, severe damage, or complex layouts, professional help can save time and ensure perfection. At Citadel Stone, our team offers tailored restoration services—reach out to discuss your project!
Basalt Pavers in the USA: Innovative Projects
Real Orders, Real Deliveries
We only publish projects we have actually supplied. See our Las Vegas white limestone delivery — two containers, 6,884 sq ft, 32 crates, shipped door to door — and how we supplied Creative Environments in Arizona with 21 containers across a 70,000+ sq ft installation: white limestone pavers and tiles, shellstone and Ocean Reef pavers.
Had Citadel Stone material installed on your project? Send us your photos and we will feature the work here, with your permission.
Conclusion: Revive Your Outdoor Space with Restored Basalt Pavers
Restoring old basalt pavers is more than a maintenance task—it’s an opportunity to reclaim the beauty and functionality of your outdoor space. By cleaning, resealing, and repairing cracks, you can transform a weathered surface into a striking feature that enhances your home or business. At Citadel Stone, we’re committed to helping you achieve that vision with top-quality products and expert guidance.
Ready to get started? Contact Citadel Stone today to explore our basalt paver selection, sealants, and restoration support. Your revitalized outdoor oasis is just a few steps away!