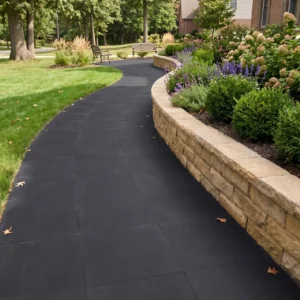
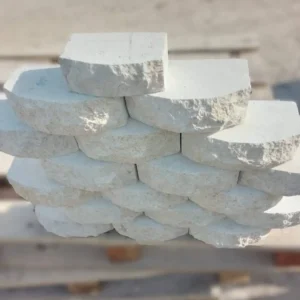
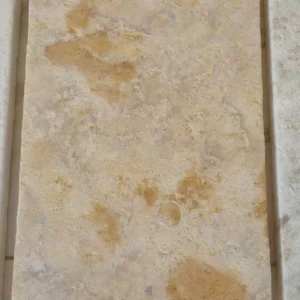
Base preparation determines the fate of interlocking pavers for patio projects more than any other variable — and most failures trace back to decisions made before the first paver is set. You’re not just laying stone; you’re engineering a flexible, load-bearing surface that needs to move as one cohesive unit. The difference between a patio that looks immaculate after fifteen years and one that develops ruts and lippage within three is almost always found in aggregate depth, compaction density, and bedding sand consistency — not in the pavers themselves.
What Interlocking Actually Means Structurally
Most homeowners hear “interlocking” and picture pavers that click together like puzzle pieces. The reality is more nuanced. Interlocking is achieved through the combination of paver geometry, close joint spacing — typically 3 to 5 millimeters — and confined edges that prevent lateral movement. The system works as a composite slab: load applied to one paver transfers through the joint sand into adjacent units, distributing stress across the entire surface rather than concentrating it at a single point.
The joint sand isn’t filler — it’s a structural element. When you use a polymeric sand rated for the correct joint width, the cured binder creates a semi-rigid matrix that resists wash-out and weed infiltration while still allowing the micro-movement that prevents cracking under thermal expansion. Standard non-polymeric sand remains loose, which means water infiltration gradually undermines bedding uniformity over time.
- Joint width drives sand selection — 3 mm joints require fine-grade polymeric; 8 mm joints can accept coarser blends
- Interlocking efficiency depends on restraint: no edge restraint means lateral creep, regardless of sand quality
- Permeable interlocking systems use open-graded aggregate bases — a fundamentally different structural stack than traditional impermeable designs
- Paver geometry matters: rectangular running bonds interlock differently than herringbone, which offers superior load transfer for driveways and high-traffic patios
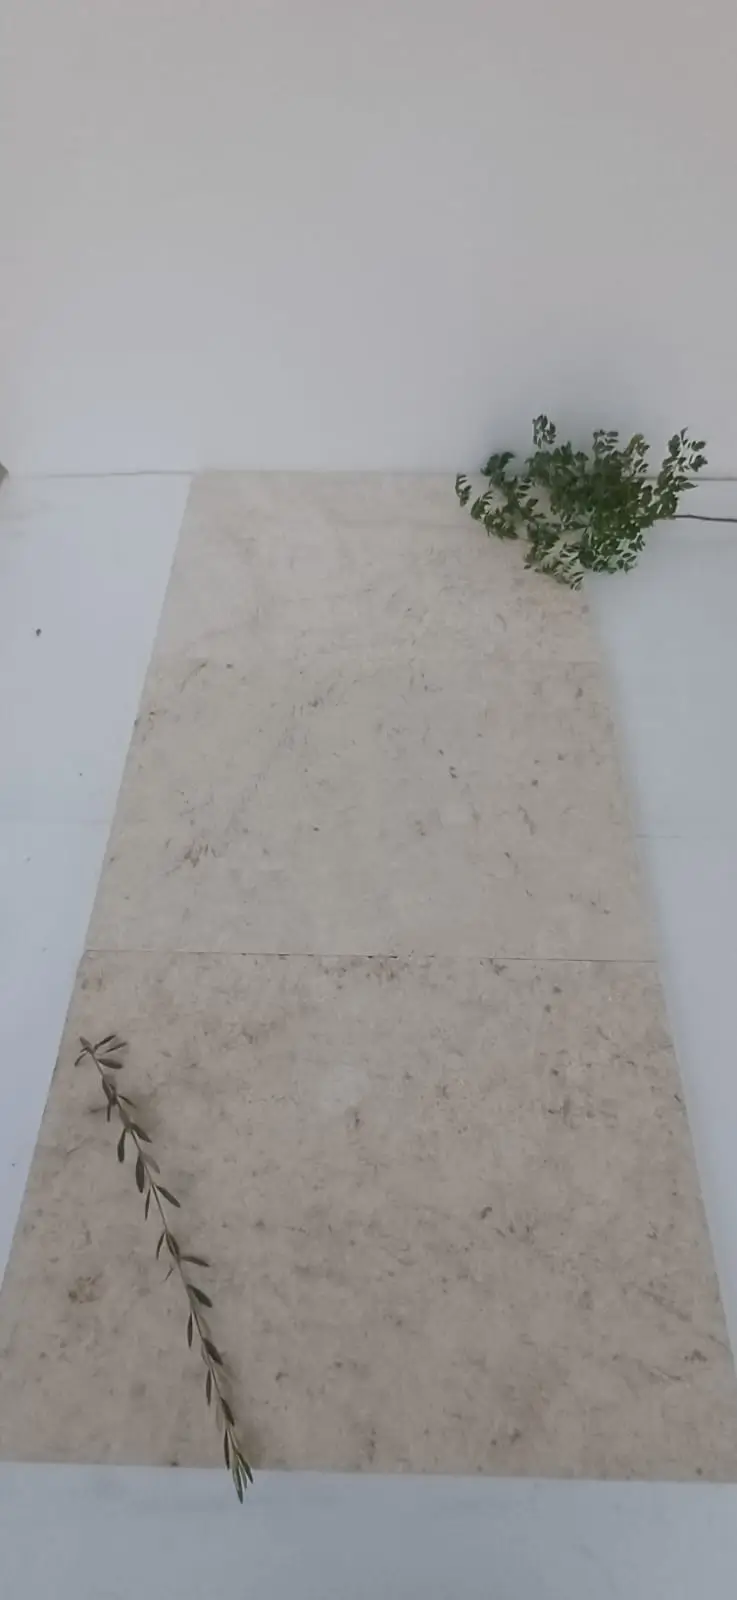
Base Preparation: The Non-Negotiable Foundation
Aggregate base depth is calculated from two inputs: anticipated load and native soil bearing capacity. For a residential patio with foot traffic only, 4 inches of compacted crushed aggregate base is a workable minimum on stable, well-draining soils. Push that to 6 inches on clay-heavy subgrades, which expand and contract significantly with moisture changes and create the differential settlement that telegraphs through to paver surface height.
Compaction is where most DIY installations fall short. You’re targeting 95% Proctor density in the aggregate base — that requires a plate compactor, not hand tamping. Run the compactor in overlapping passes, working in layers no thicker than 4 inches of uncompacted material. Each layer needs to be compacted before the next goes down. Skipping layers or trying to compact 8 inches at once gives you a surface that looks solid initially but deforms under the first full freeze-thaw cycle or sustained wet period.
- Subgrade excavation depth: paver thickness + 1-inch bedding sand + aggregate base depth + 1 inch below frost line in freeze-thaw regions
- Plate compactor rental with 5,000 lbs of centrifugal force minimum — under-powered machines don’t achieve density requirements
- Geotextile fabric between subgrade and aggregate base on clay soils prevents fines migration into the aggregate over time
- Check base flatness with a 10-foot straightedge — tolerance should be within ¼ inch before bedding sand goes down
According to ASLA outdoor patio stone material guidance, proper base engineering is the primary factor determining long-term performance of exterior hardscape systems — a point that aligns with what field experience confirms repeatedly.
Bedding Sand: The Setting Layer That Decides Everything
The bedding sand layer sits between your compacted aggregate base and the underside of the pavers. It performs two functions: it provides a screeded, level setting bed, and it allows minor vertical adjustment during installation. You’re targeting a consistent 1-inch depth after compaction — not before. The temptation to run a thicker screed to compensate for base irregularities creates soft spots that settle unevenly post-installation.
Use ASTM C33 coarse concrete sand — the gradation is controlled, which matters for screeding consistency. Avoid mason’s sand or play sand. Both are too fine, compact poorly under paver load, and can migrate laterally over time. For our natural stone pavers, a clean, angular bedding sand also provides better mechanical interlock with the paver’s textured bottom surface compared to rounded sands.
- Screed rails set 1 inch below finished paver height — pull a straight board across them, don’t disturb the screeded surface after setting rails
- Never walk on screeded sand before pavers are placed — foot traffic creates depressions that compromise finished levelness
- Bedding sand is not a base correction tool — if your base has a 2-inch low spot, fix the base, don’t compensate with extra sand
- In high-rainfall environments, washed concrete sand drains faster and reduces saturation risk beneath the pavers
Choosing Your Paver Pattern and Why It Matters for Performance
Pattern selection goes beyond aesthetics — it directly affects structural performance. The 45-degree herringbone pattern delivers the strongest interlock because the paver units work against each other at perpendicular angles, creating resistance to shear forces in every direction. For a standard outdoor patio with pavers laid in a running or stacked bond, the installation works well aesthetically, but understand that stacked bond creates continuous grout lines in both directions, which can become migration paths for settlement if your base isn’t perfect.
There are creative diy patio pavers ideas that mix formats — combining a large-format field stone with a smaller border unit, for instance — but those transitions require careful planning. The bedding depth may need to vary by a fraction of an inch across the transition zone to keep surface heights consistent when you’re mixing paver thicknesses. Measure every paver batch for actual thickness before laying out, not nominal thickness from the spec sheet. Natural stone, in particular, carries inherent variation of ± 1/8 inch within a single pallet.
- Herringbone at 45 degrees: highest shear resistance, most complex to cut at borders
- Running bond: clean, contemporary look, straightforward cutting — best for rectangular patios with simple geometry
- Random ashlar: requires pre-planning a layout on paper to avoid small cut slivers at perimeter
- Circular fan patterns: visually striking but labor-intensive; cutting angles must be calculated per course
Natural Stone Paver Options: Limestone and Flagstone
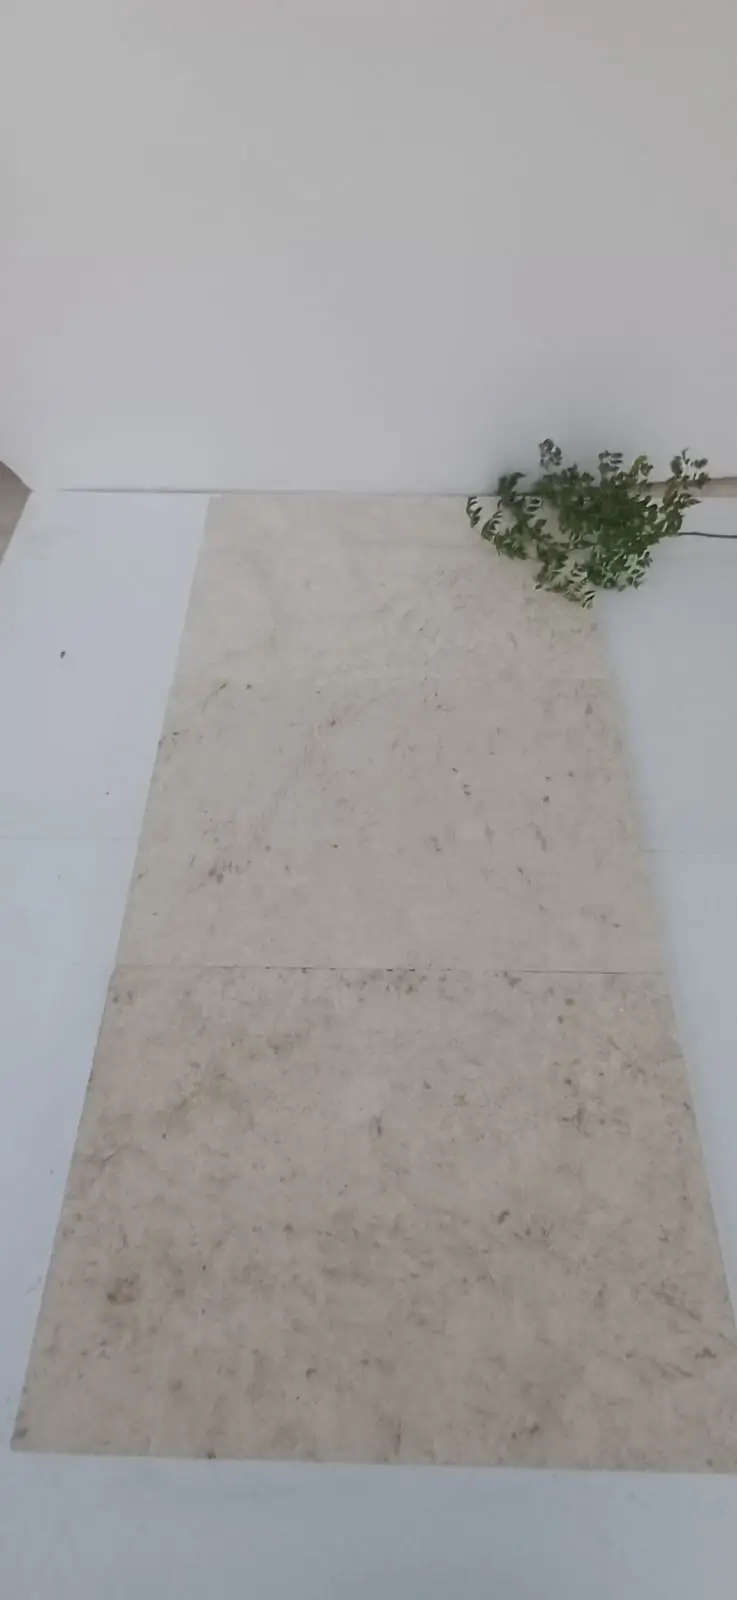
The choice between a manufactured concrete interlocking unit and a natural stone paver fundamentally changes the character and specification of your outdoor patio with pavers. Natural limestone interlocking pavers for patio applications bring thermal mass, UV stability, and a surface texture that ages with the landscape rather than against it. Limestone’s calcium carbonate composition gives it compressive strengths typically ranging from 4,000 to 14,000 PSI depending on formation density — the tighter formations at the high end of that range are the ones you want for exterior applications in areas with temperature swings.
Stepping stones flagstone offers a different proposition: irregular shapes, variable sizing, and the organic character of split-face texture. Flagstone installations have wider joint spacing, which means they lean on the mortar or polymeric sand to carry more of the structural load at joints. The NSI limestone technical specifications confirm that density and absorption rate are the two performance metrics that matter most for exterior exposure — keep absorption below 7.5% for surfaces that see freeze-thaw cycling. At Citadel Stone, we quality-check material density against absorption data before it ships from our warehouse, which is why our clients rarely encounter blistering or spalling issues in their first winter.
- Limestone pavers: consistent sizing, predictable bedding depth requirements, suitable for formal interlocking patterns
- Flagstone: irregular shapes work best in random or organic layouts with wide joints filled with polymeric sand or low-growing ground cover
- Travertine: open-pore structure requires filling before outdoor installation to prevent water pooling in voids
- Basalt: extremely dense, low absorption, excellent for high-use areas — heavier to handle but exceptional long-term durability
Installation Timing and Seasonal Windows
The calendar matters more than most project plans acknowledge. Polymeric sand activating agents — the polymer binders that cure after watering — have a performance window between 50°F and 90°F ambient temperature. Below 50°F, the binder doesn’t fully activate, leaving you with joints that look set but never achieve proper cohesion. Above 90°F, surface evaporation accelerates faster than the binder can migrate into the joint, creating a cured crust over an uncured core.
For most projects in temperate zones, that means your ideal installation window runs from late spring through early fall — but even within that window, morning installations outperform afternoon work. Starting at 7 a.m. lets you screed, lay, and begin jointing sand application while surface temperatures are still manageable. An afternoon start on a sunny day means you’re compacting and washing polymeric sand into joints while the surface radiates enough heat to compromise cure quality. If your schedule forces afternoon work, shade the completed sections with tarps until late evening, then do your final watering after sunset.
- Polymeric sand cure window: 50–90°F ambient temperature during and 24 hours after application
- Rain within 24 hours of polymeric sand installation washes binder out of joints — check 48-hour forecasts before scheduling joint sand day
- Late fall installations in freeze-thaw regions need at least 30 days of above-freezing nighttime temperatures post-installation for base settlement to stabilize
- Spring installations on clay soils should wait until soil has dried from winter saturation — compacting wet clay reduces bearing capacity rather than increasing it
- Morning work windows (6 a.m. to noon) are preferable for screeding and setting; afternoon windows suit cutting and border work that doesn’t require precise bedding
Delivery scheduling connects directly to these windows. Citadel Stone’s warehouse inventory means you can typically receive material within 1–2 weeks of ordering, which lets you time your truck delivery for the week before your planned installation date rather than gambling on a longer import lead time that might push you past your optimal installation window.
Cutting, Edge Restraint, and Border Installation
Edge restraint is the unsung element that holds the entire interlocking system together. Without a rigid perimeter, the system’s lateral forces have nowhere to dissipate except outward — and the outer courses gradually creep away from the field, widening joints and creating lippage. Plastic snap-edge restraints anchored with 10-inch spikes on 12-inch centers are the standard for residential patios. For heavy-use areas or installations adjacent to slopes, switch to aluminum or steel edging — it doesn’t flex under load the way plastic does after several years of thermal cycling.
Cutting natural stone interlocking pavers for patio borders requires a wet-saw with a diamond blade rated for dense stone — not a regular masonry blade. Limestone and flagstone cut cleanly with a wet saw, but running the blade dry overheats the stone and causes micro-fractures along the cut edge that propagate under freeze-thaw stress. Measure your cuts to fit within ¼ inch tolerance; gaps wider than that at the border need a filler unit, not a stretched joint. The USGS notes on volcanic and sedimentary stone properties underscore that material hardness varies significantly between stone types — adjusting blade feed rate to match the stone’s density prevents binding and produces cleaner cuts.
- Spike edge restraints on 12-inch centers for standard foot-traffic patios; 8-inch centers for areas adjacent to slopes or vehicle overhang
- Never use wood as a permanent edge restraint — it rots, which undermines the perimeter anchor within 3 to 5 years
- Wet-saw blade: 10-inch diameter minimum, continuous rim diamond rated for hard stone — segmented blades cause chipping on limestone and flagstone
- Cut pavers away from the installation area to keep dust and slurry off the screeded sand bed
Joint Sand, Final Compaction, and Sealing
After the field pavers are set and borders installed, plate-compact the entire surface before applying joint sand. This final compaction seats the pavers into the bedding sand, eliminates any minor height variation introduced during laying, and pre-loads the base so that post-installation settlement is minimal. Use a rubber paver pad between the plate compactor and the stone surface — direct steel-plate contact chips and scratches natural stone surfaces.
Sweep polymeric sand in two or three passes, each followed by plate compaction to drive the sand deeper into the joints. You want joints filled to within 1/8 inch of the paver surface — not flush, not proud. Slightly recessed joints allow the binder crust to form at the right depth. Water the surface with a gentle spray — not a hard stream that excavates fresh joints — and follow the manufacturer’s dwell time before a second misting. For natural stone pavers, sealing after polymeric sand has fully cured (typically 24 to 48 hours) adds meaningful protection against staining and enhances the stone’s natural color depth. According to Natural Stone Institute guidance on stone variety selection, penetrating sealers are preferred for porous stones like limestone because they preserve the surface texture and breathability, unlike film-forming coatings that can trap moisture below the surface.
- Rubber paver pad required between compactor plate and stone — any natural stone surface will scratch without it
- Polymeric sand: fill joints in two passes, compact between passes, final fill to 1/8 inch below surface
- Penetrating sealer application: stone must be clean and fully dry — applying to damp stone traps moisture and causes hazing
- Re-seal schedule: natural limestone and flagstone benefit from resealing every 2 to 3 years in high-UV or high-moisture environments
- Avoid pressure washing freshly sealed joints for at least 60 days — high-pressure water erodes polymeric binder during early cure stage
Completing Your Interlocking Paver Patio Project
Interlocking pavers for patio installation reward methodical sequencing — skip a step and you compromise every step that follows. Your base preparation sets the ceiling on how good the finished surface can ever look. Your paver and material selection determines the maintenance commitment and the long-term aesthetic. And your timing decisions around seasonal temperature windows protect the joint sand chemistry that holds the whole system together. As your project moves into the planning and material selection phase, it’s worth exploring how limestone specifically performs in outdoor patio applications — limestone patio material considerations covers the specification details worth reviewing before you commit to a stone type.
The installations that hold up for two decades aren’t the ones that used premium pavers on a mediocre base — they’re the ones where every layer received the same level of attention. Get your subgrade right, compact your aggregate in lifts, screed your bedding sand to a true 1-inch depth, set pavers with consistent joint spacing, and cure your polymeric sand in the right temperature window. Every one of those steps is within reach for a careful homeowner or a skilled contractor. Pavers from Citadel Stone arrive direct from quarries in Turkey, the Mediterranean, and beyond, cut to consistent sizes that speed patio installation.
Related reading: paver patio repair guide · cheap patio paver ideas · flagstone patio design ideas.