Limestone for patio projects doesn’t fail because of poor material — it fails because of specification gaps that compound over time. The thermal expansion coefficient of natural limestone sits around 4.4 × 10⁻⁶ per °F, which sounds manageable until you calculate what that means across a 20-foot patio surface cycling between 35°F nights and 95°F summer afternoons. That’s real movement — enough to crack mortar joints, shift dry-set beds, and buckle edge restraints if your joint spacing doesn’t account for it from the start.
Why Limestone Works for Patios
Few natural stones balance aesthetics and structural practicality the way limestone does in an outdoor paving context. Its compressive strength typically ranges from 4,000 to 12,000 PSI depending on origin and density, which comfortably handles residential foot traffic and light furniture loading. The calcium carbonate matrix that defines limestone also gives it a natural warmth — both visually and thermally — that denser igneous stones like granite can’t replicate.
Your choice of finish will have more impact on long-term performance than almost any other decision. Honed limestone delivers a matte surface with a coefficient of friction (COF) in the 0.5–0.6 range when dry — acceptable for standard patio use but worth noting if poolside installation is part of your scope. Tumbled finishes, by contrast, round the edges and texture the face, pushing wet COF above 0.6 and making them far more forgiving in exposed conditions. According to Natural Stone Institute limestone specifications, finish selection is among the most consequential decisions in limestone specification for outdoor applications.
You’ll also want to consider density class carefully. High-density limestone — often called “hard limestone” in the trade — absorbs less than 3% water by weight. Lower-density varieties can absorb 7–12%, which changes your sealing schedule dramatically and affects how the stone responds to freeze-thaw cycling.
Thickness and Format Selection
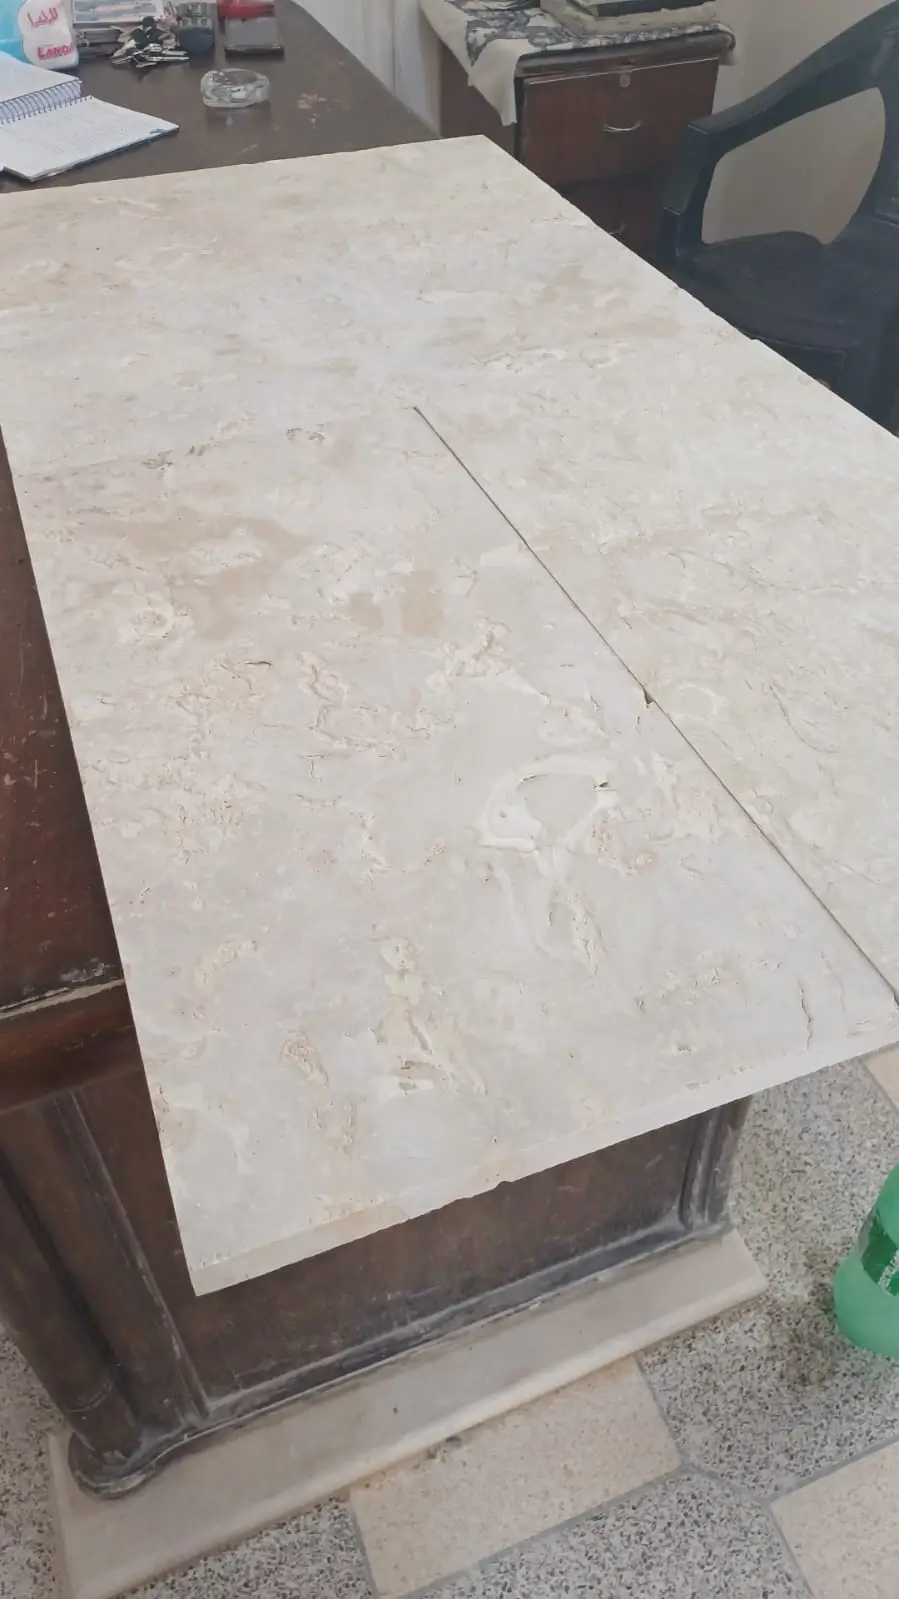
The format decision — slab versus tile versus paver — shapes every downstream specification from base depth to joint width. A 2-inch nominal limestone paver handles the point loads of outdoor furniture and occasional foot traffic without issue. Drop below 1.25 inches and you’re relying heavily on bed support to prevent flex fracture, which becomes a liability on any base that isn’t engineered to sub-1mm deflection tolerance.
Large-format limestone slabs — 24×24 inches and above — are visually compelling but introduce their own demands. The longer the slab dimension, the more thermal movement accumulates across it, and the more critical it becomes to set expansion joints at regular intervals. For limestone slab patio projects using 24×48-inch formats, you should plan expansion joints every 10–12 linear feet rather than the 15–20 feet commonly cited in generic paving guides. That tighter interval makes a real difference when day-to-night temperature swings reach 40°F or more.
Choosing the Right Thickness
- 1.25 inches (30mm): Suitable for pedestrian-only patios with engineered mortar beds — requires precise sub-base tolerance
- 1.5 inches (40mm): The most common residential specification — balances material cost with structural reliability
- 2 inches (50mm): Recommended for mixed-use areas, heavy furniture, or any project where base conditions are variable
- 2.5 inches (60mm+): Specified for commercial-grade patios, vehicular-adjacent zones, or elevated deck systems
Base Preparation: The Variable Most Specifications Miss
The base is where most limestone for patio failures originates — not the stone itself. A properly graded, compacted sub-base of 4–6 inches of crushed aggregate (well-graded, angular stone, not rounded river gravel) provides the drainage and load distribution that keeps limestone paving stable for decades. In clay-heavy soils, you’ll need to extend that depth to 8 inches and consider a geotextile separator layer to prevent clay migration into the aggregate over time.
Drainage geometry is non-negotiable. Your patio surface needs a cross-fall of at least 1:80 — approximately 1.5 inches of fall per 10 feet — directed away from structures. With limestone, which is naturally more porous than granite or basalt, ponding water isn’t just a surface nuisance. It saturates the stone from below, accelerates efflorescence, and in freeze-thaw regions creates the hydraulic pressure that pops joints out of plane over winter.
Setting Bed Options
- Dry-set compacted sand: Lowest cost, easiest to repair, but requires tight particle grading — do not use play sand or builder’s sand without sieve testing
- Cement-sand mortar bed: 3:1 or 4:1 sand-to-cement ratio, provides rigid bedding — better for irregular bases but less forgiving of differential settlement
- Screed over concrete: Maximum stability, preferred for large-format slabs — requires full isolation joints at perimeter and at 10–15-foot intervals to prevent reflection cracking
Limestone Patio Tile Color and Tone Selection
Tone selection is more than aesthetics — it has measurable performance implications. A white limestone patio reflects 60–70% of solar radiation, keeping surface temperatures 15–25°F cooler than darker stones under equivalent sun exposure. That’s a genuine comfort difference in any outdoor space that gets afternoon sun for four or more hours.
Beige and buff tones — the most widely stocked range in the market — sit in a middle band of reflectivity, offering a warmer visual palette without the maintenance visibility that a white limestone patio can present. The trade-off with lighter tones is that organic staining from leaf tannins and rust from patio furniture legs reads more clearly. You’ll want to factor in your setting’s tree canopy and furniture style before committing to tone.
Grey limestone patio tile, particularly in honed finishes, has grown substantially in specification popularity. Its tonal stability over time is a genuine advantage — grey limestone tends to weather gracefully rather than developing the patchy bleaching that some buff varieties exhibit after years of UV exposure. For projects browsing our limestone slab range, the grey and silver-grey selections represent some of the most technically consistent material we stock.
Freeze-Thaw Performance and Thermal Cycling
Temperature cycling is the stress test that separates well-specified limestone for patio projects from premature failures. The mechanism is straightforward: water enters pore spaces in the stone, expands approximately 9% by volume when it freezes, and exerts tensile stress on the calcium carbonate matrix from the inside. Repeat that cycle 50–80 times over a winter, and even a well-installed limestone patio will show joint cracking and surface spalling if the stone’s absorption rate exceeds what the sealing program can manage.
According to USGS data on limestone composition, porosity in natural limestone ranges from under 1% in dense micritic varieties to above 20% in highly fossiliferous types. That range directly determines how freeze-thaw vulnerable your chosen material is — and it’s why sourcing documentation on absorption rate (ASTM C97 test) matters more than a supplier’s verbal assurance of “outdoor suitability.”
In climates where day-night temperature swings exceed 35°F — which covers a significant portion of the continental United States across all seasons — thermal expansion and contraction at the paver-to-joint interface accumulates fatigue stress even without water involvement. Specifying a flexible polymeric sand in joints rather than rigid mortared joints addresses this directly. Polymeric joint sand rated for 35–40°F thermal swing accommodates the movement cycles without fracturing, extending the maintenance-free period substantially.
Freeze-Thaw Specification Checklist
- Specify limestone with absorption rate below 3% (ASTM C97) for any region with more than 20 freeze-thaw cycles per year
- Apply penetrating silane-siloxane sealer before first winter — reapply every 2–3 years depending on traffic and exposure
- Use flexible polymeric joint sand rated for temperature cycling in joints wider than 3mm
- Install perimeter isolation joints at structure interfaces — never allow limestone to butt hard against walls or footings
- Calculate thermal expansion across the full patio dimension before finalizing joint width — 0.015 inches per 10 feet per 10°F swing is a workable planning figure
Sealing Limestone Patio Surfaces
Sealing limestone for outdoor use isn’t optional — it’s the maintenance protocol that determines whether your installation reaches 20 years or 10. The choice of sealer type matters more than application frequency. Topical acrylic sealers create a surface film that traps moisture beneath it, leading to the cloudiness and peeling that gives sealed limestone a bad name. Penetrating silane or siloxane sealers, by contrast, bond within the pore structure without creating a surface film, allowing vapour transmission while blocking liquid water ingress.
Your first application should happen before installation if possible, or within the first 30 days after installation at the latest. Pre-sealing the underside of limestone patio tile before laying is an underused technique that dramatically reduces moisture wicking from the setting bed — particularly relevant in wet climates or on elevated slabs over living spaces.
Sealing Schedule by Limestone Density
- High-density limestone (absorption under 3%): Seal every 3–4 years with penetrating silane-siloxane — less frequent application needed due to lower pore volume
- Medium-density limestone (absorption 3–7%): Seal every 2 years — higher porosity means faster sealer depletion under UV and traffic
- Lower-density limestone (absorption above 7%): Annual sealing recommended — evaluate whether a denser material is more appropriate for the application
- All types: Test water beading annually — when water no longer beads on the surface, sealer has depleted and reapplication is due regardless of schedule
Ordering, Lead Times, and Project Logistics
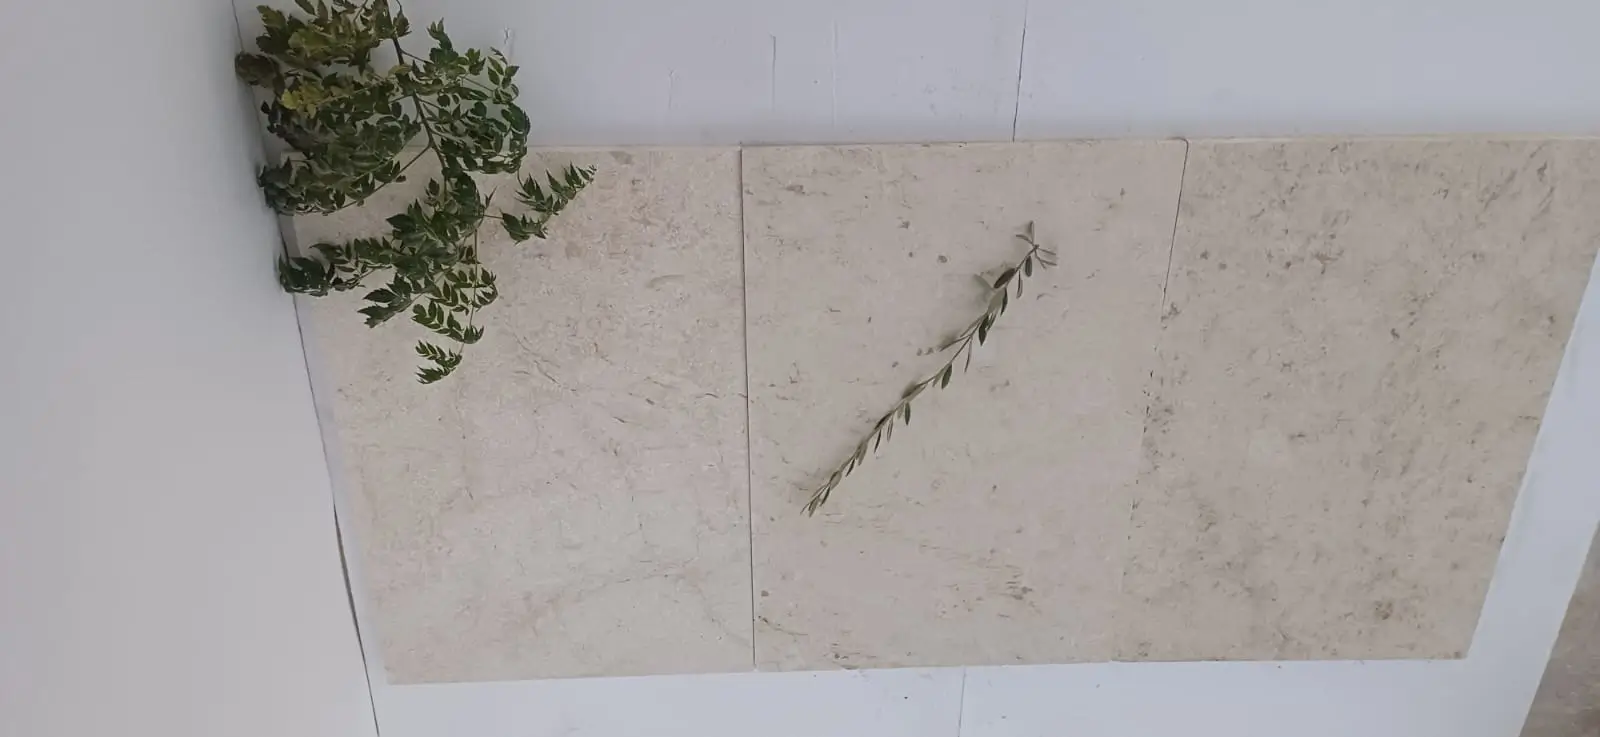
Project planning for a limestone for patio installation requires you to think about material logistics earlier than most homeowners and contractors anticipate. Natural limestone is a quarried product — thickness tolerances, colour consistency, and surface finish all vary between production batches. Ordering your full quantity from a single batch is the single most reliable way to avoid the tone-matching headaches that arise when you need to supplement mid-project.
Because each order is cut to specification at our selected quarries, lead times are confirmed when the order is placed rather than estimated in advance. Custom formats or specialty finishes may require 4–6 weeks from the production date. You should confirm warehouse stock availability before finalising your installation schedule — projects that commit to a start date before verifying stone availability routinely face costly delays.
Truck access to your site is worth addressing before ordering. Limestone pallets for a mid-size patio (300–500 square feet) typically arrive on a standard flatbed, which requires a reasonably clear driveway or access path. If your site has restricted truck access — narrow gates, soft ground, or limited staging area — coordinate with your supplier early. Splitting delivery into smaller loads adds cost and sometimes introduces batch variation that creates visible tone differences in the finished patio.
Quantity Calculation and Waste Factor
- Measure your patio area accurately and add a minimum 10% waste factor for cuts, breakage, and pattern fitting
- For diagonal laying patterns, increase waste to 15% — the angled cuts consume significantly more material per linear foot of edge
- Irregular shapes with curved edges can require 20% additional material depending on stone format size
- Order replacement stock from the same batch if your project has phased installation — colour matching from a new batch is rarely perfect
- Confirm pallet weight with your supplier before delivery — a full pallet of 2-inch limestone can exceed 3,000 lbs, which matters for staging on decks or soft ground
Long-Term Performance of Limestone for Patio Projects
The ASLA outdoor material selection guidance consistently highlights natural stone as a premium-longevity choice for hardscape surfaces — and limestone earns that positioning when specified and maintained correctly. Realistically, a well-installed limestone for patio use with proper base preparation, appropriate stone density, and consistent sealing can reach 25–30 years without structural remediation. The projects that fall short of that timeline almost always trace their problems to one of three causes: inadequate base depth, wrong density for the absorption environment, or joint systems that couldn’t accommodate thermal movement.
Ongoing maintenance is straightforward. Annual cleaning with a pH-neutral stone cleaner prevents the acid etching that common household cleaners — particularly vinegar-based products — cause on calcium carbonate surfaces. Biennial sealer renewal and periodic joint sand top-up are the primary maintenance events for most installations. You should also inspect perimeter isolation joints every spring, particularly after a hard winter — polymeric sand in those zones compresses under freeze-thaw pressure and sometimes needs partial replacement after 4–5 years of cycling.
As you compare natural stone options for your project, it’s worth reviewing how different stones perform against each other in similar applications — our bluestone versus limestone patio comparison walks through the key specification differences that should inform your final material decision.
Sourced from select natural stone quarries worldwide, Citadel Stone limestone tiles are known for pale tones that stay cooler underfoot in hot, dry climates.
Related reading: choosing limestone for gardens · crushed limestone landscaping problems · limestone honed.