
Base preparation is the variable that determines whether your pool paver installation performs for decades or starts lifting and settling within a few seasons — and most projects that fail get this step wrong before the first stone is ever laid. Installing pool pavers correctly means sequencing six interdependent steps where each one constrains the next, and the margin for error is narrower than most guides acknowledge. The finish you choose, the bedding method you use, and how you manage drainage geometry all compound in ways that become permanent once the job is done.
Related guide: How to Install Pool Coping: A Step-by-Step Guide.
Understanding Your Site Before You Start
Your site conditions dictate everything that follows. The first step is not choosing stone — it is reading the ground beneath where the stone will go. Soil type, existing drainage patterns, and the relationship between your pool shell and the surrounding grade all affect how you design the sub-base and bedding system.
- Identify whether your soil is sandy, clay-heavy, or loam — clay expands and contracts with moisture and requires deeper, more robust compacted base work to prevent differential settlement
- Confirm the pool deck slope: a minimum of one-quarter inch of fall per foot (roughly 2%) away from the pool shell is standard, directing surface water toward perimeter drains rather than back into the pool or into the structural surround
- Locate underground utilities, irrigation lines, and pool plumbing runs before any excavation — cutting a return line during base prep is a costly delay
- Assess truck access to the site early; your offloading logistics affect how stone is staged and in what order sections of the deck are built out
Citadel Stone cuts pool pavers to order from slab stock at our selected quarries, so your material arrives dimensioned for the layout — but the site has to be ready to receive it. Delivery scheduling is confirmed with the order, and your access constraints factor into that conversation from the start.
Excavation and Sub-Base Preparation
Your excavation depth depends on your paver thickness plus the bedding layer plus the compacted aggregate base. For standard pool deck pavers — typically 1¼ in (3 cm) thick — a compacted crushed-stone base of at least 4 in (100 mm) is a common starting point for pedestrian pool surrounds on stable ground. Clay-heavy soils may warrant 6 in (150 mm) or more, with a geotextile fabric layer at the bottom to prevent fines migration.
- Excavate to a uniform depth and compact the native subgrade before bringing in base material — never build on loose, uncompacted soil
- Bring compacted base material in lifts of no more than 4 in (100 mm) each, compacting each lift before adding the next
- Confirm that the compacted base surface maintains your planned drainage slope — check it with a level and straightedge before proceeding
- At pool shell edges, leave the structural bond beam clear and ensure the base material does not bear directly against the pool shell in a way that could transfer movement loads
The PHTA pool deck stone and coping standards provide industry-level guidance on how deck systems should relate to the pool shell structurally. Reviewing those requirements before finalizing your sub-base depth is worth the time, particularly if the project is inspected by a local building authority.
Drainage Design and Slope on Varied Terrain
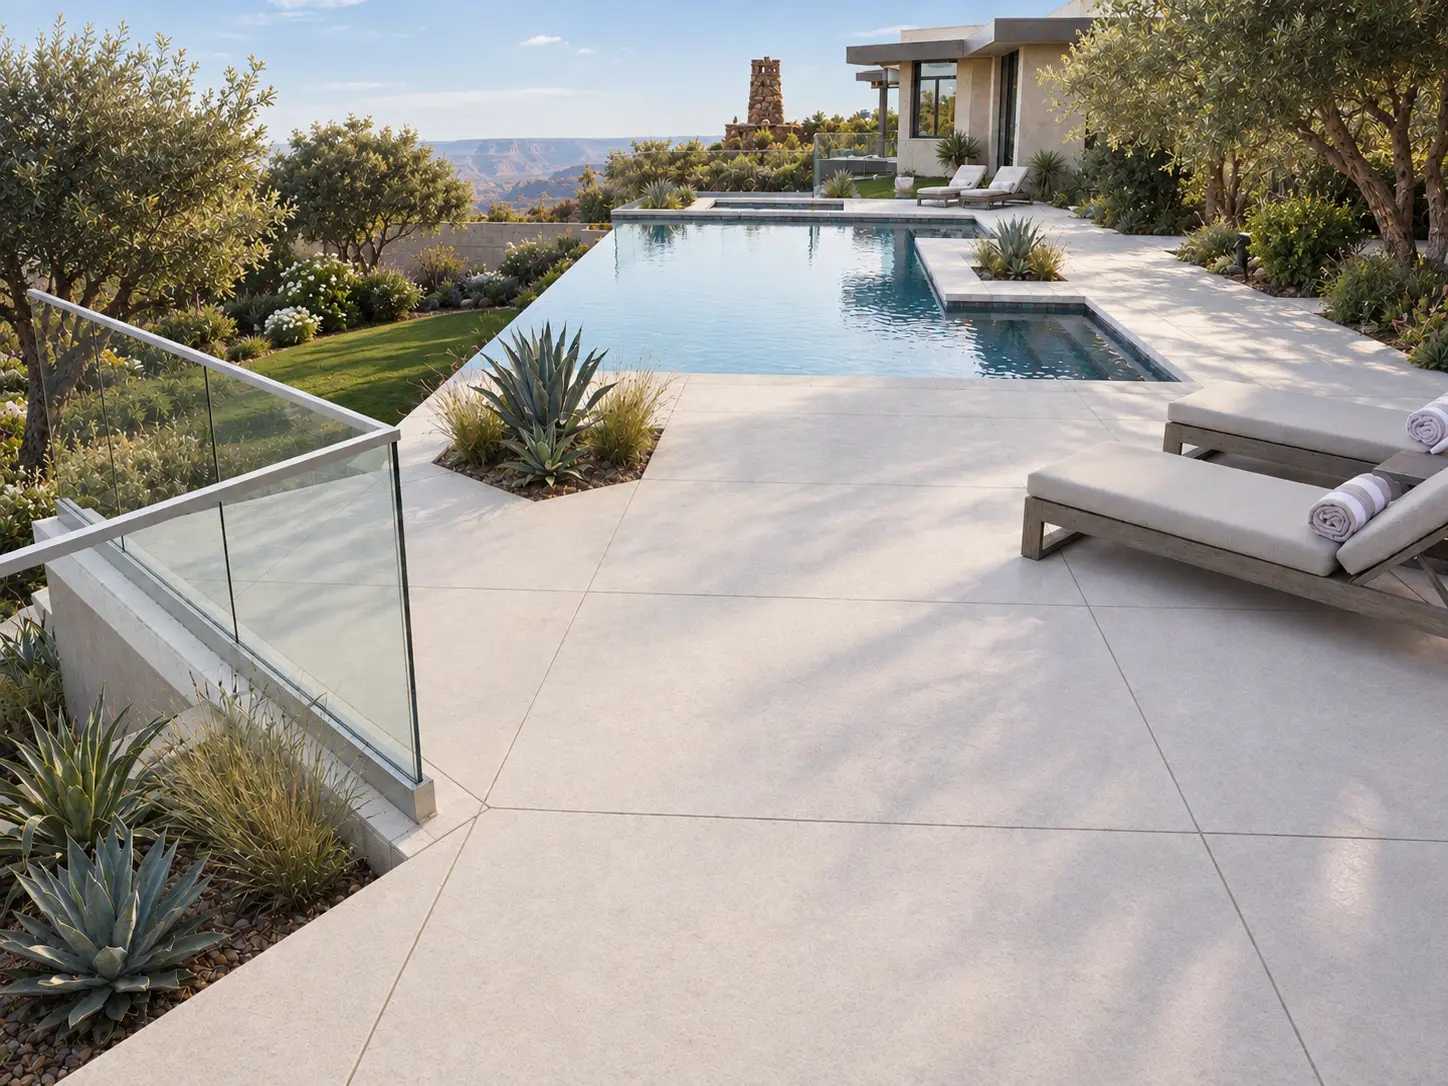
Pool decks on flat lots are straightforward to drain — establish your 2% fall and run it consistently to perimeter channels. The challenge grows substantially when the pool site has elevation changes, is cut into a hillside, or sits on a lot where grade varies from one end of the deck to the other. This is where drainage design requires genuine engineering rather than a rule of thumb.
On sloped sites, the uphill edge of the deck can receive sheet flow from surrounding landscaping or hardscape during rain events. Without a dedicated interceptor drain or swale at the uphill perimeter, that water works its way under the stone and saturates the base — the kind of failure that is impossible to diagnose without lifting pavers to look. Plan the drainage system for the whole watershed the deck sits within, not just for the pool surround itself.
- On hillside installations, a channel drain or French drain at the high side of the deck diverts surface runoff before it reaches the paved area
- Grade the sub-base so that water moves positively toward drains — do not rely on the bedding layer to redirect water once the stone is in place
- Low-lying sites near water tables may require a perforated drain system beneath the base layer, not just surface-level channel drains
- Confirm that your drain outlets discharge to a legal point — not onto a neighboring property or against the pool shell
Choosing the Right Stone for a Pool Surround
Material selection for pool pavers is a performance decision before it is an aesthetic one. The pool environment combines UV exposure, moisture cycling, pool chemicals, and constant foot traffic — and each of those factors constrains which stones hold up and which ones degrade prematurely.
Density and water absorption are the two properties that matter most in a pool surround context. Lower absorption means less moisture uptake into the stone body during wet cycles, which reduces the stress on the material when the surface dries and contracts. For limestone used in pool surrounds, ASTM C568 (Limestone Dimension Stone) provides the testing framework for absorption and other physical properties; for granite, ASTM C615 (Granite Dimension Stone) covers comparable metrics. Specifying the stone by its ASTM test method rather than by a supplier’s verbal description is how you hold the material to an objective standard.
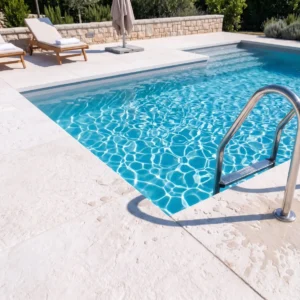
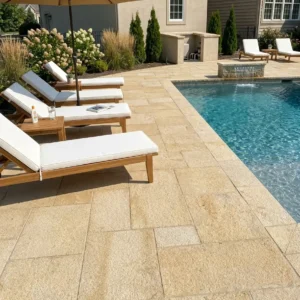
- White Limestone Patio Pavers bring a light, reflective surface to poolside installations and are well suited to the aesthetic of open-water surrounds — specify them in a bush-hammered finish for pool decks, or a brushed 36 or 80 grit finish for covered terraces adjacent to the water
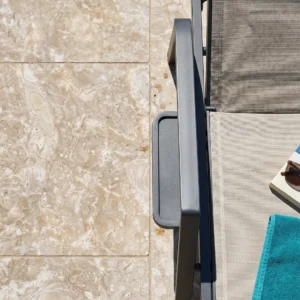
- Ocean Reef Leathered Shell Stone Pavers offer a naturally textured, open surface with a fossil-rich visual character — their leathered finish provides an open, matte texture that complements a relaxed, organic poolside setting; a laboratory certificate of test covering density, absorption, compressive and flexural strength, abrasion and modulus of rupture is available on request
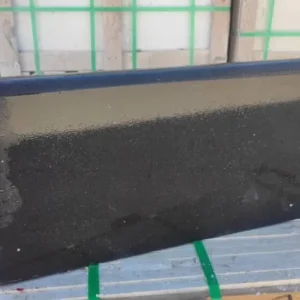
- Black Basalt Paver Steps are a strong choice for pool entry steps and transition areas, where the stone’s fine, even grain and dense body suit the demands of the application; a certified mill test summary covering water absorption, density, flexural strength, modulus of rupture and abrasion loss is available on request
Explore the full range of options at Citadel Stone poolside paving stone to compare formats, finishes, and thickness options before finalizing your material specification.
Finish Selection for Pool Pavers
The finish is the most consequential decision you make for a wet pool environment, and it is also the most commonly misunderstood. A polished finish is reserved for dry indoor surfaces — it has no place on a pool deck, wet step, or pool surround. For pool decks, wet steps, and slopes, choose a bush-hammered finish. For other outdoor paths adjacent to the pool, bush-hammered or brushed in our coarsest grit both work; check a sample.
The current standard for evaluating stone surfaces in wet conditions is ANSI A326.3, measured wet. The finish is the variable that affects a surface’s behavior underfoot — the same stone in a polished finish behaves very differently from the same stone in a bush-hammered finish when both are wet. The ASTM stone specifications and testing standards provide the framework for how physical properties are evaluated; slip performance specifically is addressed under ANSI A326.3, and no published test report for slip is available from us — that evaluation is conducted through the ANSI wet test method by a qualified testing laboratory.
- Bush-Hammered: an open, fractured surface texture — the standard finish for pool decks, ramps, and wet public areas
- Brushed 80 Grit: appropriate for barefoot pool terraces and covered outdoor areas adjacent to the water
- Brushed 36 Grit: suited to pool surrounds and patios where a coarser matte texture is preferred
- Leathered: a stone finish that leaves a low-sheen, open matte surface with natural variation — appropriate for sheltered pool surrounds and spa areas
- Polished: for dry indoor surfaces only — never specify this for a pool deck, wet step, or any exterior surface that receives moisture
Bedding and Mortar Methods for Pool Pavers
Your bedding system is the interface between the sub-base and the stone, and choosing the right one depends on your paver format, the sub-base type, and whether the installation is bonded or unbonded. For pool surrounds, a mortar-bonded system over a concrete slab is the most common specification for large-format stone — it eliminates the paver movement that a sand-set system allows, which matters where water is present and where edge conditions at the pool shell need to be tight.
- Mortar-bonded on a concrete slab: provides maximum stability and allows tight joint lines — requires proper expansion joint placement to accommodate slab movement; expansion joints are sized from your movement calculations, not from a generic rule of thumb
- Sand-set on a compacted base: appropriate for smaller-format pavers and setts in pedestrian pool garden areas, not recommended for large-format slabs directly at the pool edge
- Back-buttering each paver to achieve full mortar contact is essential — voids beneath the stone allow water to pool under the surface and can accelerate deterioration of the bedding layer
- Allow the mortar bed to reach the manufacturer’s specified cure time before grouting or allowing foot traffic — cutting this short is one of the most common field errors
When installing pool pavers steps — particularly Black Basalt Paver Steps at pool entry points — the step nosing thickness and the cantilever over the riser require careful attention. Basalt is a dense, fine-grained volcanic stone, and the USGS overview of igneous rocks explains how rapid surface cooling produces the even grain structure that gives basalt its characteristic face consistency. That consistency makes it a reliable choice for step treads where dimensional uniformity matters.
Jointing, Grouting, and Expansion Joints
Joint width and grout selection affect both the visual result and the long-term performance of the installation. For pool surrounds, a sanded, polymer-modified grout performs better than unsanded products in an outdoor wet environment — the flexibility resists cracking as the installation moves through temperature cycles.
Expansion joints are not optional in a mortar-bonded pool deck system. The concrete slab beneath the stone moves, and without properly placed expansion joints filled with a flexible sealant, that movement transfers directly to the stone and grout, causing cracking that is cosmetically and structurally damaging. Space expansion joints according to your slab’s movement calculation and your material’s coefficient of thermal expansion — not from a generic table.
- At the pool shell, the joint between the pool coping and the deck stone must be a flexible expansion joint, never a rigid grout joint — this interface always moves
- Around any fixed penetrations (drains, light conduits, equipment pads) use a flexible sealant at the perimeter joint
- Grout color selection matters near water — lighter grouts show mineral deposits and pool chemical staining more readily than mid-tone options
Sealing and Ongoing Maintenance
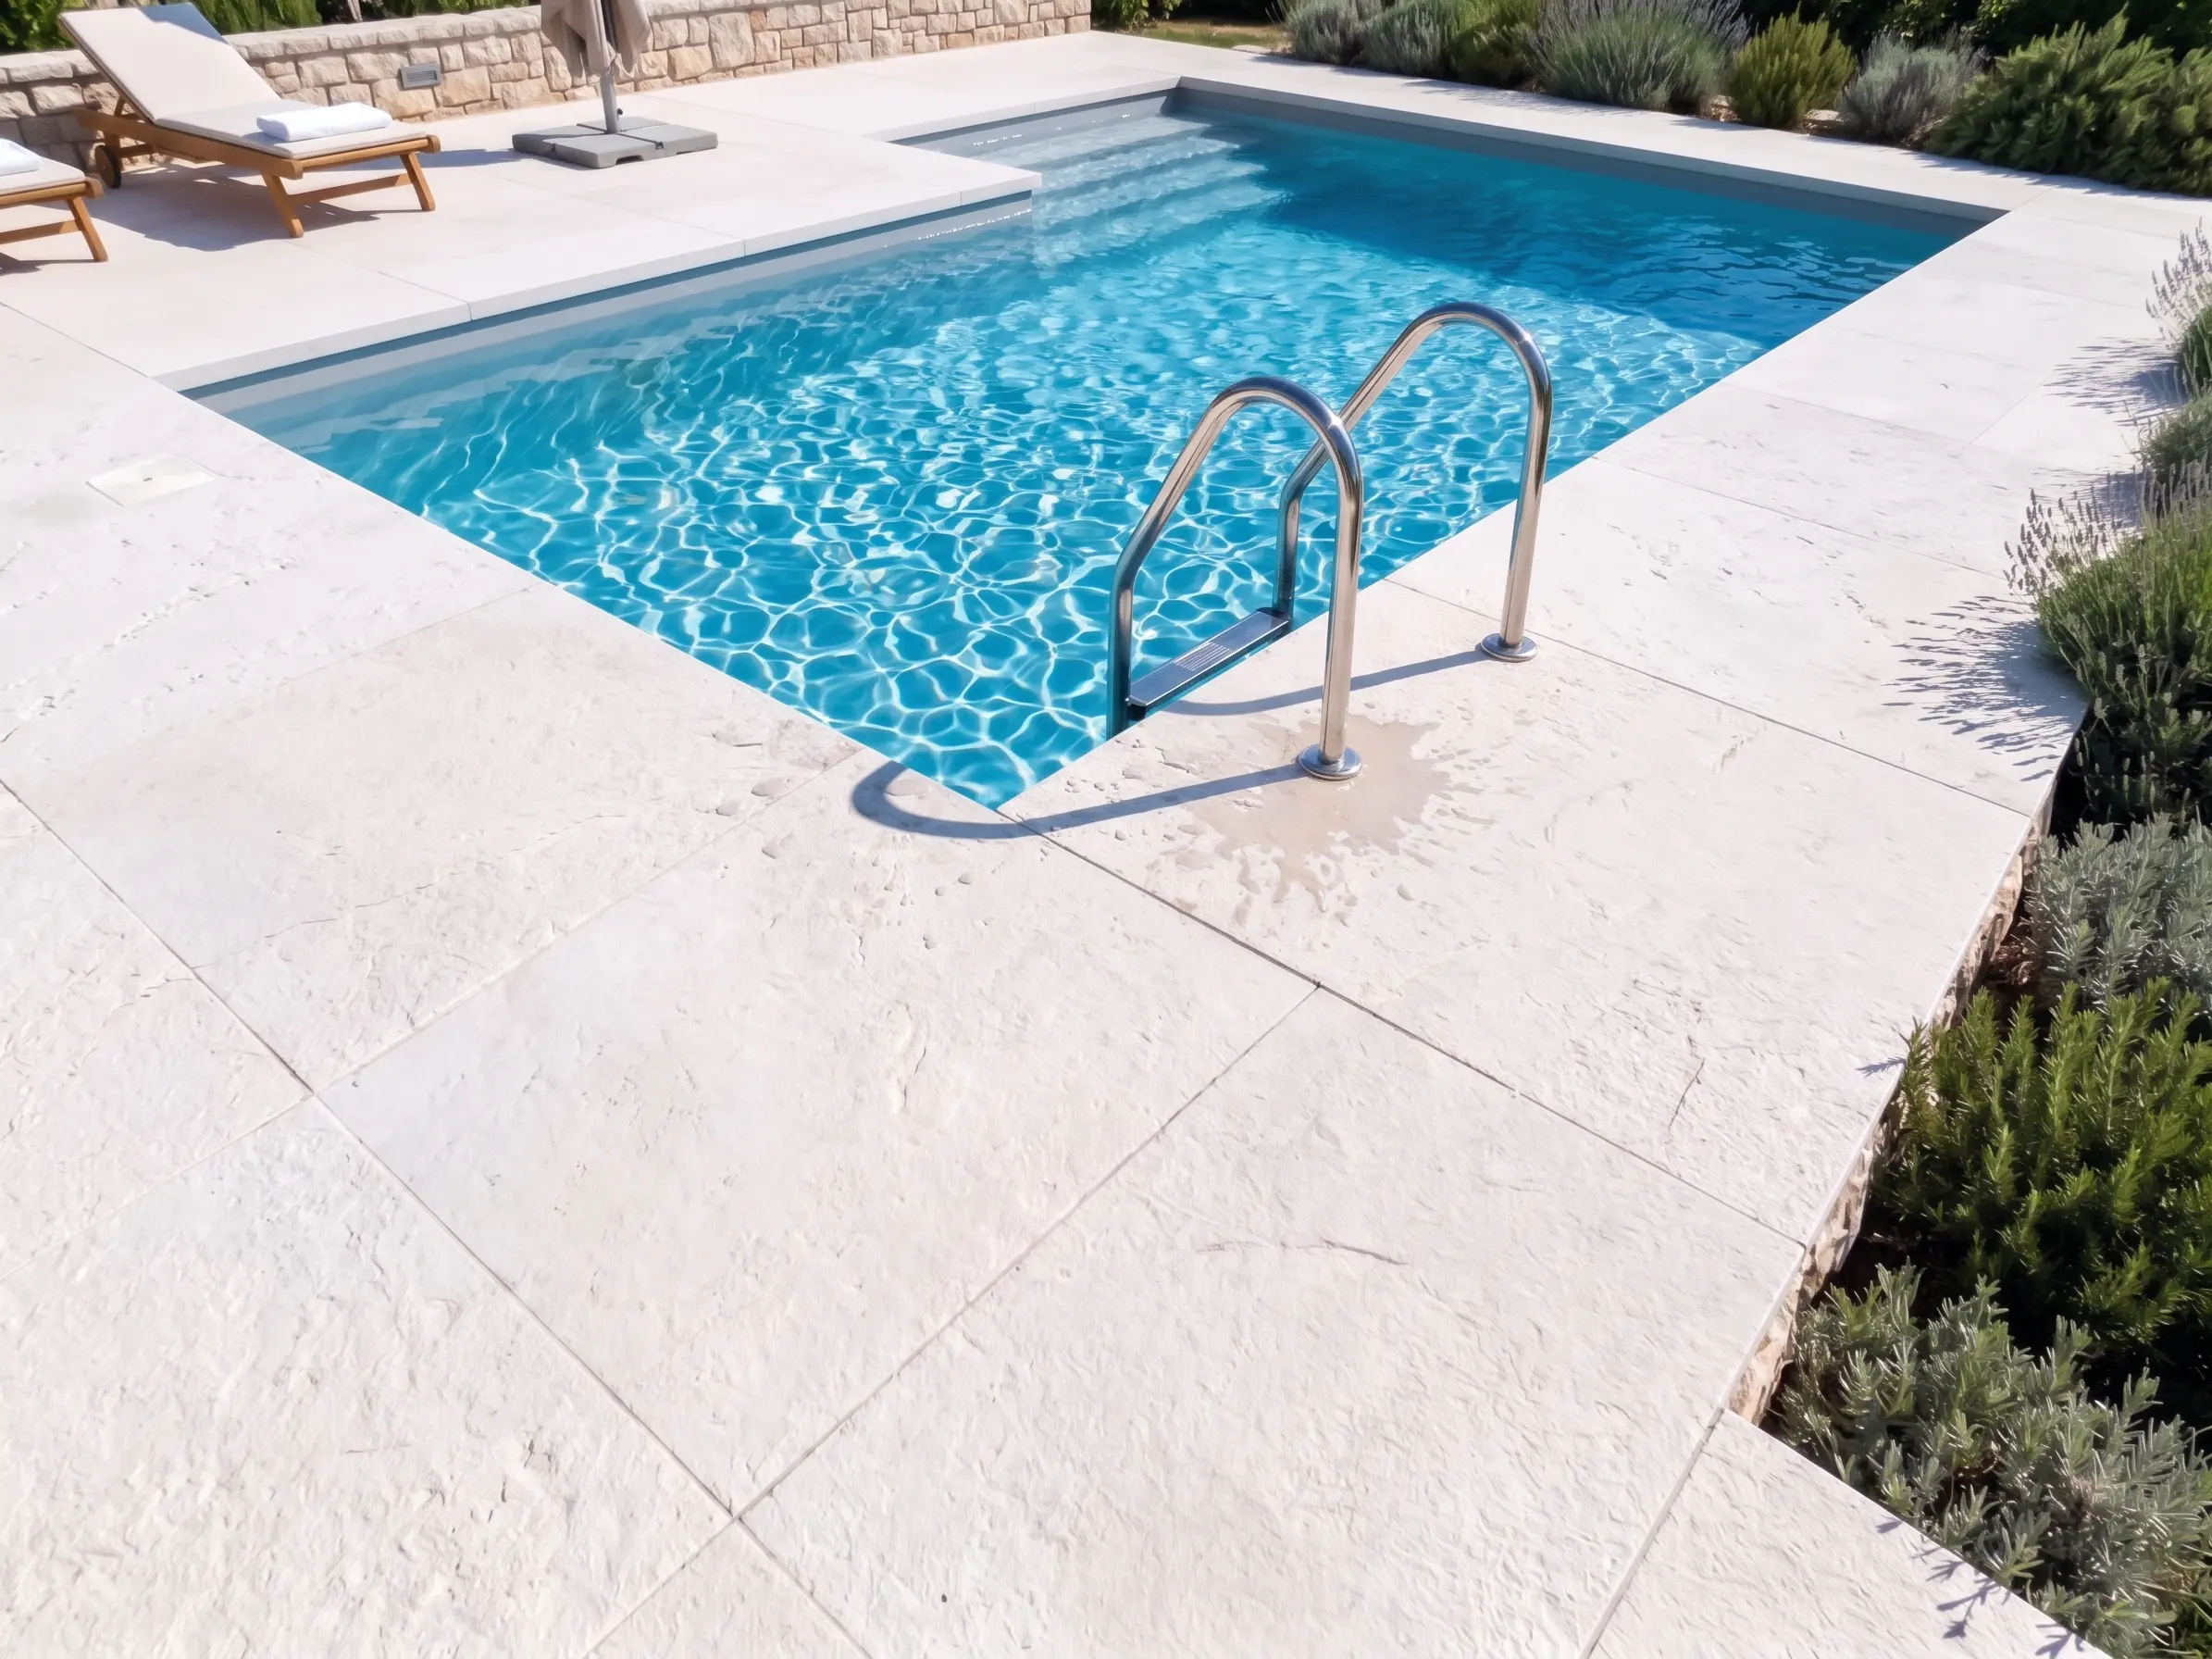
Sealing a pool surround is not a luxury — it is a practical step that significantly affects how the stone responds to pool chemicals, sunscreen, organic staining, and the repeated wet-dry cycling that pool environments produce. The question is not whether to seal but which sealer type suits the stone and the aesthetic you want.
Penetrating sealers (impregnating sealers) are the standard recommendation for outdoor pool stone. They work below the surface, reducing moisture uptake without leaving a film that can peel, cloud, or become slippery when wet. Topical coatings are generally not recommended for pool decks — they alter surface texture, require film-compatible maintenance products, and are difficult to remove cleanly when reapplication is needed.
- Seal before grouting where the stone manufacturer recommends it — some open-textured stones benefit from a pre-grout application to prevent grout haze from penetrating the pores
- Allow new installations to cure and any efflorescence to pass before the final sealer application — sealing over active efflorescence traps it
- Reapply sealer on the interval your sealer manufacturer states — not on a fixed annual schedule, as climate and usage affect sealer longevity
- Stone pavers installed in areas with long, intense UV seasons may need more frequent resealing than shaded installations; check a small test area rather than relying on a fixed date
Final Recommendations for Installing Pool Pavers
Installing pool pavers is a system specification exercise, not a product selection exercise. Every decision — sub-base depth, drainage geometry, bedding method, finish, joint system, and sealer — interacts with the others, and the pool environment makes the consequences of a weak link more visible than almost any other outdoor application. Get the base right, design drainage for your actual site conditions rather than an idealized flat lot, and specify your finish for the wet environment it will live in.
Your material certificates are part of the specification package, not an afterthought. For Ocean Reef Leathered Shell Stone Pavers and White Limestone Patio Pavers, a laboratory certificate of test covering density, absorption, compressive and flexural strength, abrasion and modulus of rupture is available on request. For Black Basalt Paver Steps, a certified mill test summary covering water absorption, density, flexural strength, modulus of rupture and abrasion loss is available on request. Use those documents to confirm that the stone meets your project’s performance requirements before the order is placed. For a broader look at the cost side of planning a pool surround, stone cost planning for pool surrounds covers the budgeting considerations worth reviewing alongside this installation walkthrough.
The natural stone pavers you are installing feature a natural cleft texture and open matte surface, cut to order at our selected quarries.
Related reading: Gray Pool Pavers: Picking a Cool-Toned Stone · Best Pavers for Pool Deck: A Stone Selection Guide.