The margin between a stone window sill that lasts thirty years and one that fails in five often comes down to decisions made before the first trowel hits the mortar bed. To install stone window sills correctly, you need to understand the mechanical forces acting on the sill from both sides — the structural load bearing down from the masonry above and the moisture pressure working upward from below. Get that balance wrong, and no amount of high-quality stone will save you from spalling edges and settlement cracks within a few seasons.
Why Stone Sill Selection Starts With Thickness
Your first decision — stone species and thickness — carries more weight than most installers admit. A sill bearing on a narrow reveal with 3 inches of bearing at each end needs a minimum nominal thickness of 1.5 inches in a dense limestone or granite. Anything thinner and you’re relying on tensile strength the stone simply doesn’t have. Natural stone performs brilliantly in compression but fails abruptly when subjected to bending loads across an unsupported span.
Stone species matters for more than aesthetics. Dense limestone and basalt sit in the 8,000–12,000 PSI compressive strength range, which makes them reliable workhorses for standard residential and light commercial sill applications. Softer limestones and certain sandstones can drop below 4,000 PSI — workable for protected interior conditions, but risky on fully exposed exterior elevations where freeze-thaw cycling and driving rain are constants. You can review NSI stone design and ASTM specifications for a reliable breakdown of compressive and flexural benchmarks by stone type before committing to a species for your project.
Consider these thickness guidelines before finalising your specification:
- Spans up to 24 inches: 1.5-inch nominal thickness minimum in dense limestone or granite
- Spans 24–48 inches: 2-inch nominal or reinforced backing required for softer stone types
- Interior-only sills without structural load: 1.25 inches acceptable in premium-density stone
- Honed or polished finishes on exterior sills: specify stone with water absorption below 0.75% per ASTM C97
- Exterior sills in freeze-thaw regions: confirm MRD (maximum recommended depth) rating before specifying any sedimentary stone
Preparing the Substrate Before You Install Stone Window Sills
Substrate preparation is where field installers earn their pay — and where short-cut decisions come back as warranty claims. The rough opening substrate needs to be flat within 1/8 inch across the full sill bearing width. Any high spot creates a bridge condition: the sill rests on the high point, the mortar never fully contacts the low sections, and you end up with hollow voids that allow water infiltration and vibration movement to slowly fracture the stone from underneath.
For masonry and concrete substrates, grind high spots and fill low sections with a polymer-modified mortar pre-levelling compound rather than building them up with the setting bed. Pre-levelling compounds cure predictably and bond cleanly to both the substrate and the subsequent mortar bed. On wood-frame substrates, you’ll need a solid blocking layer — at minimum a doubled 2x header flush with the rough sill plate — before any stone touches the installation plane. Wood deflection under stone weight is not a sill failure question of if, it’s a question of when.
- Check substrate flatness with a 4-foot straightedge in two directions — across the width and diagonally
- Scarify smooth concrete or block surfaces to improve mechanical bond before applying setting mortar
- Prime all porous masonry substrates with a latex bonding agent and allow to reach tack before setting
- On wood-frame construction, install a self-adhering waterproof membrane over the rough sill before the mortar bed
- Allow pre-levelling compound to cure a full 24 hours at 70°F before proceeding — longer in cooler conditions
Mortar Selection and Mixing for Stone Sills
The mortar conversation is where a lot of otherwise competent masons make a critical error: they reach for a Type S masonry mortar out of habit when a polymer-modified thin-set or large-and-heavy-tile mortar is the correct choice for dimension stone sill installation. Type S has compressive strength in the 1,800–2,200 PSI range. Your stone is likely performing at 8,000 PSI or above. That mismatch matters — a mortar bed significantly stiffer than the stone it supports can concentrate stress at bearing points and initiate cracking from below rather than above.
For standard exterior stone window sill installation, a large-format polymer-modified mortar with a compressive strength between 3,000–4,500 PSI gives you enough bond and flexibility without creating a rigid plane that fights the stone’s thermal movement. You want the mortar to accommodate minor differential movement — not lock the sill into a rigid block that cracks under thermal cycling. Mix mortar to a consistency where it holds a ridge cleanly but doesn’t slump off a trowel held vertically. Too wet and you’ll lose your bed thickness as the stone settles; too dry and you won’t achieve full contact coverage, which is your waterproofing baseline.
Setting Technique: Coverage and Pitch
Full contact coverage is non-negotiable for exterior stone sills — you’re targeting 95% minimum mortar-to-stone contact on the back face of the sill. Anything less creates hollow zones that trap moisture, particularly in climates with heavy rainfall seasons or high-humidity summer periods. Those voids become expansion chambers when water freezes, and they accelerate the deterioration cycle significantly.
Pitch matters almost as much as coverage when you install stone window sills on exposed elevations. Every exterior stone window sill needs a minimum forward pitch of 1/8 inch per foot — and in practice, 3/16 inch per foot gives you a better drainage margin in regions experiencing high annual rainfall or concentrated storm events. The pitch needs to be built into the mortar bed, not relied upon from the substrate slope alone. Set your first bearing shims at the back of the sill opening, then use a spirit level across the sill face to confirm pitch before you press the stone into final position.
- Apply mortar in a full-coverage butter coat to the back face of the sill before setting — don’t rely solely on the bed coat
- Use temporary plastic shims at the front edge to hold pitch while the mortar bed firms up
- Strike the sill surface with a rubber mallet to seat it fully — never use a steel hammer directly on stone
- Check pitch immediately after seating and correct before initial set begins (typically 20–30 minutes working time)
- Confirm back-face contact by lifting a test piece early in the run — the mortar transfer pattern should cover at least 95% of the stone surface
At Citadel Stone, we recommend verifying stock dimensions before cutting your sill openings — our stone window sills arrive pre-dimensioned, which means your rough opening measurements need to match the available sill widths rather than the other way around. Check our stone window sill range early in the design phase to align your opening sizes with available stock.
Water Management, Drainage, and the Sill Drip Edge
Here’s what most installation guides gloss over: the drip edge detail on the sill’s front face is your primary line of defence against water tracking back under the sill and into the wall assembly. A properly formed drip edge — a 1/4-inch deep by 1/4-inch wide groove cut into the underside of the sill front face, set back 3/4 inch from the face edge — creates a capillary break that stops water running back along the stone surface toward the wall. Without it, surface tension does exactly what physics predicts: it pulls water back toward the building.
Drainage design becomes especially critical in projects exposed to concentrated rainfall events, whether from seasonal monsoon patterns, hurricane-zone moisture loads, or standard heavy-rain seasons in high-precipitation regions. A sill without a drip edge groove in those conditions will drive water into the window frame joint repeatedly, and no amount of sealant at the frame perimeter will compensate indefinitely. Proper dimensional detailing — including edge profiles — is as much a structural performance decision as a material selection one, as reflected in ASTM natural stone compressive strength and flexural standards. Factor the drip edge into your fabrication order, not as a site modification.
The joint between the sill and the window frame deserves equal attention. This joint needs to be left open for a flexible sealant — not filled with mortar. Use a backer rod sized to produce a sealant depth-to-width ratio of 1:2, and apply a polyurethane or silicone sealant rated for exterior stone applications. Mortar in this joint will crack within a season as the window frame and sill move at different thermal rates. The movement differential between stone, frame aluminium, and masonry can reach 0.04 inches per 10 feet of elevation change in a single day under direct sun — far beyond mortar’s elastic capacity.
Selecting the Right Window Rock Material for Exposed Applications
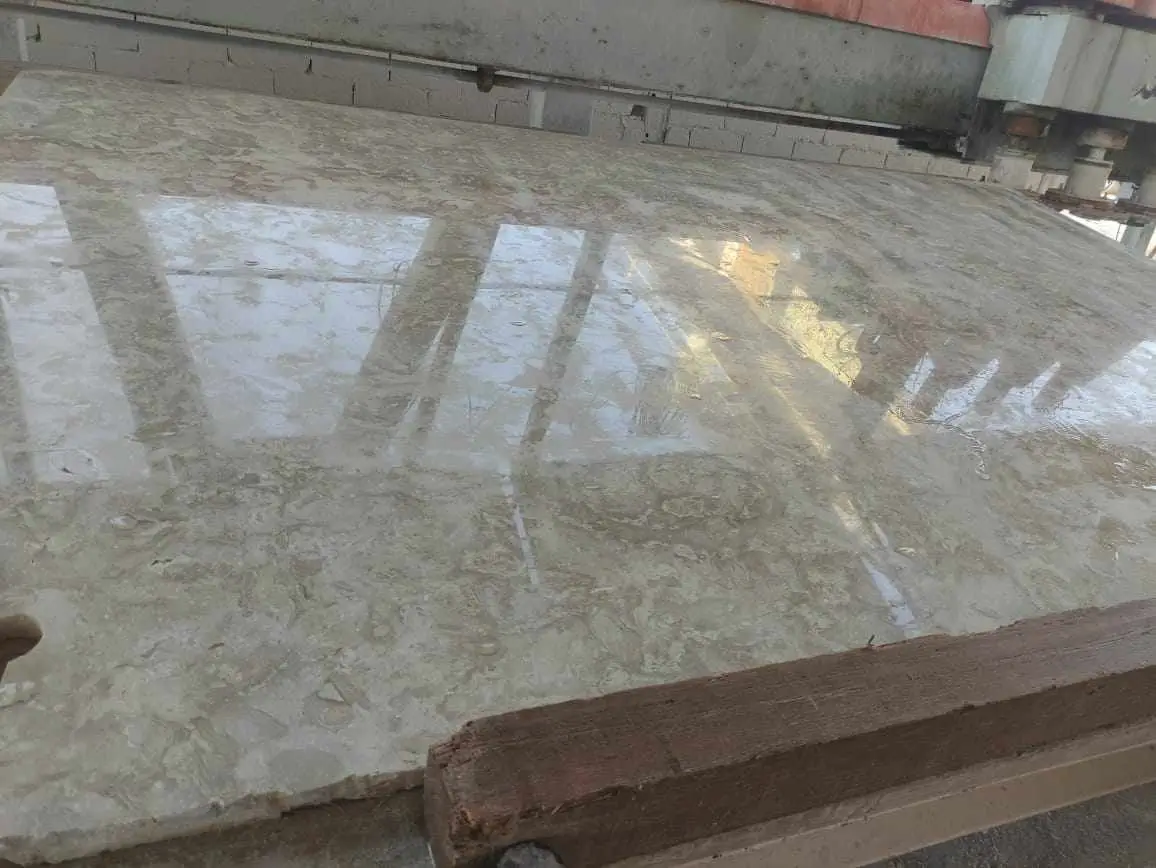
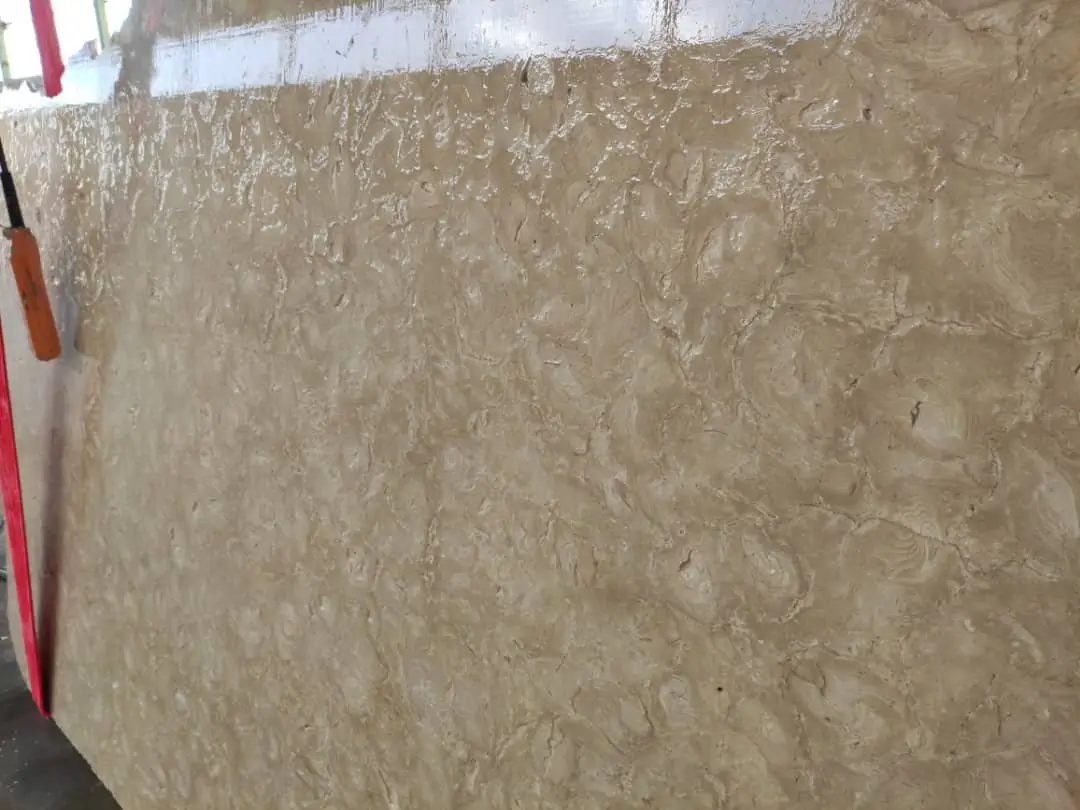
The term window rock is used informally across the trade to describe the rough-quarried material destined for sill fabrication before it’s dimensioned and profiled. Understanding where your stone comes from in the supply chain — raw window rock through to dimensioned sill — helps you ask the right questions when sourcing. Density consistency across a batch matters enormously for sills because you’re cutting thin, elongated sections that will highlight any internal veining or micro-fissure variation that wouldn’t be visible in a thicker paving application.
Limestone remains the most specified natural stone for window sill applications in residential and commercial construction, and for good reason. Its consistent density, workability under fabrication, and relatively low thermal expansion coefficient (approximately 4.4 × 10⁻⁶ per °F) make it predictable under real-world installation conditions. Granite offers superior hardness and abrasion resistance, which matters for sills at grade level or in high-traffic zones, but its weight — typically 165–175 lbs per cubic foot compared to limestone’s 150–160 lbs — can create bearing load concerns on older masonry substrates. You can reference NSI limestone properties and specifications for direct technical comparisons before your material decision is finalised.
- Dense limestone: best all-round choice for exterior sills — workable, stable, and available in consistent batch quality
- Granite: superior durability for exposed or high-traffic sill locations, but verify substrate load capacity first
- Travertine: appropriate for sheltered or interior-facing sills only — its open-pore structure traps moisture in exposed conditions
- Sandstone: limit to fully sheltered locations — freeze-thaw performance is variable and often inadequate for exposed exteriors
- Basalt: excellent hardness and near-zero water absorption, but fabrication costs are higher due to material density
Jointing, Expansion Gaps, and Anchoring Long Sills
Long sills — anything above 48 inches — need expansion joint management that most specifications skip entirely. Natural stone and the surrounding masonry expand and contract at different rates. Limestone expands at roughly 4.4 × 10⁻⁶ per °F; brick masonry runs closer to 3.6 × 10⁻⁶ per °F. Over a 60-inch sill with a 60°F seasonal temperature swing, that differential produces approximately 0.018 inches of relative movement — enough to gradually fracture a mortar-filled end joint over several years.
The fix is straightforward: leave the end joints at the jamb interface open and fill with a compressible backer rod plus a flexible sealant. For sills over 72 inches, include a mid-span expansion joint filled the same way. Sills installed in two or more pieces running lengthwise need a positive mechanical anchor at each piece end — typically a stainless steel pin set into both the sill and the surrounding masonry — to prevent differential settlement between pieces. These pins are your insurance against the sill opening up a visible gap as the building moves through seasonal cycles.
Sealing and Long-Term Maintenance
Sealing exterior stone window sills is not optional — it’s the maintenance decision that separates 15-year installations from 30-year ones. The question isn’t whether to seal but which sealer chemistry matches your stone’s absorption characteristics. Dense limestone and granite with absorption rates below 0.5% per ASTM C97 work well with a penetrating silane-siloxane sealer applied after the mortar has cured a full 28 days. More porous stone types — those above 1% absorption — need a deeper-penetrating impregnator to achieve meaningful moisture protection.
Application technique matters as much as product selection. Apply sealer to a clean, dry surface — stone that’s been rained on within 72 hours will have elevated moisture content that prevents sealer penetration. Apply liberally, allow to penetrate for 5–10 minutes, then wipe off all excess before it hazes. Sealer left to dry on the surface creates a film that traps moisture beneath it rather than repelling it from above — the opposite of the intended outcome. Plan for reapplication every 2–3 years on fully exposed sills, or after any visible water absorption test shows the surface is no longer beading.
- Test water bead performance annually — pour a small amount of water on the sill; beading indicates active sealer protection
- Re-inspect flexible sealant joints at the frame perimeter every season — these degrade faster than the stone itself
- Clean with a pH-neutral stone cleaner only — acidic cleaners will etch limestone and travertine surfaces progressively
- Address any crack or chip at the drip edge immediately — even a minor edge fracture creates a water entry point
- In high-pollution environments, annual cleaning prevents acid-rain residue from etching the stone surface over time
Project Planning, Ordering, and Delivery Logistics
Coordinating your stone sill delivery with the installation schedule takes more planning than most project managers allocate. Stone sills are typically delivered on pallets by truck, and your site access conditions determine how close to the installation point your materials can actually land. A truck with a boom or pallet delivery capability can place material within 20–30 feet of most ground-floor access points, but upper-floor installations require you to plan your vertical lift equipment in advance — stone sills are dense and the weight adds up quickly per pallet.
Citadel Stone ships nationally, with lead times quoted at the time of order. Verify availability for your required dimensions early in the design phase, particularly if your project involves non-standard sill widths or custom edge profiles. Dimension stone lead times can stretch when production schedules are heavy, and waiting on sills can hold up window installation sequences that cascade through the entire project schedule. Build in a buffer — order confirmed stock before your installation window opens, not the week before.
Getting Stone Window Sill Specifications Right
To install stone window sills with confidence, you need to control four variables simultaneously: material density matched to your exposure conditions, mortar selection that respects the stone’s thermal movement characteristics, pitch and drainage geometry that keeps water moving away from the wall assembly, and joint detailing that accommodates the differential movement your building will produce across every season. Miss any one of these and you’re managing a slow failure, not a completed installation. As your project wraps up and you consider complementary natural stone elements elsewhere on the property, stone steps for outdoor level transitions offer another dimension of natural stone specification worth planning early. Sourced from Middle East quarries, these sills arrive dimensioned to reduce installation adjustments.
Related reading: stone window sills vs alternatives · natural stone window sill cost.