

Getting basalt setts installation right comes down to sequence, and most failures trace back to decisions made before the first sett is placed. The bedding layer depth, the edge restraint system, and the joint-filling method all interact — get one wrong and the others can’t compensate. This guide walks you through the complete basalt setts installation sequence, from subgrade assessment to final compaction, so your basalt sett surface performs across the years and through whatever temperature swings your climate delivers.
Related guide: How to Install Basalt Tiles: A Step-by-Step Guide for Floors, Walls, and Outdoor Spaces.
Subgrade and Base Preparation
Your base is carrying every load the surface will ever see, so the time you invest here determines everything that follows. Excavate to a consistent depth that accommodates your compacted aggregate base, your bedding layer, and the sett thickness — then add a margin for the compacted base to settle. Compact the native subgrade before placing any aggregate; a plate compactor run in two perpendicular directions gives you a true read on soft spots you need to address with additional fill or a geotextile membrane.
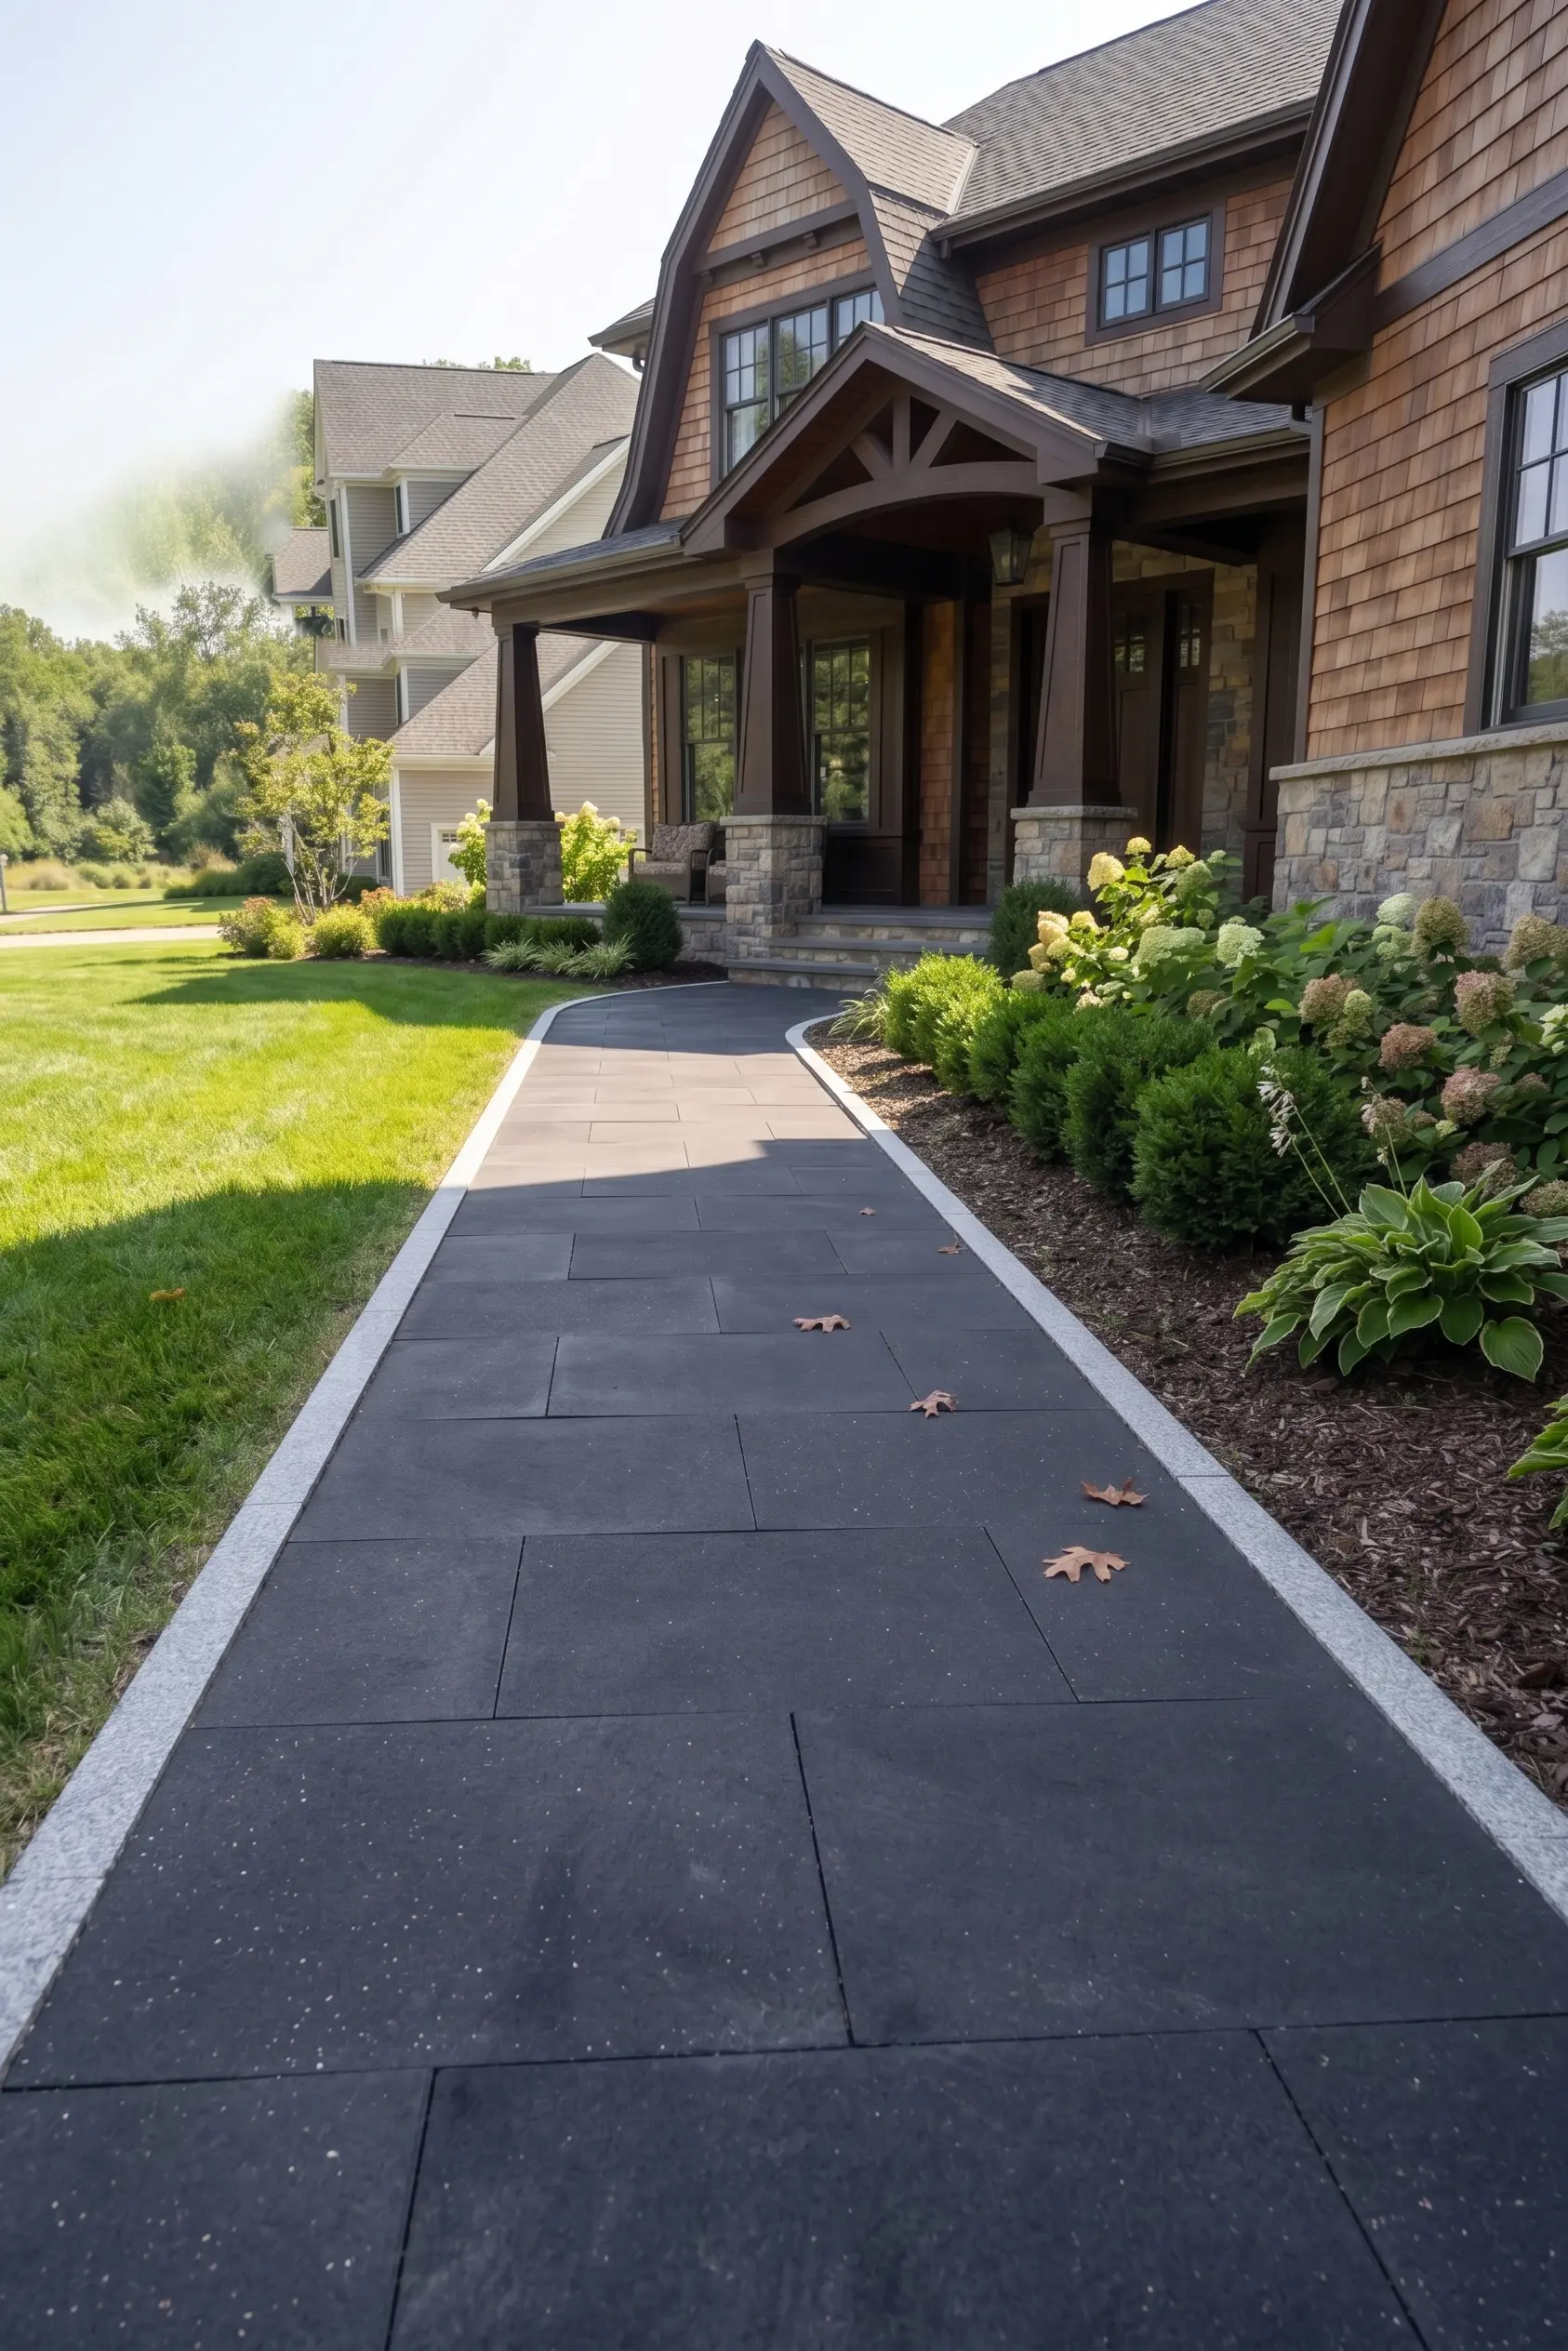
For pedestrian paths and garden areas, a well-compacted crushed-stone base works reliably. For driveways, use setts or cobbles at least 3.5 in (4 in standard) thick on a compacted base, or pavers 2 in (5 cm) or thicker mortar-bonded to a reinforced concrete slab. Never skip the compaction check at subgrade level — a soft patch under the finished surface will mirror itself as a dip within a single wet season, and lifting and relaying a section of hand-laid basalt setts is a far costlier correction than taking an extra hour at the start.
- Excavate to full design depth across the entire footprint before placing any aggregate
- Run a plate compactor over native subgrade in two perpendicular passes
- Mark any soft zones and address them with engineered fill or a non-woven geotextile layer
- Confirm base depth accommodates sett thickness, bedding layer and compacted aggregate in combination
- Check for adequate fall across the footprint — surface drainage should be designed in at this stage, not added as an afterthought
Selecting Your Basalt Setts
The geometry of the sett you choose governs both the laying pattern and the joint-filling strategy, so nail this decision before ordering. Standard setts run in rectangular formats — common nominal sizes include 4 in × 4 in, 4 in × 8 in, and 6 in × 9 in in face dimension — but the depth is what carries structural load. For pedestrian and garden use, 4 in depth is a well-established baseline. For heavier applications, specify the appropriate thickness and confirm it in writing with your supplier before the order is cut.
Basalt is an igneous volcanic rock, dense and fine-grained, and its structural characteristics have been the subject of consistent industry documentation. According to USGS basalt volcanic rock properties, basalt forms from rapid cooling of lava at or near the earth’s surface, which produces the tight, low-absorption mineral matrix that makes it well-suited to external paving. Its naturally dark colour absorbs heat during the day, and in climates with wide day-to-night temperature swings, that absorbed heat cycles out overnight. You’ll account for this in your joint-filling specification — more on that below. The Britannica entry on basalt rock formation provides additional geological context if you’re specifying this material for the first time and want to understand the mineralogy behind its durability.
Citadel Stone cuts basalt setts to order from slab stock at our selected quarries, which means you can specify the face dimension, depth and finish combination your project actually needs rather than working around pre-cut inventory. For projects requiring a complementary edging element or a larger cobble format, our basalt cobble units offer a compatible aesthetic in a rounded profile that pairs naturally with rectangular sett fields.
Edge Restraints and Perimeter Setting
Edge restraints do most of the structural work in a sand-set sett installation. Without a rigid perimeter, your field will creep outward under foot traffic and thermal cycling, opening joints at the centre and creating lip differentials at the edges. Concrete haunch edging — cast against the outer face of a perimeter row of setts — is the most reliable restraint for pedestrian and light-traffic areas. Steel or composite edge rail systems are faster to install but depend on pin spacing and ground conditions; in freeze-thaw climates, pins can heave with frost and leave the rail proud of the surface.
- Lay and set your perimeter setts first, before infilling the field
- Cast concrete haunch edging against the outer face of the perimeter row while the bedding is still workable
- Allow haunch edging to cure fully before beginning field laying
- In freeze-thaw regions, extend the haunch depth below the local frost line to prevent uplift
- Check perimeter setts for level and alignment every two metres — errors compound quickly once you begin the field
The perimeter also gives you your reference lines. Snap chalk lines across the compacted base from fixed perimeter points, and lay to those lines rather than eyeballing each row against the previous one. Natural stone has inherent dimensional variation within tolerance — laying to a chalk line keeps accumulated error from pushing you off-square before you reach the far end of the run.
Bedding Layer Depth and Material
The bedding layer is not a correction course for a poorly prepared base. Its job is to provide a consistent, adjustable surface that lets you set each sett to finished level without building in voids underneath. For sand-set basalt setts installation, a bedding layer of sharp, washed sand at a consistent compacted depth between 1 in and 1.5 in (25–38 mm) is the standard approach. Screeded with a straightedge, it gives you a flat reference plane at the right elevation for your sett depth.
Don’t add water to the bedding sand to make it easier to work with — wet sand compacts unevenly and can hold moisture against the underside of the sett, which accelerates any efflorescence and can cause localized heave in freeze-thaw conditions. The sand should be damp enough to hold a screed line but not so wet that it slumps. In hot, dry climates, shade the screeded area if you can — surface evaporation can dry the top of the bedding before you place setts, changing its consistency and making level-setting inconsistent across a large area.
- Use sharp, washed, angular sand — not soft building sand, which compacts too readily and shifts under load
- Screed to a consistent depth, check with a straightedge across the full bay width
- Do not over-wet: damp, not saturated
- Work in bays you can complete in a single session — don’t leave screeded areas overnight before placing setts
- Never use the bedding layer to compensate for base irregularities greater than about 10 mm — if the base is that far off, re-compact and re-grade before screening
Laying Pattern and Field Sequence
The laying pattern you choose affects the structural behaviour of the finished surface, not just its appearance. A running bond (offset half-sett each row) distributes load across multiple setts and is the standard choice for rectangular basalt setts in most applications. A herringbone pattern at 45 or 90 degrees offers additional interlock and is worth specifying in areas with vehicular turning movements or concentrated point loads — the interlocking geometry resists lateral creep more effectively than a straight running bond.
Work from the perimeter inward, always kneeling on a kneeler board placed on the already-laid setts to avoid disturbing the screeded bed ahead of you. Set each sett with a firm downward push, never a hammer blow at this stage — you’re seating it to the screeded surface, not driving it into the sand. Check level frequently across three or four setts at a time, not just between adjacent units. A straightedge run diagonally across the field will catch any rocking or lip before it’s buried under subsequent rows.
- Running bond for straight field areas — offset each row by half a sett length
- Herringbone at 45 degrees for driveways and turning areas
- Work from a fixed datum point (typically one corner of the field) toward the opposite corner
- Lay a full row before checking level — single-sett level checks miss accumulated error
- Cut setts to fill the perimeter infill with a disc cutter fitted with a diamond blade rated for dense igneous stone
Thermal Cycling and Joint Spacing
Here’s the detail that often gets skipped on basalt setts installation projects in regions with significant temperature range: basalt moves. Not dramatically, and not at the rate of concrete or steel — but across a climate that swings from subfreezing winter nights to hot summer afternoons, the cumulative effect of that thermal cycling on a tightly packed sett field is real. The dark, dense matrix of basalt absorbs solar radiation efficiently, so surface temperatures can run well above ambient air temperature on a summer afternoon. By midnight in a high-desert or northern continental climate, that same surface is shedding heat rapidly toward ambient.
The answer is in your joint specification. The Natural Stone Institute guidance on igneous stone paving recommends that natural stone paving joints are sized and filled to accommodate the material’s coefficient of thermal expansion. For a sand-set sett field, a nominal joint width of 3–5 mm is the practical working range — tight enough to resist edge chipping under foot traffic, wide enough to accommodate movement without the setts locking against each other and transmitting stress upward into the face. In freeze-thaw climates, water infiltration into a joint that’s too tight has nowhere to go when it freezes — the expansive pressure can chip the arrises of adjacent setts, a failure mode that reads as random surface spalling but is actually systematic joint failure.
Joint Filling Methods for Basalt Setts
Once the field is fully laid and compacted, joint filling is not a finishing step — it’s a structural one. Your choices are kiln-dried jointing sand, polymeric sand, or a cement-based mortar pointing mix, and each has a different performance envelope that should guide your specification decision.
Kiln-dried sand is the traditional choice for sand-set basalt setts installation. It flows readily into the joint under vibration from the plate compactor, packs the joint from the bottom up, and is easy to replenish after the first wet season, when it settles further. The limitation is that it has no binding strength, so in areas with strong surface water flow or regular sweeping, the top of the joint will erode and need periodic maintenance. Polymeric sand addresses this by including fine polymer binders that activate on wetting and cure to a semi-rigid joint. It’s more tolerant of surface wash, but you need to be precise during application — polymeric sand left on the face of basalt after activation leaves a visible haze, and basalt’s dark, smooth face shows it more clearly than a rougher stone would. Cement-based pointing into a sand-set field is not generally recommended — it creates a rigid joint in what is fundamentally a flexible system, and thermal cycling will crack the pointing before it cracks the stone.
- Kiln-dried sand: sweep in, vibrate, refill — repeat until joints are fully packed
- Polymeric sand: follow the manufacturer’s water-activation sequence precisely; clean the face immediately after application before water hits it
- Never use cement pointing in a sand-set field — the joint rigidity is incompatible with a flexible base system
- After the first significant rainfall, inspect joints across the field and refill any that have settled below the sett face
- In freeze-thaw climates, check joints each spring and refill any that have been disrupted by frost heave
Compaction and Final Level Check
Final compaction drives the setts into the bedding sand to their design seating depth and locks the field geometry. Use a plate compactor with a rubber or polyurethane pad fitted to the base plate — direct steel-plate contact on basalt setts can chip the arrises, particularly on a honed or brushed finish face. Make at least two passes in perpendicular directions across the full field, then re-check level with a long straightedge across the diagonal.
Any sett that rocks after compaction has a void beneath it — lift it, add a small amount of screeding sand to the low spot, and relay it. A rocking sett under foot traffic will continue to move and will eventually crack or shift its neighbours. The plate compactor also completes the joint-filling process by vibrating kiln-dried or polymeric sand deeper into the joints — so final compaction and joint filling should be done together, not sequentially. Sweep in the jointing sand, compact, sweep again, compact again. Repeat until joints are stable and no further settlement occurs under vibration.
Cobble Edging Installation
Cobble edging around a basalt sett field serves two purposes simultaneously: it provides the visual transition that defines the field boundaries, and — when set correctly — it reinforces the edge restraint system. Edging cobbles are typically set in a mortar bed rather than on sand, giving them a fixed position that resists the lateral pressure the sett field exerts outward under load. Set edging cobbles to a line and level that’s consistent with the finished sett surface, with a slight outward fall for drainage if the edging defines a bed edge.
Round cobbles used as edging present a face-setting challenge that rectangular setts don’t — you’re working with a curved surface and variable geometry. Set them to a consistent height rather than a consistent reveal, and accept that the transition from sett to cobble will have some natural variation. That variation is part of the character of a hand-laid cobble edge; trying to mechanically regularize it produces a look that contradicts the material’s nature. Use a 1:3 mortar mix for cobble edging — stronger mixes are harder to tool into the joint and don’t offer a meaningful structural advantage for pedestrian edging applications.
- Set cobble edging in mortar, not on sand, to provide a fixed lateral restraint for the sett field
- Match finished cobble height to finished sett surface with a consistent outward drainage fall
- Point cobble edging joints with a 1:3 mortar mix tooled to a recessed finish
- Allow mortar to cure fully before opening the edging area to foot traffic
- For curved edging runs, set individual cobbles to a string line on plan rather than to a straightedge — the string accommodates the curve geometry while keeping the alignment consistent
Sealing and Ongoing Maintenance
Basalt’s low absorption rate — verifiable by requesting the test report from your supplier against the relevant ASTM test method — means it takes up less water than many sedimentary stones, but sealing is still worth considering for areas exposed to oils, food or vehicle fluids. A penetrating impregnator sealer designed for dense igneous stone allows the stone to breathe while reducing the rate at which surface contaminants penetrate. Apply sealer to a clean, dry surface; basalt’s dark face makes contamination visible, so a clean application surface is easy to confirm visually.
For maintenance, reseal on the interval your sealer manufacturer states — this varies by product and exposure level, and following that schedule is more important than the sealer brand. Keep joints stable by refilling any settled areas after the first wet season and checking them annually thereafter. In freeze-thaw climates, inspect joints each spring: frost heave can displace joint sand in localized patches, and addressing those patches before the following winter prevents progressive joint deterioration.
Final Recommendations for Basalt Setts Installation
A basalt setts installation sequence is a chain of dependent decisions — each step depends on the quality of the one before it. Get the subgrade and base right, lay to chalk lines rather than by eye, choose a joint-filling method appropriate to your climate and traffic, and compact in both directions before calling the field complete. Cobble edging tied into mortar at the perimeter turns a good field installation into one that holds its geometry across years of loading and thermal cycling.
If you’re planning a broader basalt project that incorporates irregular formats alongside your sett field, basalt crazy paving design ideas offers another dimension of design thinking worth exploring before you finalize your layout. At Citadel Stone, we work through the specification details — depth, finish, face size and quantity — before the order is confirmed, so what arrives on the delivery is what the project drawing called for. Sourced from our selected Middle East quarries, Citadel Stone basalt setts are known for uniform depth that speeds hand-laying on a bedding layer.
Related reading: how basalt is formed · basalt rock type explained · brushed basalt finish.