

Installation Sequence Fundamentals
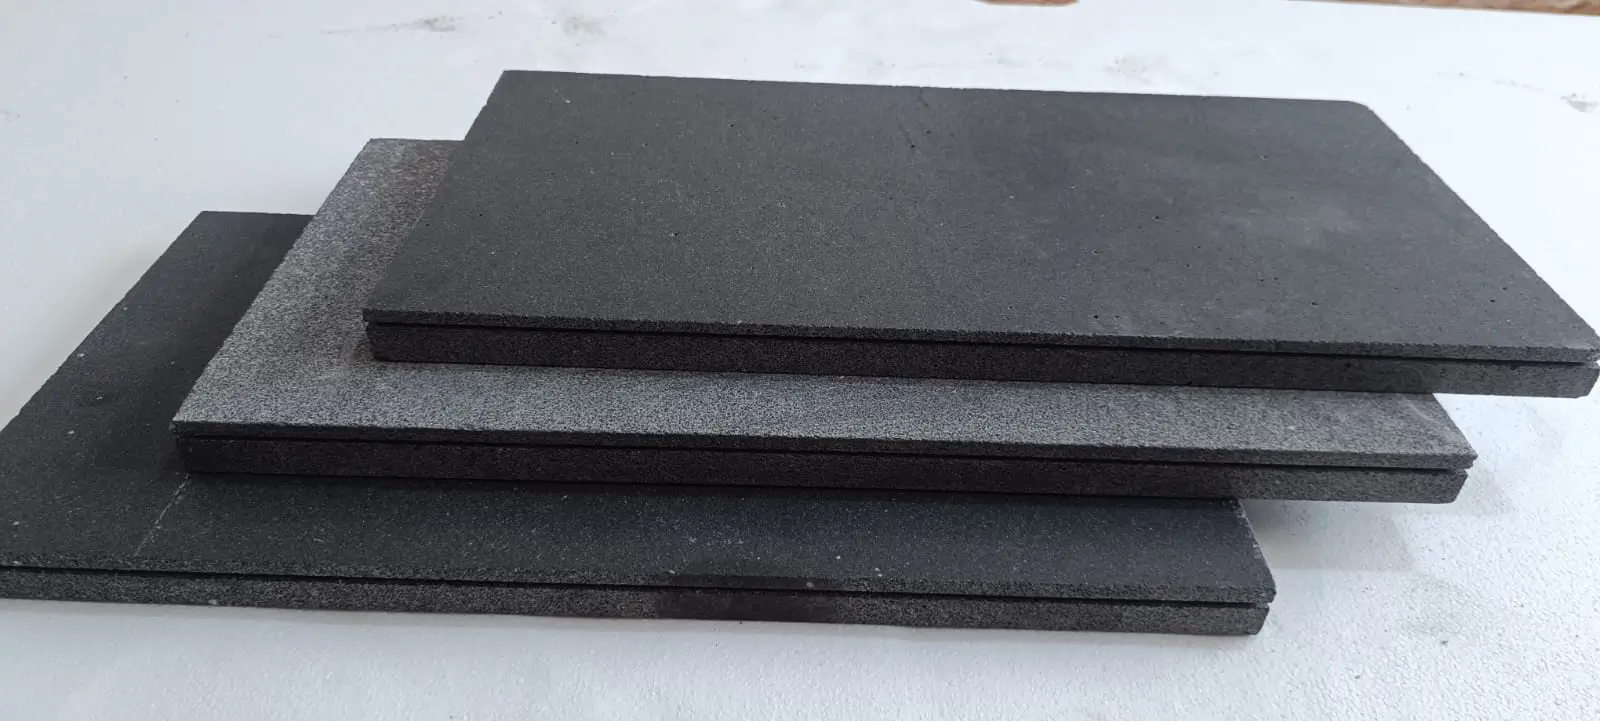
Black limestone walling produces its most durable results when the installation sequence is treated as a non-negotiable framework rather than a flexible guideline. The material’s density — typically 2,500–2,700 kg/m³ — means any deflection in the backing structure telegraphs directly to the face within the first freeze-thaw season. Your mortar bed needs to achieve full contact across the stone’s rear face; bridging voids as small as 15% of the backing area can concentrate stress enough to initiate delamination within two to three years. Getting the sequence right before a single stone goes up is where the performance gap between a 10-year wall and a 25-year wall actually forms.
Substrate and Backing Wall Preparation
Your backing wall material determines almost everything downstream. For poured concrete or concrete masonry unit substrates, a minimum 28-day cure is required before applying any black limestone walling — residual alkalinity above pH 12.5 attacks the stone’s calcium carbonate matrix and causes surface efflorescence that no sealer fully suppresses. Block work should be brush-bonded with a cement slurry coat and allowed to cure 24 hours before bedding begins.
Timber-framed substrates require cement board sheathing at minimum 12 mm thickness, mechanically fastened at 200 mm centres with stainless steel screws. Standard galvanised fasteners corrode at the wall cavity interface within five to eight years in humid conditions, generating iron oxide staining that migrates forward through the grout joints. The Masonry Society natural stone wall construction standards set out the structural performance requirements your backing system must satisfy before cladding work begins — reviewing these before specification avoids costly remediation later.
- Concrete substrate: test surface pH before bedding — target 9.0–10.5 range for safe adhesion
- CMU block: full mortar fill all cells in the courses immediately behind the cladding zone
- Timber frame: install vapour-permeable membrane between timber and cement board to manage moisture cycling
- All substrates: confirm plumb tolerance within 5 mm per 2 m before marking out courses
Selecting Thickness and Coursing Dimensions
Thickness selection for black limestone walling isn’t simply a structural decision — it’s also a visual one. The shadow line created by a 50 mm nominal thickness reads completely differently from a 30 mm panel, particularly in low-raking light. For exterior retaining or feature walls handling any lateral load, a minimum of 50–75 mm is the standard specification; purely decorative veneer applications can use 20–30 mm pieces anchored with mechanical ties rather than mortar weight alone.
Coursing height affects perceived scale. Standard ashlar courses at 75–100 mm height suit residential garden walls and entry surrounds. Taller courses at 150–200 mm read more boldly against contemporary architecture and work well when black limestone walling is used to anchor a minimalist planting scheme — clean horizontal lines against ornamental grasses or low-profile hedging create a composition that holds its structure across seasons. Random coursing, while visually rich, demands more careful sorting at the warehouse stage to maintain consistent joint lines, and you’ll typically see 8–12% more material waste versus dimensioned ashlar.
Mortar Specification for Dark Stone
This is where most specifications fall short. Standard OPC mortar in a 3:1 sand-to-cement ratio produces a pale grey joint that visually fragments a black limestone wall face — the very aesthetic continuity the material is chosen to create. A pigmented mortar matched to the stone’s ground colour is essential. For dark-toned limestone this typically means a carbon black or iron oxide blend achieving a joint value no lighter than N3 on the Munsell scale.
Mortar strength is equally critical. An M4 designation (approximately 4 MPa) suits most decorative walling; structural retaining applications should specify M6 or above. Critically, do not over-strength: a mortar significantly harder than the stone itself prevents differential movement from dissipating through the joint, and the crack runs through the stone face instead. The IBC Chapter 21 masonry and veneer building code requirements outline the prescriptive minimum standards for mortar type selection relative to stone classification and exposure condition — your specification should reference these directly.
- Use pre-blended pigmented mortars where joint colour consistency is critical across the full wall run
- Keep water-to-cement ratio below 0.55 to limit efflorescence risk
- Recess joints 5–8 mm for a shadow line that reinforces the stone’s dark tone
- Avoid flush-struck joints on exterior walls — water sits in the joint and accelerates staining
Laying Sequence and Course Control
The laying sequence should always start from a datum course established with a laser level — not a string line alone. String lines deflect under their own weight across runs longer than 4 m, introducing a barely perceptible bow that becomes obvious once the wall is complete and lit raked. Set your first course in a full mortar bed, checking level in both directions before any subsequent courses proceed. Allow this datum course to achieve initial set (typically four to six hours at 20°C) before loading the next course on top.
Work in lifts no greater than 600 mm per day on exterior walls. Green mortar below that height cannot carry the compressive load of additional courses without squeezing out at the joints, which compromises both aesthetics and bond. In warm, dry conditions — above 30°C with low humidity — mist the stone’s backing face before bedding to slow suction; dry black limestone draws water from mortar aggressively enough to cause premature stiffening before full bond develops. As you plan material logistics, verify warehouse stock availability for the full run before starting — colour variation between batches of natural stone is real, and mixing warehouse intakes mid-project creates banding that’s difficult to disguise.
Black Limestone Hearths and Interior Applications
Transitioning from exterior walling to interior applications, black limestone hearths represent one of the highest-profile uses of this material. The thermal performance consideration here is different from outdoor work — radiant heat cycling rather than freeze-thaw — but the installation discipline is equally demanding. Hearth surrounds in black limestone wall panels should be bedded in heat-resistant adhesive rated to at least 120°C for any section within 300 mm of a firebox opening. Standard cement-based adhesive fails progressively in thermal cycling above 70°C, producing micro-cracking at the bond line that eventually causes whole-panel displacement.
For direct hearth slab applications, a honed finish at 600-grit provides practical maintenance characteristics — it’s dense enough to resist ash and ember marking but not so reflective that it shows every fingerprint. A polished finish looks exceptional on installation day but becomes a maintenance liability within three to six months of active use. Clients appreciate this honest trade-off upfront more than they appreciate the initial gloss after it’s already showing wear. Explore the range of interior-facing options through Citadel Stone dark stone cladding to match walling and hearth specifications across a unified interior scheme.
Design Integration and Landscape Context
Black limestone walling doesn’t exist in isolation — its impact depends heavily on how it anchors within a broader design composition. The material’s cool charcoal-to-near-black tonal range integrates naturally with modern minimalist landscapes: against concrete planters, architectural steel edging, and structural plantings like Phormium or ornamental bamboo, it reads as deliberately composed rather than decorative. In more traditional garden settings, the same stone softens considerably when paired with warm stone paving, timber pergola elements, and loose-structured planting.
The relationship between black pebbles and walling stone is worth considering deliberately. Using black pebbles as mulch or groundcover material in the immediate planting beds adjacent to a black limestone wall creates tonal continuity that makes both elements read as part of a single design intent rather than independently selected materials. The contrast between the wall’s flat planes and the black pebbles’ irregular reflective surfaces adds texture without introducing competing colour. For contemporary landscape compositions, this pairing is one of the more effective ways to build visual weight in a scheme without relying on planting alone.
Sealing, Protection, and Ongoing Maintenance
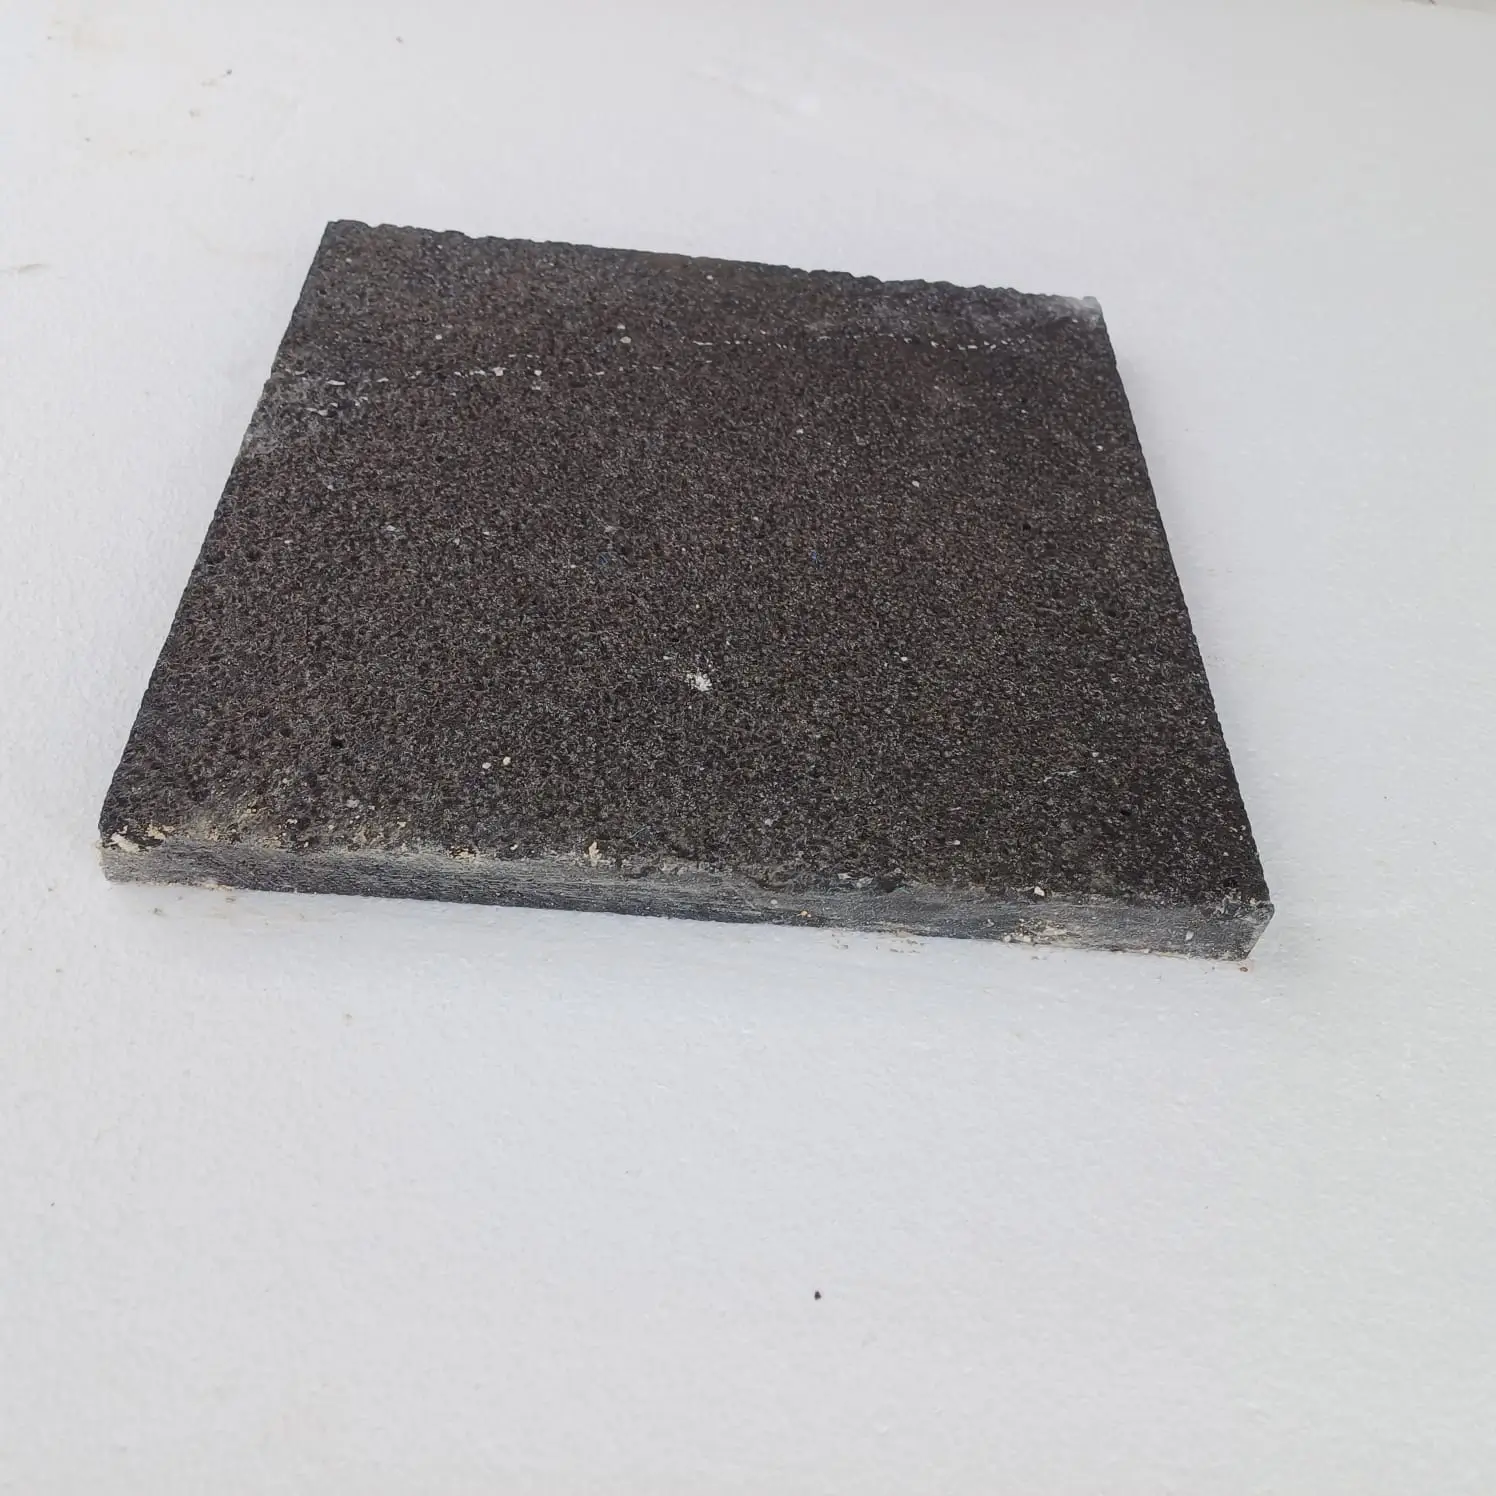
Black limestone walling benefits from an impregnating sealer applied before any grouting or pointing commences — this protects the stone face from grout haze, which on dark stone is dramatically more visible than on lighter materials and extremely difficult to remove without surface abrasion. Apply the sealer to the dressed face only, keeping it clear of the bedding face and joint arrises to preserve mortar bond.
The Natural Stone Institute limestone technical specifications identify limestone’s absorption characteristics as the primary factor governing sealer selection. For exterior walling applications, a penetrating silane-siloxane blend offers the best balance of water repellency and vapour permeability — film-forming sealers trap moisture behind the face in freeze-thaw regions, generating spalling pressure that no stone handles well. Plan to reseal every three to five years depending on weathering exposure, and budget for an annual inspection to catch any joint failures before water infiltration begins.
- Apply impregnating sealer prior to grouting — not after — to prevent grout haze on dark stone faces
- Use silane-siloxane sealers on exterior walls; film-forming products are limited to sheltered interior cladding
- Inspect pointing annually — failed joints are the primary moisture entry point in walling systems
- Clean with pH-neutral stone cleaner only — acidic cleaners etch calcium carbonate surfaces and dull the finish permanently
Delivery Logistics and Site Handling
Natural stone walling arrives on pallets at typically 800–1,000 kg loaded weight — site access needs to accommodate a truck with appropriate reaching capacity, particularly for rear or side yard installations where crane offload or boom-lift access may be required. Confirm site access dimensions with your delivery coordinator before the truck is dispatched; a failed delivery that requires reloading adds cost and creates scheduling delays that ripple through the installation sequence.
Store pallets on level, firm ground with timber dunnage between the base pallet and any soft substrate. Black limestone walling’s honed or sawn faces scratch easily under site conditions; keep plastic slip sheets between stacked pieces and cover pallets against cement dust contamination, which causes white residue on dark stone that requires acid-free poultice treatment to fully clear. Citadel Stone coordinates nationwide delivery scheduling to match your installation programme — confirming your sequence timeline early helps align truck dispatch with your laying schedule rather than creating site storage pressure.
Professional Summary
The full installation sequence for black limestone walling — substrate preparation, mortar specification, pigmented jointing, thermal and moisture management, and protective sealing — is where the material’s performance is made or lost. The stone itself is inherently capable: dense, dimensionally stable, and visually striking in both landscape and architectural contexts. What determines long-term outcomes is the precision of the supporting system around it. Specification decisions at the pre-installation stage carry more weight than any remedial action available after the wall is up and showing problems. As you complete your project specification, related edge and finish details for natural stone applications are covered in bullnose edge and finish options for stone, which addresses how termination details affect both aesthetics and weathering performance across stone installations. Sourced via established quarry channels, black limestone walling from Citadel Stone is selected for tight color banding across each course.
Related reading: Stone Tiles vs Deck Tiles: Patio Performance Compared · Fixing Black Stains on Limestone: A Maintenance Guide · black limestone floor tile.