

Structural failure in a basalt block retaining wall almost always traces back to one overlooked variable — hydrostatic pressure building behind the wall because drainage was underdimensioned for the actual catchment area. Get the drainage geometry right before you settle on block coursing, mortar joints, or batter angle, and the rest of the specification falls into place cleanly. Basalt block retaining walls earn their reputation for decades of service life precisely because the material’s density and tight grain structure resist the lateral stress that destroys weaker masonry — but density alone cannot compensate for poor drainage engineering.
Why Basalt Suits Retaining Wall Applications
Basalt is a fine-grained volcanic igneous stone with a mineralogy that makes it exceptionally durable under sustained compressive and lateral loading. Its low absorption rate means groundwater working through backfill has limited opportunity to penetrate the block face, cycle through freeze-thaw, and spall the surface — a failure mode that ends masonry walls built from more porous sedimentary materials far sooner than expected. For retaining applications specifically, you want a material that holds its face integrity over decades of differential moisture conditions, and basalt block delivers that in a way that limestone and concrete masonry rarely match for long-term aesthetics.
The grain structure also means the cut face stays dimensionally stable. Blocks dressed to a consistent bed depth give you reliable coursing, which matters when you’re building to a specific batter or incorporating step-back geometry on a tiered wall. According to USGS basalt volcanic rock properties, the dense, interlocking crystal matrix of basalt contributes to the stone’s capacity to carry substantial compressive load — a quality that directly supports wall construction where blocks must bear the weight of courses above while resisting outward thrust from retained soil.
Citadel Stone cuts basalt blocks to order from selected quarries, so your block dimensions and face finish are specified to your drawings rather than adapted from a stock size that almost fits. That distinction matters on retaining wall projects where consistent bed height controls the structural geometry of every course.
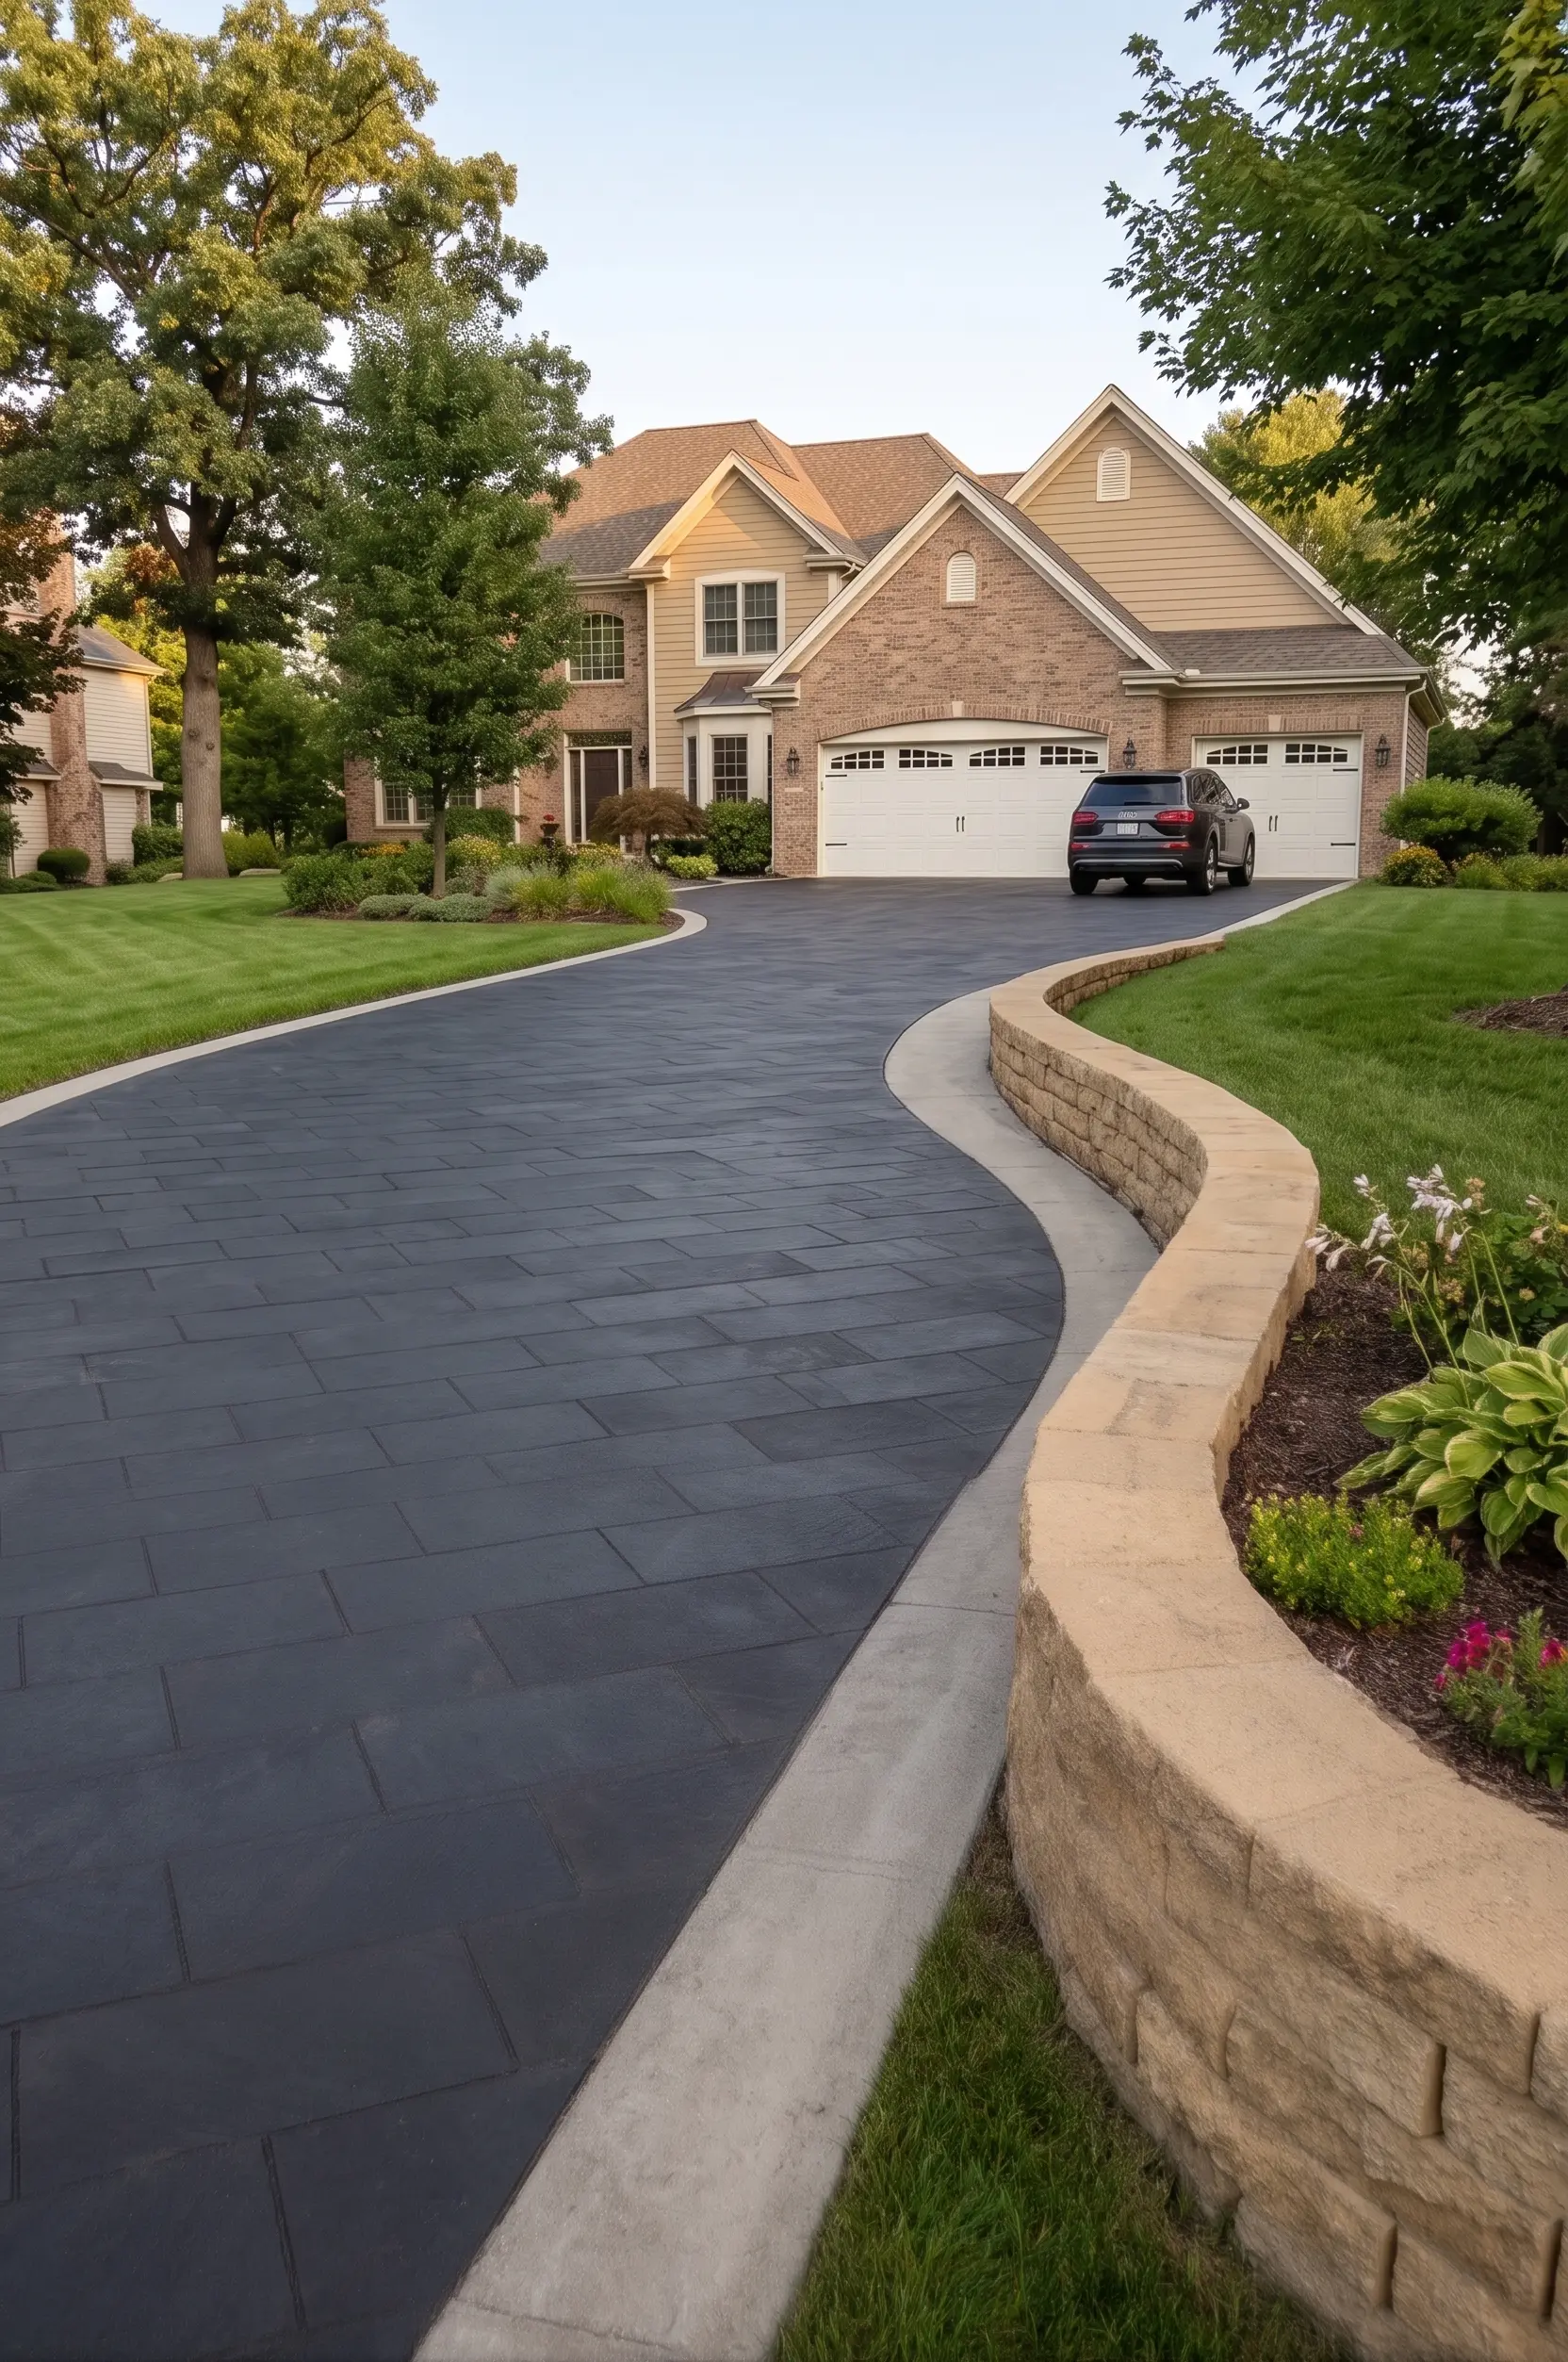
Site Assessment Before You Specify a Block
Your wall design starts with a site assessment that goes well beyond measuring the height of retained earth. The three variables that most often get underweighted are the catchment area draining toward the wall, the soil type behind it, and the actual slope geometry — and each one changes the drainage specification significantly.
- Identify the full catchment area feeding water toward the wall face — a hillside installation may collect runoff from a much larger upslope zone than the immediate backfill suggests
- Classify the retained soil: clay-heavy backfill holds water and generates greater lateral pressure than granular fill, and it changes the drainage layer specification entirely
- Measure the grade change accurately — a wall retaining 900 mm of soil on a level site carries a fundamentally different load profile than the same wall on a sloped site where retained height varies along the run
- Note any tree root systems within the influence zone — roots working through a drainage aggregate layer can displace it over time, reducing drainage capacity
- Check for underground services before you specify your footing depth and drainage trench position
Elevation changes deserve particular attention when you’re planning a basalt block retaining wall on varied terrain. A wall stepping across a grade will have varying retained heights along its length, which means the hydrostatic load is not uniform — your engineer needs to design for the worst-case section, and your drainage specification needs to account for the fact that lower sections of the wall receive concentrated flow from uphill reaches.
Drainage Design: The Specification That Decides Everything
The drainage layer behind a basalt block retaining wall is not a secondary detail — it is the primary structural defence against the hydrostatic pressure that topples walls. A correctly specified drainage column keeps water moving through and away from the backfill before it can build lateral pressure against the block face.
- Use clean, well-graded aggregate for the drainage column immediately behind the wall — gap-graded material that allows fine particles to migrate through will progressively lose its drainage capacity
- Size the drainage column depth relative to the retained height and your soil permeability assessment — your geotechnical engineer determines the minimum column width for your specific soil and catchment conditions
- Install a perforated collection pipe at the base of the drainage column, pitched to daylight or to a collection point — no pipe means no guarantee that water actually exits the system
- Wrap the aggregate drainage layer in geotextile filter fabric to prevent fine soil migration into the drainage column over time
- Provide weep holes through the base course at regular intervals as a secondary drainage path — these are an insurance measure, not a substitute for a drainage column
The detail that specifiers most commonly miss on hillside installations is the need for an upslope interceptor drain. On sloped sites, a French drain or cut-off drain positioned upslope of the wall intercepts surface and subsurface water before it reaches the backfill zone. Without it, a heavy rainfall event routes the entire uphill catchment directly behind the wall in a short period — a drainage column designed for normal seepage conditions can be overwhelmed. Get an interceptor drain into the design before you finalise your drainage column sizing.
Footing and Base Course Preparation
Your footing depth is governed by two independent requirements: bearing capacity of the founding soil and, in freeze-thaw regions, the local frost depth. Whichever requirement produces the deeper footing controls the specification — you cannot average them or choose the shallower one for convenience.
For a gravity basalt block retaining wall, the base course is typically buried below finished grade. This is not just about aesthetics — the buried course anchors the wall against the outward sliding force that the retained soil imposes at the base. The proportion of buried depth to exposed wall height is a structural calculation, not a rule of thumb, and it belongs on the engineering drawings for any wall retaining more than the minimum height your local building code defines as requiring engineering sign-off.
- Compact the footing trench base to a firm, stable bearing surface — never set blocks on loose disturbed soil, even temporarily
- Use a lean concrete footing or a compacted granular pad of consistent thickness under the base course — this distributes point loads from the base blocks and provides a level starting plane for accurate coursing
- Check the base course for level and line before any mortar or subsequent course goes on — errors in the base course compound with every course above them
- In areas where the founding soil has high clay content or known settlement risk, your engineer may specify a reinforced concrete strip footing rather than a granular pad
According to Natural Stone Institute igneous stone paving technical standards, specifying the correct bearing surface for dense igneous stone like basalt is foundational to long-term wall performance — the material’s own strength is not the limiting factor; the substrate beneath it is. Keep that in mind when site conditions make footing preparation feel like over-engineering.
Block Sizing, Coursing, and Batter
Basalt block retaining walls are typically built with a batter — a slight rearward lean into the retained slope. Batter improves the wall’s resistance to overturning by shifting the resultant force closer to the centre of the wall base, and it also gives the finished wall a visually planted, confident appearance that a perfectly vertical face doesn’t achieve. Your engineer specifies the batter ratio; common practice for gravity walls ranges from roughly 1:10 to 1:6 depending on wall height and soil conditions, but the calculation drives the specification, not the convention.
Block sizing affects both the structural performance and the installation pace. Larger blocks mean fewer joints, fewer mortar beds to manage, and a more monolithic appearance — but they also mean heavier lifts and more precise crane or lifting equipment positioning on site. Discuss your truck access and lifting constraints with your installation team before you lock in block dimensions, because a block that works perfectly structurally may be impractical to handle in a confined site access scenario.
- Specify blocks with consistent bed depth for reliable coursing — variation in bed depth across a delivery forces mortar joints of unequal thickness, which affects both appearance and structural continuity
- Running bond (offset joints by half a block length) is standard for gravity retaining walls — stacked joints concentrate stress at vertical planes and are not appropriate for load-bearing applications
- Corner and return blocks should be specified at the same time as face blocks — cutting corners on-site wastes time and produces variable face quality
- Specify the face finish to suit the project aesthetic: a split face finish produces a rugged natural texture that suits landscape retaining walls; a bush-hammered or sawn face suits more formal architectural applications
You can review our basalt block range for the face options and nominal dimensions we cut to order — bring your project drawings and we’ll confirm the specification that fits your coursing layout and site conditions.
Mortar Specification and Joint Design
The mortar specification for a basalt block retaining wall deserves more attention than it typically receives on project documents. A mortar that is too strong relative to the blocks creates a rigid composite that cracks when the wall experiences any differential settlement — and some settlement is always present in the early life of a retaining structure as the backfill consolidates. A mortar calibrated to be slightly weaker than the block allows any movement to express as hairline joint cracking rather than block fracture, and joint repointing is straightforward maintenance compared to replacing split blocks.
The joint width also matters structurally. Nominal 10–15 mm joints give you enough mortar bed to level and level-check each course without excessive filler, and they absorb minor dimensional variation between blocks. Joints tighter than that demand extremely consistent block dimensions and skilled laying technique — both achievable, but worth specifying explicitly rather than assuming.
- Specify a mortar mix suitable for below-grade and saturated conditions — the drainage layer protects the wall, but mortar joints in the lower courses will experience moisture consistently
- Rake joints to a consistent depth if you want shadow lines in the finished face — flush-pointed joints read as flatter and more uniform, which suits formal settings
- Avoid excessive mortar squeeze-out on the face — basalt’s dark colour makes mortar staining highly visible, and it is difficult to remove cleanly after it has cured
- Allow adequate mortar cure time before backfilling — loading a freshly mortared wall before the mortar reaches working strength can displace courses before they are locked
Backfilling and Compaction Sequence
The backfilling sequence is where many otherwise well-specified basalt retaining wall projects are damaged during construction. Backfilling and compacting in lifts that are too deep, or running compaction plant too close to the wall face, generates lateral pressure that can displace the wall before the mortar has fully cured or before the wall geometry achieves its full structural resistance. The sequence is as important as the material specification.
Your drainage aggregate layer goes in first, placed carefully against the back face of the wall before general backfill. Disturbing the drainage layer during general compaction defeats its purpose. Use hand-operated compaction equipment within a metre of the wall face and reserve heavy plate compactors for the zone beyond that boundary.
- Place and compact backfill in lifts no deeper than your compaction equipment’s stated layer depth — typical for hand-operated equipment is 150–200 mm per lift, confirmed by the equipment manufacturer’s data
- Do not use excavated clay or highly plastic soils as backfill directly against the drainage layer — use granular fill to maintain drainage performance
- Check the wall face alignment and batter at each lift — if the wall is moving, stop compacting and assess the situation before continuing
- Finish the backfill surface with a graded layer that directs surface water away from the wall rather than toward it — positive drainage away from the wall at surface level reduces the long-term burden on the subsurface drainage system
On steep terrain projects, gravity is working against the compaction sequence in ways that flat-site work rarely reveals. A hillside installation where backfill is placed on a sloped founding surface needs careful compaction sequencing to prevent the fill from sliding downslope before it consolidates. Your geotechnical engineer’s compaction specification should be followed precisely — field judgement is not a substitute for a compaction plan on a sloped site.
Sealing and Long-Term Maintenance
Basalt block retaining walls used in exposed landscape settings benefit from a penetrating sealer applied to the exposed face. The material’s absorption is low relative to limestone or sandstone, but the face is still subject to moss, algae, and surface staining from soil splash — particularly in the lower courses that sit closest to finished grade. A penetrating impregnating sealer reduces surface absorption without altering the stone’s appearance significantly, and it makes periodic cleaning far more effective.
The resealing interval depends on the sealer product, the exposure conditions, and the porosity of the specific basalt batch — follow your sealer manufacturer’s stated interval rather than a generic rule. In high-rainfall or heavily shaded environments where biological growth is aggressive, you may find that interval is shorter than the manufacturer’s published figure for average conditions. Check a small area of the face annually to assess whether water is beading on the surface — when it no longer beads, the sealer is reaching the end of its effective life and the next application is due. The Masonry Society natural stone wall construction standards provide broader context for maintenance regimes applied to natural stone masonry in exposed conditions.
- Clean the face before resealing — sealed-over biological growth or soil staining shortens the effective life of the new sealer coat
- Inspect mortar joints annually and repoint any joints that show cracking, shrinkage, or erosion — open joints allow water entry behind the face and reduce the wall’s long-term performance
- Check weep holes annually and clear any blockages — blocked weep holes defeat the drainage system’s secondary relief function
- Monitor the backfill surface behind the wall for settlement — if the surface drops noticeably, the backfill may be migrating into the drainage aggregate, and the geotextile filter fabric may need inspection
Engineering and Building Code Requirements
Your local building code determines the height threshold above which a retaining wall requires an engineer’s sign-off, and in most jurisdictions that threshold is lower than many property owners expect — typically 900 mm to 1200 mm of retained height triggers a permit and engineering requirement. The IBC and local amendments govern structural masonry design, and natural stone masonry walls fall within that scope. Check your permit requirements early, because engineering specifications often drive changes to block sizing, footing depth, and drainage design that are far easier to accommodate before construction starts than after.
Per IBC Chapter 21 natural stone masonry and veneer building code requirements, the design of natural stone masonry retaining walls must account for lateral earth pressure, surcharge loads, drainage, and the structural properties of the masonry units and mortar — all of which need to be documented in the engineering drawings before a permit is issued. Bring your basalt block specification to that conversation, because block dimensions and face finish affect the structural assumptions in the engineering model.
- Surcharge loads — driveways, parking areas, or structures near the top of the retained wall — significantly increase the lateral pressure calculation and may require a heavier block size or batter angle
- Seismic zones add a lateral design load requirement that can change the wall geometry substantially compared to a gravity-only design
- Some jurisdictions require a geotechnical report as part of the permit application for walls above a minimum height — budget time for that report in your project schedule
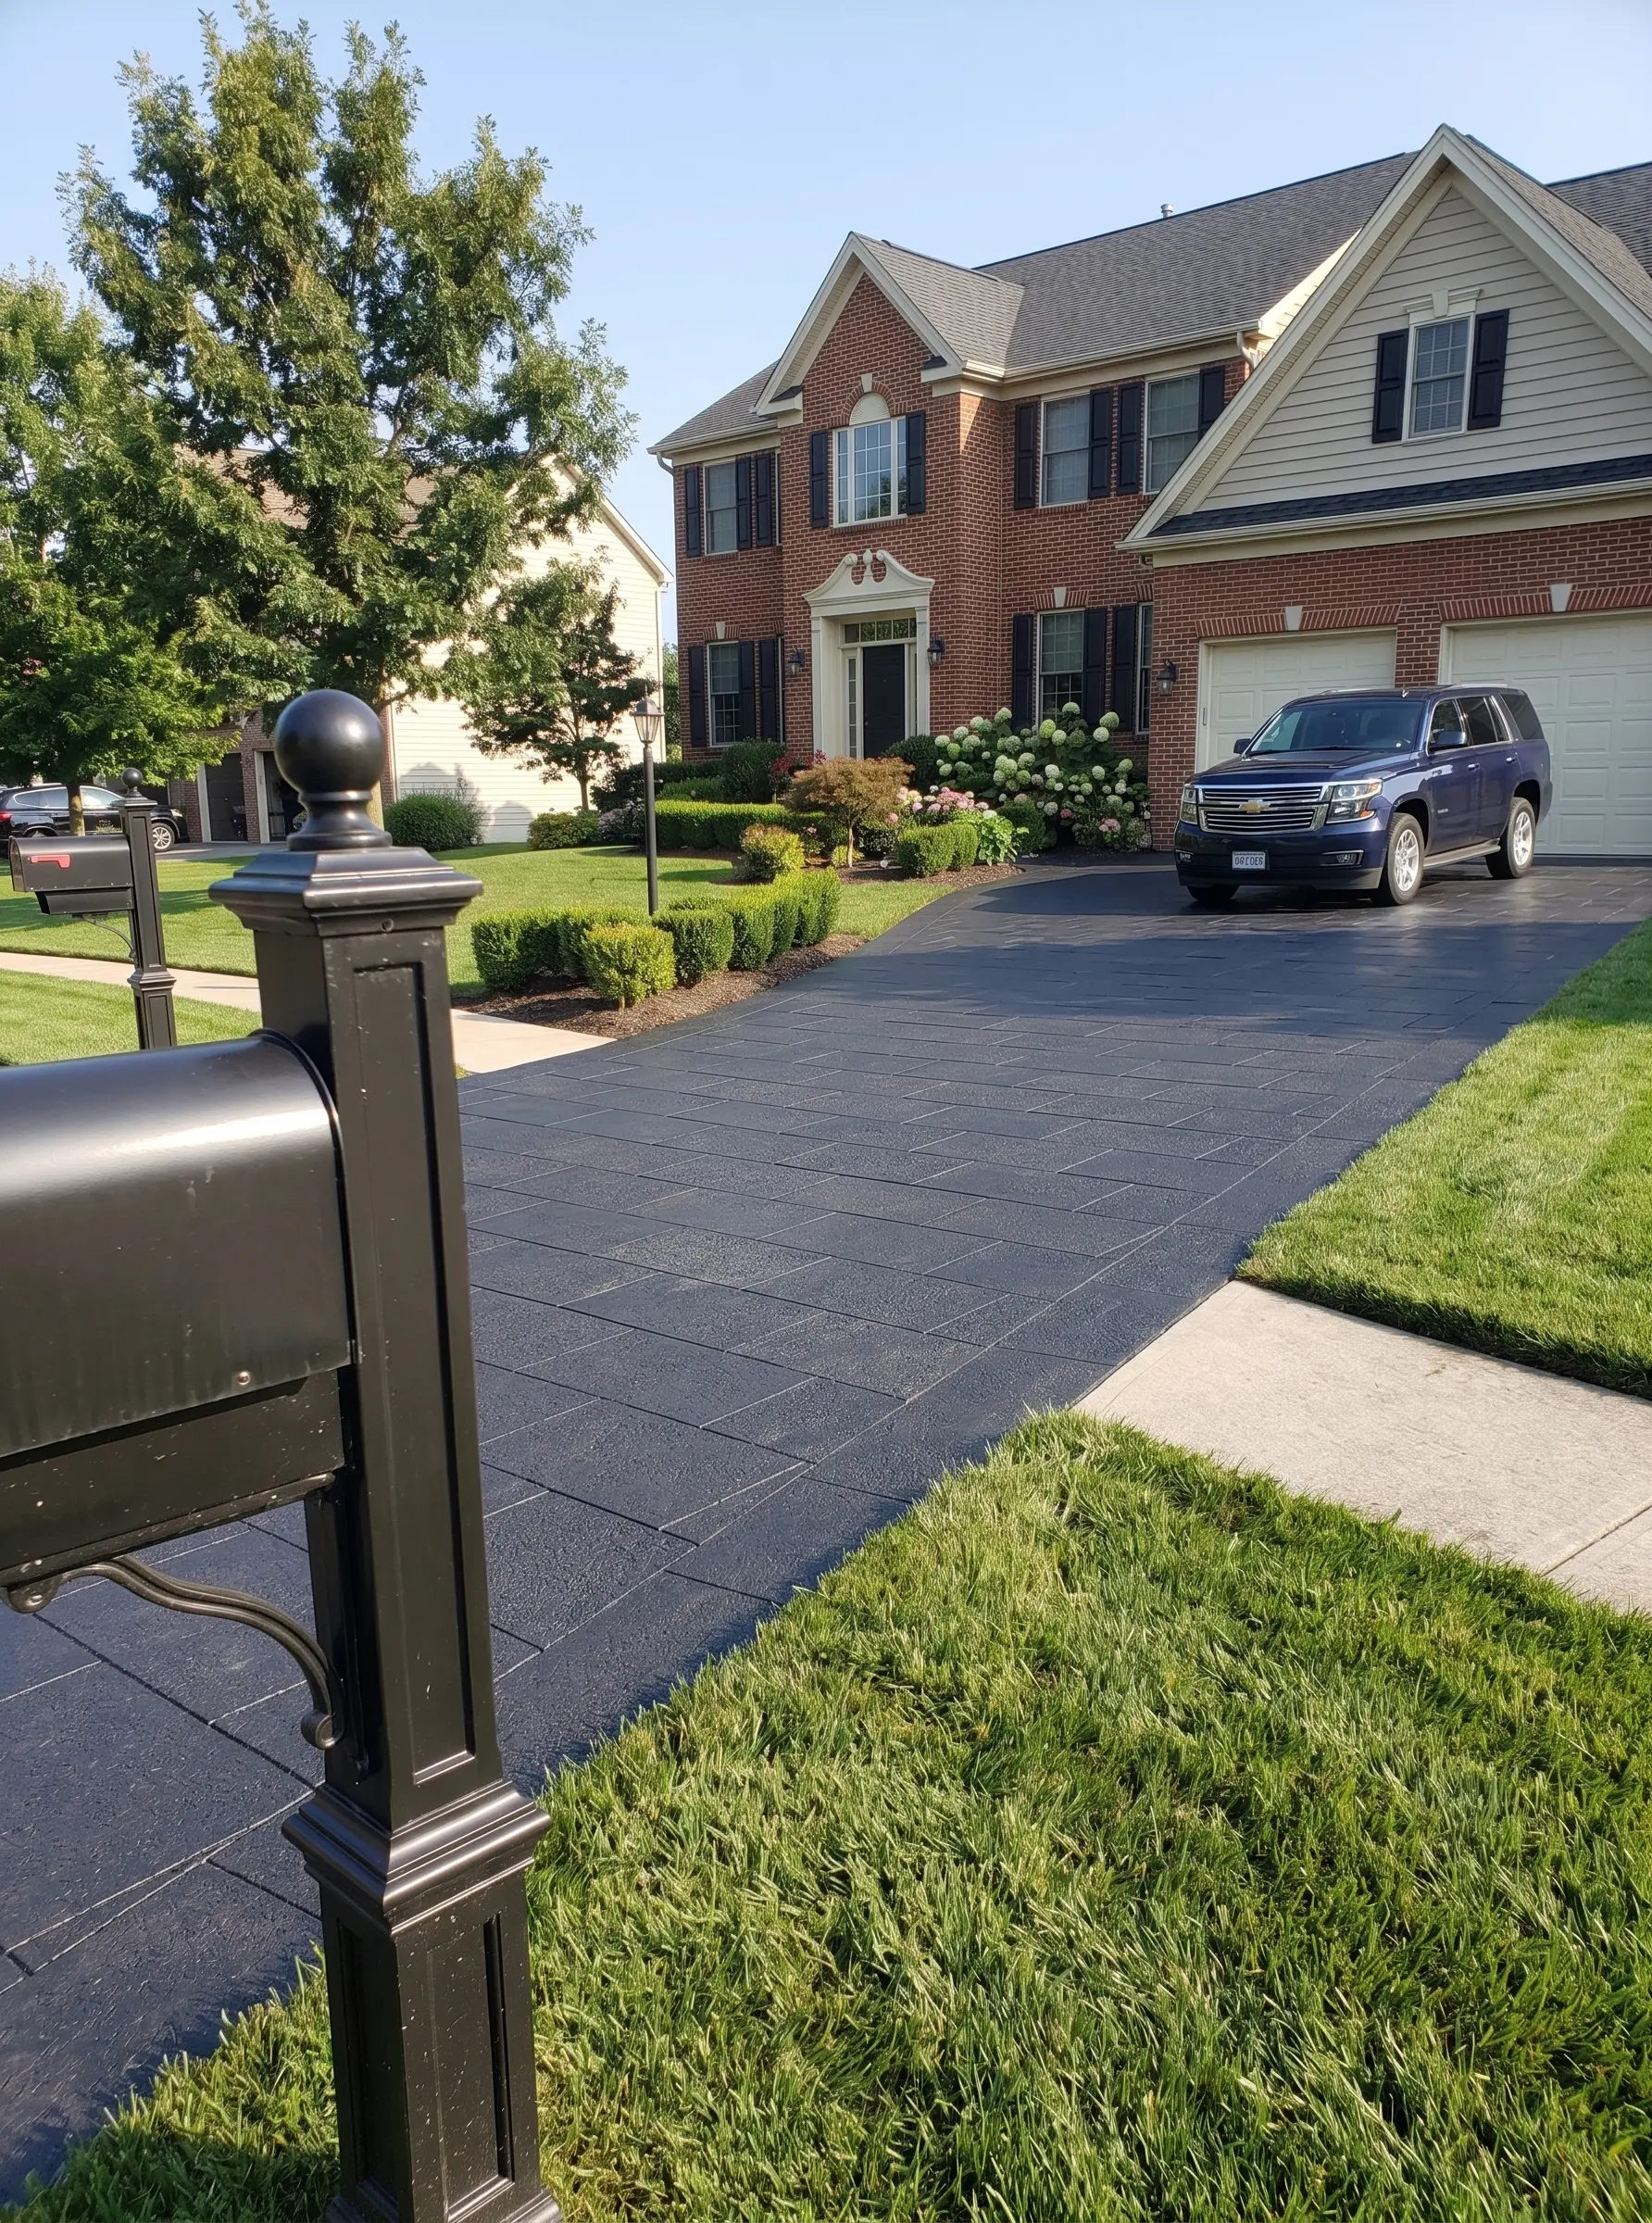
- For driveways and vehicle areas adjacent to or above a retaining wall, use setts or cobbles at least 3.5 in (4 in standard) thick on a compacted base, or pavers 2 in (5 cm) or thicker mortar-bonded to a reinforced concrete slab — never a thinner slab or tile in a vehicle-load zone
Moving Forward
Every decision in a basalt block retaining wall project — from drainage design and footing depth to block sizing, mortar specification, and backfill sequence — connects back to the site’s specific loading conditions, soil type, and terrain. There is no universal specification that transfers cleanly from one site to the next, which is why the site assessment and engineering review come before the material order, not after it. Basalt block retaining walls earn decades of service life when the structural and drainage design is done properly; the material itself is the easy part of the specification once those fundamentals are resolved.
For ongoing care of your stone once the wall is complete, basalt care and maintenance guidance covers the cleaning and sealing protocols that keep the face looking its best across years of weathering. Plan your care schedule before the project closes out, not as an afterthought when the first staining appears. Basalt blocks from Citadel Stone give a retaining wall a dark, solid face, cut to order from our selected Middle East quarries.
Related reading: basalt raised garden beds · basalt cobblestone sizes · basalt cobble drainage channel.