
Base preparation determines whether driveway pavers installation holds up for decades or begins rocking and shifting within a few seasons — and yet it’s the step most project timelines compress first. The thickness and compaction of your crushed-stone base, the bedding layer depth, and the joint-filling method interact with each other in ways that a rushed schedule doesn’t accommodate. Getting those variables right before the first paver is set is what separates an installation that settles evenly from one that telegraphs every mistake through lippage and cracked edges.
Related guide: How to Install Paving Stones Driveway Correctly.
Format and Thickness: Where Every Driveway Spec Begins
Your format choice is not purely aesthetic — it determines structural performance. For driveways, use setts or cobbles at least 3.5 in (4 in standard) thick on a compacted base, or pavers 2 in (5 cm) or thicker mortar-bonded to a reinforced concrete slab. Thinner tiles and slabs — the 1¼ in (3 cm) profiles that work well for patios and pool decks — are not in the equation here. Specifying the wrong thickness on a vehicle-load surface is the fastest way to generate warranty calls and callbacks.
Driveway paver patterns influence more than visual rhythm. A running bond and a herringbone pattern distribute point loads differently across the field. Herringbone — either 45° or 90° — locks units together through interlocking geometry, which matters on a surface that receives repeated braking forces. A straight stack bond is the weakest structural choice for a trafficked area, regardless of stone type. Your layout decision should follow the load pattern, then the aesthetic.
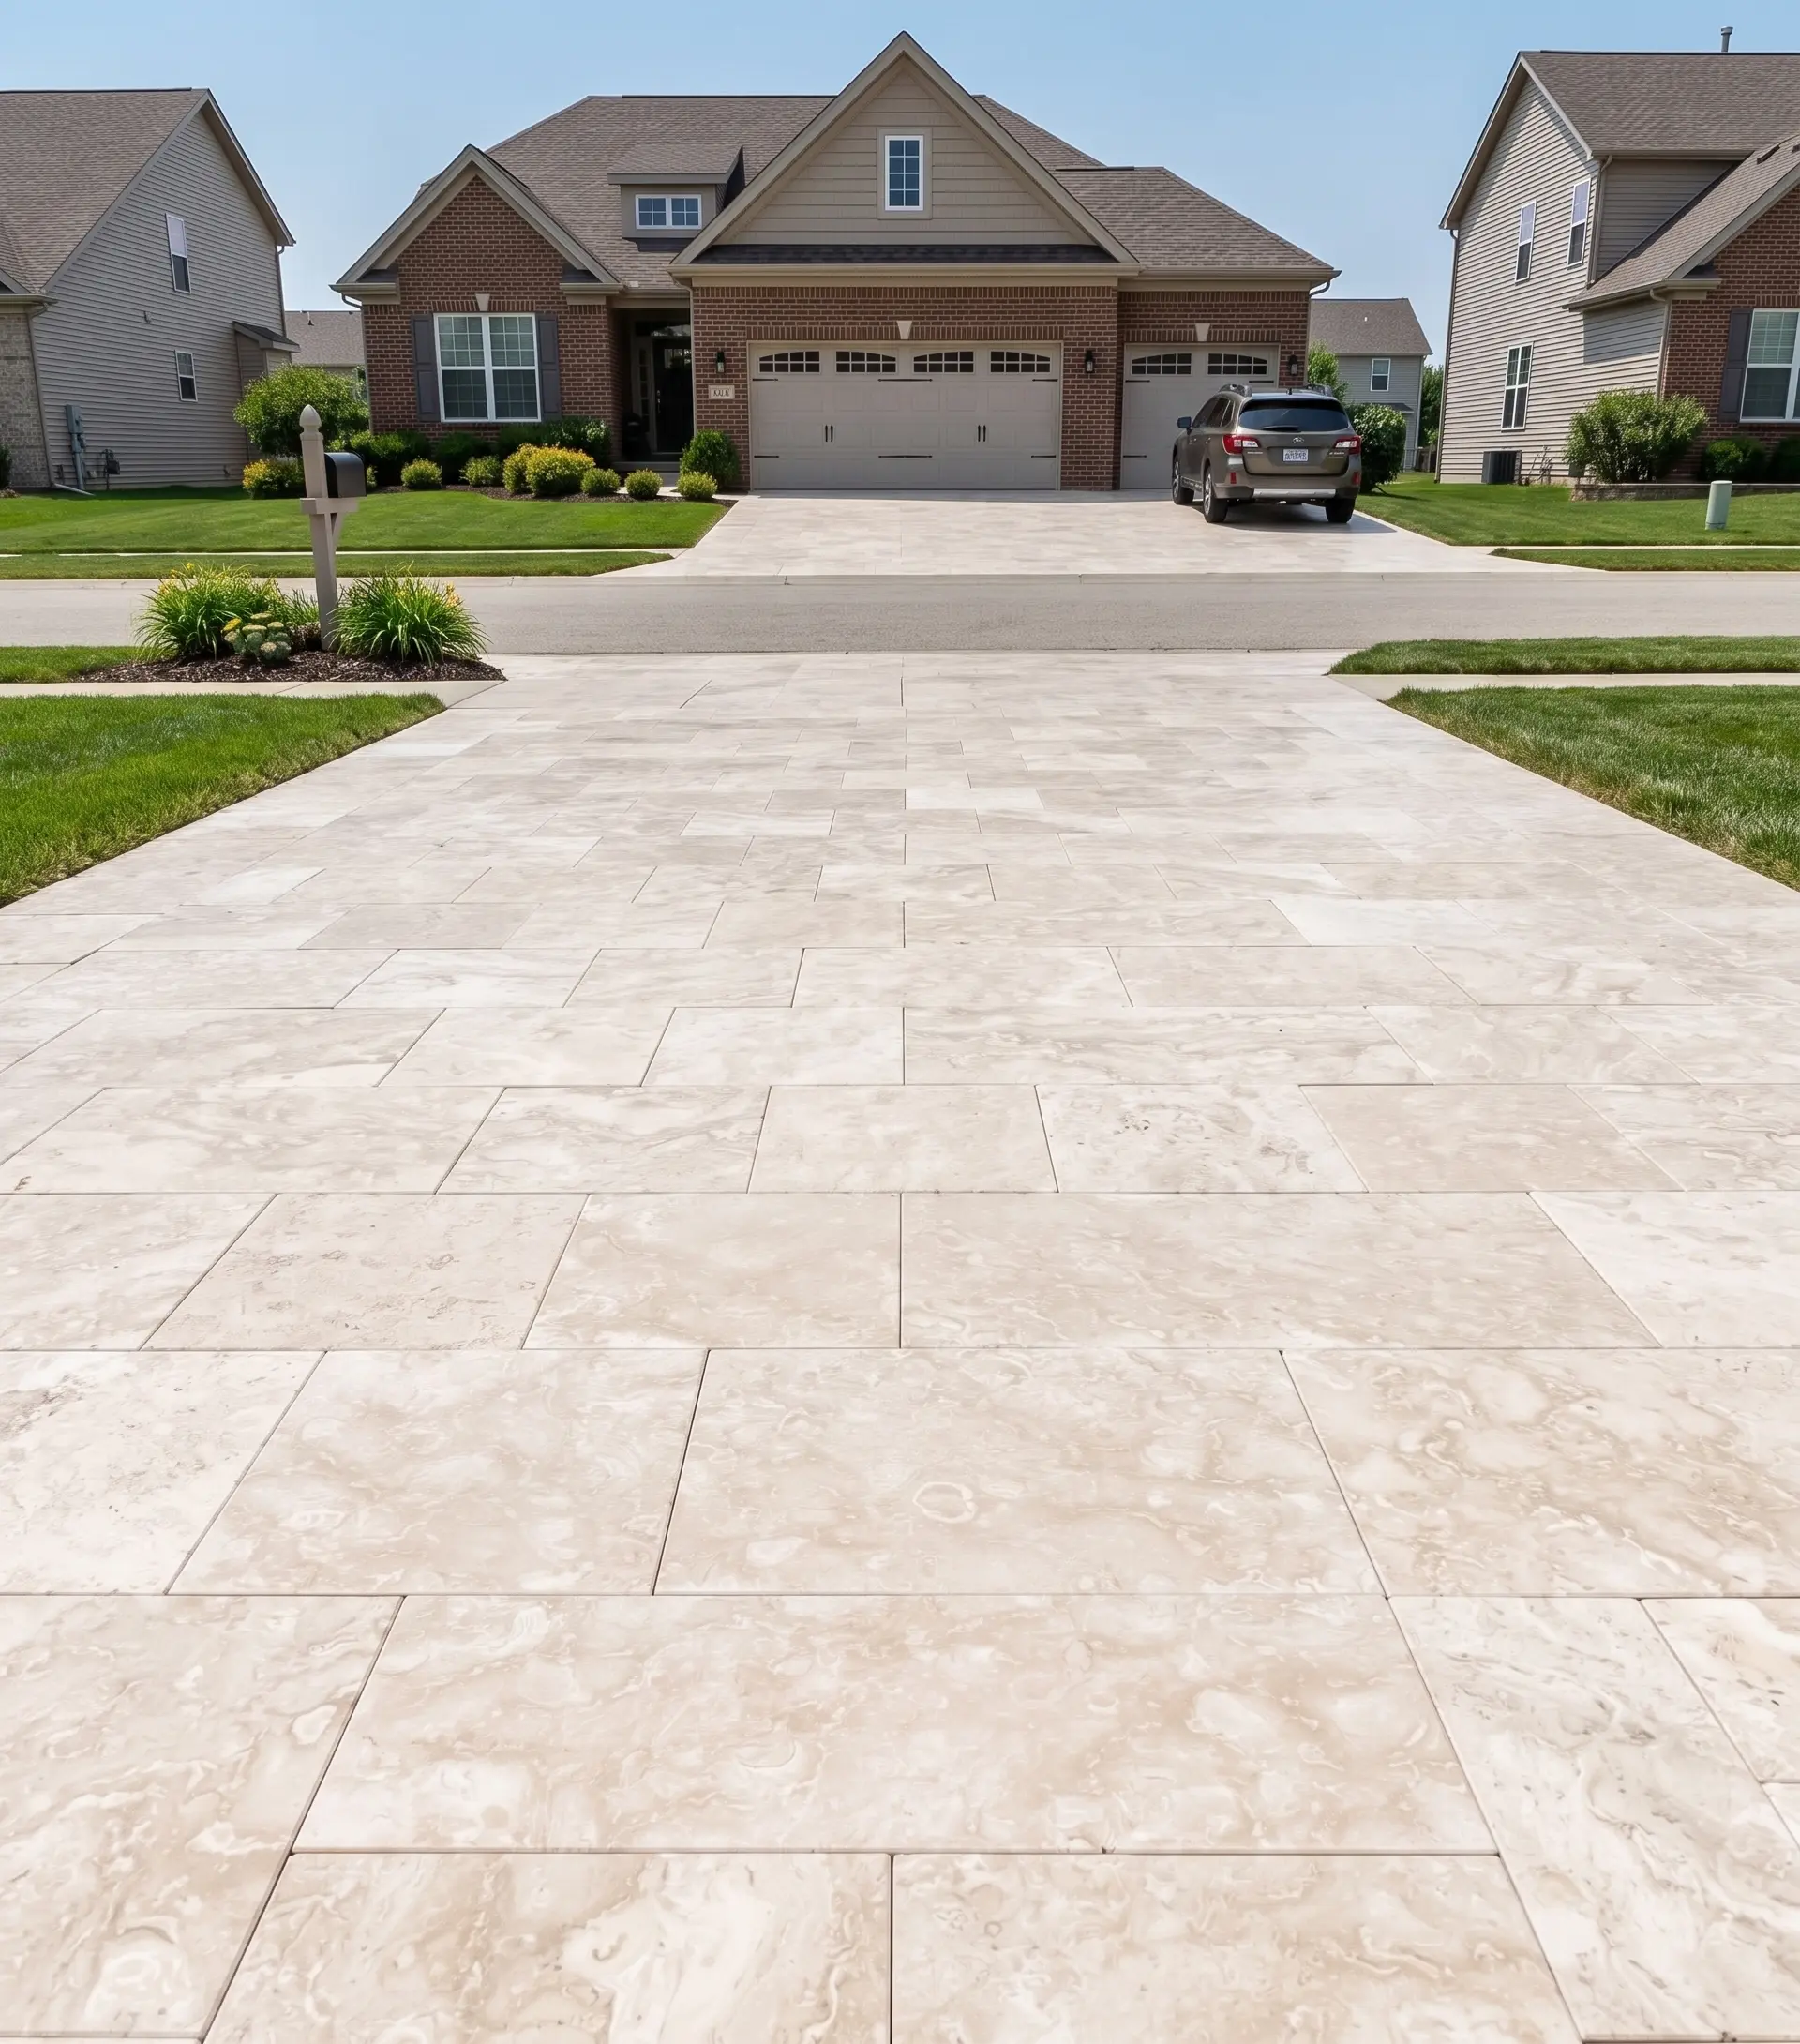
Base Preparation: The Variable That Controls Everything
The ASLA driveway paving guidance consistently emphasizes base depth and compaction as the primary durability variables — and field experience confirms that every installation failure traces back to base failure, not the stone itself. Your aggregate base depth depends on soil bearing capacity and expected loads. Clay-heavy soils compress under cyclic load; a base engineered for sandy loam will under-perform in expansive clay without additional depth or a geotextile separator between subgrade and base course.
Compact the aggregate base in lifts — 4 in (100 mm) lifts compacted to the specified density each time. Pouring the full depth in one go and compacting the surface produces a dense crust over a loose core. That core will consolidate under traffic, and your driveway pavers installation will tell you about it through differential settlement. Plate-compact each lift, check levels, then add the next.
- Subgrade must be proof-rolled and all soft spots undercut and replaced before the base course starts
- Crushed-stone base compacted in lifts, not as a single depth
- Bedding layer — a leveling sand or dry-pack mortar — screeded to consistent depth, never used to correct subgrade variation
- Edge restraints installed before the field is set, not added as an afterthought after cuts are made
Pattern Selection and Layout Geometry
Running bond, herringbone, basket weave, and ashlar patterns each have a cut ratio that affects both material waste and labour cost. Herringbone at 45° generates the most diagonal cuts at perimeter edges; at 90° it generates square cuts along the border, which are faster to execute. Your installer’s time and your stone budget both need to account for the cut ratio before the order is placed.
Ashlar patterns — mixing two or three unit sizes in a randomized but balanced layout — require a planning grid before the first unit is set. Placing ashlar freehand produces clusters of same-size units and awkward joints that become obvious from elevation. Draw the grid, number the zones, and sequence the units from that plan. Citadel Stone paver layout and sizing covers size combinations and the bond patterns that work at driveway scale, which is worth reviewing before you finalize the order dimensions.
The pattern also determines how you establish your starting line. On a rectangular driveway, snap a center line in both directions and work from the center outward. On a curved or irregular boundary, establish a straight working line parallel to the dominant elevation feature — typically the garage face — and let cuts absorb the irregularity at the perimeter, not in the field.
- Herringbone 45°: strongest interlock, highest perimeter cut ratio, best for areas with repeated braking loads
- Herringbone 90°: strong interlock, easier perimeter cuts, good for rectangular drives with clean borders
- Running bond: straightforward to lay, adequate interlock for light vehicle loads, visually elongates the driveway
- Ashlar: requires a pre-planned grid, most demanding on installer skill, highest visual impact
Stone Selection for Driveway Conditions
Natural stone driveway pavers are specified under ASTM C615 for granite, ASTM C568 for limestone, ASTM C616 for sandstone and quartzite, and ASTM C629 for slate — each standard sets the property framework for dimension stone in that category. The ASTM compressive strength standards for driveway paving stone define the testing methodology; your specifier identifies which properties the application demands and requests the relevant test data from the supplier.
Black basalt is a frequent choice for driveways because its fine-grained volcanic structure produces a dense, tight face that holds up under vehicle loads and cleans easily after weather. The Black Basalt Paver Steps product demonstrates how basalt performs in high-load, repeated-contact applications — the same qualities transfer directly to a driveway field. For the stone science: basalt is a fine-grained extrusive volcanic rock, and the USGS overview of igneous rocks explains how rapid cooling at the surface produces the tight grain structure that defines basalt’s dense face and uniform color.
White Limestone Patio Pavers are a strong choice where visual brightness matters — lighter stone reduces radiant heat load on adjacent planting and structures in full-sun exposures. Limestone for driveway applications is specified to ASTM C568; a laboratory certificate of test covering density, absorption, compressive and flexural strength, abrasion and modulus of rupture is available on request for the white limestone product. For a more textural, organic surface, Ocean Reef Leathered Shell Stone Pavers bring a distinctive shell-fossil face; the same certificate covering those properties is available on request for that stone as well.
Freeze-Thaw and Thermal Cycling in Driveway Paver Performance
Temperature cycling is not just a cold-climate concern. Regions with hot days and cool nights — even where frost is rare — subject joints and bedding to repeated expansion and contraction that accumulates as fatigue stress over years. The engineering variable is the range, not just the peak. A surface that swings 50°F (28°C) between afternoon and pre-dawn generates more cumulative joint movement than one that stays at a consistently high temperature throughout a humid summer day.
Freeze-thaw cycles specifically attack two weak points: the bedding layer and the joint fill. Water that infiltrates a sand-set joint, freezes, and expands can displace adjacent units by a fraction of an inch per cycle. After several seasons, that fraction accumulates into visible lippage and rocking pavers. The mitigation is straightforward: fully fill joints on installation, re-inspect and refill after the first wet season, and maintain positive drainage across the field so standing water does not pond at joint lines.
- Specify a stone with low water absorption for freeze-thaw regions — request the ASTM absorption test result, not a finish description
- Use a polymeric sand joint fill rated for the temperature range your project site experiences
- Design the field with a minimum cross-slope — roughly ¼ in per foot (about 2%) — to evacuate water before it can pond and infiltrate joints
- Include expansion joints at transitions to concrete slabs, curbs, and structures — thermal movement of the stone field and the adjacent concrete differ, and that differential needs an engineered relief point
- Inspect the installation after the first freeze-thaw season and address any joint settlement before the second cycle compounds it
Thermal expansion of the stone itself is a secondary but real factor in long runs. Natural stone has a coefficient of thermal expansion that varies by stone type; your specifier calculates the expected movement across the driveway’s longest dimension and designs joint spacing accordingly. Skipping that calculation is a common oversight on residential projects — the stone moves, the edge restraint doesn’t, and something gives at the most restrained point.
Finish Selection for Driveway Pavers
The finish you specify affects texture, maintenance interval, and how the surface reads in wet conditions — but the finish decision starts with the application geometry, not aesthetics. For driveways, courtyards, and garden paths, Brushed 16 Grit delivers an open, coarse texture profile suited to vehicle contact areas. For a less aggressive surface texture that still suits outdoor use, Brushed 36 Grit works for patio and outdoor environments, though for a primary vehicle surface the coarser grit is the more defensible spec.
Bush-hammered finish is the specification for areas that get consistently wet — pool decks, ramps, and public-access surfaces — and it carries directly to any driveway section where water runoff concentrates. Split Face works well for cladding applications, retaining walls, and boundary features adjacent to the driveway, maintaining material consistency across the project without requiring a polished face on structural wall elements. Polished finishes stay for dry indoor surfaces only and are not in the driveway conversation at any point.
- Brushed 16 Grit: driveways, courtyards, garden paths — standard recommendation for vehicle areas
- Bush-hammered: pool decks, wet steps, ramps — appropriate wherever drainage concentration occurs on the driveway perimeter
- Split Face: boundary walls, feature elements, retaining structures adjacent to the driveway field
- Polished: dry indoor surfaces only — never a driveway specification
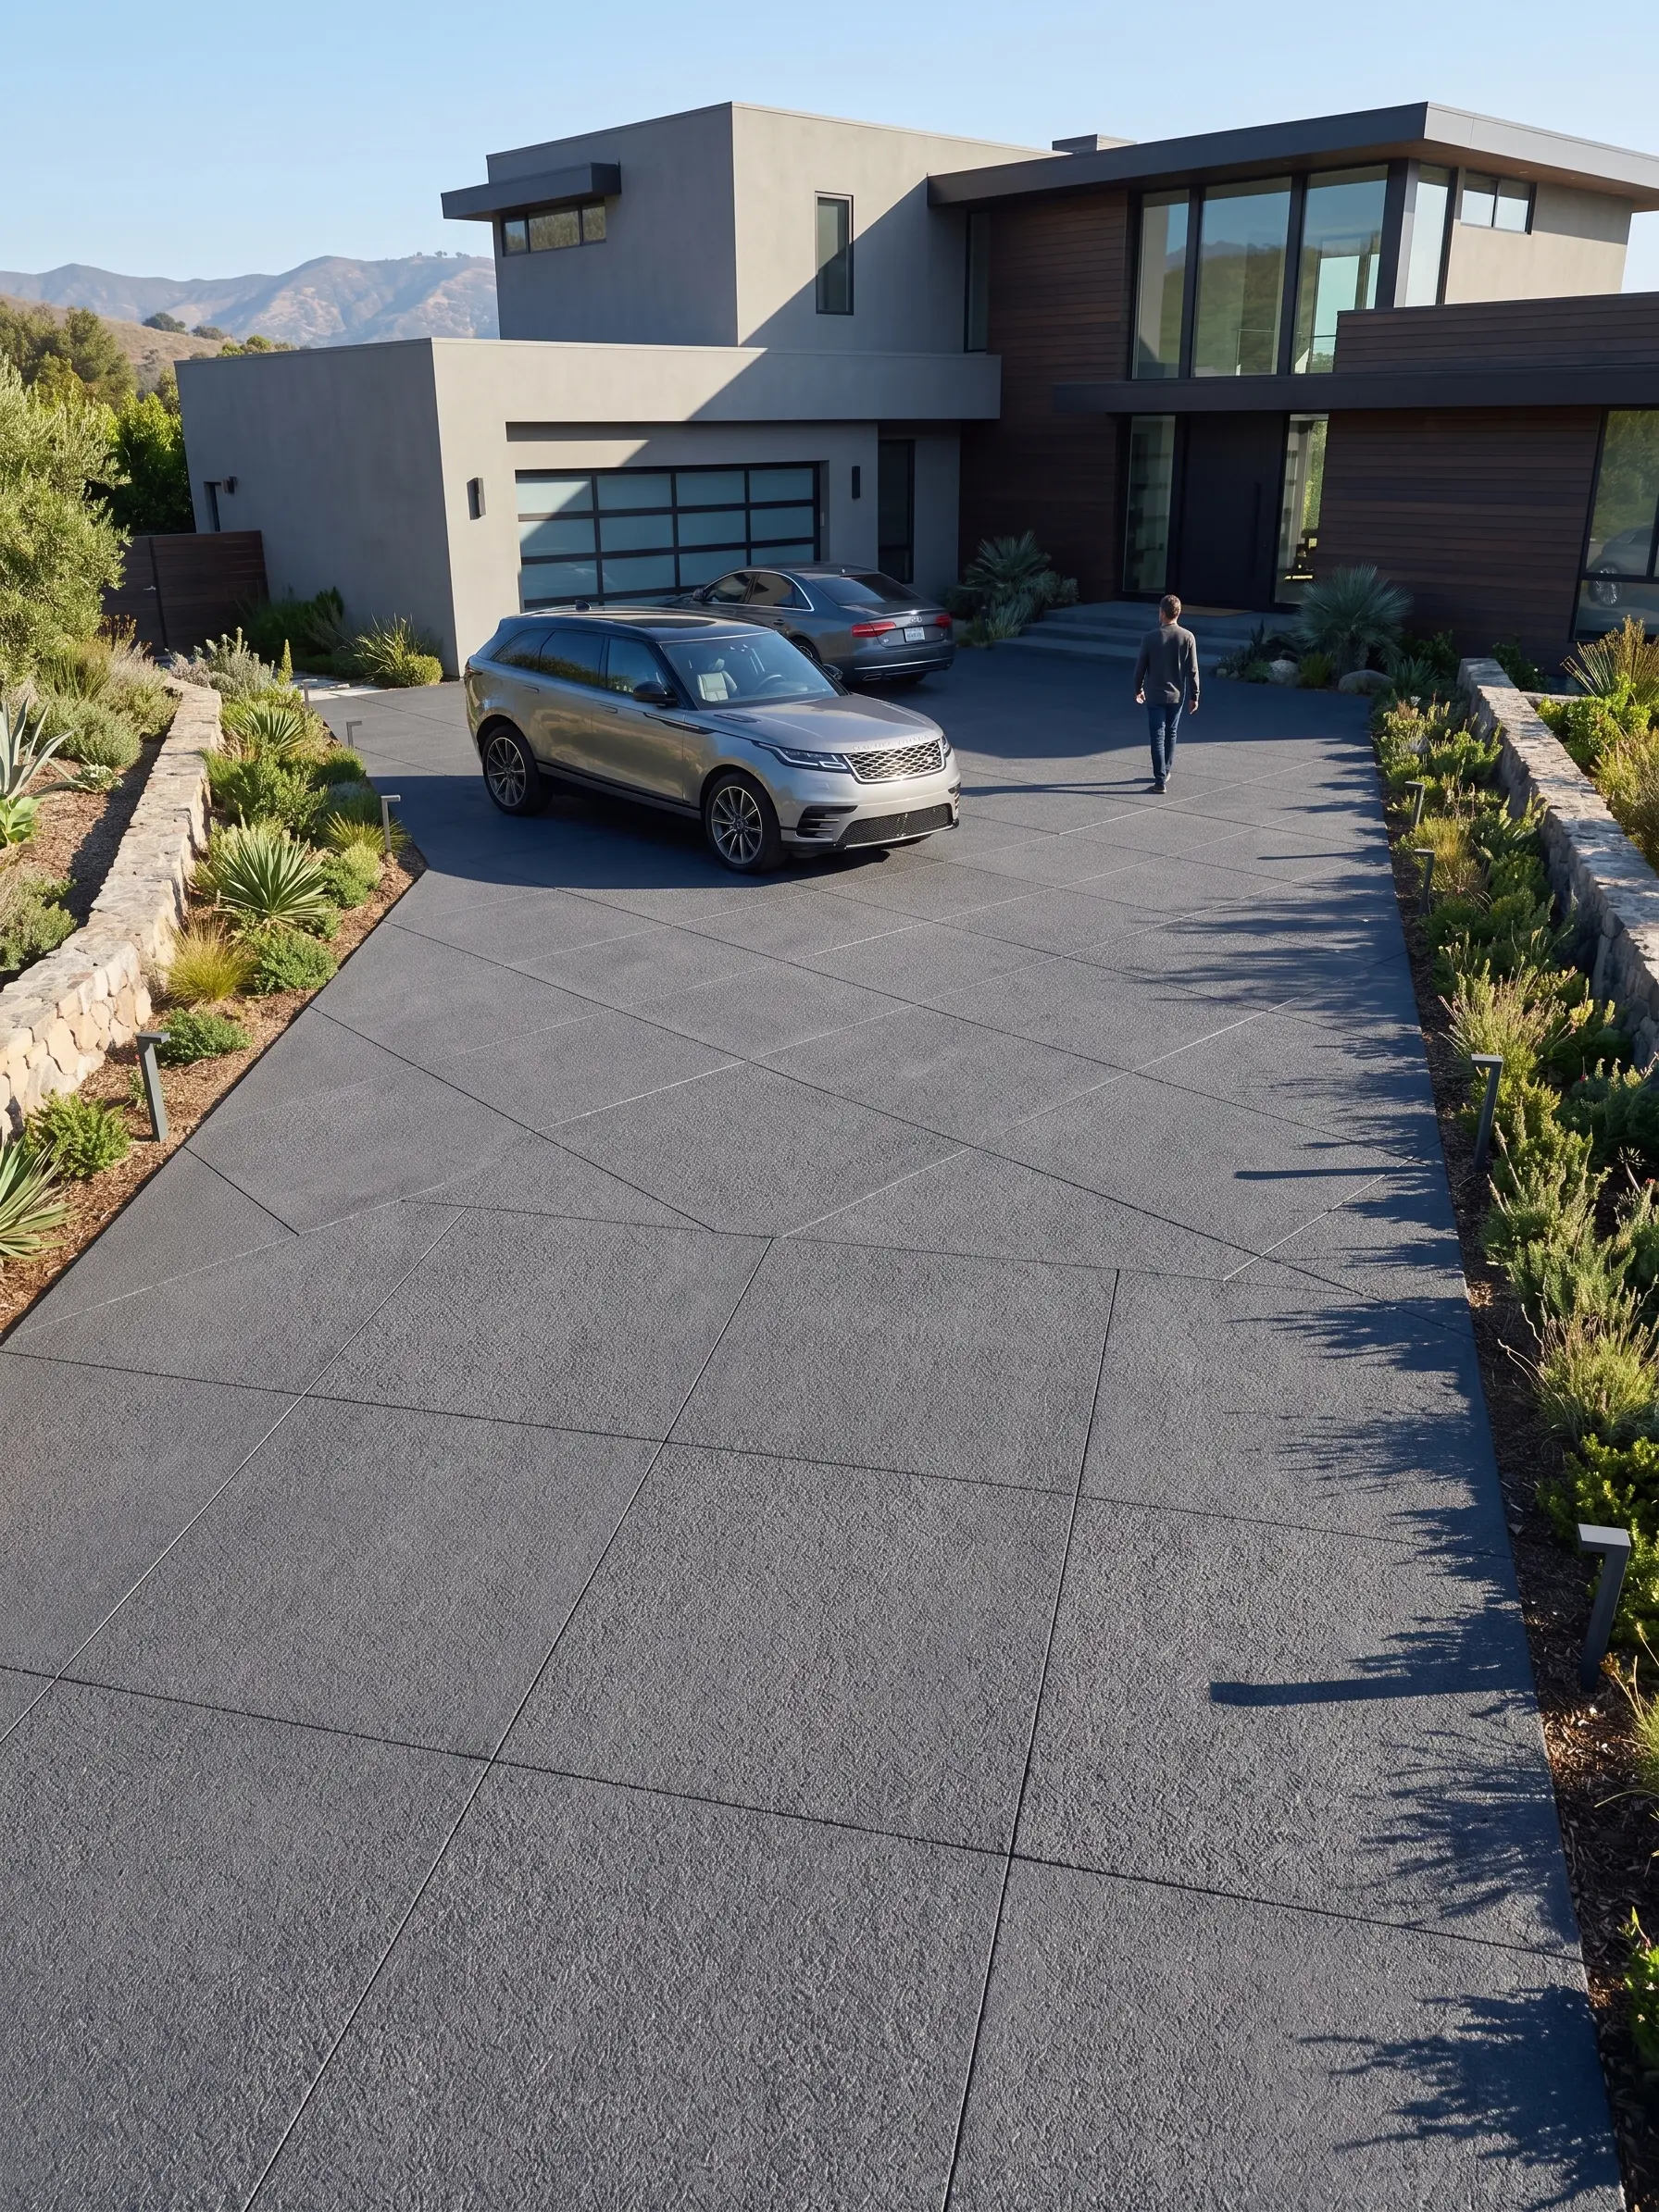
Installation Sequence and Site Logistics
Your project’s access constraints affect delivery scheduling more than most homeowners anticipate at the planning stage. Full pallets of stone are heavy, and delivery access to the driveway area — the very surface being replaced — requires coordination between offloading logistics and the construction sequence. Confirm offloading arrangements before the delivery date, not on the morning the stone arrives. Lead times are quoted with the order and vary by stone type and cutting specification.
Citadel Stone cuts stone to order at our selected quarries, which means dimensions are sized to your installer’s specified bond and layout before the material ships. That matters for driveway paver patterns with complex cut ratios: ordering to the pattern grid reduces on-site waste and the time your installer spends at the saw. Confirm the final layout and any border or soldier course dimensions before the cutting order is placed — changes after cutting are expensive and slow.
Sequence the driveway pavers installation from a fixed straight reference line and work toward the irregular perimeter. Set the field first, cut the perimeter last. Reversing that sequence — cutting to fit a curved edge and then trying to maintain bond lines into the field — multiplies cut errors and wastes stone. Joint filling follows field completion; apply polymeric sand in dry conditions, compact, top up, and compact again before any moisture reaches the surface.
Sealing and Long-Term Maintenance
Natural stone driveway pavers benefit from a penetrating sealer applied after installation and allowed to cure fully before vehicle use. The sealer’s function is to reduce moisture infiltration into the stone body, which matters most in freeze-thaw regions where absorbed water expands on freezing. Apply sealer to a clean, dry surface; applying over residual moisture or joint sand dust locks contaminants into the stone face rather than protecting it.
Resealing interval depends on the sealer product, the stone’s absorption rate, and traffic intensity. Follow the sealer manufacturer’s stated reapplication schedule — not a generic rule of thumb. Joint sand settles after the first wet season regardless of how well the initial compaction was performed; plan to refill and re-compact polymeric sand at that point, before the second freeze-thaw cycle begins working the gaps wider. That maintenance step is what keeps driveway pavers installation looking tight across years of service rather than spreading and rocking.
Getting Driveway Paver Specifications Right
Getting driveway pavers installation right comes down to sequencing decisions made before the first unit is set: base depth, compaction protocol, pattern geometry, stone thickness, and joint strategy. The finish and the stone type matter, but they matter less than the structural foundation beneath them. For projects where a professional crew handles the installation, planning the stone specification in parallel with contractor selection prevents the most common mismatch — ordering cut sizes that don’t match the bond the installer intends to lay. As you plan the full scope of your natural stone project, related hardscape elements are worth considering alongside the driveway; working with a driveway stone contractor covers how to align specification decisions with installer capability and project scope. Pattern-ready natural stone from Citadel Stone is sourced from our selected Middle East quarries and sized precisely to the bond or layout your installer specifies.
Related reading: permeable stone driveway pavers · Grass and Stone Paver Driveway Layouts That Work · driveway pavers cost calculator.