Granite stepping stone paths punish vague planning more than almost any other hardscape project — the gap between a path that looks intentional and one that feels awkward almost always traces back to stone sizing and spacing decisions made before the first piece ever touched the ground. Getting those numbers right for a granite stepping stone path means working from how a person actually walks, not from a catalog page or a round number that looked clean on a sketch. The stride length, the stone’s surface area, and the ground beneath all interact, and understanding that interaction is what separates a path that reads professionally from one that sends visitors off-balance before they reach the door.
Choosing the Right Stone Size for Your Path
The single most useful size reference for a granite stepping stone path is average adult stride — roughly 24 in from heel to heel on a casual garden walk. Your stones need enough surface area that both feet can land on stone at some point in the stride sequence; too small and walkers instinctively look down and step cautiously. A minimum of 18 × 18 in (450 × 450 mm) gives adequate foot coverage for a single-file path, but 24 × 24 in (600 × 600 mm) is the workhorse size for most residential projects. It lands well, looks proportionate against a standard garden border, and leaves enough material thickness to bed solidly without risk of cracking under foot load.
Larger formats — 24 × 36 in (600 × 900 mm) or 18 × 36 in (450 × 900 mm) — work well where you want a slower, more deliberate pace, such as a courtyard approach or a path that threads through a planting bed. Irregular shapes have their place too, but they demand more attention at setting because each stone’s actual landing zone shifts depending on orientation. For a straight run with consistent spacing, rectangular formats are easier to execute cleanly.
The Natural Stone Institute granite durability and application specifications describe granite’s characteristics as a dimension stone, which is useful background when you’re comparing stone types for a path that sees heavy foot traffic year-round.
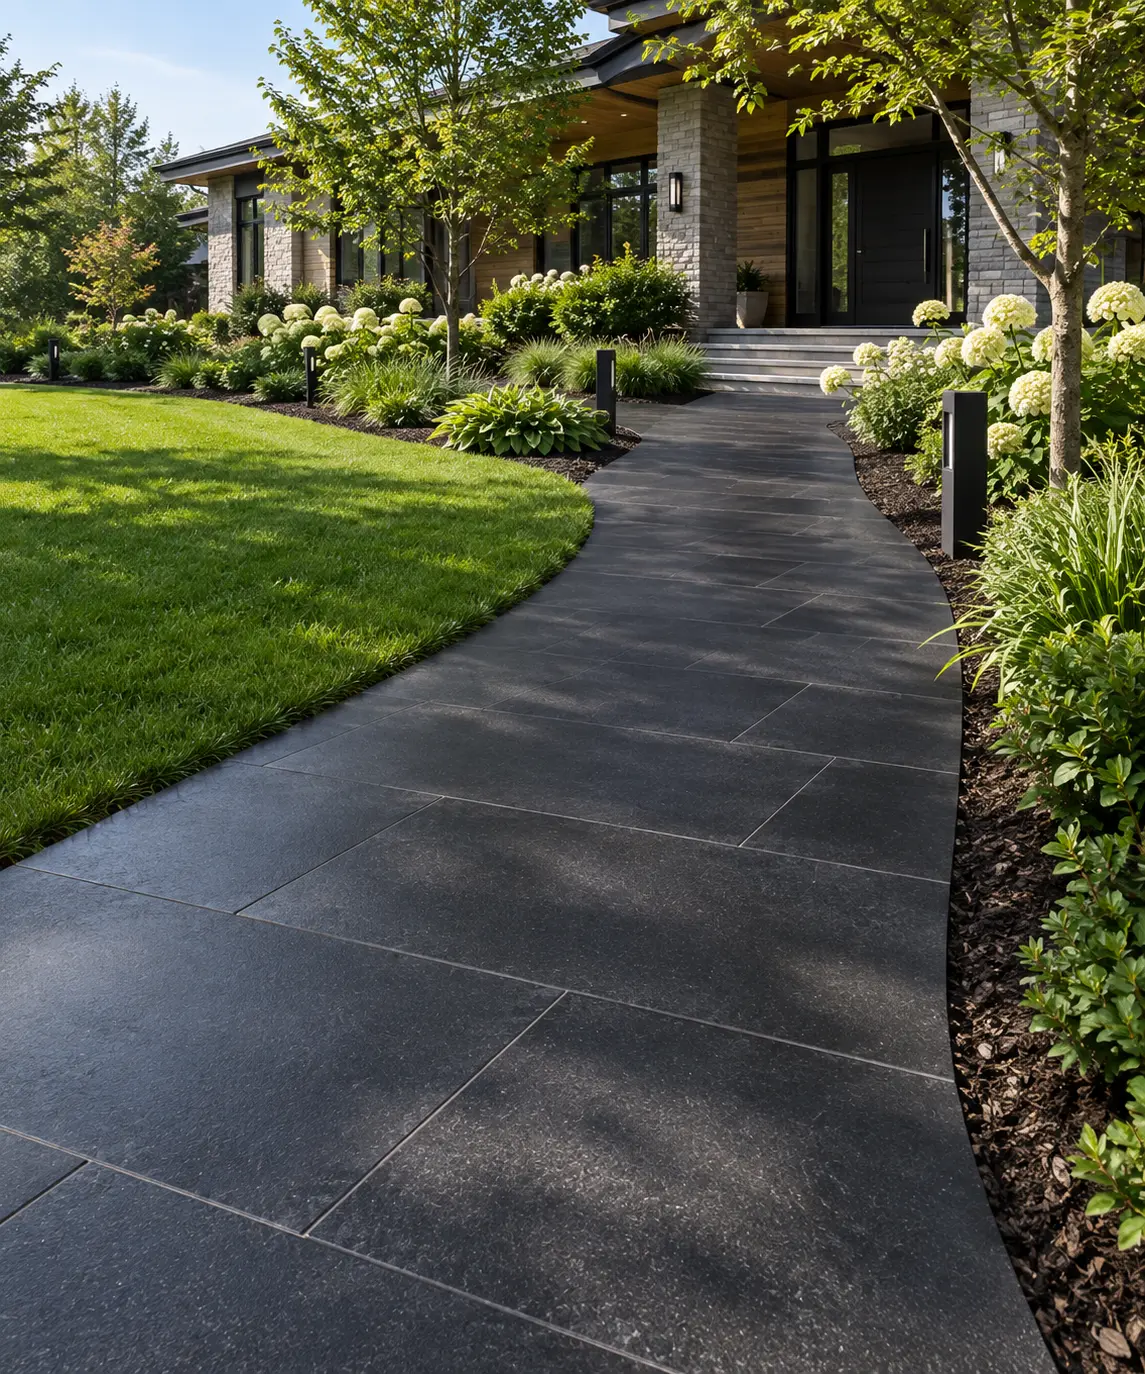
Spacing Granite Stepping Stones for Natural Walking Rhythm
Spacing is where most path layouts go wrong, and it’s usually in the direction of stones set too far apart. The common mistake is measuring center-to-center and stopping there — what matters more is the gap between stone edges, because that gap is what the foot has to clear on every step. For a relaxed garden path, target a gap of 4–6 in (100–150 mm) between stone edges. That keeps the stride comfortable without forcing walkers to stutter-step or leap. Tighten it to 2–3 in (50–75 mm) for a path used by children, older adults, or anyone who moves more carefully.
A field trick that works consistently: lay a few stones on the ground without mortar, then walk the path at your normal pace several times. You’ll feel immediately where the spacing is wrong — your foot either overreaches or pulls back to hit the next stone. Adjust until it feels automatic. Only then commit to setting positions. This sounds obvious, but it’s skipped on the majority of residential installs, and it’s the reason so many paths get relaid within two seasons.
- Edge gap of 4–6 in for standard adult stride on a casual garden path
- Edge gap of 2–3 in where walkers need more support or pace variation is expected
- Center-to-center spacing depends on stone width — always confirm the edge gap, not just the center measurement
- Curved paths need tighter spacing on the inside of the curve — the stride shortens as the path bends
- Double-width paths (two stones side by side) follow the same gap rule but require both stones to sit level with each other, which demands more precise base preparation
Granite Thickness: What Holds Up in a Stepping Stone Path
Thickness for a stepping stone path is about resisting the point load of a footstep on a stone that may bridge a soft spot in the base, not just about overall weight. For a standard residential path with a properly prepared base, 1½ in (about 38 mm) is a workable minimum for granite, and 2 in (50 mm) is a safer standard that gives you more tolerance for minor base irregularities. Going thinner than 1¼ in (32 mm) on a stepping stone that’s set with any gap underneath risks fracture, particularly at corners where stress concentrates.
For context on how granite is classified as a dimension stone and tested for structural applications, the ASTM C615 granite dimension stone quality standards outline the test methods — you can request the test report from your supplier. The thickness decision stays the same regardless: match it to your base preparation quality and the path’s exposure to foot load.
Soil and Ground Preparation: The Variable Most Paths Get Wrong
A granite stepping stone path is only as stable as what’s underneath it, and this is where regional soil conditions create real differences in how you prepare. Sandy, well-draining soils are the easiest substrate — you excavate to depth, compact, add a layer of crushed-stone base, and bed on a sand or compacted granite fines layer. Clay-heavy soils are the opposite: they expand and contract seasonally with moisture, and a stone set directly into clay will shift, tilt, and create tripping hazards within a year or two of installation.
On expansive clay, the standard fix is to excavate deeper than you would in sandy ground — typically an additional 4–6 in — and replace that material with compacted crushed stone or gravel that drains freely. This breaks the capillary connection between the clay subgrade and the bedding layer, dramatically reducing seasonal movement. Caliche soils (the calcium carbonate hardpan found across dry western regions) present a different challenge: they’re often too hard to excavate with hand tools and may need a mattock or small excavator, but once broken up and removed to the right depth, they drain well and make a stable base if refilled with compacted gravel.
- Sandy soils: excavate 4–6 in, compact, add 2–3 in crushed-stone base, bed on 1 in of coarse sand or compacted granite fines
- Clay soils: excavate 8–10 in, replace with compacted gravel to within 2 in of final grade, then bed on sand — do not bed directly on clay
- Caliche or hardpan: break up and remove to depth, backfill with compacted gravel; drainage improves dramatically once the hardpan is replaced
- Rocky or shallow-soil sites: fill low spots with compacted crushed stone rather than skimping on base depth
- Organic soils and topsoil: always remove entirely — organic material compresses over time and causes settling regardless of stone thickness
The bedding layer itself matters as much as what’s below it. A dry mortar mix — one part Portland cement to five or six parts coarse sand, mixed dry — gives you adjustability during placement and cures slowly enough to allow final leveling. Straight sand works for lighter applications but can migrate out from under the stone edges in areas that receive irrigation or rainfall runoff. For a granite stepping stone path adjacent to a lawn with regular irrigation, a dry mortar bed is the more durable choice.
Selecting the Right Finish for a Granite Stepping Stone Path
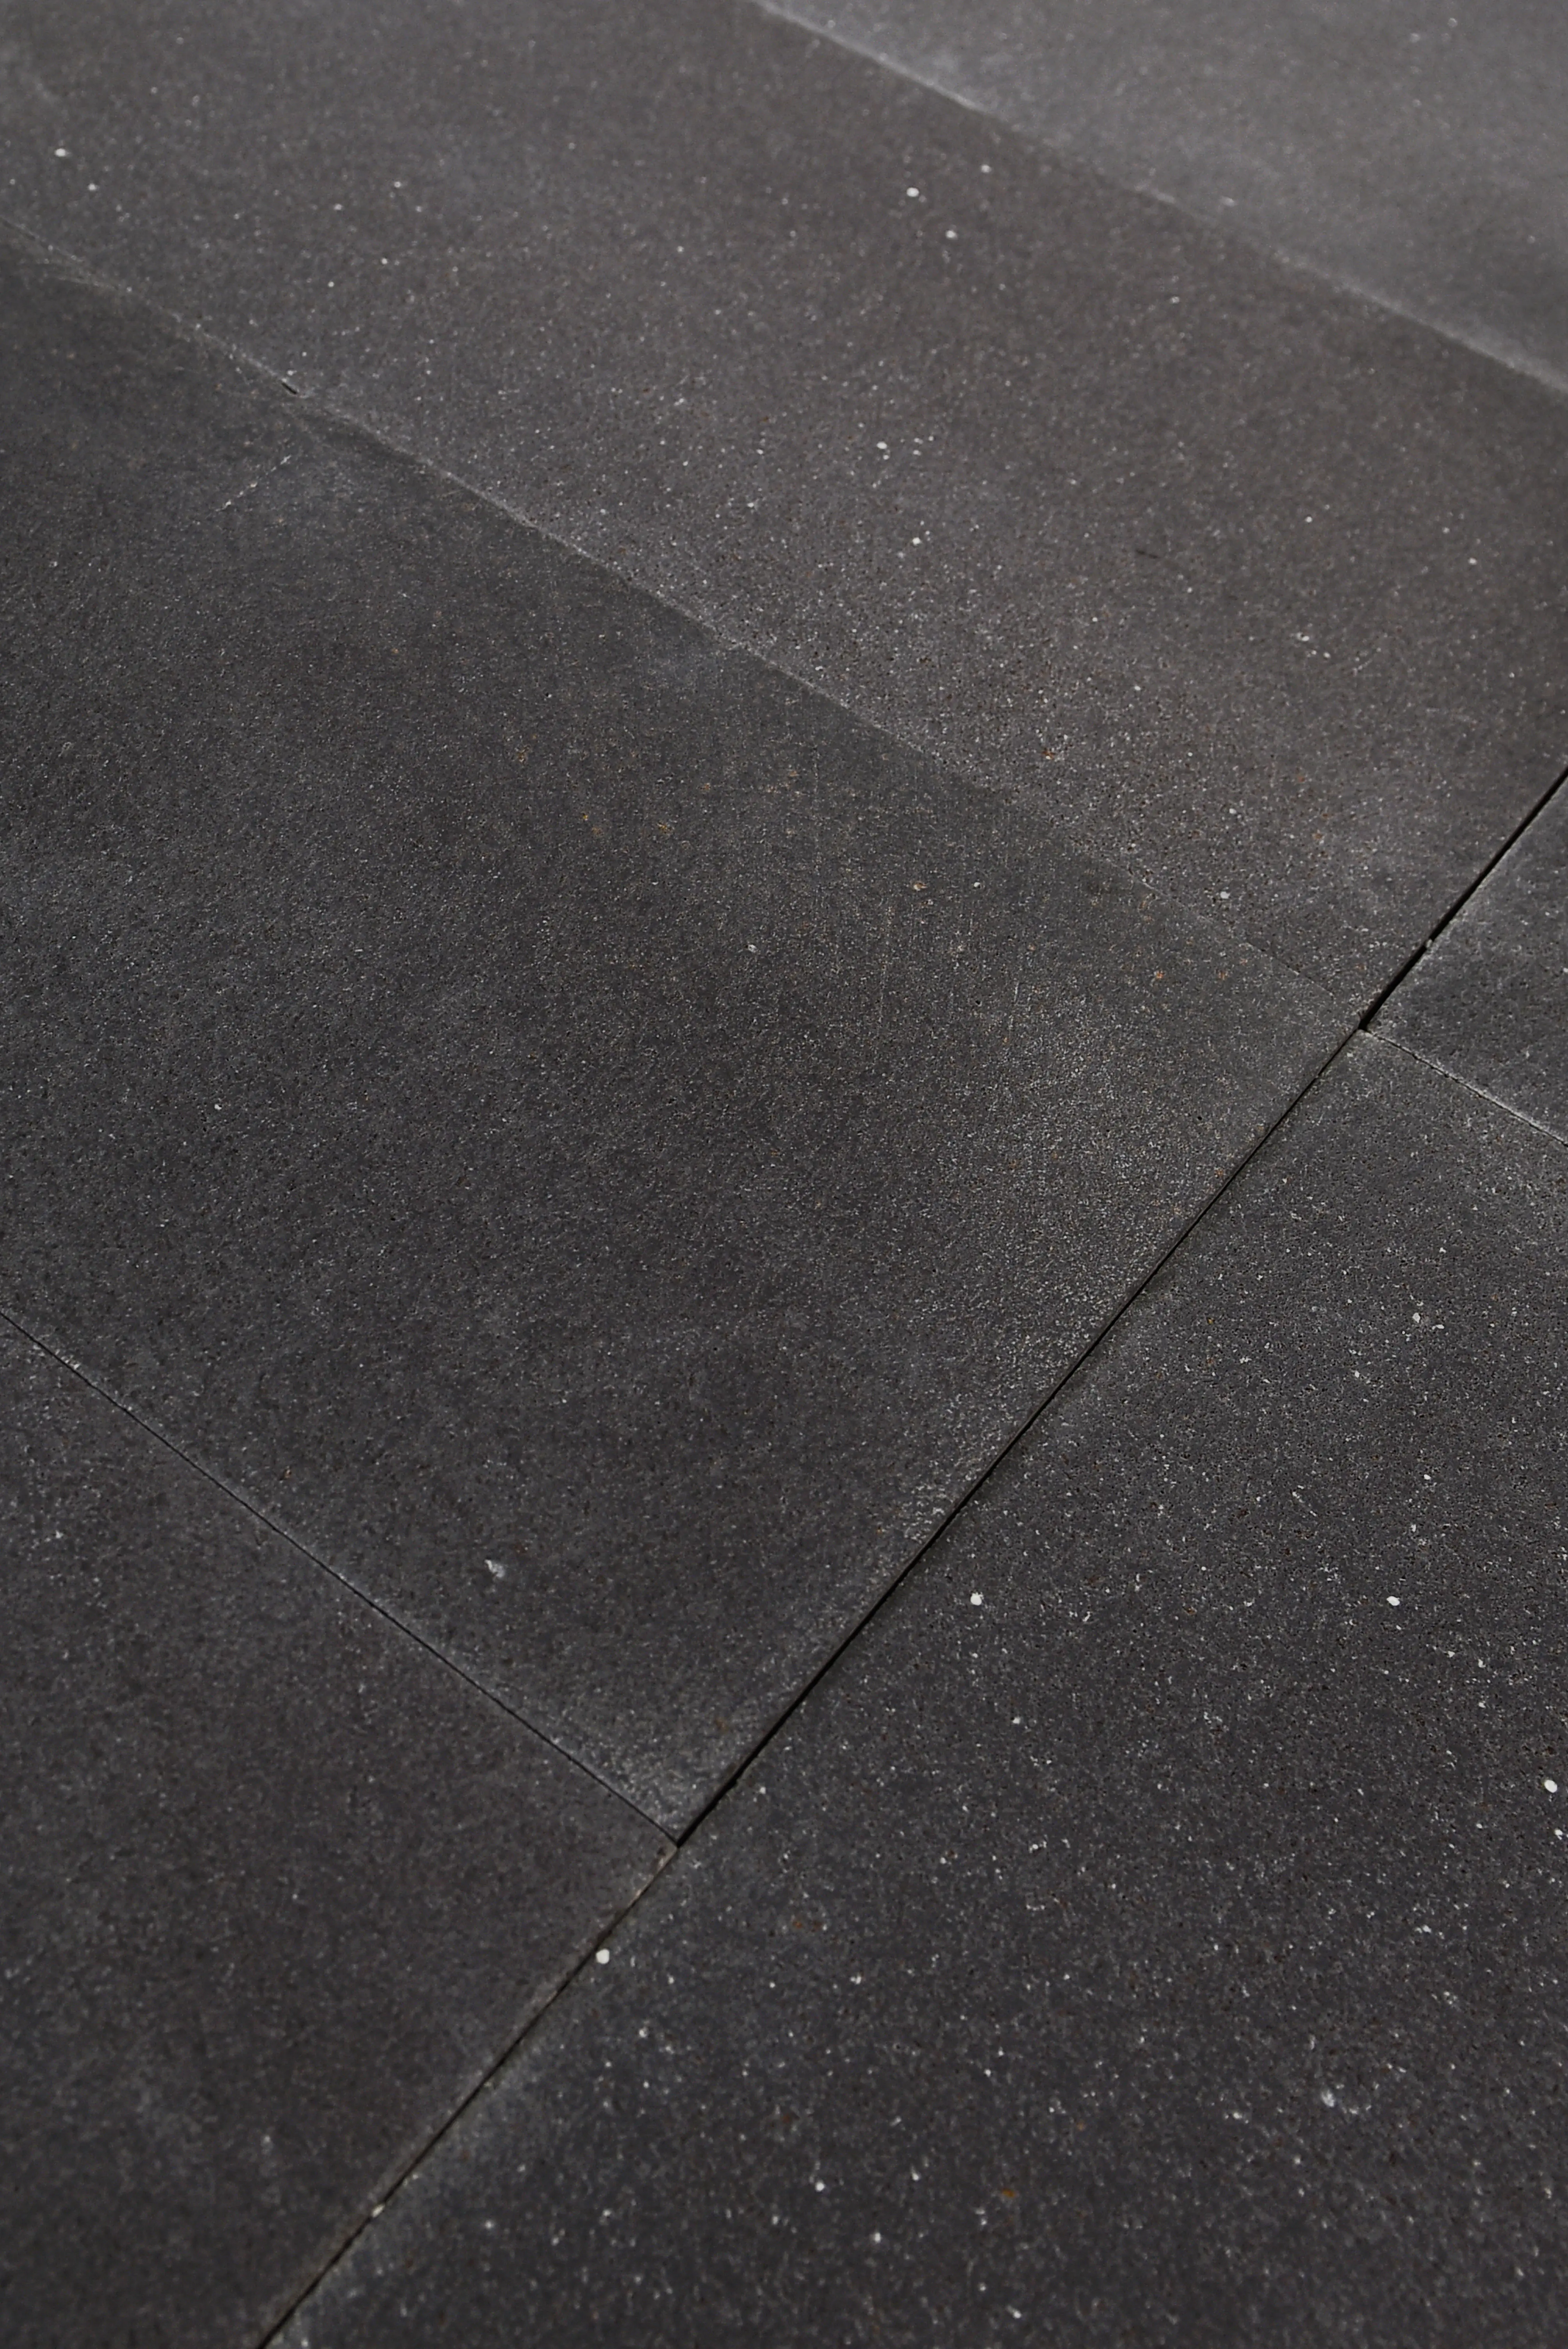
Finish selection for an outdoor granite stepping stone path is a straightforward decision once you understand what each surface texture does to the stone’s character and how water behaves on it. For most residential paths — garden walks, backyard routes, side yards — a brushed finish at 36 grit gives an open, matte surface that sheds water to the edges rather than pooling. If the path is in a barefoot area close to a pool or entertaining space, 80 grit brushed produces a smoother but still matte texture that’s more comfortable underfoot. For pool decks, wet steps, and slopes, choose a bush-hammered finish. For other outdoor paths, bush-hammered or brushed in the coarsest grit both work well — check a sample before you commit.
A polished finish belongs only on dry indoor surfaces. The textured finishes serve outdoor paths precisely because they keep the stone’s surface open and fast-draining rather than sealed and smooth.
For a broader look at how finish choices interact with surface character across the granite range, our granite paver surfaces show the available finish options alongside their recommended applications.
Setting Stones Level and True
Every granite stepping stone in a path should sit with its surface 1–1½ in (25–38 mm) above the surrounding grade. That height keeps the stone edge from catching runoff and directing it under the stone, and it makes the path visible enough to read underfoot without being a tripping hazard at the edge. Too high — more than 2 in proud of grade — and the edge becomes a genuine stub risk, particularly in low-light conditions. Too flush with grade and the stone disappears into the lawn, dirt migrates onto the surface, and the bedding layer starts getting undermined by burrowing insects and earthworms.
Level checks need to happen in two directions — along the path’s travel axis and across the stone’s width. A stone that reads level front-to-back but tilts 3–4 degrees side to side will feel unstable to walk on, even if no individual measurement looks alarming. Use a spirit level on both axes before the bedding material sets, and check again the following morning before moving to the next stone.
- Target finished surface 1–1½ in above surrounding grade
- Check level on both axes — travel direction and across the width
- Use a mallet and a flat board to seat the stone into the bedding without cracking corners
- Avoid rocking or twisting a stone once it’s seated — remix and rebed rather than adjust a stone that’s shifted out of plane
- For a sloped site, maintain a consistent cross-slope across each stone of roughly ¼ in per foot (about 2%) toward the lower side — this sheds water without making the stone feel tilted
Pattern and Layout Options for a Granite Path
The layout of a granite stepping stone path communicates intent before a single person walks it. A straight run of evenly spaced square stones reads as formal and deliberate — it suits a front entry, a side-yard service path, or a courtyard approach where geometry is already a feature. An offset or staggered pattern with the same square stone softens the formality slightly and reads better in a garden setting where the surrounding planting is naturalistic rather than clipped.
Irregular or random layouts work when the stones themselves vary in size and shape — which is where granite’s variability in cut geometry becomes an asset rather than a complication. Citadel Stone cuts granite stepping stones to order, so you can specify a range of sizes for a random layout rather than ordering uniform pieces that won’t pattern naturally. Mixing 18 × 24 in, 24 × 24 in, and 24 × 36 in stones in a random run gives the path visual rhythm without looking accidental.
The ASLA guidance on permeable outdoor surfaces provides useful context on stone spacing and ground coverage ratios for landscape paths — relevant if your project needs to address stormwater or site coverage requirements.
Maintenance and Long-Term Performance of a Granite Path
Granite stepping stone paths are exceptionally durable and require minimal intervention once correctly set, but there are a few maintenance points worth building into your project handover or personal schedule. The joint gaps between stones — whether filled with gravel, ground cover, or left open — need periodic attention. Gravel migrates under foot traffic and needs raking back into place seasonally. Ground covers like creeping thyme or moss can actually stabilize the gaps, but they take time to establish and need irrigation support in dry climates during their first two growing seasons.
Sealing granite for an outdoor path is a matter of preference more than necessity. Granite is naturally water-resistant due to its low porosity and dense crystal structure, but a penetrating sealer applied at the interval your sealer manufacturer recommends can help resist oil staining in high-use areas near outdoor kitchens or grilling spaces. In freeze-thaw climates, a breathable penetrating sealer is the appropriate choice — it allows moisture vapor to escape from the stone rather than trapping it below the surface where freeze-expansion could cause spalling at the edges over time.
Stone that shifts after the first wet season should be rebedded rather than shimmed. A stone that moves once will continue to move unless the base condition causing it is corrected — usually inadequate compaction or a base layer that’s eroding under the stone. Pull the stone, correct the base, and reset. It’s a half-hour job done right, versus a recurring problem if patched.
Final Recommendations for Your Granite Stepping Stone Path
The decisions that determine whether a granite stepping stone path performs well for decades come down to four things: the right stone size for actual stride, edge-gap spacing calibrated to how people walk the path rather than how it looks on paper, a base preparation matched to the soil conditions on your specific site, and a finish that suits the path’s exposure and use. Getting all four right before the first stone is set is far easier than correcting any one of them after the path is in. Specification precision at the planning stage is what keeps a granite stepping stone path looking intentional and walking comfortably year after year. For related specification detail on granite product dimensions and surface options, granite paver thickness and sizing provides guidance on how thickness decisions intersect with base type and application. Granite stepping stones from Citadel Stone are cut to order at our selected quarries, so each stone can be sized to suit your path layout.
Related reading: granite cobble pavers comparison · granite pavers for driveways guide · granite paver color guide.