

Basalt outdoor tile installation trips up even experienced crews at the same point every time — not at the material selection stage, but at the moment the tile meets the adhesive bed and the installer realizes the tolerance for error is tighter than it looks. Basalt is a dense, fine-grained volcanic stone, and that density means it transmits stress directly to the bond layer rather than flexing to accommodate minor imperfections. Getting how to lay basalt outdoor tiles right means understanding that relationship before a single tile is set. The decisions you make about bed thickness, joint width, and drainage geometry determine whether your installation holds for decades or starts lifting within a year.
Why Basalt Outdoor Tile Demands Precision
The physical characteristics that make basalt so desirable outdoors — its density, low porosity relative to sedimentary stones, and fine-grained uniformity — are exactly the characteristics that make it unforgiving during installation. According to USGS data on basalt volcanic rock properties, basalt forms through rapid cooling of lava, producing an extremely tight crystalline structure with minimal internal void space. That structure gives the stone its durability but leaves the installer very little tolerance at the tile-to-adhesive interface.
Your adhesive bond is carrying all the load that a more porous stone would partially absorb. Any hollowness under the tile — even a small unbonded pocket — concentrates stress at that point under foot traffic or thermal cycling. Full-contact bedding isn’t a preference for basalt; it’s a technical requirement you cannot skip.
Base Preparation: The Layer That Decides Everything
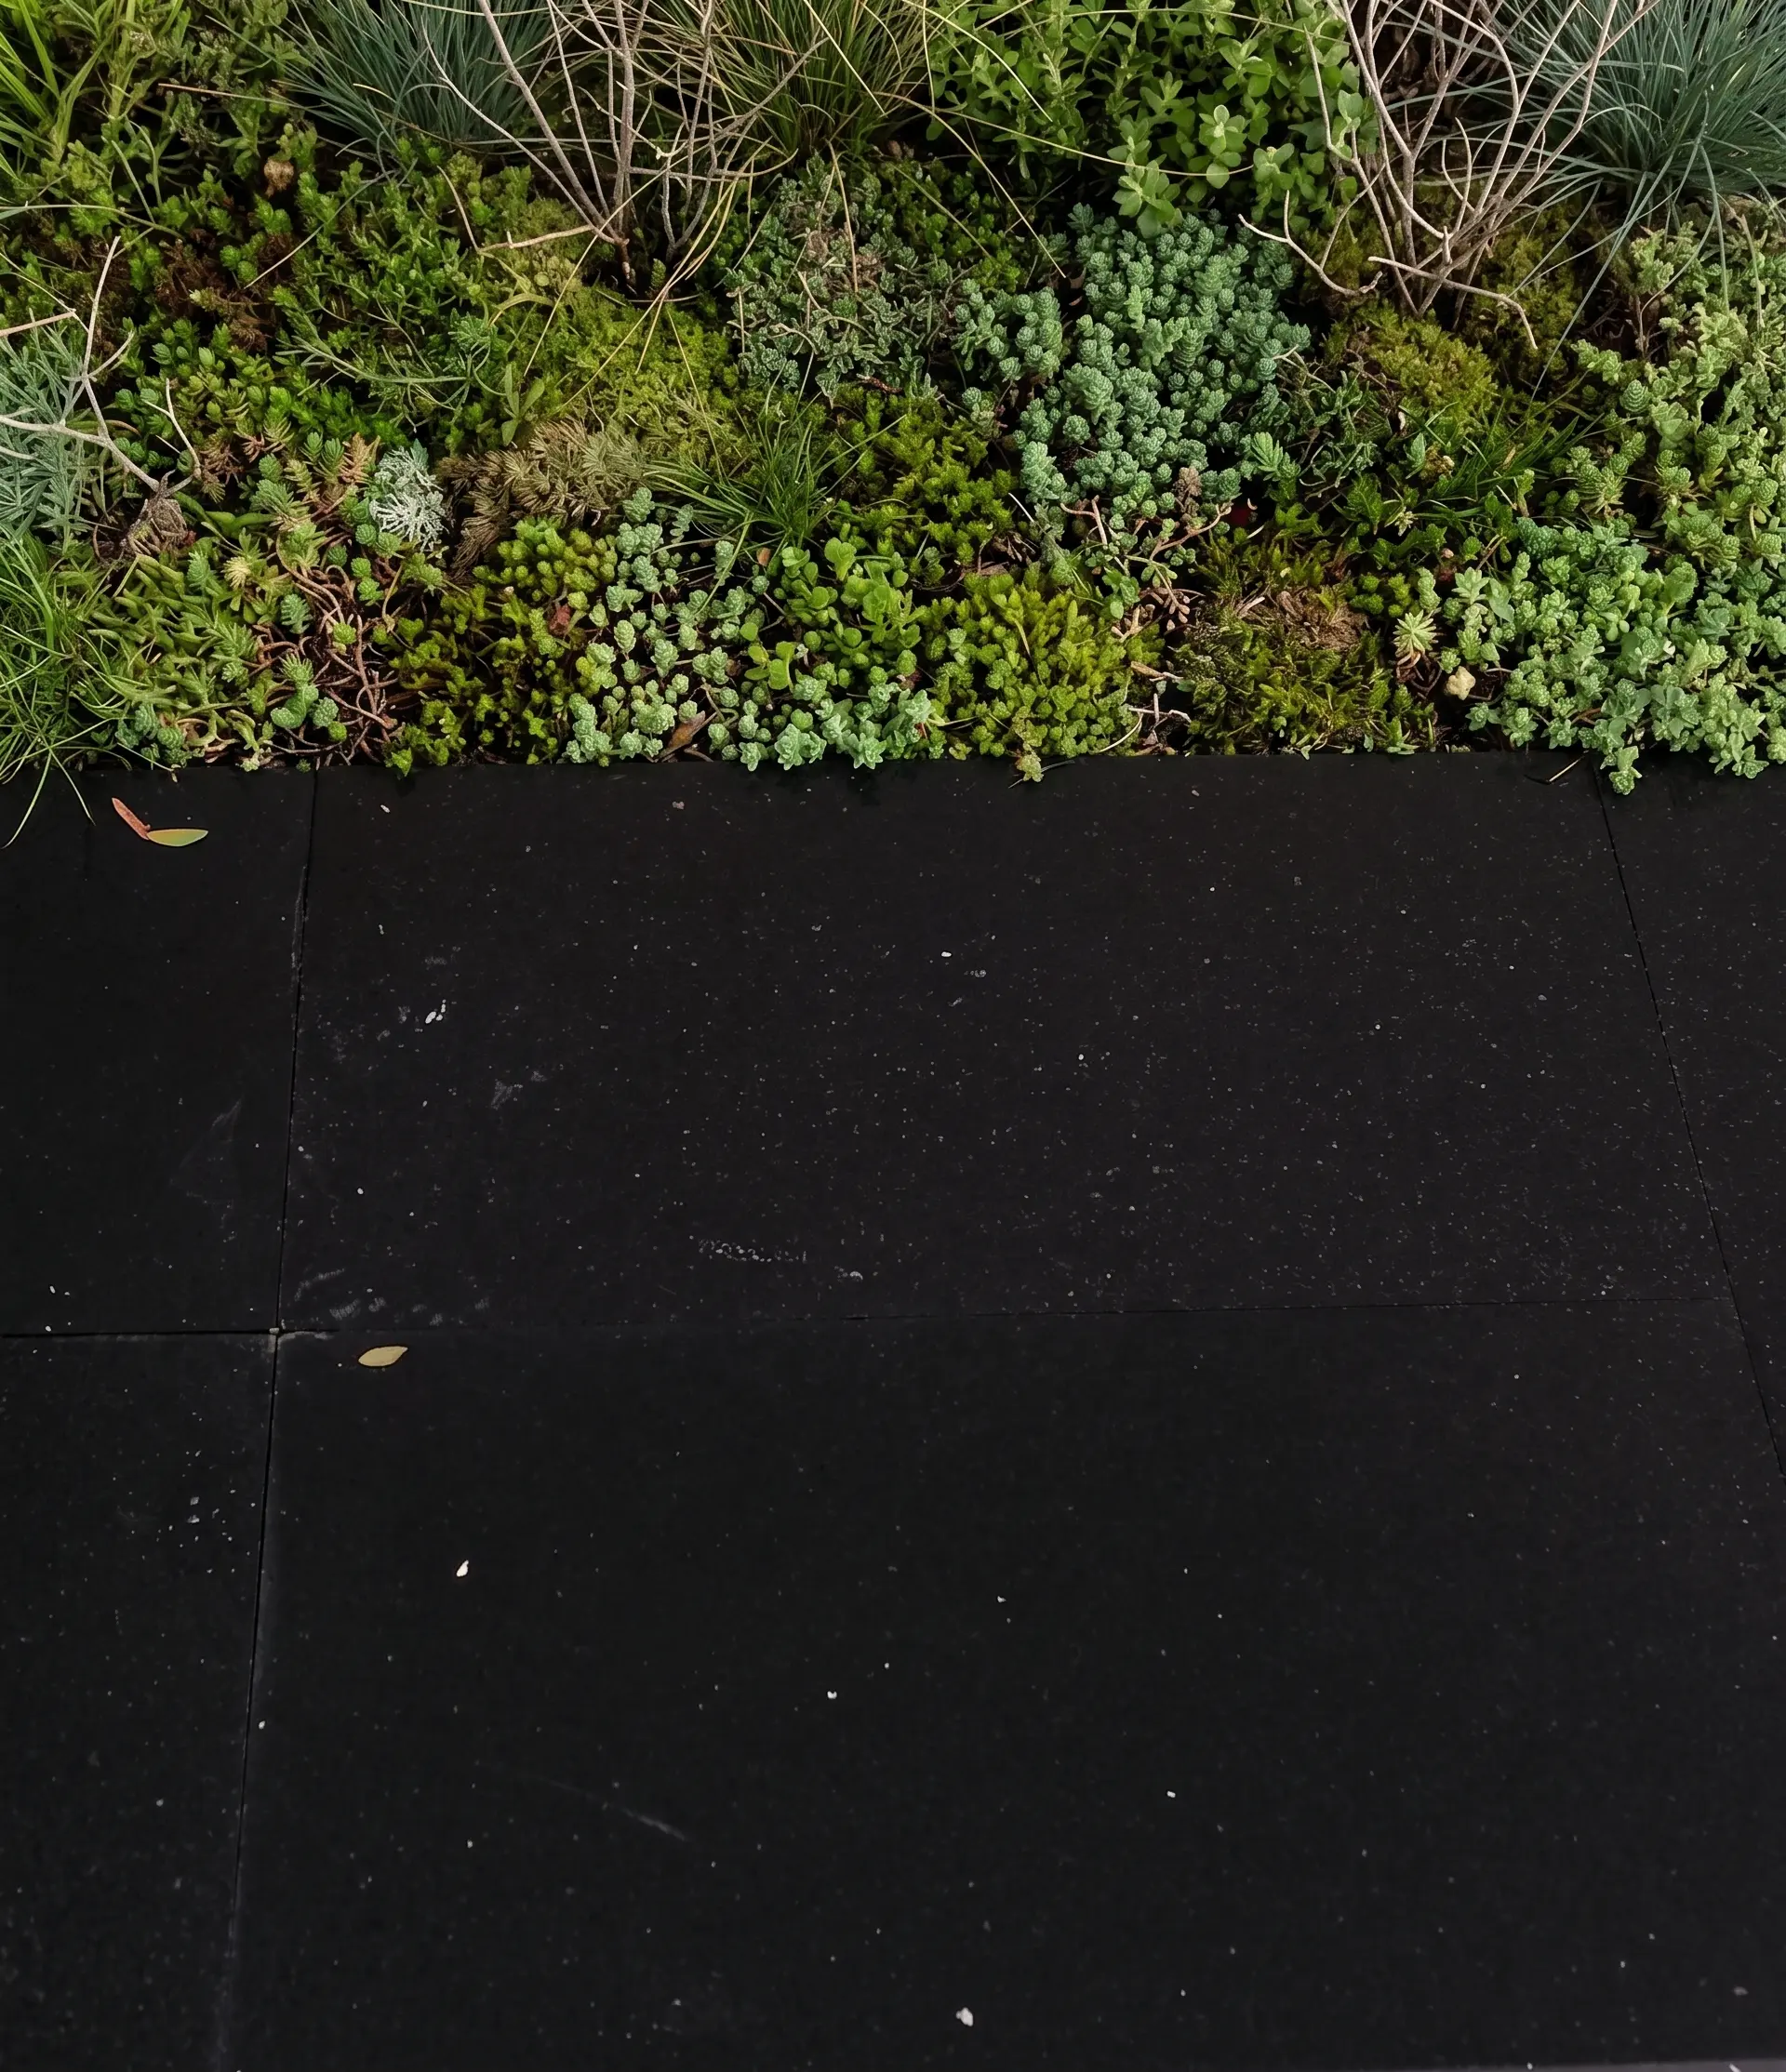
Your base preparation is more important than your tile selection. A structurally sound base distributes load evenly and controls the differential movement that cracks stone and opens joints. For basalt outdoor tile installation on a ground-level slab or compacted aggregate base, the design has to account for the weight of the stone itself — denser than limestone, denser than many sandstones — and for the application’s specific point-load demands.
- Compact granular sub-base material in layers, not as a single deep fill — each lift needs to be fully consolidated before the next goes down
- Confirm your concrete slab is cured fully before tiling; a slab still releasing moisture will compromise adhesive performance from day one
- Slope your setting bed toward drainage outlets — even a small percentage gradient prevents water from pooling beneath the tile system
- Check for any soft spots or movement in the base before proceeding — basalt will telegraph any base deficiency directly to the surface joints
The Natural Stone Institute notes that igneous stones like basalt require a rigid, fully cured substrate with no residual deflection. Request that guidance document from your supplier alongside the test report for the specific batch you’re specifying.
Adhesive Selection and Coverage for Outdoor Applications
Choosing the wrong adhesive is the most common single point of failure in basalt outdoor tile installation, and it usually comes down to two errors: using an interior-grade product outdoors, or using a standard modified thinset where a large-format, high-performance mortar is required. Basalt tiles, particularly in larger formats, need a mortar with enough open time to allow full back-buttering and positioning without the adhesive skinning over before contact is made.
- Specify an exterior-rated, polymer-modified mortar — the polymer additive improves flexibility and adhesion to the stone’s low-absorption surface
- Back-butter every tile without exception — comb the bed, back-butter the tile, set and slide to collapse air pockets and achieve full contact
- Check adhesive coverage by lifting a tile after setting — you want adhesive transfer across at least 95% of the back face for outdoor installations
- Avoid adhesives specified only for interior or dry-area use — outdoor thermal cycling will expose any shortfall in flexibility within the first winter
The Tile Council of North America’s installation standards for natural stone tile address adhesive coverage requirements and back-buttering methodology in detail. Pull that guidance before writing your specification — it aligns with what experienced installers already know from the field.
Seasonal Timing: When You Work Matters as Much as How You Work
Adhesive performance is temperature-sensitive, and that sensitivity has real scheduling consequences. Most polymer-modified mortars have a stated working temperature window — typically between around 50°F and 95°F — and operating outside that range changes curing chemistry in ways that compromise bond strength. What often gets overlooked is that the tile surface temperature, not just the air temperature, is what matters. In summer, basalt tiles sitting on a pallet in direct sun can reach surface temperatures well above ambient air temperature. Setting those tiles before they cool down puts the adhesive under stress from the first moment.
The practical timing implication: schedule setting work in the morning during warm months when tile surface temperatures are manageable and the adhesive has its full open time before heat accelerates skinning. In cooler periods, the opposite applies — afternoon work gives the slab and tile time to warm up and avoids setting on a cold substrate that slows adhesive cure and risks freeze before the bond develops. Working around a predictable seasonal temperature window — rather than pushing through adverse conditions — is one of the more underrated trade decisions on any exterior stone project.
- In periods with overnight frost risk, protect freshly set tiles with insulating cover — adhesive that freezes before full cure will not recover to spec strength
- Avoid setting during rainfall or on a wet substrate — water in the adhesive bed dilutes the polymer content and disrupts the bond
- Check your adhesive manufacturer’s temperature guidance before each day’s work, not just at project start
- Allow for longer cure times in cooler conditions before applying point loads or grouting
Cutting and Handling Basalt Tiles on Site
Basalt cuts cleanly with a quality diamond blade on a wet saw, but the stone’s density means you need blade speed and water flow matched to the material. Underpowered saws or worn blades create edge micro-fractures that may not show immediately but propagate under thermal stress or point load over time. This is one area where cutting corners on equipment costs more than the saved hire.
You’ll also notice that basalt can produce sharper cut edges than softer stones. Running a fine abrasive along cut edges before setting removes the sharpest arris and reduces the risk of chipping during installation or injury during handling. Plan your cuts with basalt outdoor tile installation logistics in mind — cut material should be moved to the setting area carefully, stacked face-to-face with separating material, not dragged across abrasive surfaces.
Joint Width, Movement Joints, and Grouting
Joint width for outdoor basalt needs to accommodate the thermal movement of a dense igneous stone across the full seasonal temperature range your installation will experience. Basalt has a relatively low thermal expansion coefficient compared to some stones, but that doesn’t eliminate movement — it means your expansion joints need to be correctly spaced relative to the slab panel dimensions rather than set by a generic rule. Your structural engineer or the tile installation standard covering your application will give you panel-size-to-joint-spacing ratios; request the test report from your stone supplier for the thermal expansion coefficient to feed that calculation.
- Never fill movement joints with grout — use a flexible sealant that matches or complements the stone colour and is rated for exterior service
- Space movement joints at perimeters, at changes in direction, and at intervals that match your substrate panel design
- For field joints, use a grout with the durability and colour stability to perform outdoors — standard interior grout will degrade with UV exposure and moisture cycling
- Avoid very narrow grout joints on uneven ground conditions — tighter joints leave less tolerance for slight variations in tile thickness across a batch
Drainage Slope and Long-Term Outdoor Performance
Drainage geometry is where most outdoor basalt projects develop their long-term problems. Even with a well-prepared base, water that sits on or beneath the tile surface creates repeated wet-dry and freeze-thaw cycling at the bond line. Over time, that cycling degrades both the adhesive and the grout, and the result shows as lifted tiles or opened joints. The Natural Stone Institute’s guidance on igneous stone paving reinforces minimum slope requirements for outdoor installations — confirm these against your specific design before you set a single tile.
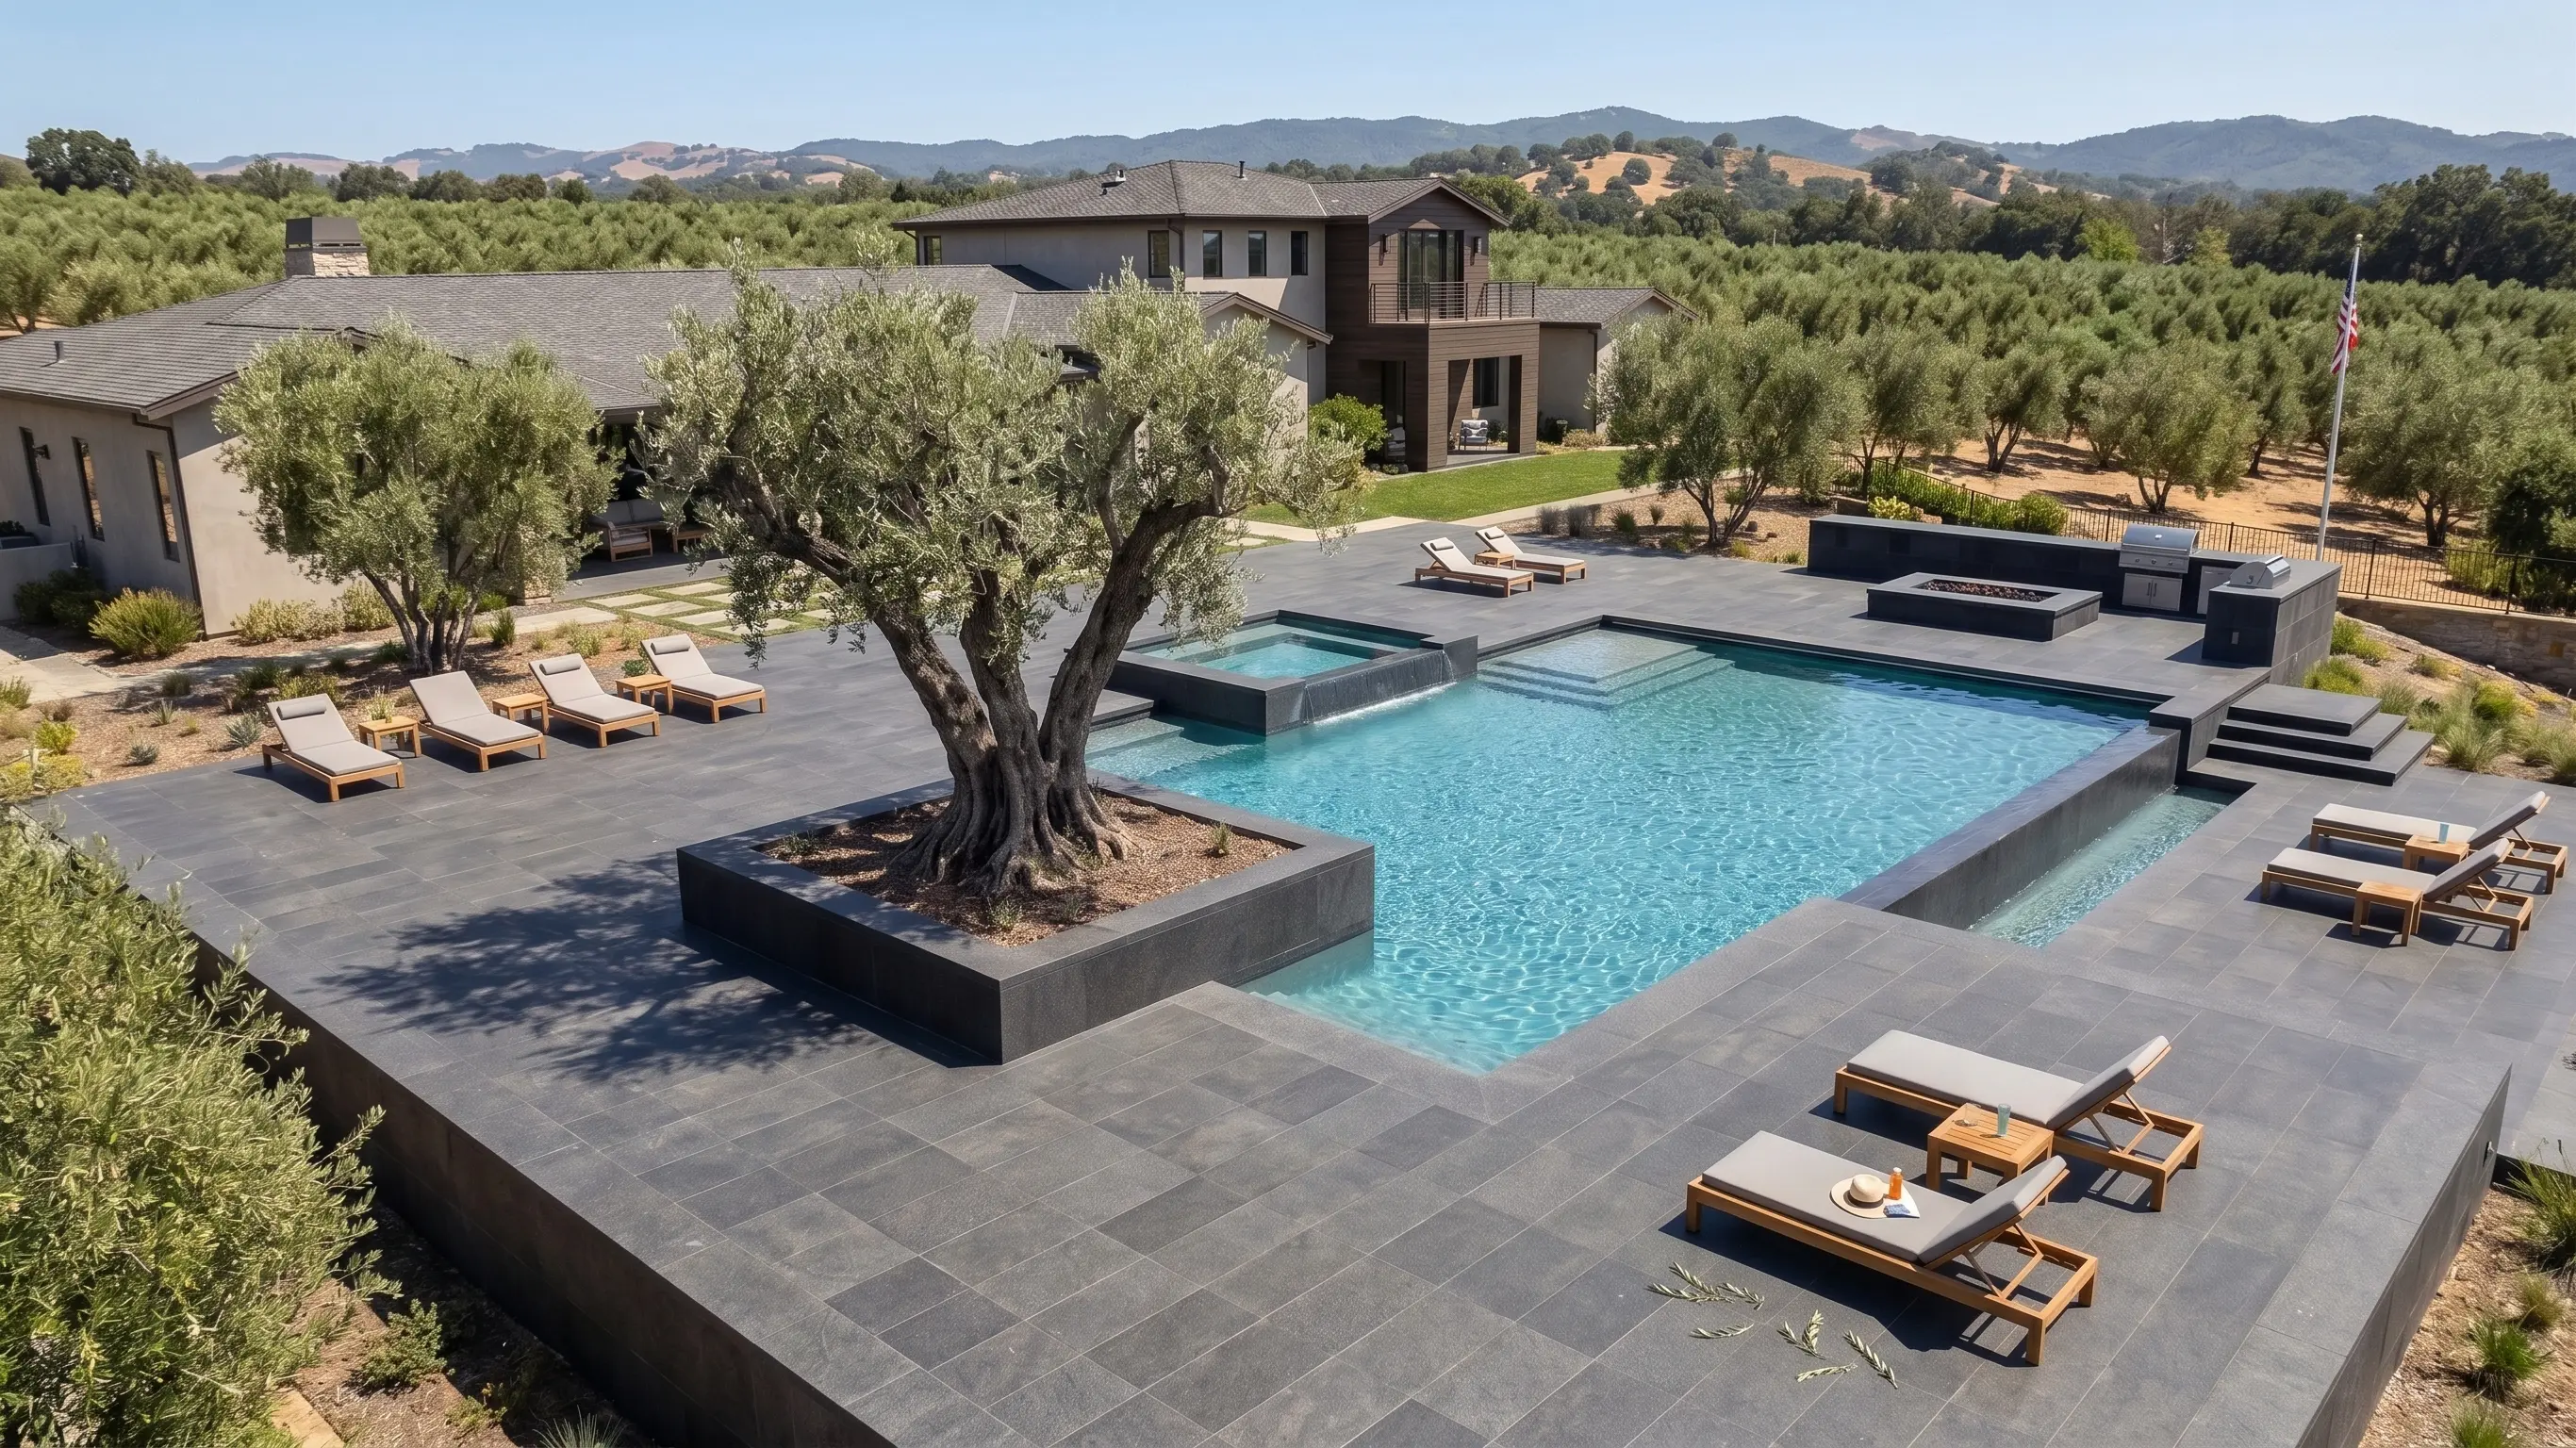
You’ll want your finished tile surface to drain water positively toward outlets, with no low points where water can collect. On terraces, pool surrounds, or ground-level patios, this means establishing your drainage geometry before laying out the tile pattern, not after. Retrofitting drainage slope once tiles are set is expensive and disruptive.
Finish Selection and Ongoing Maintenance
Basalt is available in several finish options — honed, flamed, sawn, and brushed among the most common for outdoor use. Each finish leaves a different surface texture, and that texture affects how the tile performs in wet and dry conditions, how visible surface wear becomes over time, and what your maintenance programme looks like. A honed finish leaves a smooth, matte face; a flamed or bush-hammered finish opens the surface texture more and changes how the stone weathers visually over years.
Explore our basalt outdoor tile range to compare available formats, thicknesses, and finishes before finalizing your specification — getting format and finish aligned with the application is a detail that pays dividends over the life of the installation.
- Sealing outdoor basalt is a common practice — use a penetrating sealer suited to dense igneous stone, and apply it on a schedule your sealer manufacturer specifies, not an arbitrary annual programme
- Clean basalt with pH-neutral products to avoid surface etching over repeat cleaning cycles
- Inspect joints annually and refill any areas where grout or sealant has deteriorated — catching it early prevents water ingress from becoming a bond-layer problem
- A flamed finish will show less marking from everyday use than a polished or fine-honed surface — factor that into your finish decision for high-traffic zones
Pillow Basalt and Specialty Format Considerations
Pillow basalt refers to rounded lava formations that occur when basalt lava cools rapidly underwater — producing a characteristic curved, pillow-like surface texture that has become sought after in landscape and water-feature applications. As a paving element, pillow basalt brings a very different installation challenge compared to sawn tiles: the irregular form means full bedding contact requires a mortar bed with sufficient depth and plasticity to conform to each unit’s individual shape. This is a skilled, time-intensive process, and the quantity planning and lead time for specialty formats like pillow basalt should factor into your project scheduling from the outset.
Large single-piece basalt features are a different format category altogether — upright blocks or columns used as vertical accents, water-wall backings, or focal points in garden and commercial hardscape design. If your project sets one of these pieces alongside field paving, the adhesive and substrate requirements differ substantially from tile installation — confirm the bedding and fixing method with your supplier before procurement.
Standard basalt tiles in sawn or honed finishes follow conventional installation workflows, but any format departure — curved edges, irregular thickness, large-format slabs — requires a review of your adhesive selection and bedding method before work starts on site.
Expert Summary: Getting Basalt Outdoor Tile Installation Right
How to lay basalt outdoor tiles correctly comes down to a sequence of decisions that each depends on the one before it: base integrity, adhesive selection, timing, joint design, drainage, and finish maintenance. Skip or rush any of those steps and the stone will eventually tell you — through lifted tiles, cracked grout lines, or water damage that reaches the substrate before you notice it at the surface. Basalt is an exceptionally durable outdoor material with a long service life in demanding conditions, but it performs to that standard only when the installation system beneath it is built with the same quality as the stone itself.
Citadel Stone cuts basalt tile to order at our selected quarries, which means specification dimensions, thickness, and finish are confirmed before cutting rather than adapted from generic stock. If you’re planning a project that also incorporates other natural stone elements, the article on how basalt is sourced and specified covers additional context worth having before you finalise your order. Sourced from our selected Middle East quarries, these basalt tiles perform reliably in hot, dry climates.
Related reading: Caring for Basalt Stones: Simple Maintenance Steps · basalt rock · paver colors.