

Travertine grout line size is one of those specification decisions that looks simple on paper but causes real headaches once installation is underway. The gap between tiles isn’t just an aesthetic call — it governs how the stone moves, how joints perform over time, and whether the finished surface holds together through seasonal ground shifts. Most problems traced back to grout lines come from sizing the joint to what looks good in a showroom rather than what the substrate and stone actually demand.
Why Travertine Grout Line Size Matters More Than You Think
Travertine tiles are a natural material with dimensional variation you won’t eliminate by buying premium stock. Even well-calibrated travertine pavers carry edge-to-edge variation that accumulates across a run. A joint sized without accounting for that variation forces your installer into constant correction — pulling tiles, shimming, or accepting lips that become trip hazards and drainage problems. The travertine grout joint spacing you specify has to accommodate the material, not the other way around.
- Calibrated travertine typically runs tighter dimensional tolerances, supporting narrower joints
- Tumbled or antique-finish travertine carries more edge variation and needs a wider joint allowance
- Large-format pieces amplify any dimensional variation across the layout — a small per-unit discrepancy becomes visible at scale
- Rectified travertine tiles allow the tightest joints because factory-cutting brings edges to a true, consistent dimension
The joint also handles the thermal movement your stone and substrate generate independently. Stone expands at a rate tied to its mineral composition; the concrete or mortar bed below it expands at its own rate. Your grout joint absorbs the differential. Size it too tight and you transfer stress to the stone face — spalling, cracking, and joint blow-out follow.
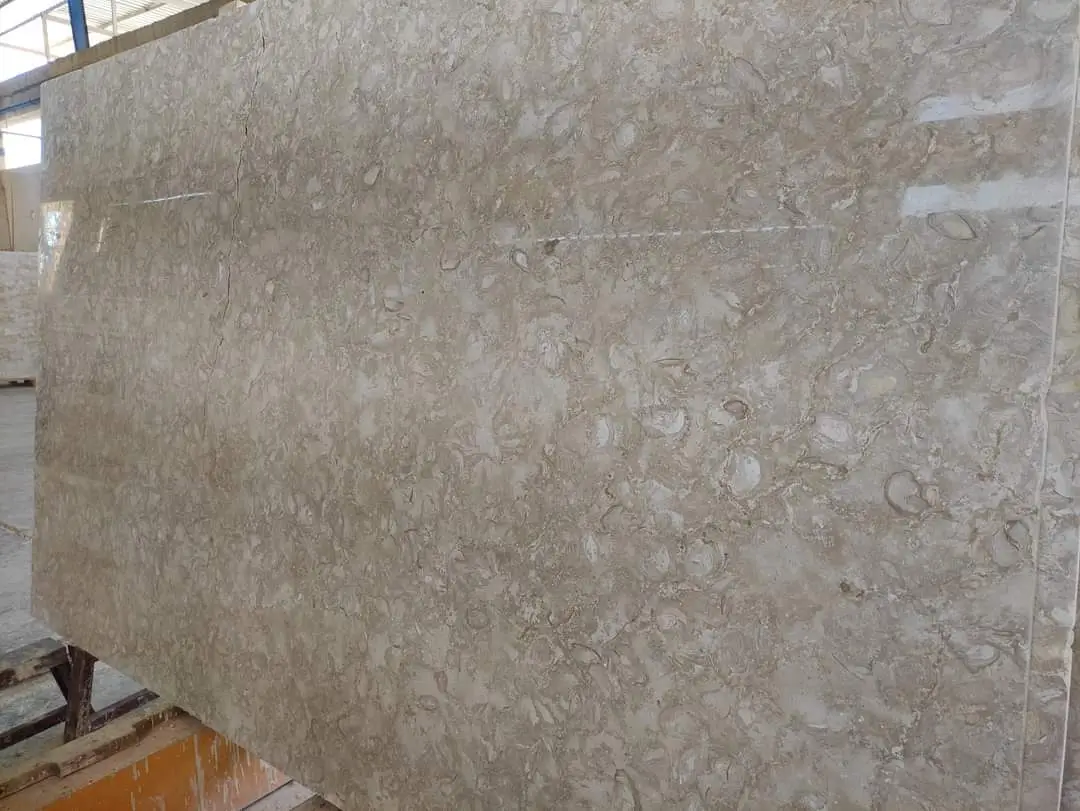
Standard Sizing Ranges for Travertine Installations
The industry converges on a few practical ranges depending on application, finish, and tile size. These aren’t arbitrary — they reflect the accumulated failure data from installations that went wrong when specifiers pushed the joint too tight or let it run too wide without proper fill material.
- Interior floor tiles in calibrated travertine: joints in the 3–6 mm range are common for standard residential formats
- Exterior patio travertine pavers: 6–10 mm is a reliable working range, giving movement accommodation without letting debris pack in at a damaging scale
- Large-format exterior slabs (600 mm and above): plan for at least 8 mm minimum — the longer the tile run, the more cumulative movement you’re managing
- Tumbled travertine in any application: the irregular edges usually call for 10 mm or wider, and the joint becomes part of the rustic visual language of the material
- Pool surrounds and wet-area applications: wider joints drain better; a joint around 10 mm also gives you room for a joint filler that handles permanent wet exposure
Tile Council of North America installation standards address joint width as a function of tile tolerance and setting material — a useful benchmark when you’re writing a specification for a contractor. According to TCNA installation standards, joint width should never be less than three times the facial dimensional variation of the tile being installed. That rule alone eliminates a lot of guesswork.
How Finish Affects Your Joint Selection
The surface finish on travertine grout line size decisions is one of the two biggest variables — the other being subgrade stability, which we’ll cover separately. A honed finish brings the stone to a flat, matte plane; a polished finish takes it further to a reflective surface. Both require tighter dimensional consistency because the flat face makes any lippage or joint variation immediately visible to the eye.
A tumbled finish leaves an open, matte texture with rounded edges that naturally tolerate — and visually absorb — a wider joint. The irregularity is part of the material’s character. Brushed finishes sit in between: more texture than honed, less rounding than tumbled, and they pair well with mid-range joint widths that don’t fight the finish aesthetically or structurally.
- Polished: specify tightest joints your substrate and stone calibration support — any variation reads clearly
- Honed: similar logic to polished, though slightly more forgiving on lippage visibility
- Brushed: mid-range joints work well; the texture softens visual inconsistencies
- Tumbled: wider joints are both structurally appropriate and aesthetically coherent with the material character
- Sandblasted or antiqued: similar to tumbled — open texture accommodates and complements a generous joint
Subgrade and Soil Conditions: The Hidden Driver of Joint Failure
Grout joint failures that look like a sizing problem often trace back to what’s happening below the stone, not above it. Expansive clay subgrades are a well-documented cause of travertine joint cracking — clay that swells with moisture uptake and contracts in dry periods creates cyclic movement that no joint, however well specified, can absorb indefinitely without proper isolation. Your joint sizing decision connects directly to your base system design.
Sandy or rocky subgrades behave differently. Sandy soil drains well but can settle unevenly under load if compaction is insufficient, creating differential movement that opens joints selectively across the installation. Rocky or caliche subgrades are rigid but create drainage challenges — water that can’t percolate builds hydrostatic pressure under the slab, which transfers to joints at the surface. In high-clay zones, a properly compacted aggregate sub-base of adequate depth functions as a drainage layer and movement buffer simultaneously. The Natural Stone Institute provides technical guidance on how subgrade preparation interacts with natural stone performance — their material-specific data is worth pulling into your specification. According to Natural Stone Institute stone variety specifications, the relationship between substrate movement and stone joint behavior is a primary consideration for exterior installations.
- Expansive clay: consider geotextile fabric between subgrade and aggregate base; wider joints give the finished surface more accommodation capacity
- Sandy subgrades: verify compaction with a plate compactor before setting stone; under-compacted sand transmits differential settlement directly to joints
- Rocky or caliche subgrades: prioritize drainage channel design; water management below the stone matters more than joint width alone
- Fill areas or disturbed ground: allow adequate time for consolidation before installation; fresh fill continues settling for months
Delivery scheduling for larger travertine projects sometimes runs against these subgrade timelines. Project access constraints and ground conditions should both feed into installation sequencing — offloading arrangements are confirmed before the delivery date, and material shouldn’t arrive until the base is ready to receive stone without delay.
Grout Fill Materials and Their Compatibility With Travertine
The travertine grout line size you specify only performs as designed if the fill material matches the joint width, application exposure, and stone porosity. Travertine is a calcium carbonate stone with a pore structure that makes it more reactive to fill material chemistry than denser igneous stones. Acid-based cleaners used after grouting can etch the surface — a detail that catches installers unfamiliar with the material.
For interior travertine tile installations with narrow joints, unsanded grout is the standard choice — sanded grout in a tight joint can scratch a polished or honed face during application. Wider exterior joints call for sanded or polymer-modified grout that resists the movement cycles the joint will experience through seasons. For pool surrounds and continuously wet areas, epoxy grout delivers strong resistance to water absorption and staining over time, though it requires a more precise application window and surface preparation.
- Joints under 3 mm: unsanded grout — sanded aggregate is too coarse to pack properly
- Joints 3–12 mm: sanded grout standard; polymer-modified for exterior use
- Joints above 12 mm: consider a larger-aggregate mortar mix or a dedicated joint filler designed for the width
- Pool and wet-area joints: epoxy grout for durability; confirm compatibility with the travertine surface finish before application
- All travertine joints: avoid acid-based cleaners during and after grouting — neutral pH cleaners protect the stone face
Common Spacing Problems and How to Solve Them
The most common field problem is joint width that drifts across the installation — tight at one end, noticeably wider at the other. This happens when the layout wasn’t dry-set before mortaring began, or when the installer relied on consistent spacers without accounting for the tile’s actual edge variation. Specifications should require a dry layout check on a representative section before any adhesive goes down.
Joint blow-out — where grout cracks or pops out of the joint in segments — is usually a movement problem, not a material failure. The joint was sized without adequate expansion joint integration, or the expansion joints were placed too far apart for the installation’s thermal and moisture cycling conditions. For travertine pavers in exterior use, ASTM C1527 covers the dimensional stone standard and provides a baseline for how the material should be specified and tested — the test report is available on request from your supplier. Specifications referencing ASTM C1527 travertine dimension stone standards give contractors a defined performance baseline to work to.
- Drifting joint width: mandate a dry layout check before mortaring; address tile variation before it’s locked in
- Joint blow-out: review expansion joint placement and spacing — the grout joint is not a substitute for a proper movement joint
- Lippage at joints: usually a substrate flatness issue — check your mortar bed tolerance before blaming the tile or the joint width
- Grout staining on travertine face: apply a penetrating sealer before grouting; this creates a temporary barrier on the porous stone surface
- Efflorescence at joints: mineral migration from below; address drainage and moisture management in the base system
For travertine pavers specifically, our travertine installation resources covers thickness and format options that affect how joint sizing decisions interact with base depth and setting bed requirements.
20-30mm Pebbles and Decorative Joint Fill Options
Some designers use 20-30mm pebbles as a decorative fill in wider travertine joints — particularly in garden settings, landscape applications, and loose-lay configurations where the stone isn’t mortared. This approach works well aesthetically but changes how the joint behaves structurally. A pebble-filled joint doesn’t lock the stone together the way a grout fill does; it allows more individual tile movement, which can cause progressive displacement in high-traffic areas.
Travertine pavers in a pebble-joint configuration need to be bedded on a compacted, stable aggregate base — the joint fill isn’t contributing to structural stability. The pebble size also needs to match the joint width; oversized fill sits proud of the joint and creates an uneven surface, while undersized fill migrates under foot traffic. A 10–15 mm joint paired with appropriately sized angular aggregate gives better retention than a round pebble of similar diameter. Where 20-30mm pebbles are used as border accent rather than field fill, a contained edging system prevents lateral migration over time.
- Pebble-fill joints work best in garden paths and landscape settings, not high-traffic hardscape
- Angular aggregate retains position better than smooth river pebble in the same joint width
- Joint width needs to exceed the pebble diameter to allow for flush bedding without protrusion
- Edging and border containment becomes more important when joints are pebble-filled — migration to the perimeter accelerates without it
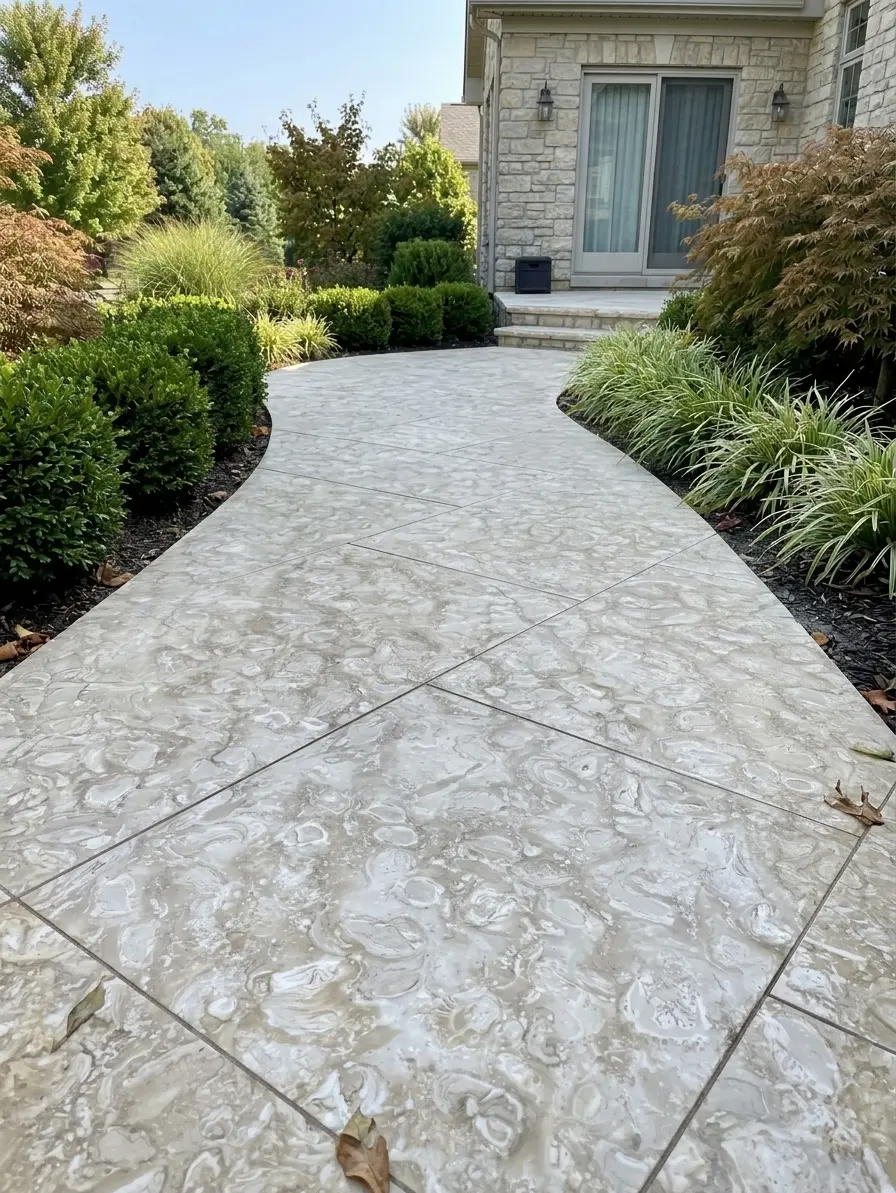
Specifying Travertine Grout Joints for Pool and Wet-Area Applications
Pool deck travertine grout line sizing carries additional variables that interior applications don’t face. Constant wet-dry cycling, pool chemical exposure, and the structural movement of a pool shell beneath the surrounding deck all influence what your joint needs to do. The pool shell moves independently of its surrounding deck slab — a detail that catches specifiers who treat the whole deck as a single rigid system.
The joint at the pool coping-to-deck transition should be treated as a movement joint, not a grout joint — filled with a flexible sealant designed for chemical exposure, not rigid grout. USGS data on limestone and travertine mineral formation confirms the calcium carbonate base that makes travertine naturally porous — that porosity is why joint fill chemistry and drainage matter more in wet environments. According to USGS limestone and travertine mineral formation data, travertine’s characteristic open-pore structure directly affects its moisture interaction at surface joints.
- Pool coping-to-deck joint: flexible polyurethane or silicone sealant, not rigid grout — this joint will move
- Deck field joints: widen slightly relative to equivalent dry-area applications to accommodate thermal cycling and chemical exposure
- Drainage slope: your joint layout should align with surface drainage geometry — grout joints running against slope trap water
- Chemical resistance: confirm your grout fill’s compatibility with pool chemical pH levels before specifying — chlorine exposure degrades some polymer-modified grouts over time
Citadel Stone sources travertine at our selected quarries and cuts to order for pool-surround projects that require consistent thickness tolerances across large areas. Consistent thickness directly affects how your setting bed and joints perform at the pool edge where drainage geometry is most critical.
Travertine Grout Line Size: Final Specification Guidance
Travertine grout line size sits at the intersection of aesthetics, material behavior, and subgrade performance — getting it wrong in any one dimension affects the other two. Your joint specification should start with the tile’s dimensional tolerance, layer in the finish type, account for the movement the substrate and climate will generate, and confirm the fill material is compatible with exposure conditions. That sequence produces a joint specification you can defend technically, not just visually.
Beyond joint sizing, the layout format you choose for travertine affects how joints distribute across the surface and how movement concentrates. If you’re working through patio and pool layout decisions alongside grout planning, travertine layout patterns for patios and pools covers how different formats interact with joint placement geometry — a useful companion reference when layout and joint sizing need to be planned together. Getting grout line width right from the start is one of the practical choices Citadel Stone advises buyers to plan before installation begins.
Related reading: travertine paver sizes · travertine paver thickness guide.