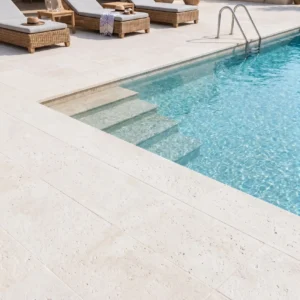
Grouting travertine tile is where a lot of otherwise solid installations fall apart — not because the grout itself fails, but because the decisions made before the bucket is even opened are the wrong ones. Color selection, joint width, and haze management each carry specific variables that travertine introduces in ways that polished porcelain simply doesn’t. The porous, living surface of natural travertine means the grout you choose will become part of the visual identity of the stone, not just a filler between tiles.
Why Grouting Travertine Requires a Different Approach
Most installers trained on rectified porcelain develop habits that actively work against them on travertine. Porcelain is dense and sealed at the factory — you have a predictable surface to work against. Travertine’s calcium carbonate matrix has an open-pore structure that absorbs moisture, colorants, and fine grout particles far more aggressively. That changes your timing, your product selection, and your cleanup sequence entirely.
The fill condition of your travertine matters here too. Filled travertine — where the natural voids have been pre-filled at the factory — gives you a more consistent substrate, but the filler material itself can be more or less absorbent depending on the manufacturer. Unfilled travertine requires a completely different grouting strategy, which we’ll cover separately below. Before you specify anything, confirm which version you’re working with.
- Filled travertine: voids pre-treated, ready for standard grouting with modified unsanded or sanded products
- Unfilled (or partially filled) travertine: voids must be addressed prior to grouting — typically with matching epoxy filler or a slurry coat
- Cross-cut travertine: more consistent surface, easier to grout uniformly
- Vein-cut travertine: more variation in surface porosity across individual tiles
Grout Color: The Decision That Defines the Look
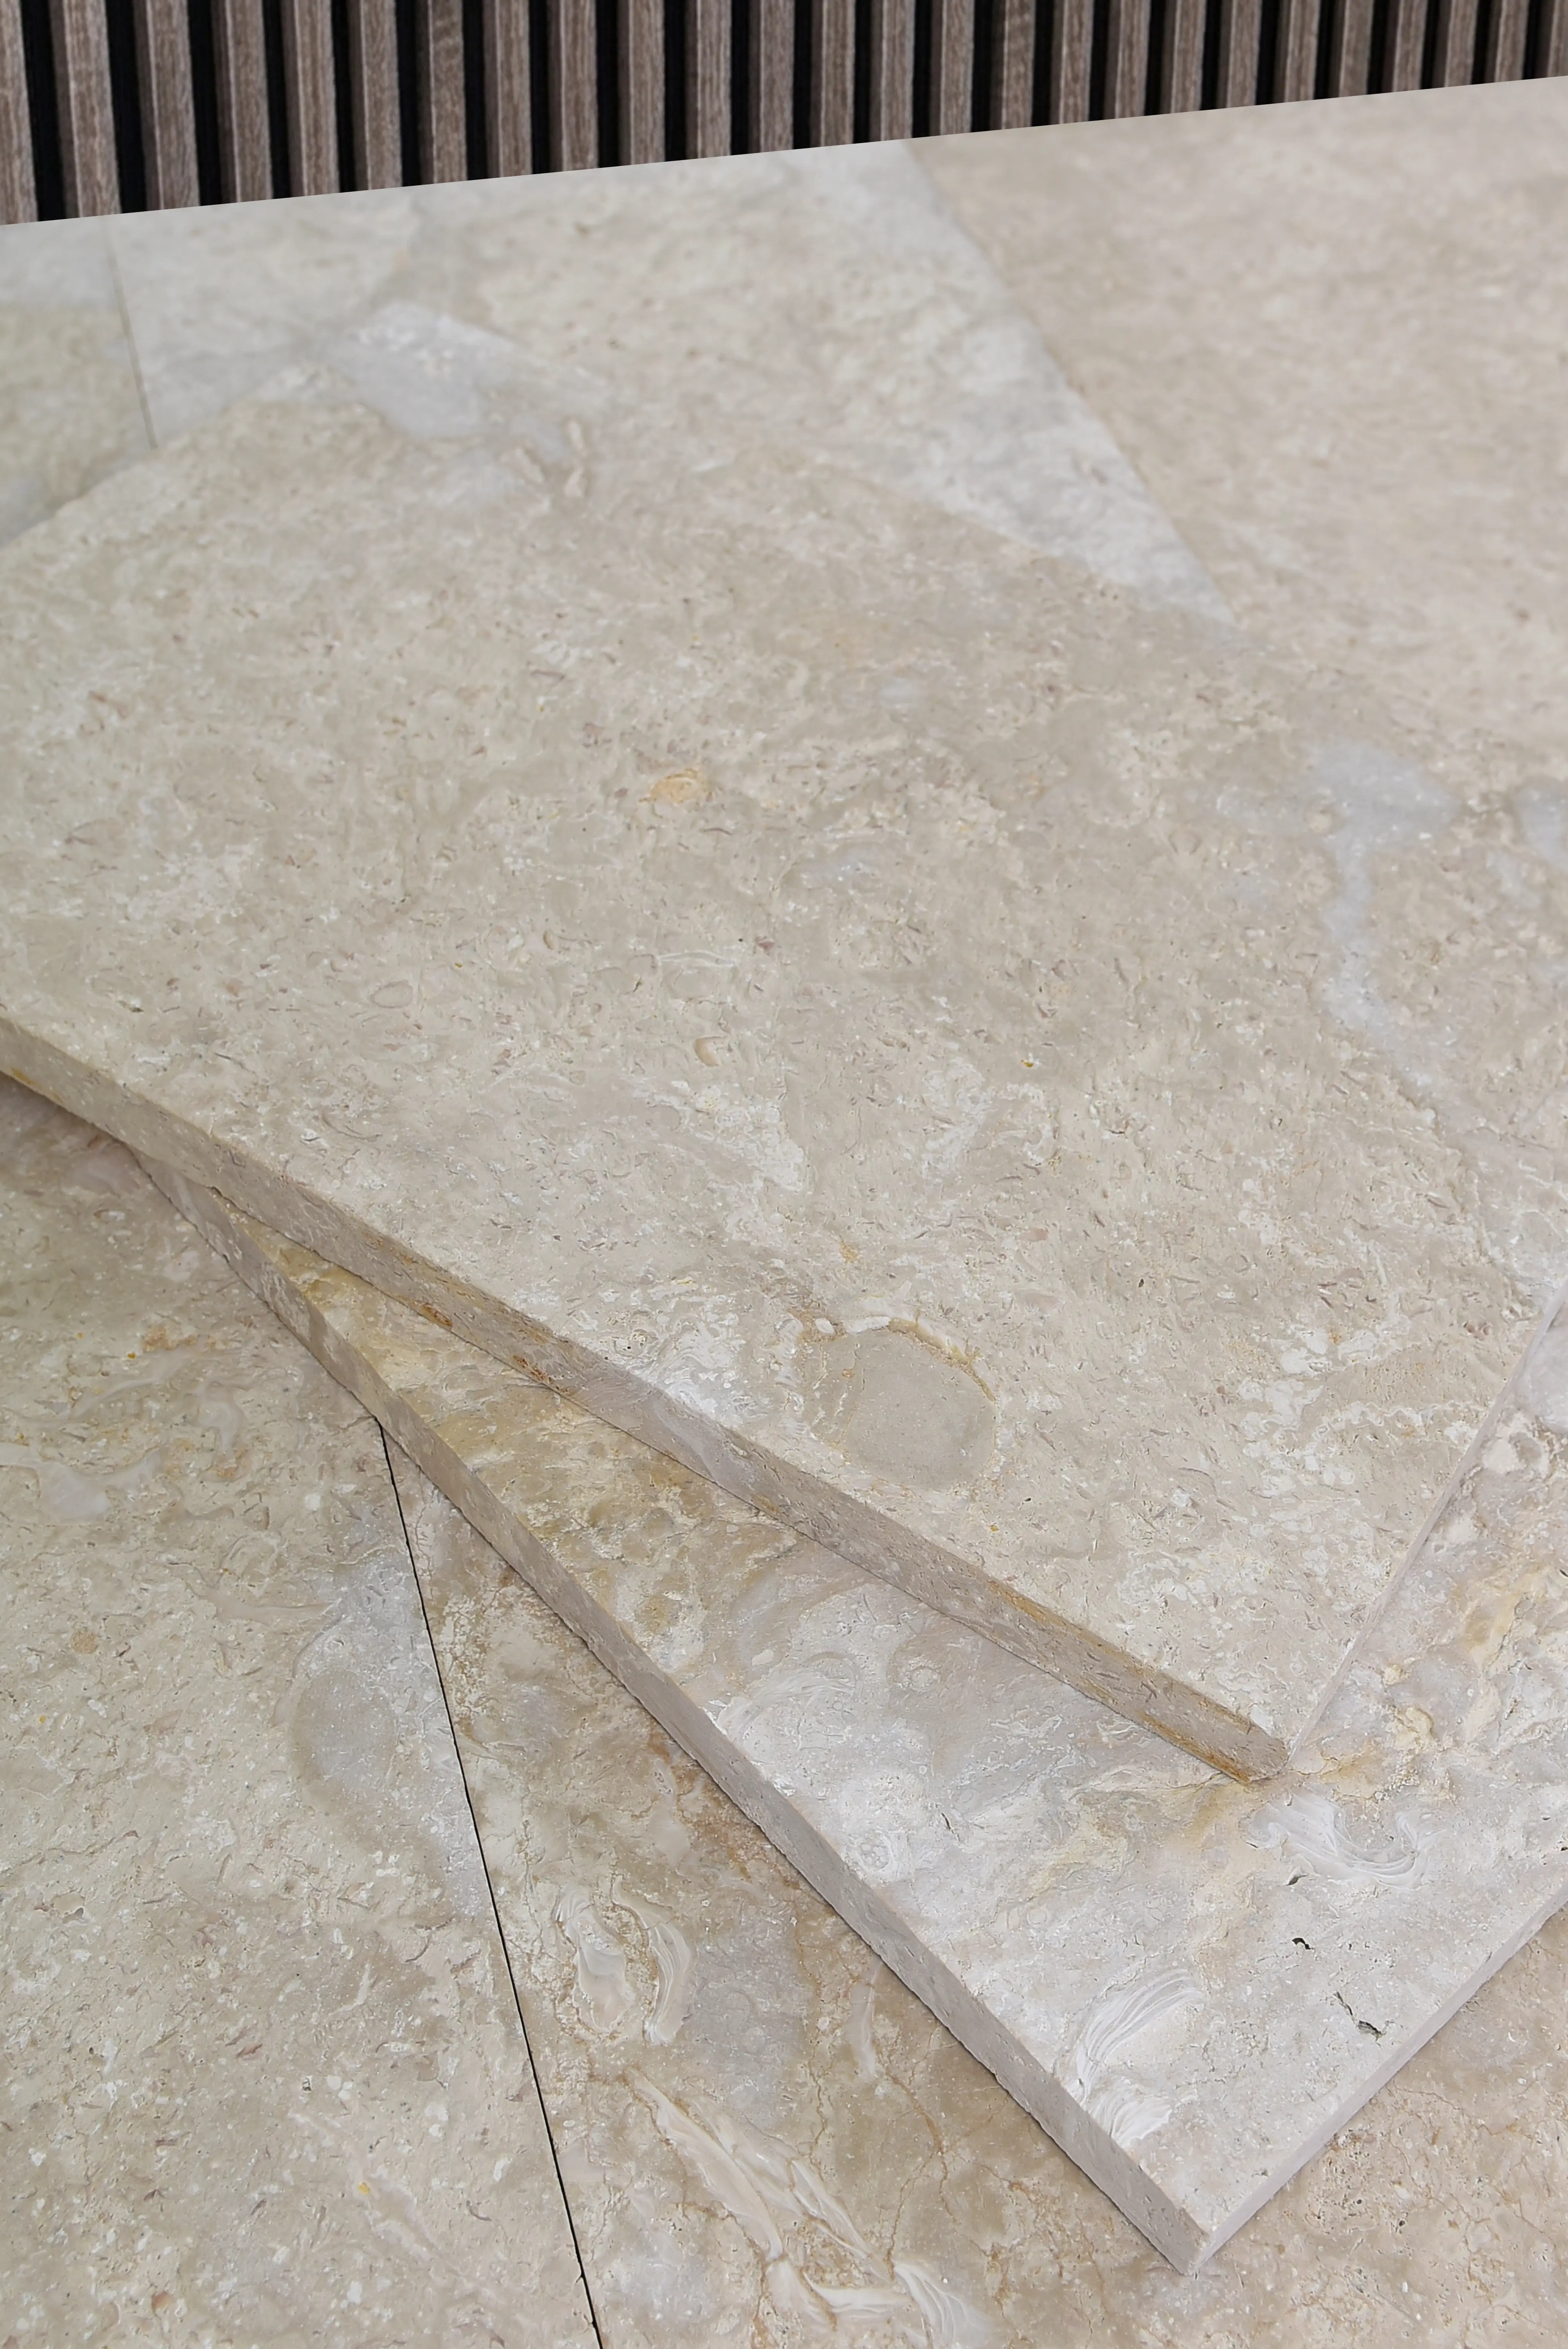
Your grout color choice for travertine has a longer-lasting visual impact than it does on almost any other tile format. The slightly irregular edges and natural voids of travertine mean that grout lines carry a lot of visual weight — more than they do on a rectified, machine-cut tile. Get this wrong and you can visually fragment an otherwise beautiful installation.
The most reliable approach for most travertine applications is a close-tone match — a grout that sits within two to three shades of the tile’s dominant midtone. For ivory or walnut travertine, a warm beige or light buff grout reads as almost continuous. For silver or grey travertine, a medium grey grout does the same. You’re not trying to blend the grout into invisibility; you’re trying to prevent it from becoming the dominant visual element. According to Natural Stone Institute travertine properties and outdoor suitability, the open-pore and variable surface characteristics of travertine require careful material matching in finishing applications — and grout color is no exception.
- Close-tone match: best for large-format installations and open floor plans — keeps the eye on the stone
- Contrasting grout (e.g., dark grey on cream travertine): amplifies the geometric pattern — appropriate for smaller tiles like travertine hexagon tile formats, where the geometry itself is the design intent
- Matching grout to the fill compound: critical if the tile has pre-existing voids filled with a tinted compound — mismatched grout color will highlight every void
- Avoid white or very light grout on tumbled travertine: the textured, aged surface will retain staining in the grout joints far more visibly than a honed finish
One detail that regularly gets overlooked: grout color shifts as it cures. Most cementitious grouts dry approximately 15–20% lighter than their wet color. Always apply a small test section and let it cure fully for 72 hours before committing to a full installation. The wet color in the bucket is not the color that will be on your floor.
Joint Width and Grout Type: Getting the Numbers Right
Travertine’s natural variation in thickness and edge geometry means that tight, rectified joint widths — the 1/16-inch joints that work beautifully on precision-cut porcelain — create problems during installation. You’ll fight lippage at every tile, and the narrow joints don’t give you enough room to accommodate the slight dimensional variation that’s inherent in natural stone.
For most grouting travertine tile applications, a joint width between 3/16 inch and 3/8 inch gives you enough tolerance to manage minor variation while keeping the look proportional to the tile size. Smaller formats, including travertine hexagon tile arrangements, typically work well toward the lower end of that range — around 3/16 inch — because the hexagon geometry already creates strong pattern definition. Larger slabs benefit from wider joints, which also allow for thermal movement over time.
- Joints under 1/8 inch: only appropriate for precisely cut, calibrated travertine — and even then, requires exceptional base flatness
- 3/16 to 1/4 inch: standard range for most interior travertine floor and wall tile
- 3/8 inch and above: appropriate for thicker pavers used in outdoor applications where base movement is a factor
- Unsanded grout: for joints up to 1/8 inch — rarely the right choice for natural travertine
- Sanded grout: for joints 1/8 inch and above — the standard for most travertine applications
- Epoxy grout: for wet areas and high-traffic commercial floors — resists staining and moisture penetration but requires faster, more precise installation technique
The TCNA installation standards specify that sanded grout should be used for joints wider than 1/8 inch, and natural stone applications require particular attention to grout flexibility to accommodate substrate movement. For travertine in exterior or large-area installations, consider a polymer-modified grout that has some flex built into the cure.
Seal Before You Grout — Here’s Why It’s Not Optional
The single most impactful thing you can do to protect a travertine installation during grouting travertine tile work is to apply a penetrating sealer to the tile surface before the grout goes in. This is not standard practice on porcelain or ceramic, but on travertine it’s the difference between a clean finish and a surface that permanently carries grout pigment in its pores.
A penetrating impregnating sealer applied 24 hours before grouting fills the surface pores without creating a film layer. When grout is subsequently applied, the pigment can’t lock into the stone itself — it sits on the sealed surface and wipes away cleanly during the haze removal stage. Without this step, fine grout particles driven into the open travertine surface during float application can become extremely difficult to remove fully, and you risk a permanent colorcast across the tile face.
- Apply sealer at least 24 hours before grouting — not the day of
- Use a penetrating, impregnating formula — not a topical coating sealer
- Confirm the sealer is grout-release compatible — some high-density sealers can interfere with grout bond if applied too heavily
- Lightly buff off excess sealer after application — pooled sealer creates a surface film that can cause adhesion issues
- A second sealer application after grouting and haze removal provides long-term stain protection
Grouting Unfilled Travertine: The Specialist Approach
Unfilled travertine — where the natural pits and voids are left open after installation — requires a fundamentally different grouting strategy. The standard approach is to apply grout across the entire surface using a float, working the material diagonally into the joints AND into all visible voids simultaneously. This is a deliberate technique, not a mistake. You’re using the grout to fill both the tile-to-tile joints and the surface character of the stone in a single operation.
This approach works well but demands very specific grout consistency. The mix needs to be slightly wetter than you’d use for a standard joint fill — fluid enough to flow into deep voids without trapping air pockets, but not so fluid that it sags in wide joints. Expect to do two passes: the first to fill, the second (after initial set) to clean back the surface and redefine the joint lines. The ASTM C1527 travertine dimension stone standard classifies the natural void characteristics of travertine as part of the material’s defined properties — not defects — which is why installation specifications for travertine specifically address void management as a separate consideration.
- Work in small sections — unfilled void fill is more demanding and time-sensitive than standard joint grouting
- Use a margin trowel to pack deep voids before applying the full float pass
- Diagonal float direction fills both joints and voids more consistently than parallel strokes
- Allow partial set before cleanup — pulling grout from voids too early reopens them
- Second sealer pass after cleanup locks the void fill and joint in place
Haze Removal: Timing Is Everything on Travertine
Grout haze management is where grouting travertine tile separates the experienced installer from the one who learned on porcelain. On a dense, non-porous surface, you have a relatively generous window between initial set and full cure — often an hour or more in standard conditions — to begin haze removal. Travertine compresses that window significantly.
The porous surface pulls moisture out of the grout faster than a sealed tile would. This accelerates surface set, which means haze can reach a near-hardened state while the grout in the joint itself is still partially green. If you wait until the entire floor is grouted before starting cleanup — which works fine on porcelain — you’ll come back to haze that requires aggressive acid-based cleaning rather than a simple water wipe. That acid exposure is a risk you don’t want to take on natural travertine.
Stage your grouting in sections no larger than about 20–25 square feet. Grout the section, allow 15–20 minutes for initial set (adjust based on ambient temperature — higher heat accelerates set considerably), then begin your first haze wipe before moving to the next section. Working this way keeps the haze at the water-soluble stage throughout the job. You can find examples of staged-section approaches for various tile formats at Citadel Stone grouted travertine — the technique scales up to larger installations but the core principle remains the same.
Substrate Depth, Code Requirements, and Structural Considerations
Grouting decisions don’t exist in isolation — they’re downstream of substrate and structural choices that building codes directly influence. In exterior travertine tile installations, the substrate build-up beneath the tile determines how much thermal and structural movement the grout joint will absorb over the installation’s service life. Frost line depth, seismic zone classification, and local live load requirements all affect how much flex your grout joints need to accommodate.
In freeze-thaw regions, mortar bed depth and the inclusion of isolation membranes beneath exterior travertine tile significantly reduce the cracking that translates upward into grout joints. Many jurisdictions now require a minimum uncoupling or crack-isolation membrane layer beneath natural stone tile in exterior applications, particularly where the base is concrete slab-on-grade. Your grout product choice needs to account for this — a rigid cementitious grout in a high-movement installation will show joint cracking within a few seasons regardless of how well it was applied. Polymer-modified or epoxy grouts are worth specifying where code-required membrane systems are present, because the joint needs to move slightly with the substrate rather than resist it.
- Check local frost line requirements — exterior travertine tile over poorly drained bases in freeze-thaw climates is a high-risk application
- Seismic zones (particularly Zone 3 and 4 per IBC) require enhanced bonding specifications and flexible grout for natural stone tile
- Expansion joints at field perimeters and over structural changes are code-required in many jurisdictions — these are separate from grout joints and must never be filled with cementitious grout
- Interior commercial applications: live load ratings from structural engineering drawings affect substrate thickness, which in turn affects long-term grout joint integrity
- Confirm with your structural engineer that the substrate specification and grout type are aligned — a rigid substrate paired with a flexible grout works; a flex substrate with a rigid grout does not
When to Specify Epoxy Grout for Travertine
Epoxy grout gets recommended frequently, but it’s not universally the right answer for travertine — and applying it to the wrong surface, or under the wrong conditions, creates more problems than it solves. The material is highly stain-resistant and moisture-impermeable once cured, which makes it genuinely appropriate for wet areas, commercial kitchens, and high-traffic retail floors. Its extremely fast working time and tendency to film over the tile surface during application, however, require a level of installation speed that’s difficult to maintain on the absorptive, irregular surface of natural travertine.
The practical issue is that epoxy residue that bonds into the travertine surface pores is far harder to remove than standard cementitious haze. The standard cleanup window for epoxy grout runs 20–30 minutes in moderate temperatures — shorter in warm conditions — and that window shrinks further because travertine’s porous surface accelerates the resin’s surface cure. If you’re specifying epoxy grout for a travertine installation, factor in a smaller working section size and an experienced installer who has used the product on natural stone specifically, not just on ceramic. A surface pre-seal is even more critical when using epoxy than with cementitious products.
- Epoxy grout: appropriate for food service, hospitals, wet rooms, and high-traffic commercial travertine floors
- Requires pre-sealing the travertine surface — without it, epoxy film removal from open pores can be extremely difficult
- Work in sections no larger than 15 square feet — smaller than cementitious grout sections
- Temperature control matters: epoxy sets faster above 75°F — schedule for cooler parts of the day in warm months
- For residential interior travertine: polymer-modified cementitious grout is usually the right call unless there’s a specific contamination or moisture reason to specify epoxy
Ordering, Warehouse Stock, and Project Planning
Grout color availability and stock levels are practical considerations that affect project timelines more than most clients anticipate. Custom or specialty grout colors — particularly the warm beige and travertine-specific tones that work well with natural stone — are not always warehoused at local suppliers. Confirming that your specified grout color is in stock before tile delivery is on the truck and on-site prevents the scenario where your tile is ready to install but grout is on a two-week backorder.
At Citadel Stone, we recommend confirming your full material specification — tile, grout, sealer, and setting mortar — as a coordinated package before installation begins. Our warehouse carries a range of travertine tile formats with established finishing and grouting guidance for each, and our technical team can advise on grout compatibility based on the specific tile you’re ordering. Coordinating these decisions before the truck delivers means installation can start immediately rather than stalling while a grout order catches up.
- Order 10–15% more grout than calculated coverage — grout consumption increases significantly on unfilled travertine due to void fill
- Match grout lot numbers if ordering in multiple stages — color consistency between lots can vary
- Sealer lead time: some penetrating impregnating sealers ship separately from tile distributors — order these ahead
- Store grout and sealer in temperature-controlled conditions on-site — freeze-thaw cycling degrades both products before installation
What Matters Most When Grouting Travertine Tile
Grouting travertine tile correctly comes down to a sequence of interconnected decisions, and each one narrows the range of acceptable choices for the ones that follow. Your tile format determines joint width. Your joint width determines grout type. Your grout type — combined with the travertine’s fill condition and surface porosity — determines your cleanup timing and section size. Try to shortcut any link in that chain and the installation will show it, often years before it should.
Color selection deserves more deliberate attention than it typically receives in specification conversations. The grout line in a travertine floor is not a minor background detail — it’s a design element that spans the entire installation. Get a physical sample of your grout color cured next to your tile sample in the actual lighting conditions of the space before committing. That one step eliminates most of the color regret that shows up after installation is complete. For a closer look at how travertine surface finishes interact with finishing and grouting decisions, travertine finish types and their performance covers the full range of surface options in detail worth reviewing before you finalize your specification.
The USGS records travertine as a distinct dimension stone category precisely because its natural formation process — mineral-rich water depositing calcium carbonate in layered, voided structures — produces material properties unlike any manufactured tile. Respecting those properties during grouting, rather than treating travertine like a natural-looking porcelain substitute, is what separates a grouting job that looks right after a week from one that still looks right after twenty years. Grout haze on porous travertine sets faster than on porcelain, so Citadel Stone advises staging cleanup in small sections rather than grouting an entire floor before wiping.
Related reading: Small Travertine Tile Patterns: Layout Planning Guide · Tumbled Marble vs Travertine Tile Compared.