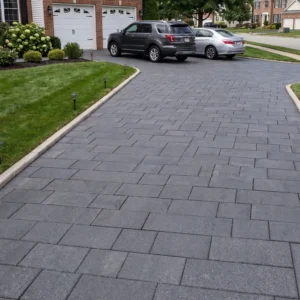
Sealing travertine pavers correctly comes down to one decision made before you open a single can of product — whether the stone is truly dry, clean, and structurally ready to accept a sealer. Most premature sealer failures trace back to moisture trapped beneath the film rather than the wrong product choice. Get that diagnostic right and the rest of the process for sealing travertine pavers follows a logical, manageable sequence.
Why Travertine Needs Sealing — and What Sealing Actually Does
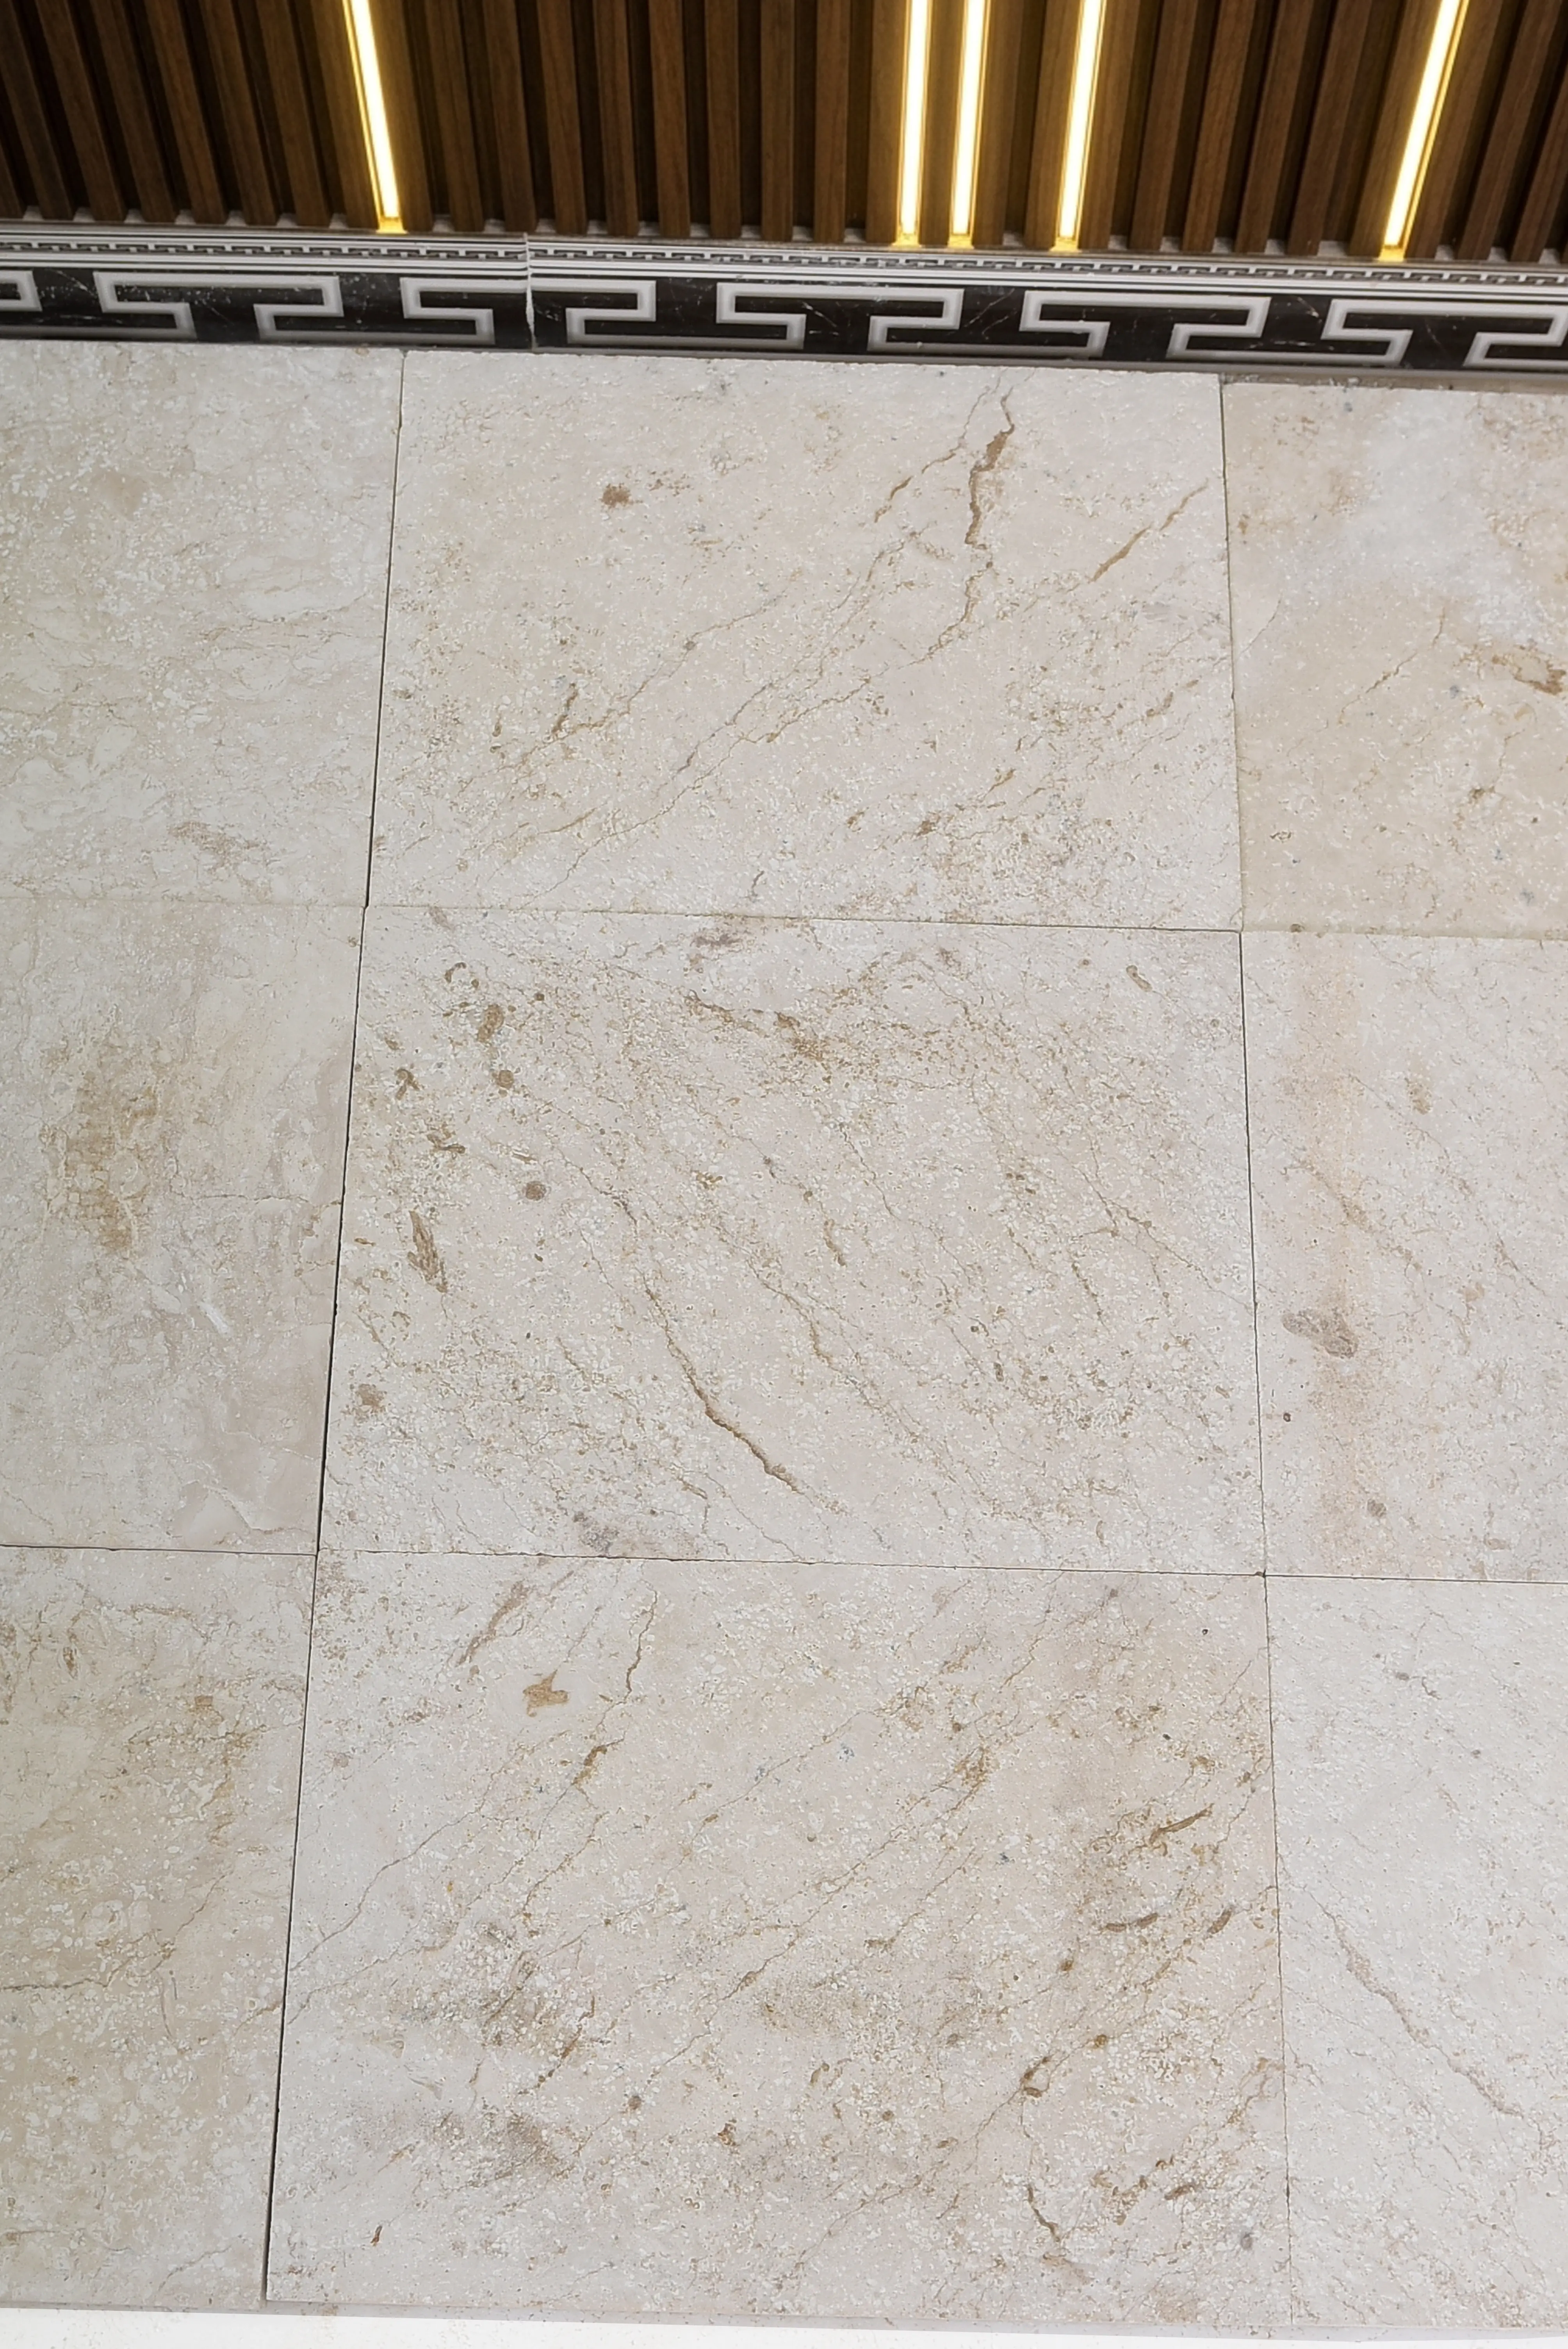
Travertine is a sedimentary limestone formed by mineral-rich spring waters, and its characteristic pitting and veining aren’t cosmetic — they’re structural. Those open pores and voids actively draw in water, organic debris, and staining agents through capillary action. A sealer doesn’t eliminate that porosity; it lines the pore walls and slows the ingress of liquids so they sit on the surface long enough for you to wipe them away.
You’ll encounter two functional categories in the field: penetrating (impregnating) sealers and topical (film-forming) sealers. Penetrating sealers soak into the stone matrix and repel water from within without altering the surface appearance or texture. Topical sealers coat the surface with a protective film that can enhance color and sheen but may affect the finish over time. For outdoor travertine paver sealing, penetrating sealers dominate professional specifications because they don’t peel, chalk, or trap moisture beneath a film that freeze-thaw cycles will eventually breach.
Surface Preparation: The Step That Determines Everything
Your surface preparation window is the most consequential phase of the entire travertine paver sealing process. Applying sealer over contaminated or damp stone is the single most common cause of cloudy, blotchy, or peeling results — and it’s entirely avoidable.
- Allow new installations to cure for a minimum of 28 days before sealing — mortar beds and grout joints need full hydration completion before you introduce a moisture-blocking product
- Test moisture content with a plastic sheet test: tape a 12-inch square of clear plastic to the stone surface and leave it for 24 hours; any condensation on the underside means the substrate is still releasing moisture
- Remove existing sealer residue with an appropriate stripper before resealing — layering new sealer over a degraded topical film creates adhesion failure within months
- Clean oil stains with an alkaline stone cleaner, not a general household degreaser, which can leave surfactant residue that interferes with sealer penetration
- Pressure wash at low to medium pressure (under 1,500 PSI) to remove organic debris, then allow 48–72 hours of dry time before proceeding
- Fill open voids and pitting with grout or travertine filler prior to sealing — sealers don’t bridge structural voids and you’ll end up with pooled sealer in unfilled holes that cures to a gummy residue
One check that often gets skipped: examine the joint condition. Cracked or missing joint material lets water route directly beneath the paver field, and no sealer applied to the surface will compensate for hydraulic pressure working from below. Address joint integrity first.
Choosing the Right Sealer for Travertine Pavers
The sealer for travertine pavers that performs best outdoors is a solvent-based or water-based fluoropolymer impregnator with an oil and water repellency rating. Solvent-based formulations penetrate deeper into dense travertine, which matters on honed or polished finishes where the surface pores are partially closed. Water-based products work well on tumbled and brushed finishes where the open texture allows easier absorption.
Consider the finish you’re working with before selecting a product:
- Tumbled travertine — highly absorbent surface accepts water-based impregnators readily; you’ll typically use more product per square foot than with honed stone
- Honed travertine — partially closed pores benefit from solvent-based penetrants that can reach the subsurface mineral structure
- Brushed travertine — texture variation means sealer consumption varies across the same paver; apply in two thin coats rather than one heavy coat
- Filled travertine — verify the filler material’s compatibility with your chosen sealer before committing to a full application
For applications near pools or in areas with frequent water exposure, look for a sealer rated for wet-area use. The Natural Stone Institute travertine properties and outdoor suitability guidance confirms that travertine’s open-pore calcium carbonate matrix responds well to fluoropolymer-based impregnators in high-moisture environments. Always test any product on an inconspicuous paver section and allow it to fully cure before evaluating the result — sealer sheen and color enhancement only become apparent at full cure, not when the product is still wet.
Step-by-Step Application Process
The travertine paver sealing process rewards methodical sequencing over speed. Rushing any stage — particularly dry time between coats — produces visible lap lines and uneven absorption that can only be corrected by stripping and starting over.
- Step 1: Apply sealer to a small test section (4–6 pavers) and allow full cure — typically 24 hours — before committing to the full field
- Step 2: Work in manageable sections of 50–80 square feet so you can maintain a wet edge and avoid sealer drying on the surface before you work it in
- Step 3: Apply the first coat with a low-nap roller or a natural-bristle brush, working the product into the stone rather than simply spreading it across the top
- Step 4: Allow the first coat to penetrate for 10–15 minutes, then wipe off any excess that hasn’t absorbed using a clean, dry microfiber cloth — pooled sealer cures to a sticky, discolored residue
- Step 5: Allow the first coat to dry per manufacturer instructions (typically 1–4 hours depending on ambient temperature and humidity)
- Step 6: Apply a second thin coat following the same method — most professional applications use two coats for outdoor travertine pavers, not one heavy coat
- Step 7: Allow full cure — typically 24–48 hours — before foot traffic; 72 hours before furniture or heavy equipment
Temperature and humidity directly affect working time and cure. Applying sealer in direct midday sun causes the solvent to flash off before the product penetrates — early morning or overcast conditions produce more consistent results. Avoid application if rain is forecast within 24 hours of the planned work.
Slip Resistance and Finish Considerations
Here’s what most specifiers overlook when choosing between sealer types for outdoor pavers: the finish variable, not the sealer brand, is the primary factor governing how slippery a sealed surface becomes when wet. A glossy topical sealer applied to smooth travertine creates a very different surface than the same stone left with a tumbled texture and treated with a matte penetrating impregnator.
The current standard for evaluating wet surface performance is ANSI A326.3, which uses dynamic coefficient of friction (DCOF) testing on wet surfaces — replacing the ASTM C1028 static test withdrawn in 2014. Your finish selection drives compliance with that standard far more than sealer product choice alone. Tumbled and brushed travertine finishes retain more surface texture through the sealing process and generally perform better in wet conditions than honed or polished surfaces treated with film-forming topical sealers. Consult ANSI A326.3 when specifying finishes for pool decks, outdoor kitchens, or any application where regular water exposure is expected.
Sealing Costs, Material Sourcing, and Project Budgeting
Sealing is often underbudgeted because it’s treated as a finish-line task rather than a recurring maintenance cost. In practice, a quality penetrating sealer for outdoor travertine pavers runs between $0.15 and $0.40 per square foot in product cost alone at standard two-coat application rates. Labor adds significantly to that figure — professional application for a 500-square-foot patio can range from $300 to $700 depending on your market.
Labor market conditions affect these numbers meaningfully. In high-wage metro markets, professional sealing labor can equal or exceed the material cost of the travertine itself on a per-square-foot basis. Value engineering the sealing specification — by selecting a travertine finish that requires less frequent resealing intervals, or by incorporating sealing into the initial installation contract rather than as a separate mobilization — reduces total project cost over the maintenance cycle.
Freight distance also affects your total project economics. Stone sourced from distant suppliers carries higher delivery costs that compress your remaining budget for labor, setting materials, and sealer. Citadel Stone maintains warehouse inventory that reduces lead times and freight legs for nationwide projects, which helps keep total project budgets manageable. You can explore the full range of available options through our Travertine Pavers collection, which covers the material and finish combinations most relevant to sealing travertine pavers specification decisions. Planning your sealer type and application schedule at the same time you confirm material sourcing prevents the common scenario of tile arriving on site before the sealer product has been ordered and delivered.
How Often to Reseal Travertine Pavers
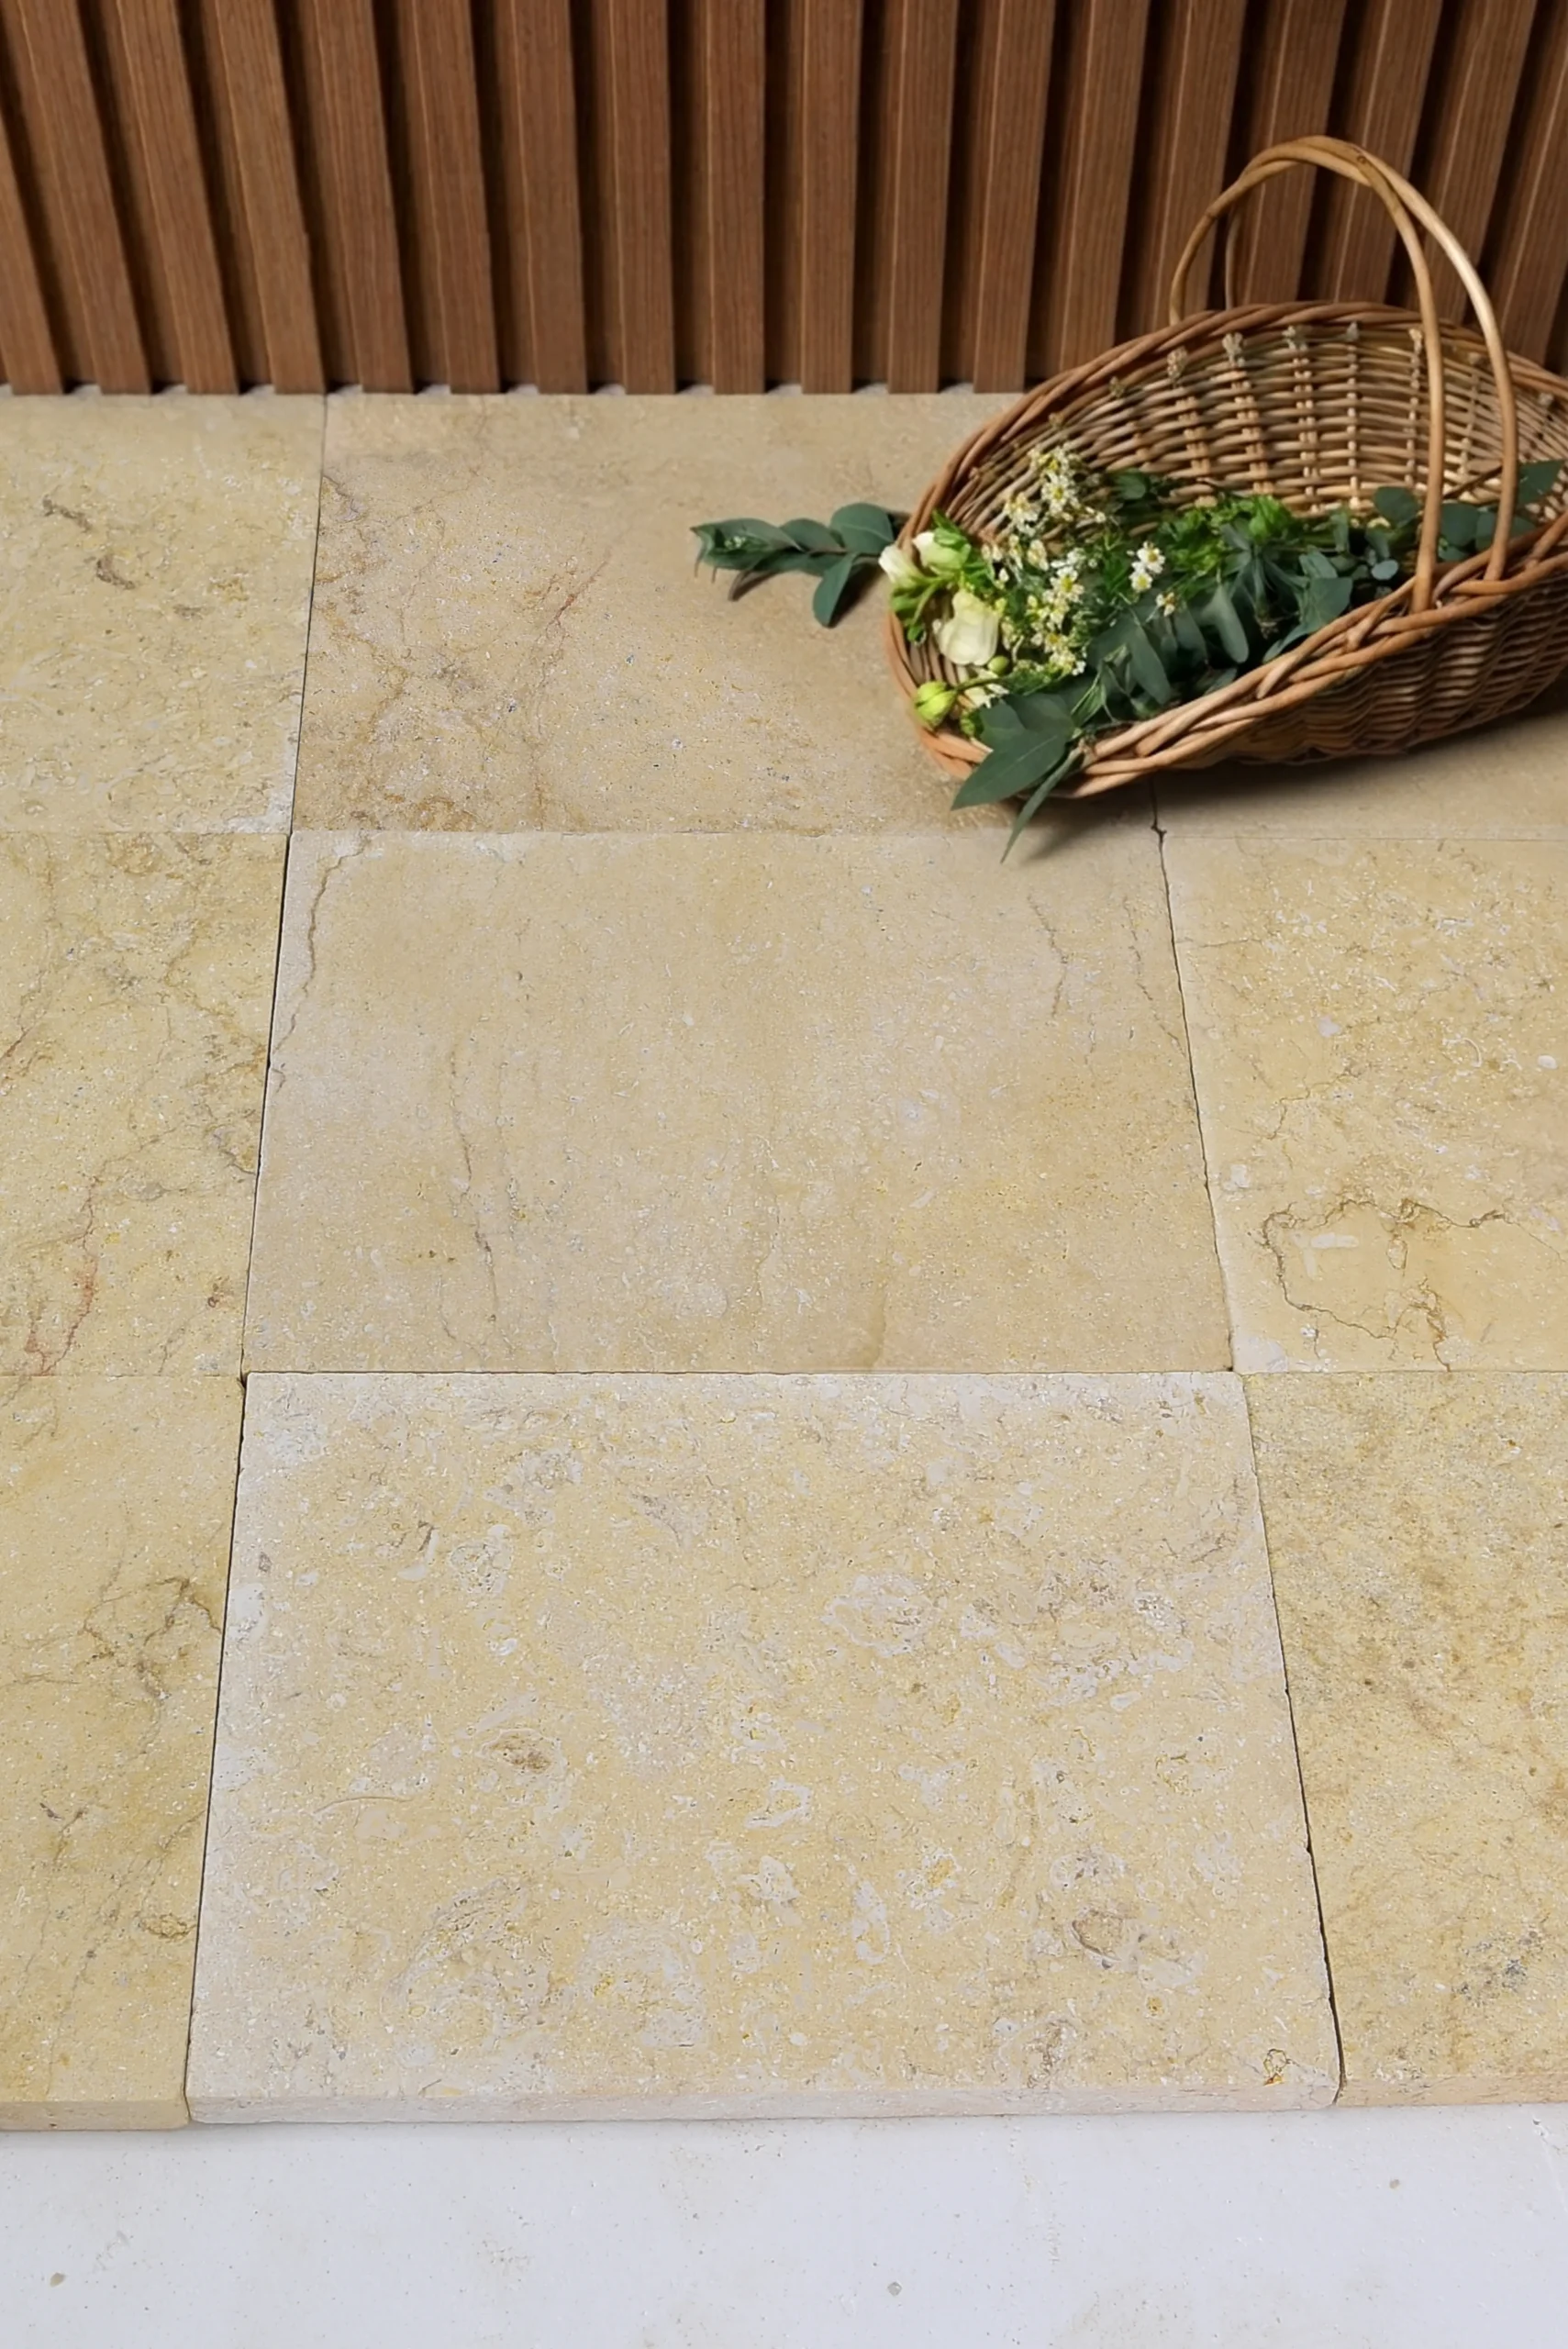
The resealing interval for exterior travertine is not fixed — it’s a function of traffic intensity, UV exposure, and the porosity of the specific stone. The water bead test is your most reliable diagnostic: pour a small amount of water onto the sealed surface and observe. Tight, round beads sitting high on the surface indicate active sealer protection. Flat beads or immediate absorption signal that the sealer has degraded and resealing is due.
General guidance for resealing intervals by application type:
- Residential patio or walkway with moderate foot traffic — typically every 2–3 years with a quality penetrating sealer
- Pool deck with constant UV exposure and chemical splash — often every 12–18 months for topical sealers; penetrating products may extend to 2 years
- High-traffic commercial or institutional applications — annual inspection recommended, with resealing triggered by water bead test failure rather than a fixed calendar schedule
- Shaded installations with low traffic — some penetrating sealer applications maintain protection for 4–5 years before resealing is warranted
According to ASTM C1527 travertine dimension stone standard specifications, travertine’s inherent porosity varies by source formation, which means two travertine products from different quarries may absorb and release sealer at meaningfully different rates. This is why a one-size-fits-all resealing calendar doesn’t translate reliably across projects — the stone itself is a variable.
Common Sealing Mistakes to Avoid
Reviewing sealing projects across a range of climates and product types reveals a consistent pattern — the mistakes aren’t exotic, they’re the same ones repeated across different products and conditions.
- Applying sealer to wet or damp stone — moisture trapped beneath a penetrating sealer causes whitish haze that requires stripping to correct
- Using a general concrete sealer on travertine — concrete sealers are formulated for a different substrate chemistry and can react with travertine’s calcium carbonate base
- Over-applying sealer in a single heavy coat rather than two thin coats — excess sealer sitting on the surface cures to a tacky, uneven film
- Sealing over grout that hasn’t fully cured — residual alkalis in fresh grout can interfere with sealer chemistry and cause discoloration
- Skipping the excess wipe-off step — any sealer that doesn’t penetrate within 15–20 minutes must be removed; leaving it causes permanent spotting
- Applying sealer in temperatures below 50°F or above 90°F — both extremes compromise penetration depth and cure quality
- Failing to re-clean pavers before resealing — old sealer residue, efflorescence, and biological growth must be removed before a new coat will bond properly
The USGS limestone and travertine natural mineral formation data provides useful context here: travertine’s calcium carbonate composition means it reacts to acid — including the citric acid in some cleaning products — which can etch the surface before sealing even begins. Always verify that any pre-seal cleaning product is pH-neutral or alkaline, never acidic.
Expert Summary: Getting Travertine Paver Sealing Right
Sealing travertine pavers successfully is less about product selection and more about timing, surface condition, and understanding what a sealer can and cannot do. The stone’s porosity is its defining characteristic — and a well-specified sealer works with that porosity, not against it. Your preparation phase determines whether the sealer performs for two years or six, and your finish choice shapes both the maintenance interval and the wet-surface performance characteristics of the finished installation.
Penetrating impregnators remain the professional standard for outdoor travertine paver sealing because they don’t compromise the stone’s ability to breathe and don’t create a film vulnerable to freeze-thaw or UV degradation. Two thin coats, applied to a fully dry and properly cleaned surface, with careful excess removal — that sequence rarely fails. Plan your resealing schedule around the water bead test rather than a fixed calendar, and factor sealer product and labor costs into your total project budget from the planning stage rather than as an afterthought. As you refine your total budget and compare material options, the broader picture of how material sourcing affects your per-square-foot economics is worth examining — travertine paver pricing by material and finish covers the cost variables that shape specification decisions across different project scales. When choosing a re-seal interval, Citadel Stone advises considering both traffic volume and regional climate exposure as primary factors.