Why Small-Format Tiles Demand More from Your Installation
Small travertine tile installation problems trace back to a deceptively simple truth: the smaller the tile, the more unforgiving the substrate has to be. You’re multiplying joint lines, increasing the total perimeter exposed to movement, and tightening the tolerance window for lippage from roughly ±3mm on large-format work down to ±1mm on tiles under 4 inches. Any flex in the substrate — even 1/16 inch of deflection — telegraphs directly to the tile face, and on small-format travertine, that kind of substrate inconsistency reads immediately as a wavy, uneven surface. Get the base right first, and the rest of the installation becomes manageable.
Substrate Deflection and Base Preparation
The leading cause of cracked and debonded small travertine tile isn’t adhesive failure — it’s a substrate that moves more than the stone can tolerate. Travertine’s modulus of rupture typically falls in the 700–1,000 PSI range depending on fill type and finish, which means a substrate deflecting beyond L/360 under load will begin fracturing tiles at grout joints within the first winter cycle. Verify deflection before a single tile goes down.
For interior floors, a concrete subfloor with a flatness tolerance of FF 25 minimum is your baseline. Wood subfloor assemblies require a minimum 19/32-inch tongue-and-groove plywood over joists spaced no more than 16 inches on center, followed by an uncoupling membrane to interrupt differential movement. Skipping the uncoupling membrane on wood substrates is the single most common reason small-format travertine installations fail inside five years. According to TCNA installation standards, deflection-sensitive stone tiles require the subfloor assembly to be evaluated as a system, not as individual components.
- Check subfloor flatness with a 10-foot straightedge — any gap over 1/8 inch requires grinding or self-leveling compound
- For wood subfloors, use a minimum 3/8-inch polymer-modified mortar bed or an approved uncoupling membrane rated for stone
- Concrete slabs must cure a minimum 28 days before tiling — residual moisture causes adhesive bond failure in travertine’s porous matrix
- Test slab moisture with a calcium chloride test — readings above 5 lbs per 1,000 sq ft per 24 hours require a moisture mitigation membrane
Lippage Control on Small-Format Travertine
Lippage on small travertine tile installation is a different problem than on large-format porcelain, and most installers underestimate why. With tiles under 6 inches, even minor height variation at the thinset bed creates visible edge ridges that catch light at a raking angle. Your eye resolves this as a globally uneven surface, not as isolated tile edges sticking up — which means the entire installation looks wrong even if only 10 percent of joints have lippage issues.
The fix starts with back-buttering every tile. Apply a 3/16-inch rib-trowel layer to the substrate, then back-butter each tile with a flat trowel to achieve full contact coverage — target 95 percent or better on wet areas, 80 percent minimum on dry areas. Tile lippage spacers rated for small format (1.5mm or 2mm wedge systems) are more reliable than conventional cross spacers on tiles under 4 inches because they regulate height, not just spacing. For the specific sizing options that work best in these formats, Citadel Stone small travertine formats provide practical reference points for understanding how tile thickness variation affects your lippage tolerance before you order.
Grout Joint Sizing and Travertine Fill Type
Grout joint width decisions for small-format travertine installation should be driven by the tile’s fill type, not aesthetics. Filled travertine — where the natural voids have been factory-filled with grout or epoxy — behaves dimensionally closer to a ceramic tile and can tolerate a 1/16-inch joint. Unfilled or partially filled travertine has surface voids that sit adjacent to grout joints, and narrow joints near those voids create visual confusion between intentional grout lines and natural stone character.
The practical rule: for filled travertine tiles under 4 inches, use 1/16- to 1/8-inch joints and a sanded grout with 30 percent polymer content or higher. For unfilled or tumbled small travertine, open the joint to 3/16 inch and use an unsanded grout only if the joint is truly under 1/8 inch — but don’t let aesthetics push you below structural minimums. According to ASTM natural stone tile testing standards, grout joint design for natural stone must account for dimensional variation tolerance, which for travertine can run ±0.5mm per tile in the same production batch.
- Filled travertine: 1/16- to 1/8-inch joints, polymer-modified sanded grout
- Tumbled or unfilled travertine: 3/16-inch minimum joints, unsanded or wide-joint grout
- Avoid epoxy grout on highly porous unfilled travertine — adhesion to void edges is inconsistent
- Color-match your grout to the fill material in the stone, not to the tile face — this unifies the visual field
Adhesive Selection for Small-Format Applications
Polymer-modified thinset is the correct adhesive for small travertine tile installation problems involving wall or shower contexts — but the specific polymer content matters more than the brand label. Look for thinsets meeting ANSI A118.4 (medium-bed, non-sag) for wall work and ANSI A118.11 for wet area floors. Standard unmodified thinset doesn’t develop the peel strength travertine’s porous calcium carbonate surface requires, especially in wet environments where the stone’s natural absorption creates a hydration competition between the adhesive and the tile back.
One field issue that rarely appears in product sheets: small-format travertine tiles have a proportionally larger back surface area relative to their weight than larger tiles. That means the trowel ridges from a standard V-notch or square-notch trowel don’t collapse fully under hand pressure. Use either a smaller notch trowel (3/16-inch V-notch for tiles under 4 inches) or double-spread consistently. Spot bonding — where four adhesive dabs hold the corners — fails catastrophically on small travertine because the unsupported center flexes under foot traffic.
How Drainage and Terrain Shape Your Installation Plan
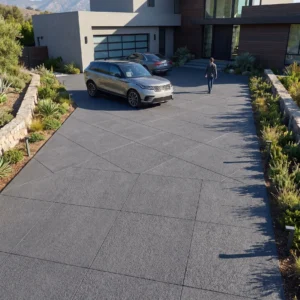
Elevation changes, graded surfaces, and sloped sites create a separate category of small travertine tile installation problems that flat-site guides don’t address. On a hillside or graded patio where the substrate pitches for drainage, your thinset bed thickness varies across the run — potentially from 3/8 inch at the high end to 3/4 inch at the low end across a 10-foot span. That variation changes open time, compressive strength development, and the risk of bed slump before tiles set.
The solution on sloped substrates is to establish drainage pitch in the mortar bed or concrete base — not in the thinset. A finished tile plane should be level or at a controlled uniform pitch (typically 1/8 inch per foot minimum for drainage, 1/4 inch per foot for wet areas). Setting individual small-format travertine tiles to compensate for an uneven substrate with varying thinset depth invites lippage and hollow spots. For steeper grades above 2 percent slope, a medium-bed mortar rated for thick-bed applications gives you the working time and structural depth the terrain requires. The NSI ASTM stone specification guidance addresses mortar bed design for non-horizontal stone applications, which becomes essential reference material for sloped terrain projects.
- Set drainage pitch in the base slab or mortar bed — not in tile-by-tile thinset adjustment
- On slopes over 1.5 percent, use a non-sag medium-bed mortar to prevent tile slip before adhesive cures
- Low-lying sites with poor natural drainage need a granular subbase of at least 4 inches to interrupt capillary moisture migration into the mortar bed
- Hillside installations benefit from smaller format tiles because they follow terrain contour changes with less edge exposure than large slabs
Sealing Small-Format Travertine: Timing and Product Selection
The pore structure in travertine — what gives the stone its thermal mass and visual texture — also makes it the most absorption-sensitive natural stone you’ll work with in small-format tile projects. A 4-inch travertine tile has roughly 12–18 percent higher surface-to-thickness ratio than a 12-inch tile cut from the same block, which means sealant coverage per square foot needs to be heavier, not lighter. Most sealing failures on small-format travertine trace directly to under-application at the edges where grout joints meet the tile face.
Apply a penetrating impregnator sealer — not a topical coating — in two coats before grouting. The first coat primes the pore structure; the second coat provides the working seal. Wipe off excess within 3–5 minutes of application to prevent a surface haze that won’t buff out without mechanical polishing. After grouting, apply a final maintenance coat once grout has cured fully (minimum 72 hours). Small-format travertine tile installations in high-traffic or wet areas benefit from annual resealing inspections — check with a water-bead test. If water soaks in within 30 seconds, resealing is overdue.
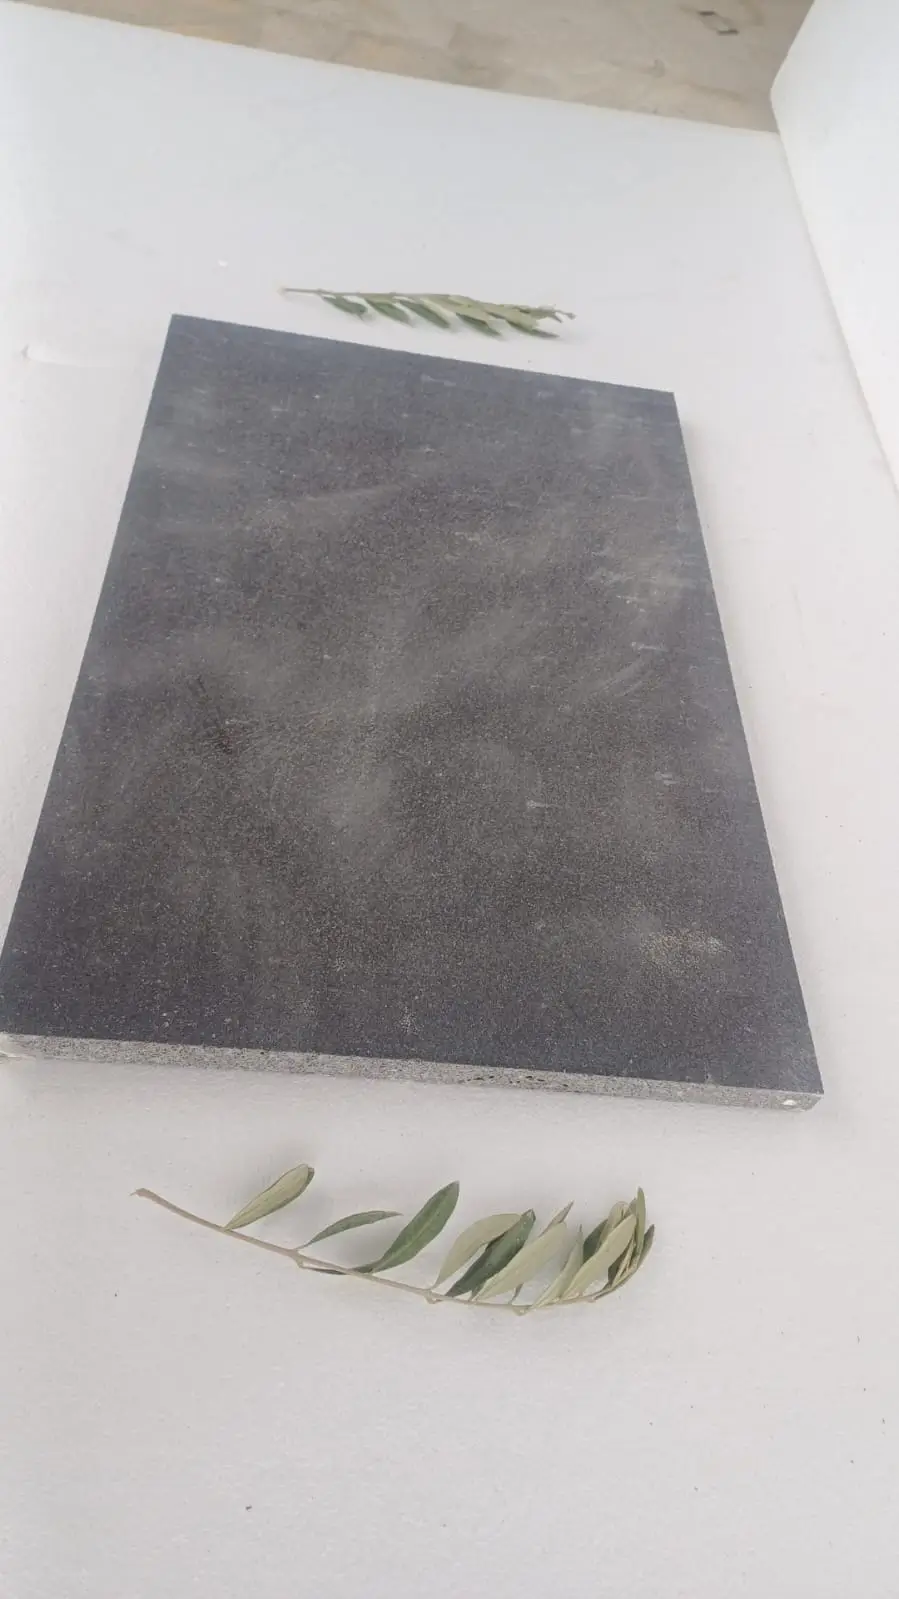
Natural Stone Pebble Tile and Laterite Stone Tile: Contextual Comparisons
Understanding small travertine tile installation problems becomes sharper when you consider how the material compares to alternatives in similar small-format applications. Natural stone pebble tile shares travertine’s sensitivity to substrate flatness but adds a third dimension — the mosaic, uneven surface profile means lippage is intentional, which shifts the installation challenge to adhesive coverage rather than height alignment. Natural stone pebble tile mosaics require a flexible epoxy thinset in wet areas precisely because the mesh backing doesn’t distribute load the way a solid tile does.
Laterite stone tile operates at the opposite end of the absorption spectrum. Laterite is highly porous and iron-rich, with water absorption rates that can exceed 12 percent by weight — roughly double what you’d see in a mid-density travertine. On graded outdoor sites where moisture from upslope terrain migrates laterally, laterite stone tile requires a full moisture barrier below the mortar bed that travertine installations on flat sites can often omit. The two materials share small-format installation complexity but for different structural reasons: travertine challenges you at the adhesive and flatness level, while laterite challenges you at the moisture management and base engineering level.
Ordering, Warehouse Logistics, and Project Timelines
Small-format travertine tile installation problems often begin before the first tile is set — specifically, when the material arrives in insufficient quantity or with batch inconsistency. Order a minimum 10 percent overage on small-format tiles because cut waste at borders, outlets, and transitions accumulates faster on small tile than on large-format work. A 4-inch tile at a diagonal border generates more cuts per linear foot than a 12-inch tile in the same pattern.
Citadel Stone cuts every order at its selected quarries, and the lead time for your specification is quoted with the order. Verify that your warehouse order pulls from a single production batch — batch number consistency matters for travertine because natural color variation between quarry pulls can be significant, and small-format layouts amplify those color differences by multiplying the number of individual tile faces visible in any given area. Confirm truck delivery access to your site before finalizing your schedule. On hillside or elevated terrain projects, truck access to the staging area may require coordinating a smaller delivery vehicle than standard pallet freight, which affects timing and per-unit delivery cost.
- Order 10 percent overage minimum — 15 percent for diagonal or herringbone patterns
- Request single-batch fulfillment and confirm batch numbers before warehouse ships
- Verify truck access and unloading clearance for sloped or elevated sites before scheduling delivery
- Acclimate tiles on-site for 24–48 hours before installation to minimize dimensional change in the mortar bed
Getting Small Travertine Tile Installation Right: The Bottom Line
Small travertine tile installation problems are predictable and preventable when you approach them in order: substrate flatness first, adhesive selection second, lippage control third, and sealing last. Rushing any one of those phases — particularly the substrate prep on sloped or elevated sites — creates compounding problems that are expensive to fix after the fact. Grout joint decisions should be driven by the tile’s fill type and movement tolerance, not by what looks best in a showroom. For a broader perspective on how natural stone products compare at the classification level, what makes stone tile different from manufactured tile covers another dimension of material specification worth understanding before you finalize your project plan. Installers working with 2×4 travertine from Citadel Stone generally find that a polymer-modified thinset significantly reduces the lippage risk on wall and shower applications.
Related reading: rectangular travertine tile sizes compared · Natural Stone Tile Thickness Guide for Buyers.