What 18×18 Marble Tile Actually Demands From Your Specification
Specifying 18×18 marble tile correctly begins with the substrate, not the stone — and most projects that fail do so because mortar-bed tolerances were treated as an afterthought. At this format, even minor variations in your mortar bed — anything beyond 1/8″ in 10 feet — telegraph directly through the stone as lippage, and with polished marble, lippage catches light in a way you simply can’t hide. Your specification has to account for the material’s low flexural strength (typically 750–1,200 PSI for most commercial grades) well before you start thinking about finish or veining direction. The size amplifies every base-preparation shortcut, which is exactly why trade-tested recommendations start with the slab from the ground up.
Marble Grades and Material Selection for 18×18 Format
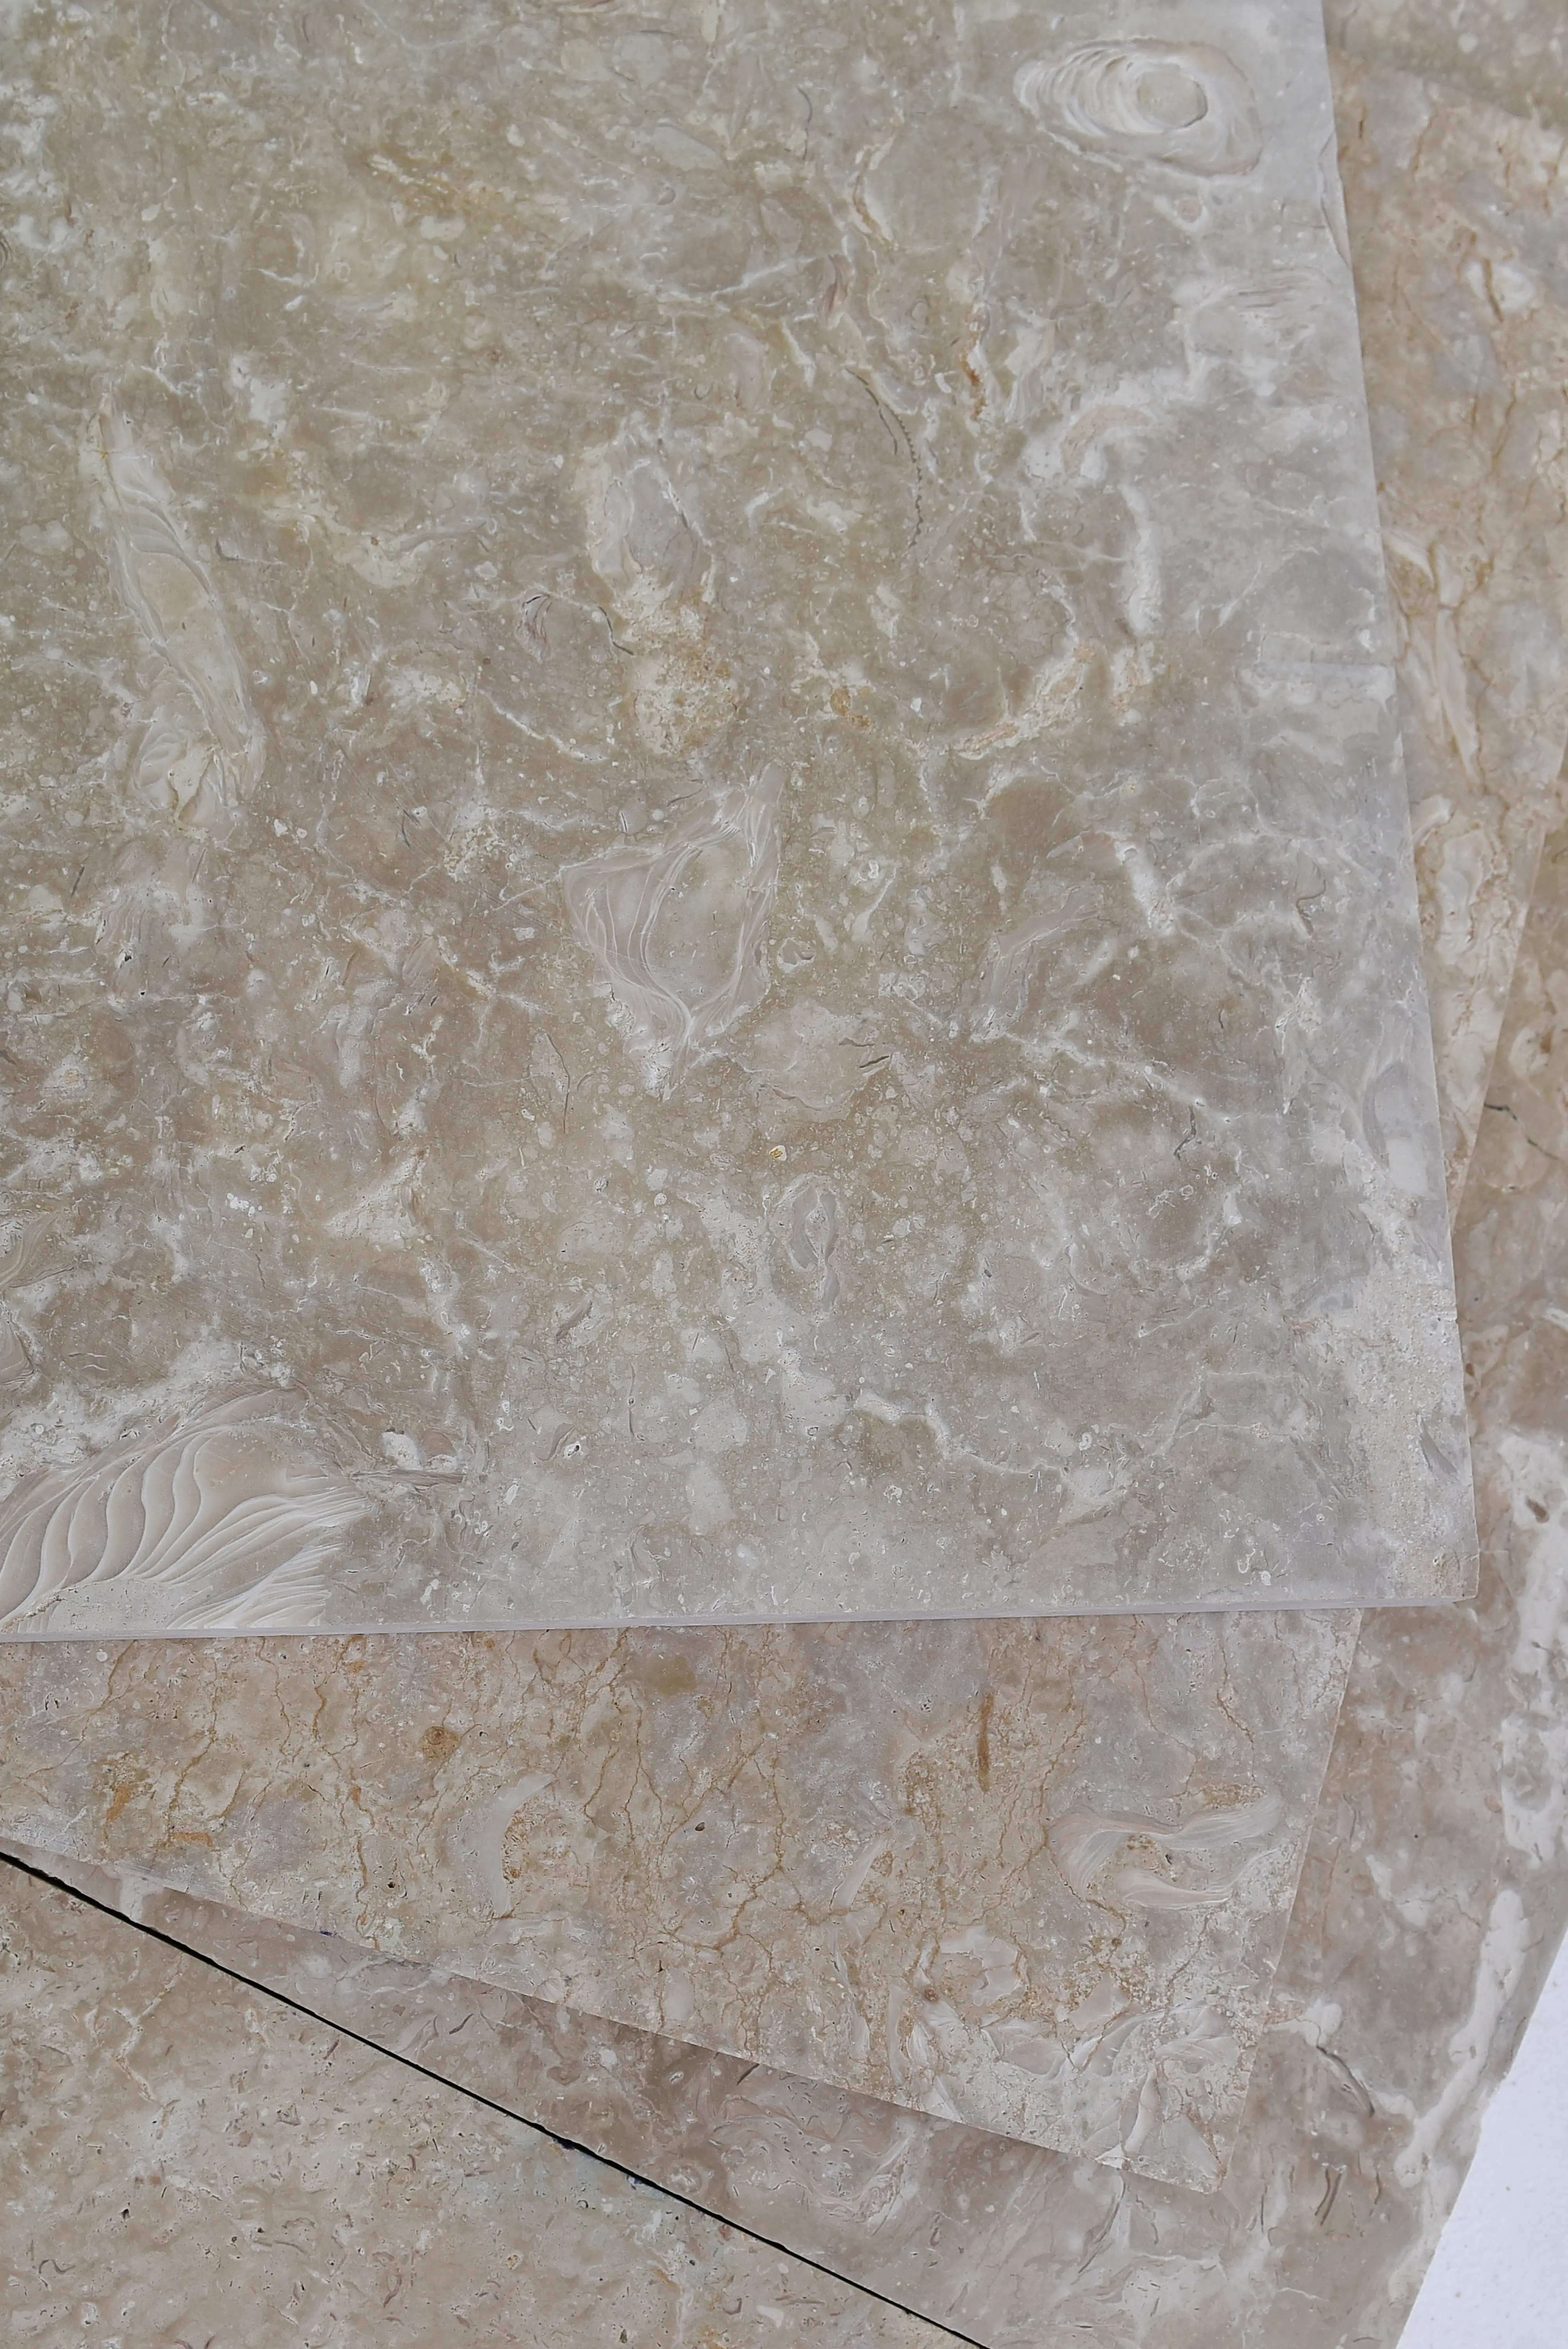
Choosing the right marble grade for an 18×18 format is not just about aesthetics — it determines your long-term maintenance obligation and your installation risk. The Natural Stone Institute grades marble on four commercial tiers (A through D), with Grade A representing the densest, most uniform material and Grade D carrying the most natural fissures and veining variations. For high-traffic floor applications, you’ll want Grade A or B material. Grade C and D marble can work beautifully on accent walls or lower-traffic residential floors, but they require more aggressive back-buttering and resin-enhanced stabilisation during installation.
- Grade A: minimal fissures, tight crystalline structure — appropriate for commercial lobbies and high-use residential floors
- Grade B: minor natural characteristics that may require surface-filling before polishing — reliable for most residential applications
- Grade C and D: heavier veining and natural fissures — better suited to decorative vertical or low-traffic horizontal use
- Calibrated tiles (gauged to ±1mm tolerance) are essential for 18×18 formats — uncalibrated stone at this size creates inconsistent joint widths that compound across a room
- Verify water absorption is below 0.5% for wet-area applications — ASTM C97 absorption testing is the baseline standard here
According to Natural Stone Institute marble grades and technical specifications, commercial marble grading accounts for geological fissures, surface pitting, and structural variations that directly affect both installation method and long-term performance expectations. Factor this into your material order before finalising quantities, because downgrading mid-project is costly and rarely seamless.
Surface Finish and Real-World Performance Trade-Offs
The finish you select for 18×18 marble tile shapes not just the look but the entire maintenance and safety profile of the installation. Polished marble delivers the classic high-reflectance surface most clients picture — but it’s also the most unforgiving finish operationally. Surface micro-scratches from everyday foot traffic become visible within 18–24 months in commercial environments, and wet polished marble can produce DCOF (Dynamic Coefficient of Friction) values below the 0.42 threshold that ASTM tile absorption strength and slip resistance testing identifies as the minimum safe threshold for wet pedestrian surfaces.
Honed marble gives you a matte, non-reflective surface — wet DCOF test report on request — while preserving the veining character that makes marble worth specifying in the first place. Brushed and leathered finishes add tactile texture that further improves slip resistance without looking utilitarian. Your finish decision should map directly to the application: polished for dry residential spaces, honed or brushed for bathrooms, entryways, and any space with frequent water exposure.
- Polished: suitable for dry residential interiors only — wet DCOF test report on request
- Honed: matte surface suitable for bathrooms, kitchens and moderate-traffic commercial interiors — wet DCOF test report on request
- Brushed/leathered: added surface texture for areas where wet conditions are frequent — wet DCOF test report on request
- Anti-slip coatings applied post-installation are a last resort — they change the visual character and require annual reapplication
Substrate and Base Preparation: Where Installations Succeed or Fail
The substrate is where 18×18 marble tile installations earn or lose their longevity. Marble has minimal tolerance for deflection — the Tile Council of North America’s ANSI A108 standards require that floor systems supporting large-format stone tile deflect no more than L/360 under live load. In practice, that means a 10-foot span can flex no more than 1/3 inch, and most older residential subfloors built with 3/4-inch plywood over 16-inch joists will need supplemental decking before you can confidently specify 18×18 marble. According to TCNA installation standards, large-format tiles specifically require verified substrate flatness — and the tolerance tightens as format size increases.
Mortar selection matters just as much as substrate stiffness. Medium-bed mortars (ANSI A118.4 compliant, large-and-heavy-tile rated) are non-negotiable at the 18×18 format. Standard thin-set doesn’t provide adequate contact coverage across a tile this size, and coverage below 80% in dry areas (95% in wet areas) creates hollow spots that lead to cracking under point loads. Use a notched trowel with a minimum 1/2-inch square-notch profile, back-butter every tile, and collapse the ridges completely before setting.
- Substrate flatness: maximum 1/8″ variation in 10 feet — verify with a long straightedge before any mortar is mixed
- Deflection limit: L/360 minimum — calculate for your specific joist span and load before proceeding on wood-frame floors
- Mortar type: ANSI A118.4 large-and-heavy-tile mortar — not standard thin-set
- Coverage requirement: 80% minimum (dry interior), 95% minimum (wet areas and exterior) per TCNA guidelines
- Uncoupling membranes are worth the additional cost on wood-frame substrates — they dramatically reduce the risk of crack transmission from seasonal wood movement
Building Codes, Load Requirements, and Structural Specification
Specifying 18×18 marble tile in commercial or multi-family residential projects brings code compliance into the equation in ways that purely aesthetic selections don’t. The International Building Code (IBC) Section 1607 governs live load requirements for occupied floor spaces, and marble’s density — typically 160–175 lb/ft³ — adds dead load that your structural engineer needs to account for in floor system design. This is particularly relevant in retrofit projects where the existing slab or joist system wasn’t originally designed for heavy stone flooring.
In seismic design categories C through F, large-format stone tile installations on walls require additional mechanical anchoring per IBC Chapter 14 to prevent tile separation during ground movement events. Floor installations in seismic zones benefit from flexible adhesive systems (ANSI A118.15 compliant) rather than rigid mortars, which can fracture at grout joints when a structure sways. Your specification documents should explicitly reference the applicable seismic design category and require the installer to confirm adhesive compatibility.
- Confirm slab or subfloor load capacity before specifying 18×18 marble in retrofit applications — dead load calculations must include stone weight plus setting materials
- In freeze-thaw regions, exterior marble tile installations require frost-depth-appropriate base preparation — typically 6–12 inches of compacted aggregate below the mortar bed, with drainage slope away from structures
- Seismic zones C–F: specify ANSI A118.15 flexible adhesive and confirm grout joint width is sufficient to accommodate minor movement (1/16″ minimum in most installations)
- Edge restraints at perimeter transitions to different materials are required by TCNA for large-format stone — specify metal transition strips or stone thresholds at doorways
- ADA-compliant surface flatness requirements (maximum 1/4″ change in level over 2 feet) must be met for any publicly accessible floor — marble’s calibrated tolerance actually helps here compared to uncalibrated stone
Joint Spacing, Expansion Joints, and Long-Term Movement Control
Here’s what most installation guides skip: marble’s thermal expansion coefficient runs approximately 3.0–5.0 × 10⁻⁶ per °F depending on mineralogy. Across a large tiled floor — say, a 30-foot room — that means seasonal dimensional change of roughly 1/16 to 1/8 inch between the coldest and hottest conditions your HVAC system creates. That doesn’t sound like much, but when rigid mortar and grout are resisting that movement at every joint, the cumulative stress eventually fractures either the grout or the tile itself, and with 18×18 marble tile, a cracked tile is a significant repair cost.
The practical specification calls for soft joints — caulk-filled rather than grout-filled — at every 8 to 10 feet in both directions, at all changes of plane (wall-to-floor transitions), and at the perimeter of the entire tiled field. Use silicone or polyurethane caulk that colour-matches your grout. This isn’t optional in large rooms — it’s what separates installations that stay intact for 20+ years from ones that start showing stress fractures within five years of installation.
Comparing 18×18, 24×24, and 12×12 Marble Formats for Your Project
Understanding how 18×18 marble tile compares to adjacent formats helps you make the right specification decision the first time. The 24×24 marble tile format creates an undeniably grand visual effect — fewer grout lines, expansive visual continuity — but the installation demands escalate sharply. At 24×24, substrate flatness tolerances tighten further, mortar coverage requirements increase, and the weight per tile roughly doubles, which slows installation pace and raises labour costs. For most residential projects, 24×24 marble tile is genuinely impressive in rooms larger than 400 square feet; below that threshold, the format can overwhelm the space proportionally.
The 12×12 marble floor tile sits at the opposite end of this spectrum. It’s more forgiving of minor substrate imperfections, faster to install, and easier to work around irregular room geometry — curved walls, alcoves, hearths. The trade-off is visual: more grout lines create a busier field pattern, and the smaller format doesn’t showcase wide-veining marble the way 18×18 does. For detailed mosaic borders or pattern work, 12×12 marble floor tile gives you practical layout flexibility that larger formats simply can’t match. The 18×18 occupies the practical sweet spot: it showcases the material well, manages substrate demands at a realistic level for most structures, and installs efficiently enough that labour costs stay controllable.
- 18×18: balanced format for rooms 150–600 sq ft — showcases veining, manageable substrate demands, reasonable labour rate
- 24×24 marble tile: best reserved for large, structurally verified slabs — substrate flatness must be within 1/16″ in 10 feet, not 1/8″
- 12×12 marble floor tile: best for complex layouts, detailed borders, smaller rooms, or retrofit projects with older substrates
- All three formats require calibrated (gauged) tile — verify with your supplier that dimensional tolerance is ±1mm or tighter
For broader stone project planning, your property may also benefit from complementary natural stone surfaces — Citadel Stone marble selection covers additional tile formats and material options worth considering alongside your marble specification.
Sealing Protocols and the Maintenance Schedule That Actually Works
Marble is a calcium carbonate stone — it reacts with acids, including the acetic acid in vinegar, citrus cleaners, and many common household products. That reaction etches the surface, removing the polish on a microscopic level and leaving dull patches that no standard cleaning restores. Proper impregnating sealer application is your first line of defence, but it’s important to understand what sealer actually does: it penetrates the pore structure and reduces the rate of liquid absorption, buying you time to wipe up spills before they stain or etch. Sealer does not create a surface barrier that makes marble highly resistant to all chemical exposure — acid contact still etches the surface above the sealer.
Your sealing schedule for 18×18 marble tile should look like this: apply a high-quality fluoropolymer or silicone-based impregnating sealer within 72 hours of grout cure completion, test annually using the water bead test (water should still bead on the surface after 15 minutes of contact), and reseal every 18–24 months in kitchens and bathrooms, or every 24–36 months in lower-traffic areas. In warehouse storage conditions, sealed marble maintains its protection longer than unsealed stone — moisture fluctuations in storage don’t compromise a properly applied impregnating sealer the way they affect topical coatings.
- Initial sealing: within 72 hours of grout cure, never on fresh or damp grout joints
- Sealer type: impregnating (penetrating) fluoropolymer or silicone-based — not topical wax or acrylic coating
- Annual water-bead test: drop 1/4 teaspoon of water on the surface — if it absorbs within 15 minutes, reseal immediately
- Cleaning: pH-neutral stone cleaner only — never vinegar, lemon-based products, or bleach on polished marble
- Honed and brushed finishes are slightly more forgiving of acid exposure because surface etching is less visible — not invisible, but less dramatic than on polished marble
Ordering, Logistics, and Getting Project Timelines Right
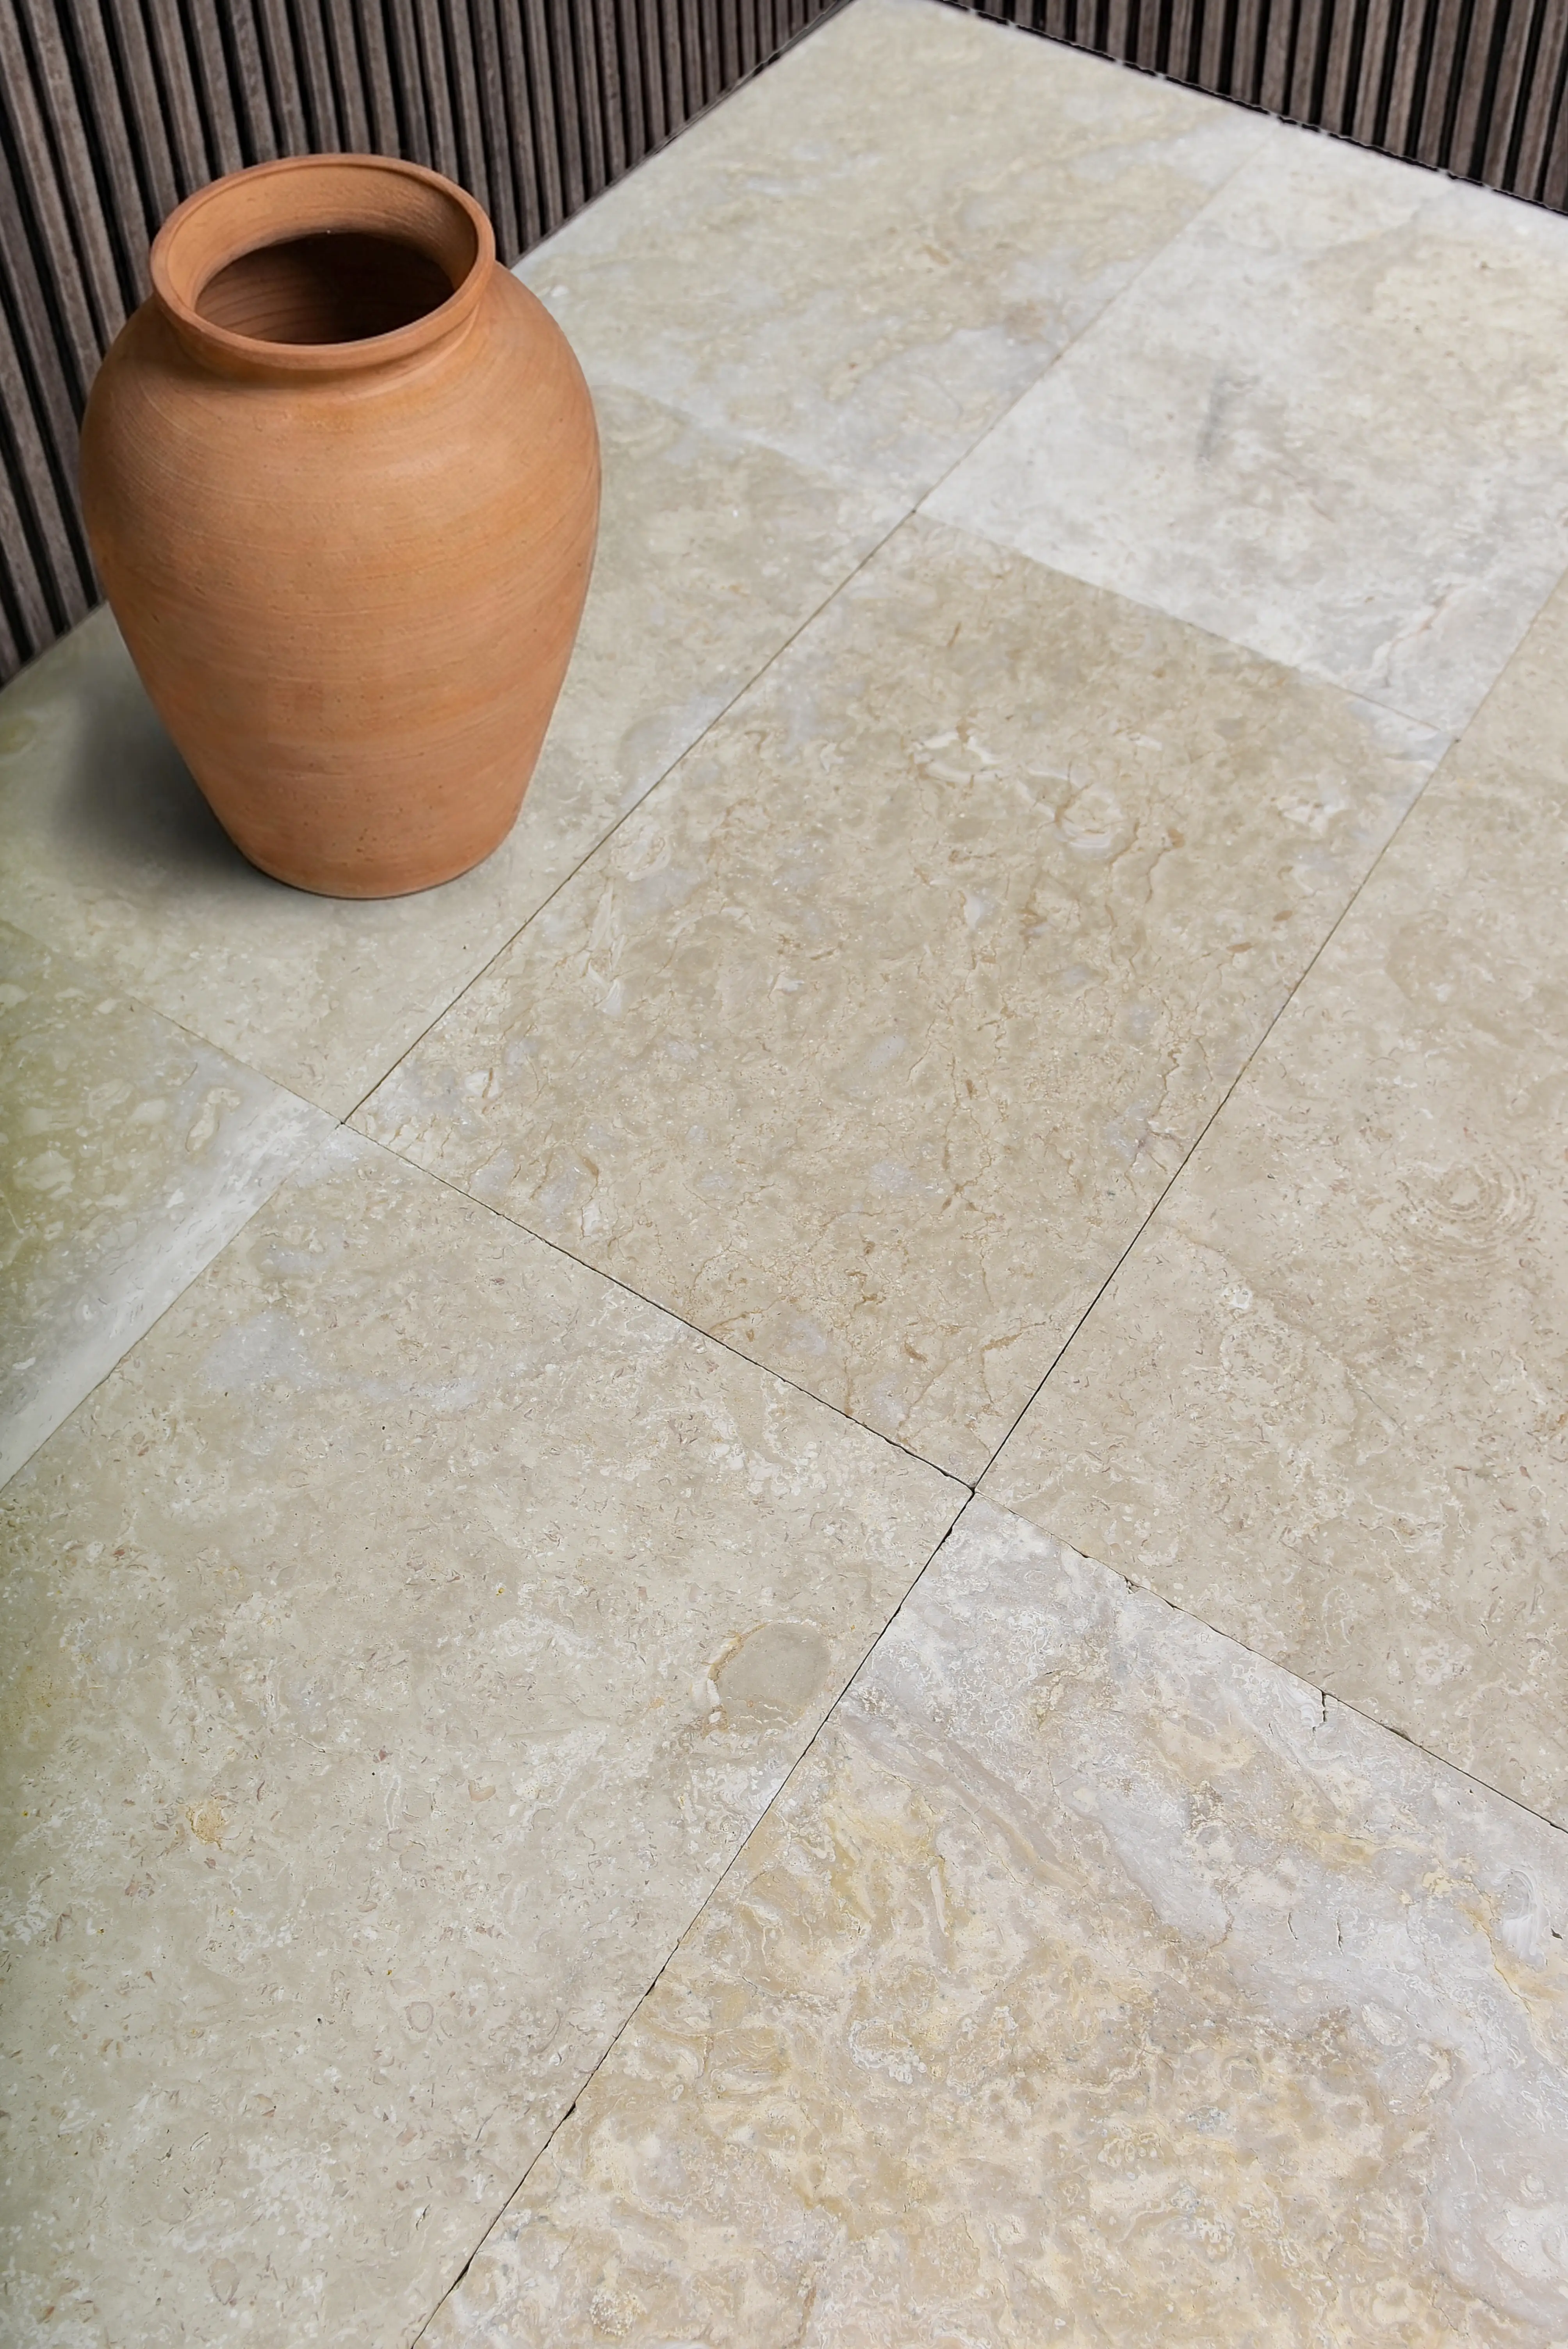
Your ordering timeline is often the variable that determines whether a project finishes on schedule or stalls. Natural marble is quarried and processed in batches — each production run shares a common lot number that tracks back to a specific quarry extraction. Mixing lot numbers mid-project introduces colour and tone variation that becomes visible once the floor is complete and lit uniformly. The professional standard is to order your complete quantity from a single lot, add 10–15% overage for cuts and breakage, and stage delivery so your on-site conditions (temperature above 50°F, humidity between 30–70%) match material conditioning requirements.
Citadel Stone maintains warehouse inventory with consistent lot tracking, which means you can confirm lot availability before committing to a project start date — a detail that matters significantly when your installation window is fixed by other trades. Truck delivery scheduling should account for material weight: a typical 18×18 marble tile order for a 500-square-foot room (including overage) will weigh approximately 1,800–2,200 pounds. Confirm site access for a standard flatbed truck delivery before the order is placed, particularly on renovation projects with limited driveway or loading-dock access.
- Order from a single lot number — verify lot consistency with your supplier before purchase
- Standard overage: 10% for straightforward layouts, 15% for diagonal layouts or complex cuts
- Site temperature at installation: 50–95°F, with tile and substrate acclimatised for at least 24 hours
- Confirm truck access to your delivery address — marble at this weight class requires ground-level unloading or a liftgate-equipped vehicle
- Lead times from warehouse stock are typically 1–2 weeks; custom-quarried or specialty marble may require 8–12 weeks — factor this into your project schedule
Parting Guidance for Your 18×18 Marble Tile Specification
Getting 18×18 marble tile right comes down to treating the substrate and the material specification with equal seriousness. The marble itself — properly graded, correctly finished, installed on a verified substrate with adequate mortar coverage and properly spaced soft joints — will deliver decades of service life. Shortcut any one of those variables and you’re typically looking at visible problems within the first few years. Your specification documents should call out mortar type by ANSI standard, substrate flatness tolerance numerically, and sealer type by chemistry — not by brand preference. That specificity is what protects you and your client when field conditions or installer interpretation creates ambiguity. As you plan your full stone project, complementary natural stone applications can inform material and format decisions — travertine tile in a smaller format explores how a related natural stone performs in residential floor settings. Sourced from quarries across the Mediterranean and Middle East, Citadel Stone marble arrives with tight size tolerances for uniform 18×18 layouts.
Related reading: 18×18 outdoor tile · 12×24 Floor Tile Patterns That Elevate a Room · How Much Does Travertine Countertops Cost?.