Scalloped pavers solve a geometry problem that straight-edged formats can’t — how to create organic, flowing pathways and planting borders without the visual rigidity of grid-based layouts. The curved interlock between units isn’t just decorative; it distributes lateral load across the installation in a way that makes the pattern genuinely structural. What most designers underestimate, though, is how the curvature radius of each unit constrains your layout options long before the first scalloped paver touches the ground.
Understanding the Scallop Geometry
The defining feature of scalloped pavers is their convex-concave edge pairing — one side curves outward, the opposite curves inward, and adjacent units nest together like interlocking fish scales. This geometry is not arbitrary; it creates a self-aligning system where each row corrects the cumulative drift that plagues straight-joint installations on non-level substrates. Your layout lines stay true longer because the pavers guide each other into position.
What often gets overlooked is the difference between tight-radius and wide-radius scallop profiles. A tight curve radius — typically 150–200 mm across the convex face — produces denser, more intricate-looking patterns ideal for formal garden paths and compact courtyard spaces. Wide-radius profiles, closer to 300–400 mm, yield an open fan effect that reads well across larger areas like terraces and entry plazas. Matching radius to scale is the specification decision that separates a cohesive installation from one that looks busy at the wrong viewing distance.
Layout Patterns That Actually Work
Your layout options with scalloped pavers fall into three primary categories, each with distinct visual weight and installation complexity. The fan pattern — where rows radiate from a single focal point — is the most demanding to set out but delivers the highest visual impact around circular features like water features or specimen trees. The running fan staggers the focal points row by row, producing a ripple effect across flat planes. The simplest option, the straight-course pattern, runs the scallops in parallel rows like traditional coursed masonry but with the added visual movement of the curved profiles.
- Fan pattern: requires a fixed datum point and careful angle calculation — expect 15–20% more layout time compared to grid patterns
- Running fan: tolerates minor subgrade irregularities better than pure fan because the stagger absorbs small alignment errors
- Straight-course: easiest to install and the most forgiving on slopes, but demands consistent grading to prevent water ponding in the concave joints
- Concentric ring layout: works exceptionally well with half moon pavers used as transition units between a circular feature and rectangular outer zones
The half moon pavers reference above is deliberate — these half-circle units function as border completers and transition elements when your main field of scallops meets a straight edge or a different paver format. Without them, you’re cutting full scalloped units at the perimeter, which wastes material and produces ragged edges that compromise the finished look. Half moon pavers also simplify the perimeter detailing around curved garden beds where a clean termination line matters as much as the field pattern itself.
Scale Considerations and Paver Sizing
Choosing the right unit size depends on the visual scale of your project, not just the available square footage. Large round pavers and oversized scallop formats — those exceeding 400 mm across the widest dimension — create a bold, architectural rhythm suited to open terraces and wide garden approaches. They lay faster, too, which matters when you’re managing a large installation with time constraints. Smaller formats read more refined and suit intimate garden rooms, seating alcoves, and feature insets within larger paved areas. Large round pavers pair particularly well with scalloped field units when used as centrepiece accents at radiating focal points in fan-pattern layouts.
The practical minimum for natural stone scalloped pavers is typically 30 mm nominal thickness for pedestrian-only applications, stepping up to 50 mm for areas with occasional light vehicle access. Thinner profiles risk flexural failure at the concave edges — precisely the point where the geometry creates a stress concentration under point loading. According to Natural Stone Institute stone variety specifications, natural stone paving performance depends heavily on both material density and dimensional consistency, both of which directly affect how thinner units handle edge loading in interlocking formats.
Material Selection for Scalloped Formats
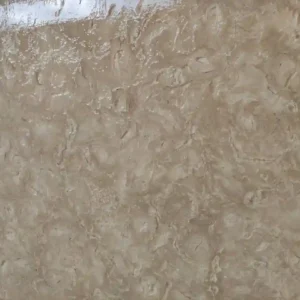
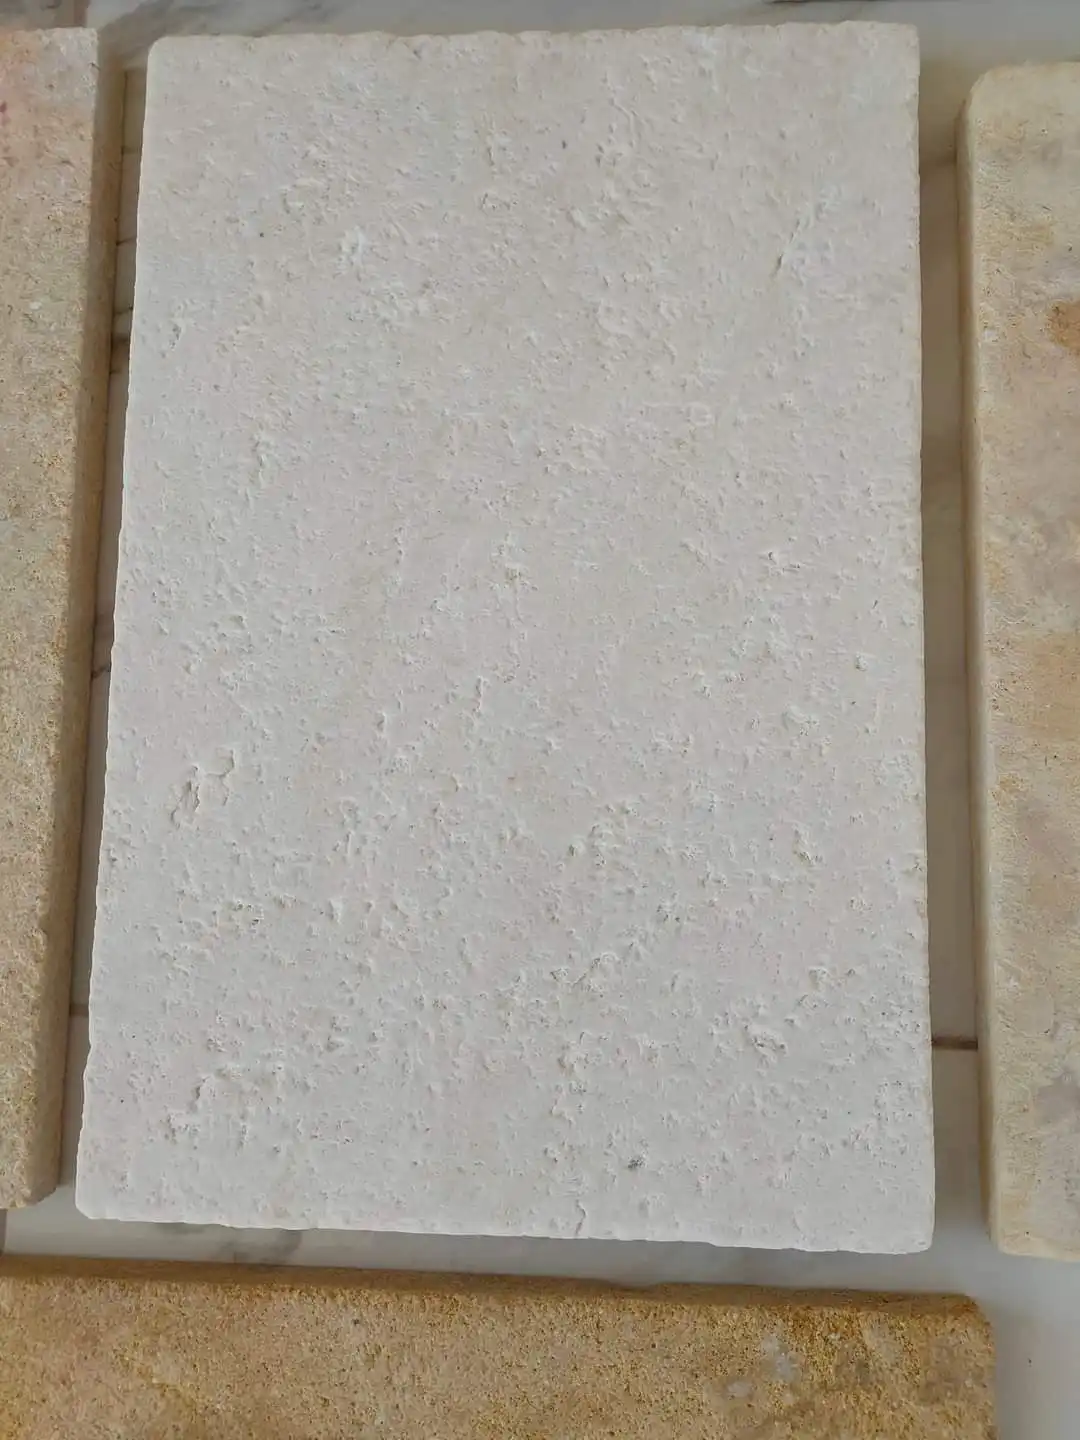
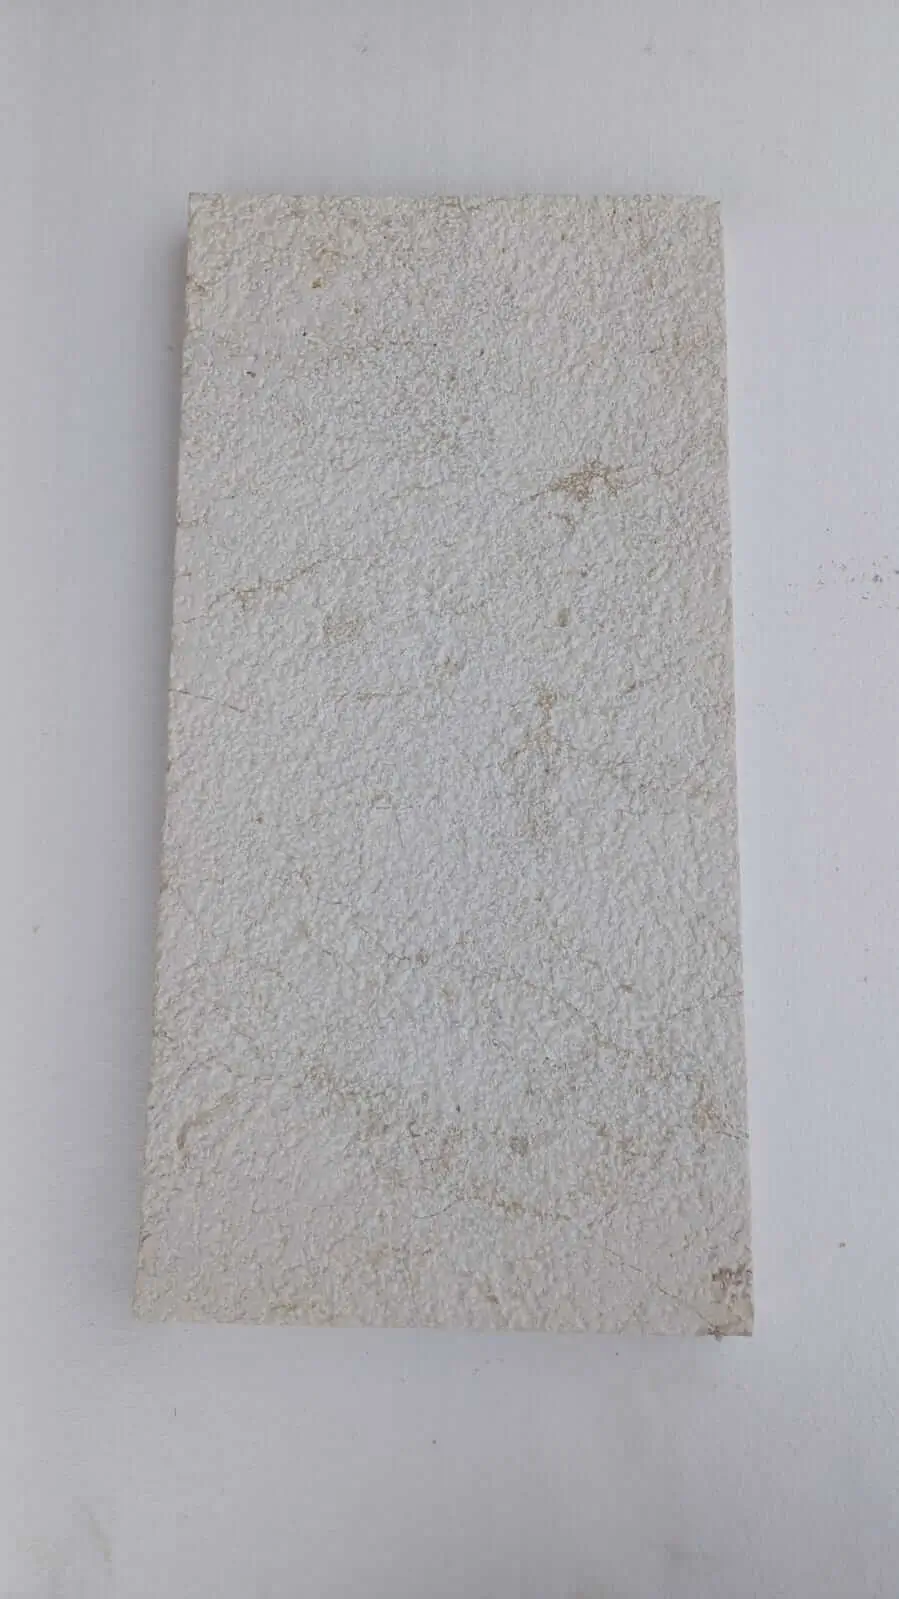
Natural stone delivers aesthetic depth that manufactured alternatives can’t replicate at scale — the subtle colour variation, the texture variation between faces, the way the material ages rather than simply deteriorating. For scalloped profiles specifically, you need a stone dense enough to hold a clean curved edge through fabrication and through decades of service life. Limestone in the 2.3–2.6 g/cm³ density range performs well in this role. The material machines cleanly, holds tight tolerances on the curved profile, and develops a surface patina that enhances rather than obscures the scallop geometry over time.
Travertine is a viable alternative for warmer, drier applications — its open pore structure reduces surface heat buildup and provides natural texture variation across the face. The trade-off is edge fragility at the concave curve if the material has significant void concentration near the fabricated edge. Inspect sample pieces specifically at the concave edge before committing to a specification. You can explore the full range of profile options through Citadel Stone shaped paver formats, which gives you a direct reference point for what dimensional tolerances are achievable in natural stone at this scale.
Sedum Pavers and Green Integration
Sedum pavers represent a design evolution from purely hardscape thinking toward integrated planting systems. The open-joint pockets created by the scallop pattern make natural stone an excellent host for low-growing ground cover between units — sedum varieties in particular tolerate the dry, well-drained conditions that a properly constructed stone base provides. The visual effect combines the crisp geometry of the stone with soft organic infill that changes seasonally. Sedum pavers work especially well in garden paths and informal courtyard settings where softening the hardscape line is a deliberate design objective.
- Joint width of 20–30 mm between scalloped units supports sedum root establishment without compromising lateral stability
- A grit-free growing medium in the joints allows sedum to establish faster than standard joint sand would permit
- Scalloped edges create natural micro-drainage channels that prevent waterlogging at the crown — beneficial for plant health and pavement longevity
- In freeze-thaw regions, sedum root systems can exert minor frost-heave pressure on joint faces — factor this into your base depth calculation
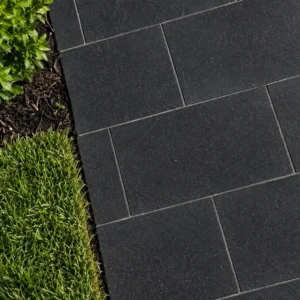
The combination works particularly well in garden paths and lawn edging applications where you want the definition of stone without a solid hardscape feel. Full hardscape zones — driveways, main terraces, high-traffic routes — are better served with conventional dry joint sand to maintain interlock integrity under load.
Ground Preparation and Subgrade Considerations
Your subgrade quality is the single biggest predictor of how scalloped pavers perform over time — and it’s the factor most often underspecified. Expansive clay soils present a particular challenge because seasonal moisture variation causes vertical movement across the base, and the curved interlock of scalloped units amplifies any differential settlement into visible rotation at individual pieces. In clay-heavy subgrades, a minimum 150 mm compacted gravel base is the starting point; 200 mm is more defensible for installations that need to hold their alignment for 20-plus years.
Sandy soils behave differently — they drain well but can migrate laterally under edge loading, undermining the perimeter course over time. A geotextile fabric layer between native soil and compacted aggregate prevents fines migration without impeding drainage. Rocky or caliche subgrades are actually the most forgiving for paver installation because they don’t move, but you need to verify surface uniformity before laying aggregate — high spots in a rigid subgrade telegraph directly through the base into the paver surface. According to USGS dimension stone production data, natural stone paving performs best when installation specifications account for regional soil variability rather than applying a one-size-fits-all base depth. At Citadel Stone, we recommend having a soil assessment completed before finalising your base specification — what works on a well-drained loam performs very differently on reactive clay.
Installation Sequencing for Scalloped Layouts
The sequence you follow in setting out a scalloped paver installation matters more than with rectangular formats because errors compound around the curve geometry. Always start your layout from the dominant focal axis — a centreline, a radiating point, or a primary structure edge — and work outward in both directions simultaneously. Trying to set one side first and match the second creates cumulative misalignment that becomes irreversible without pulling already-set courses.
- Snap a datum line along the main axis before placing the first unit
- Dry-lay a minimum of three courses in each direction before bedding any unit permanently
- Check the pattern alignment at 2 m intervals as you work — corrections at 500 mm cost minutes; corrections at 5 m cost hours
- Use spacers at the convex-concave interface during dry-lay to simulate the finished joint width accurately
- Cut border units with a water-cooled wet saw to preserve the curved edge profile — angle grinders produce ragged curves that compromise the visual line
The ASLA provides useful guidance on permeable surface design and paving material selection that’s worth referencing when you’re integrating scalloped stone pavers with adjacent landscape elements, particularly around drainage transitions and planting bed interfaces.
Ordering, Logistics, and Lead Time Planning
Scalloped profiles require precision fabrication that standard rectangular pavers don’t — the curved edges demand tighter dimensional tolerances and more careful quality control through the cutting process. This means fabrication lead times are longer, and you should build buffer time into your project schedule. Citadel Stone maintains warehouse stock of shaped and profiled formats that reduces lead times significantly compared to custom-fabricated orders, but availability varies by profile and unit size, so verifying warehouse stock levels before locking in a start date is always the right move.
Truck delivery to your site requires planning around access constraints — scalloped pavers are typically palletised with curved-face orientation to prevent chipping in transit, and this affects how densely they can be packed per pallet. You’ll get fewer square metres per truck load than an equivalent weight of rectangular pavers, so factor that into your freight cost estimates. Ordering 8–10% above your calculated area requirement is standard practice for shaped formats where perimeter cuts generate more waste than straight-edge installations.
Getting Scalloped Paver Specifications Right
Treating the layout geometry as a primary specification decision — not a finishing detail — is what separates successful scalloped paver installations from those that read as incidental rather than intentional. The radius, the scale, the starting datum point, and the perimeter treatment all interact, and the choices made before the first paver is placed determine whether the finished installation reads as deliberate or accidental. The material selection layer, the subgrade preparation, and the sequencing discipline are equally non-negotiable.
Natural stone brings the durability and character that synthetic alternatives can’t match in this format, but it rewards the specifiers who engage with it at a technical level rather than treating it as a commodity surface. If you’re working on a project that also incorporates loose aggregate zones adjacent to your paved areas, decomposed granite combined with pavers covers an approach worth considering for transition zones. Pavers from Citadel Stone arrive from premium quarries in Turkey and the broader Middle East region, offering scalloped profiles with consistent curvature.
Related reading: round fire pit pavers · limestone facade · gray limestone pavers.