What Lichen Actually Is on Your Pavers
Lichen on pavers is deceptive — it looks like a surface stain, but it’s a living organism actively anchoring itself into your stone. Lichen is a symbiotic partnership between fungi and algae, and that fungal component produces acids that slowly etch into the paver surface over time. You’re not dealing with dirt you can rinse off; you’re dealing with a biological colonizer that uses your stone as a substrate. The distinction matters enormously for how you approach removal and long-term prevention.
On limestone pavers specifically, lichen finds an especially hospitable environment. Limestone’s calcium carbonate composition reacts with the organic acids lichen produces, creating micro-pitting that gives future colonies even better purchase. According to NSI limestone surface and porosity data, the open-pore structure typical of natural limestone accelerates biological colonization compared to denser igneous materials. That’s not a reason to avoid limestone — it’s a reason to understand its maintenance cycle before you specify it.
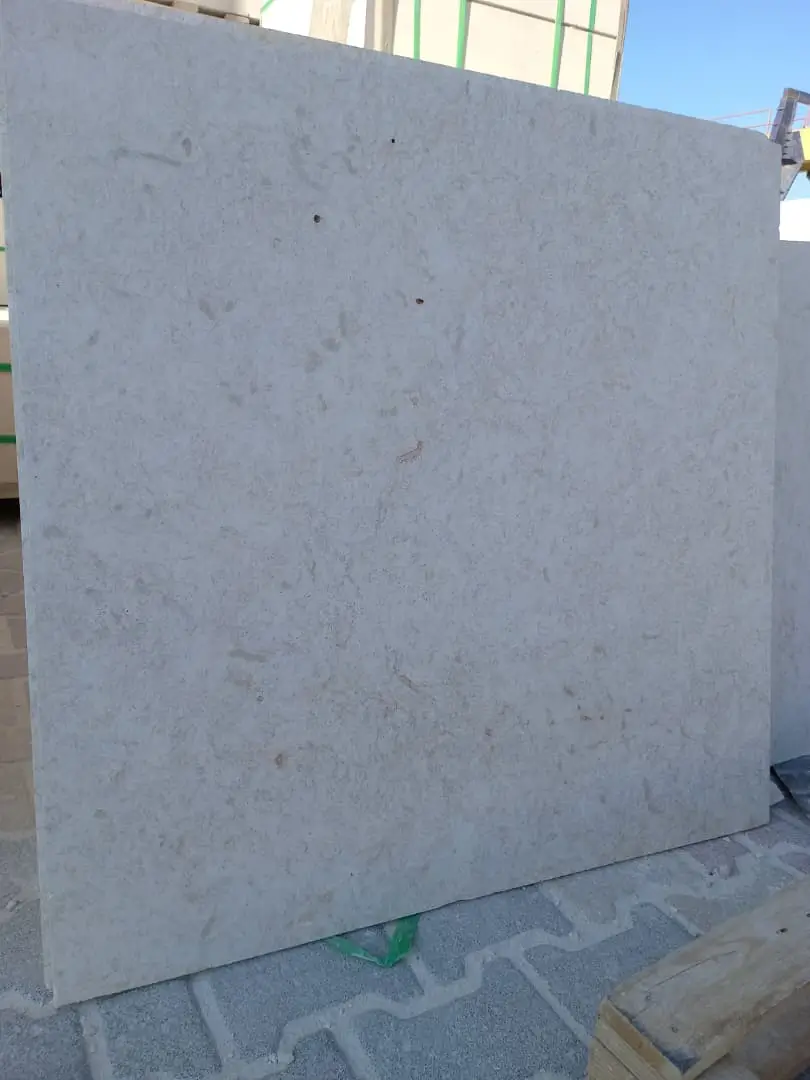
Why Lichen Chooses Certain Pavers Over Others
Shade and moisture retention are the two variables that tip a paver surface toward lichen colonization. A north-facing patio that dries slowly after rain will show lichen growth years before a sun-exposed driveway does. But here’s what most maintenance guides don’t spell out: the surface texture of your pavers plays an equally significant role. Rough, tumbled, or engraved pavers offer far more microscopic crevices for lichen spores to grip than honed or polished finishes do.
- Engraved pavers with incised lettering or decorative cuts trap moisture in their channels, creating micro-habitats where lichen establishes first
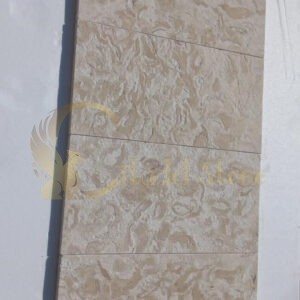
- Textured limestone quarry pavers with bush-hammered or natural cleft finishes present higher surface area for biological attachment
- Low-slope installations below 2% gradient drain slowly enough that surface moisture persists for extended periods
- Pavers installed under tree canopy receive constant organic debris — leaf litter and bark fragments accelerate spore deposition
- Joints packed with organic material rather than kiln-dried sand create biological bridges between paver surfaces
Wind-driven rain compounds this picture in ways that don’t get enough attention. Storm events push lichen spores laterally across paved surfaces and force moisture into joint gaps under pressure. After significant weather events, you’ll often notice lichen on pavers establishing in the leeward areas of a patio — the edges and corners where wind-driven water pooled longest. Checking joint integrity after major storms matters beyond structural concerns; it directly affects your lichen risk profile.
Identifying Lichen Versus Other Surface Growth
Getting the identification right before you start removal saves considerable time and effort. Lichen, algae, and moss are three distinct organisms that require different treatments, and misidentifying them leads to ineffective cleaning and potential surface damage.
- Lichen appears as flat, crusty or leafy patches — grey, orange, yellow, or pale green — tightly bonded to the stone surface and very difficult to scrape cleanly
- Algae presents as a slippery green or black film that smears when wet and tends to cover broad, uniform areas rather than discrete colonies
- Moss grows as a soft, spongy green layer that can be lifted in sections and generally indicates deeper moisture retention issues
- Black staining that doesn’t respond to standard cleaners is often a lichen crust that has weathered to a dark pigmentation — not a mineral stain
The test that field experience teaches you: press a fingernail to the edge of the growth and try to lift it. Lichen will resist firmly and may flake in a brittle pattern; algae wipes off with light pressure; moss lifts in a plug. This tactile test takes three seconds and tells you exactly what you’re treating.
Removal Methods That Actually Work
Your removal approach needs to match both the lichen species and the paver material. On limestone quarry pavers, the acidic cleaning solutions used aggressively on concrete will cause visible etching — a common mistake that trades one surface problem for another. The correct sequence for natural stone is always alkaline or pH-neutral first, mechanical second, and acid-based treatments reserved as a last resort under controlled conditions.
Proprietary biocide treatments designed for natural stone are the most reliable starting point. Products containing benzalkonium chloride are highly effective at killing lichen without the pH aggression that damages calcium carbonate surfaces. Apply the solution, allow a dwell time of 20–30 minutes for fresh colonies or up to several hours for established crusts, then rinse thoroughly. You won’t see the lichen disappear immediately — it bleaches and dies over the following 2–4 weeks, after which a stiff bristle brush and clean water remove the residue. According to Britannica’s overview of limestone composition and reactivity, the calcium carbonate matrix is particularly vulnerable to acid contact, which is why pH management during any cleaning process is non-negotiable for limestone surfaces.
- Pressure washing at low pressure (500–800 PSI maximum for limestone) can remove dead lichen after biocide treatment — but never as the primary removal method on living colonies, which embeds the rhizines deeper
- For engraved pavers with lichen in incised areas, a stiff-bristled detail brush used with the biocide solution reaches channels that broad washing misses
- Dry brushing living lichen off stone spreads viable spores across the surface and is counterproductive — always wet the area first with your treatment solution
- Steam cleaning at controlled temperatures offers a chemical-free alternative that kills lichen through thermal shock without pH risk to the stone
For reference, ASTM stone maintenance and surface treatment standards provide the technical framework specifiers use when selecting cleaning agents for natural stone — particularly useful if you’re managing a larger commercial installation where documentation of treatment protocols matters.
Protecting Engraved Pavers During Cleaning
Engraved pavers deserve special consideration in any lichen removal protocol. The incised cuts that create lettering or decorative patterns on memorial pavers, driveway markers, or garden features are typically shallower than they appear — often only 5–8mm deep on standard thickness material. Aggressive mechanical cleaning inside those channels can visibly widen the engraving over time, softening crisp edges and reducing legibility.
Your safest approach for lichen on pavers with engraved surfaces is to extend the biocide dwell time rather than increasing mechanical pressure. Let the chemistry do the work. A 4-hour application of a pH-neutral biocide on established lichen in engraved channels will loosen the organism far more effectively than scrubbing at 30 minutes would. After the kill period, a soft-bristled brush — not wire or stiff nylon — removes residue without abrading the engraving walls. Rinse with low-pressure water directed along the channel direction, not across it.
Prevention Strategies for Long-Term Control
Removing lichen is a reactive response. Preventing its return requires you to address the underlying conditions that made colonization possible in the first place. The most impactful changes are drainage improvements and surface sealing, in that order.
- Ensure your paver installation maintains a minimum 1.5–2% fall toward drainage outlets — standing water even for short periods is the primary lichen risk factor
- Re-sand joints with kiln-dried polymeric sand after any cleaning treatment; stable, sealed joints resist moisture infiltration and eliminate the organic matter that feeds lichen biology
- Apply a penetrating stone sealer after cleaning on limestone quarry pavers — a silane-siloxane based impregnator significantly reduces the moisture absorption that lichen depends on for establishment
- Trim tree canopy and vegetation above paved areas to increase solar exposure and reduce organic debris deposition
- Schedule an annual biocide spray treatment in late spring before spore dispersal season peaks — this prophylactic approach costs far less than reactive removal
Joint integrity under wind-driven rain is a prevention factor that often goes unaddressed. Storm events with lateral rain force water beneath loose joints, saturating the sub-base and keeping the underside of pavers damp for extended periods. That persistent moisture wicks back up through the stone face and creates exactly the surface conditions lichen prefers. Checking and re-pointing any failed or eroded joints after significant storm activity is practical maintenance that pays dividends in biological growth prevention. For routine guidance on sealer selection and application schedules, our natural stone care guidance covers the technical specifics in detail.
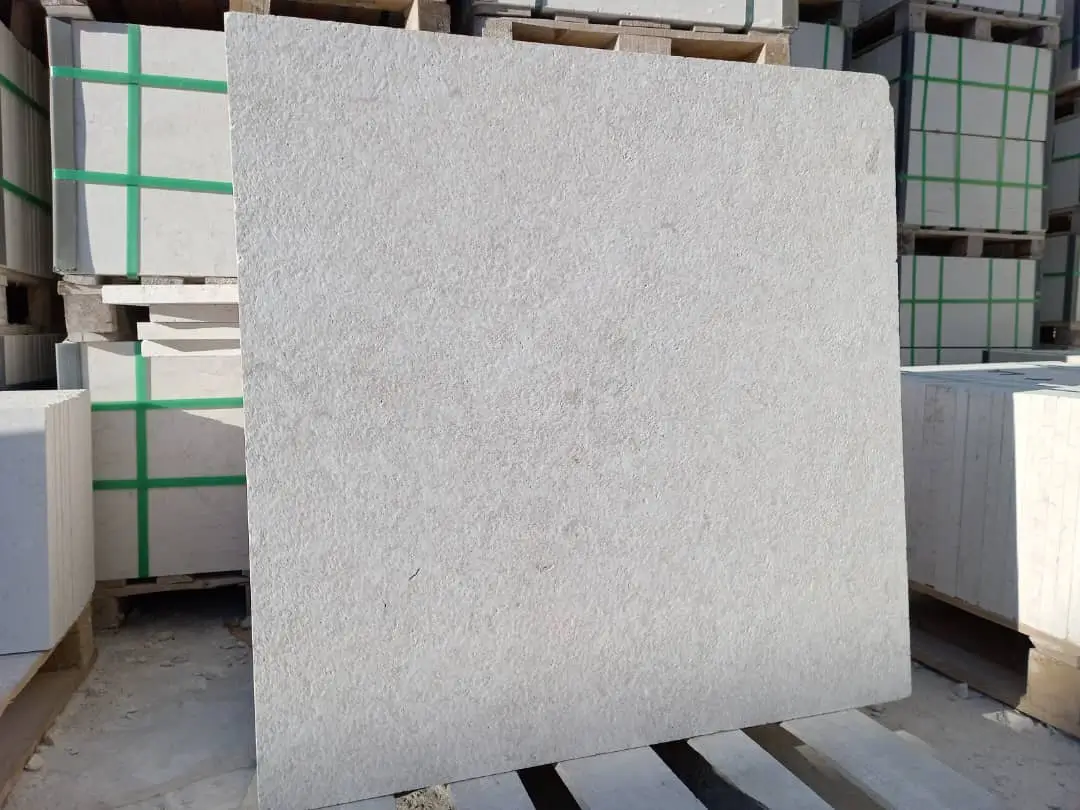
Sealing Limestone Pavers Against Biological Growth
Sealing protocols for limestone quarry pavers differ meaningfully from sealing concrete or porcelain. Limestone is a porous material — that porosity is part of what gives it its visual warmth and character, but it also means an incorrectly specified sealer can trap moisture below the surface rather than repelling it at the face, which accelerates biological growth rather than preventing it.
Penetrating impregnator sealers — silane-siloxane formulations — are the correct choice for natural limestone in outdoor applications. They line the internal pore walls without closing them, allowing vapour transmission while significantly reducing liquid water absorption. A quality impregnator applied to clean, dry limestone will reduce water absorption by 85–95% without altering the stone’s natural appearance. At Citadel Stone, we recommend testing sealer performance on a spare tile before full application — pour a small amount of water on the treated surface after a 24-hour cure and observe bead-up behaviour.
- Topical film-forming sealers on outdoor limestone trap moisture and are highly susceptible to freeze-thaw delamination — avoid them entirely for paver applications
- Sealer reapplication frequency depends on traffic and UV exposure, but biennial treatment is a reliable baseline for most residential paver installations
- Always clean and fully dry the paver surface before sealing — applying sealer over residual lichen or moisture locks biological material into the stone
Material Selection and Lichen Risk
Your material choice at the specification stage has a direct bearing on long-term lichen management. Not all natural stone carries the same colonization risk, and understanding those differences helps you match material to site conditions before installation rather than managing consequences after.
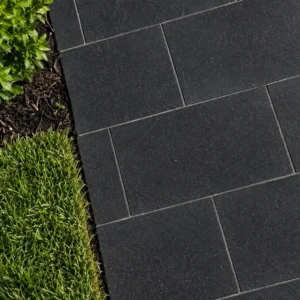
Denser igneous materials like basalt and granite present a significantly less hospitable surface for lichen on pavers than sedimentary stones do. Their lower porosity — typically 0.2–0.5% water absorption versus 3–12% for limestone depending on formation — means less moisture retention at the surface and fewer microscopic anchor points for lichen rhizines. In heavily shaded or persistently wet site conditions, specifying a denser material may be the most practical long-term decision. That said, limestone pavers remain excellent performers in appropriate conditions and with the right maintenance programme — the key is matching material properties to the actual site context.
- Honed finishes on any stone type reduce surface roughness and present fewer lichen attachment points than cleft, tumbled, or bush-hammered textures
- Larger format pavers — 24×24 and above — have fewer linear metres of jointing per square metre of surface, reducing the biological bridge points that jointing material creates
- Lighter coloured stones show lichen growth earlier and more visibly, which is actually an advantage for early detection and intervention
Your Action Plan for Lichen on Pavers
Tackling lichen on pavers effectively comes down to three things: accurate identification, the right chemistry for your stone type, and addressing the site conditions that invited colonisation in the first place. Don’t let the biological complexity intimidate you — with a pH-appropriate biocide, a reasonable dwell time, and a follow-up sealing programme, most lichen problems on natural stone pavers resolve cleanly and stay resolved for years.
Citadel Stone maintains warehouse stock of natural stone pavers and can typically fulfil orders within 1–2 weeks, which matters when you’re planning a cleaning-and-resealing programme that requires replacement tiles for sections too damaged to restore. For projects that involve any element of stone installation or replacement alongside your maintenance work, laying flagstone and limestone step-by-step walks through the practical installation details worth reviewing before you start. On shaded limestone pavers, lichen can establish within a single wet season, so Citadel Stone advises addressing surface moisture retention as part of routine upkeep.
Related reading: how limestone is made · French Pattern Limestone Pavers: Layout and Design Guide · pavers with rock in between.