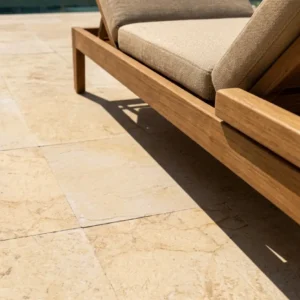
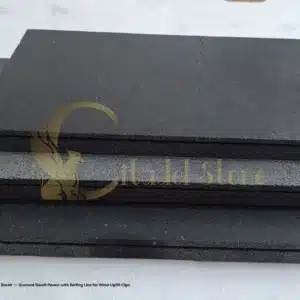
Slate’s cleavage plane is the detail that separates a specification you’ll be proud of from one you’ll be revisiting in five years. Knowing how to choose slate slabs starts with understanding that not all slate splits the same way — some blocks deliver clean, consistent sheets while others produce wavy, unpredictable surfaces that cause grout line failures and lippage complaints months after installation. The thickness consistency across a single slab batch matters as much as the quoted average, and it’s a variable most buyers never think to check before the truck arrives on site.
What Makes Slate a Distinct Specification Decision
Slate is a metamorphic rock formed under directional pressure, and that geological origin is the source of both its greatest strength and its most common installation failure. The foliation — the natural layering direction — determines how the slab performs under point loads and thermal cycling. Slabs cut parallel to foliation are strong across their face but vulnerable to delamination at the edges if moisture infiltrates. Slabs cut perpendicular to foliation resist splitting more effectively but can be heavier and harder to work with in larger formats.
You’ll also encounter significant variation by quarry origin. Slate sourced from selected quarries across the Middle East tends toward a smoother, more consistent cleavage face with tighter surface variation — well suited for interior flooring and hearth surrounds. South American material often presents richer color variation with a rougher split face, better suited to exterior paving where grip matters more than visual uniformity. Understanding these differences before you commit to a specification saves you from a material mismatch that no amount of skilled installation can fully correct.
- Foliation direction affects delamination risk — always confirm cut orientation with your supplier
- Surface variation (or “calibration”) is measured in millimeters across a batch — tighter is better for interior use
- Color range within a pallet should be reviewed wet and dry — slate’s chromatic shift between states can be dramatic
- Edge quality directly affects joint consistency — chipped arrises signal aggressive machine cutting or poor handling
Matching Slate Slab Thickness to Your Application
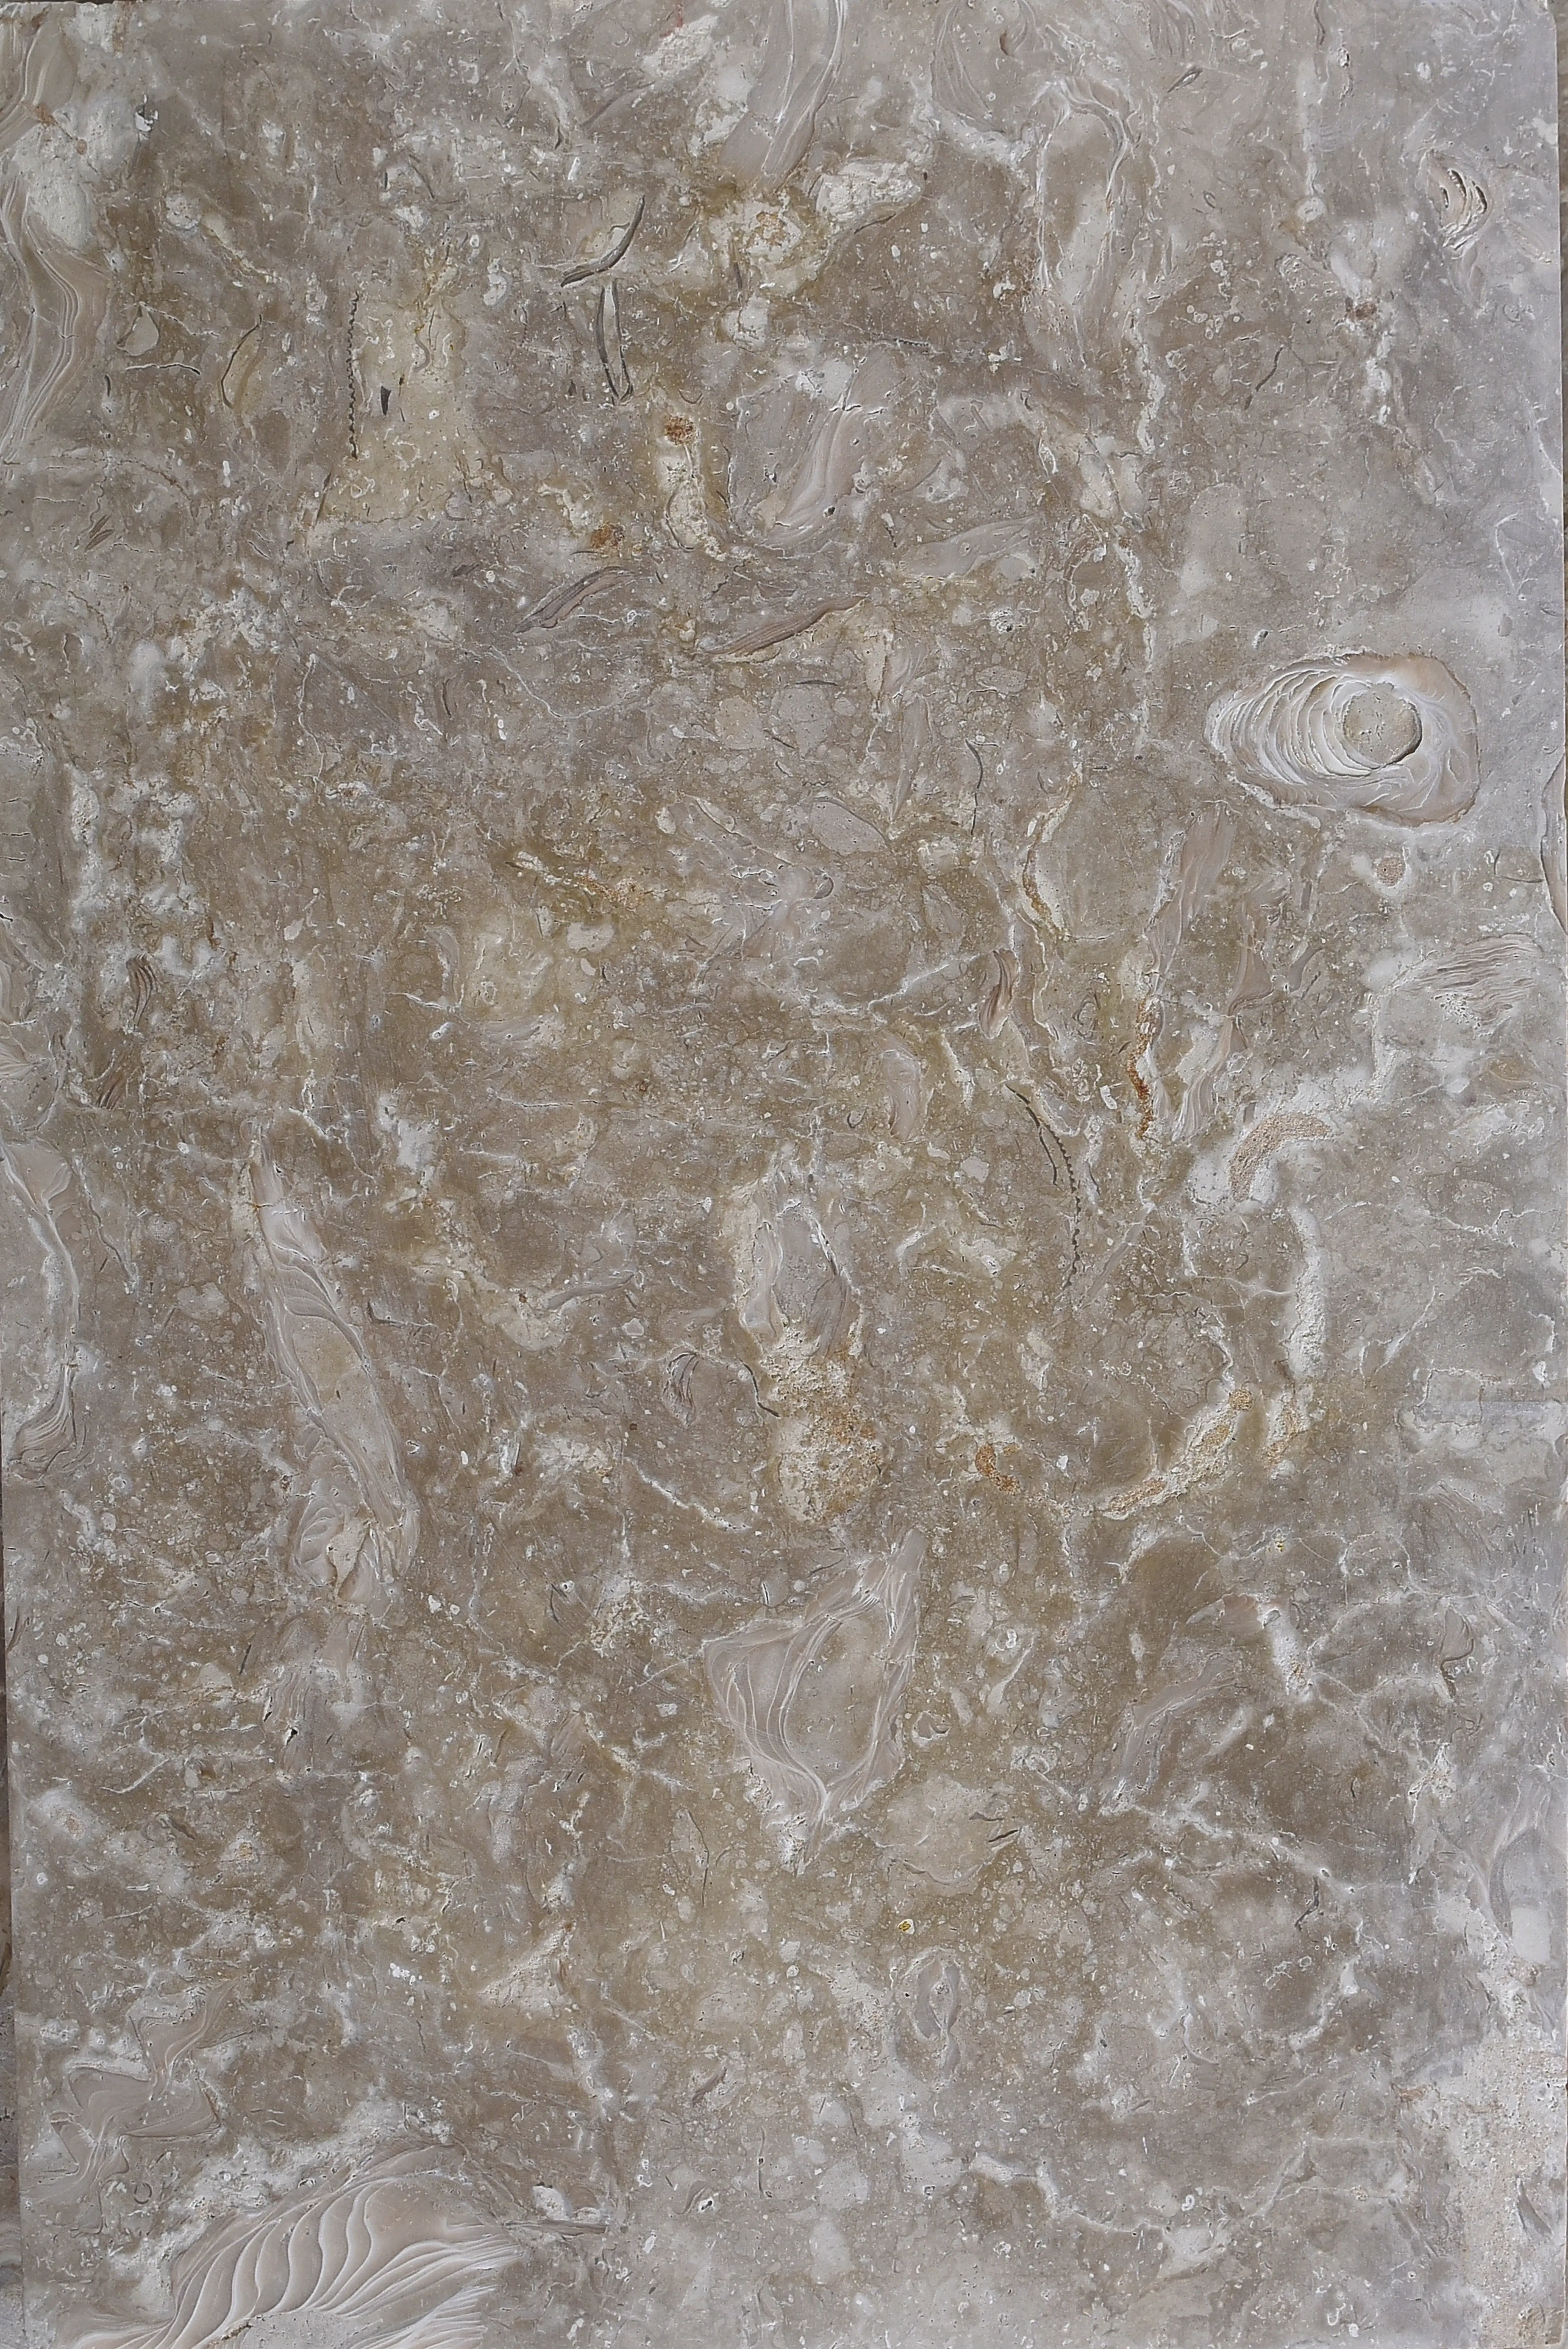
Thickness selection is where a lot of projects go sideways — and it’s not always obvious why. The standard residential interior floor slab runs 3/8″ to 1/2″ nominal, which handles typical foot traffic with a properly prepared substrate. But “properly prepared” is doing a lot of work in that sentence. A 3/8″ slab over a floor system with even modest deflection will crack — not because the slate is weak, but because it has essentially no flex tolerance and transfers stress directly to the thinnest cross-section.
For hearths, you should be specifying a minimum of 3/4″ to 1″ thickness. The thermal cycling a hearth surround experiences — especially around a wood-burning firebox — creates expansion and contraction stresses that thinner material simply can’t absorb without developing hairline fractures over a few heating seasons. Thicker slabs also provide the thermal mass that makes a slate hearth feel genuinely substantial rather than decorative. According to ASTM C629 slate dimension stone technical specifications, slate used in structural and architectural applications must meet specific absorption and modulus-of-rupture thresholds that vary by intended use — a critical reference point when writing your project specification.
Exterior paving carries its own thickness logic. In freeze-thaw regions, 3/4″ is a reliable minimum for pedestrian-only paving. For vehicular or mixed-use applications, 1″ to 1.25″ is more defensible — the additional mass distributes point loads across a larger footprint and reduces the risk of fracture from concentrated stress like jack stands or loaded hand trucks.
- Interior flooring: 3/8″–1/2″ with rigid, non-deflecting substrate
- Hearth surrounds and fireplace faces: 3/4″–1″ minimum for thermal durability
- Exterior pedestrian paving: 3/4″ minimum in temperate climates
- Exterior vehicular or heavy-use paving: 1″–1.25″ to handle concentrated loads
- Wall cladding: 3/8″ is generally sufficient given reduced load requirements
Surface Finish Selection and UV Performance in Sun-Exposed Installations
The finish you choose does more than determine how a slab looks the day it’s installed — it determines how the installation looks in year three and year ten, particularly in applications with direct sun exposure. Slate weathers differently from granite or limestone under sustained UV because its iron content oxidizes over time, producing surface color shifts that range from subtle to significant depending on the original mineralogy.
Natural cleft finish — the raw split face — is highly UV-stable because there’s no topcoat or applied finish to degrade. What you’re seeing is the actual mineral surface, and while it will develop a gentle patina over time, it won’t peel, chalk, or blister. Honed slate presents a different picture: the mechanical refinement opens micro-pores slightly and produces a more reflective surface that can show oxidation staining more visibly, particularly in warmer, sunnier conditions where UV accelerates the iron oxidation cycle.
Sealed finishes require the most attention in sun-exposed installations. A penetrating impregnator is far more UV-stable than a topical coating — topical sealers degrade under prolonged UV exposure, turning milky or flaking at the surface in high-sun applications. If you’re specifying slate for an outdoor terrace or uncovered courtyard, your sealing schedule needs to account for UV degradation, not just moisture infiltration. Plan for reapplication every 2–3 years in high-UV exposure conditions rather than the 5-year cycle that works fine for shaded or interior applications. The slate metamorphic rock properties documented by Britannica confirm that iron-rich slate varieties are particularly susceptible to surface oxidation under sustained UV and moisture cycling — a trade-off worth factoring into your finish specification before the material ships.
- Natural cleft finish: highest UV stability, minimal maintenance, rustic texture
- Honed finish: shows oxidation more visibly in sun-exposed applications, reseal every 2–3 years outdoors
- Topical sealers: avoid for outdoor use — penetrating impregnators only for UV-exposed slabs
- Color enhancement sealers: intensify iron tones beautifully but require more frequent reapplication outdoors
- Sealing before installation exposes any absorption inconsistencies across a batch — a useful quality check
How to Choose Slate Slabs for Interior Flooring
Interior flooring is where knowing how to choose slate slabs really pays off in practical terms. The primary performance variables for a floor installation are calibration consistency, slip resistance, and surface hardness — and they interact in ways that aren’t always obvious from a product sheet.
Calibration — how consistently the slab is cut to a nominal thickness — determines whether you’ll be setting in a thick mortar bed to accommodate variation or dry-setting with minimal adjustment. Tighter calibration (±1mm or better) is worth paying a premium for in large-format floor installations because it dramatically reduces installation time and the risk of lippage at joints. Wider calibration tolerance can work fine in rustic or irregular-pattern installations where some surface variation is part of the design intent.
Slip resistance on interior slate is often underspecified. The natural cleft finish typically delivers a coefficient of friction well above the 0.6 minimum that most commercial building codes require for walking surfaces, but a honed or polished finish on the same material can drop well below that threshold when wet. If your project has transition zones between wet areas (like a bathroom or mudroom entry) and slate flooring, specify the finish with the wet coefficient of friction in mind — not just the dry measurement. You can find detailed absorption and slip resistance testing frameworks through Natural Stone Institute ASTM stone specifications, which cover the specific test methods relevant to interior stone flooring. Sourcing natural slate from Citadel Stone gives you access to pre-tested material with documented performance data, which simplifies the specification verification process considerably.
- Target calibration of ±1mm or tighter for large-format floor installations
- Confirm wet coefficient of friction for any finish used in potentially wet transition zones
- Natural cleft reliably exceeds 0.6 COF dry and wet — honed and polished may not
- Run a test sample with your proposed adhesive or mortar system before full installation commit
- Back-buttering individual slabs significantly improves bond strength and reduces hollow-spot failures
Hearth and Fireplace Surround Specification
Slate’s thermal properties make it one of the more naturally suited materials for hearth applications — but the specification details that protect a hearth installation are different from those that matter on a floor. The primary concern is thermal cycling stress, which is far more aggressive at a fireplace surround than anywhere else a stone slab typically gets used in residential construction.
Consider the heat differential across the slab face, not just the ambient temperature the stone reaches. A hearth pad in front of a wood-burning firebox can see surface temperatures of 200°F or higher during active use, while the edges of the same slab — away from radiant heat — remain close to room temperature. That differential creates internal stress, and thinner slabs (under 3/4″) don’t have the cross-sectional mass to absorb it without developing micro-fractures at the surface.
Joint design matters significantly around a firebox. Your mortar and grout selections need to be rated for thermal exposure — standard polymer-modified grout can soften and stain under sustained high heat. A refractory grout or a dry-set epoxy rated for elevated temperatures is the appropriate specification. Expansion joints at the firebox perimeter aren’t optional — they accommodate the differential movement between the firebox structure and the surrounding slate field. A 1/4″ joint filled with a silicone-based expansion material is a reliable detail that absorbs movement without transmitting it to the adjacent slab edges.
- Minimum 3/4″ slab thickness for all hearth and firebox surround applications
- Use refractory-rated grout within 12″ of the firebox opening
- Specify expansion joints at all firebox perimeter transitions — 1/4″ minimum
- Back-set the slate from direct contact with metal firebox components to allow movement
- Test the installed material for hollow spots before grouting — thermal stress amplifies any bond voids
Exterior Paving: What Slate Slabs Demand from the Installation System
Exterior slate paving is where the specification chain really needs to be tight from substrate through to finish, because field failures in outdoor applications are expensive and disruptive to remediate. The material itself is capable of exceptional long-term performance — the relevant USGS slate dimension stone production data documents slate’s decades-long track record in exterior paving across varied climate zones — but that performance is entirely dependent on the installation system around it.
Your base specification is the foundation. A compacted aggregate base of 4″ minimum in standard pedestrian applications, stepping up to 6″–8″ for areas with vehicular access, is where long-term performance gets decided — not at the surface. Slate slabs on an inadequate base will shift, settle differentially, and develop lippage that becomes a trip hazard long before the material itself degrades. Clay-heavy soils demand geotextile separation between native soil and the aggregate base to prevent fines migration that undermines compaction over time.
Drainage geometry is the other critical variable that outdoor slate paving demands. A minimum cross-slope of 1/4″ per foot away from structures keeps surface water moving and prevents pooling that accelerates moisture infiltration through the joints. In freeze-thaw regions, this isn’t merely aesthetic — standing water at joints expands during freeze cycles and leverages slabs apart with remarkable force over successive winters. Verify your drainage design matches your specified joint width before the first slab goes down.
- 4″ compacted aggregate base minimum for pedestrian paving — 6″–8″ for vehicular areas
- Geotextile separation layer in clay-heavy soils to prevent fines migration
- 1/4″ per foot minimum cross-slope for effective surface drainage
- Joint width should account for thermal expansion — wider in high-temperature-swing climates
- Inspect and re-sand joints annually in freeze-thaw environments to prevent water infiltration
Ordering, Warehouse Inventory, and Project Scheduling
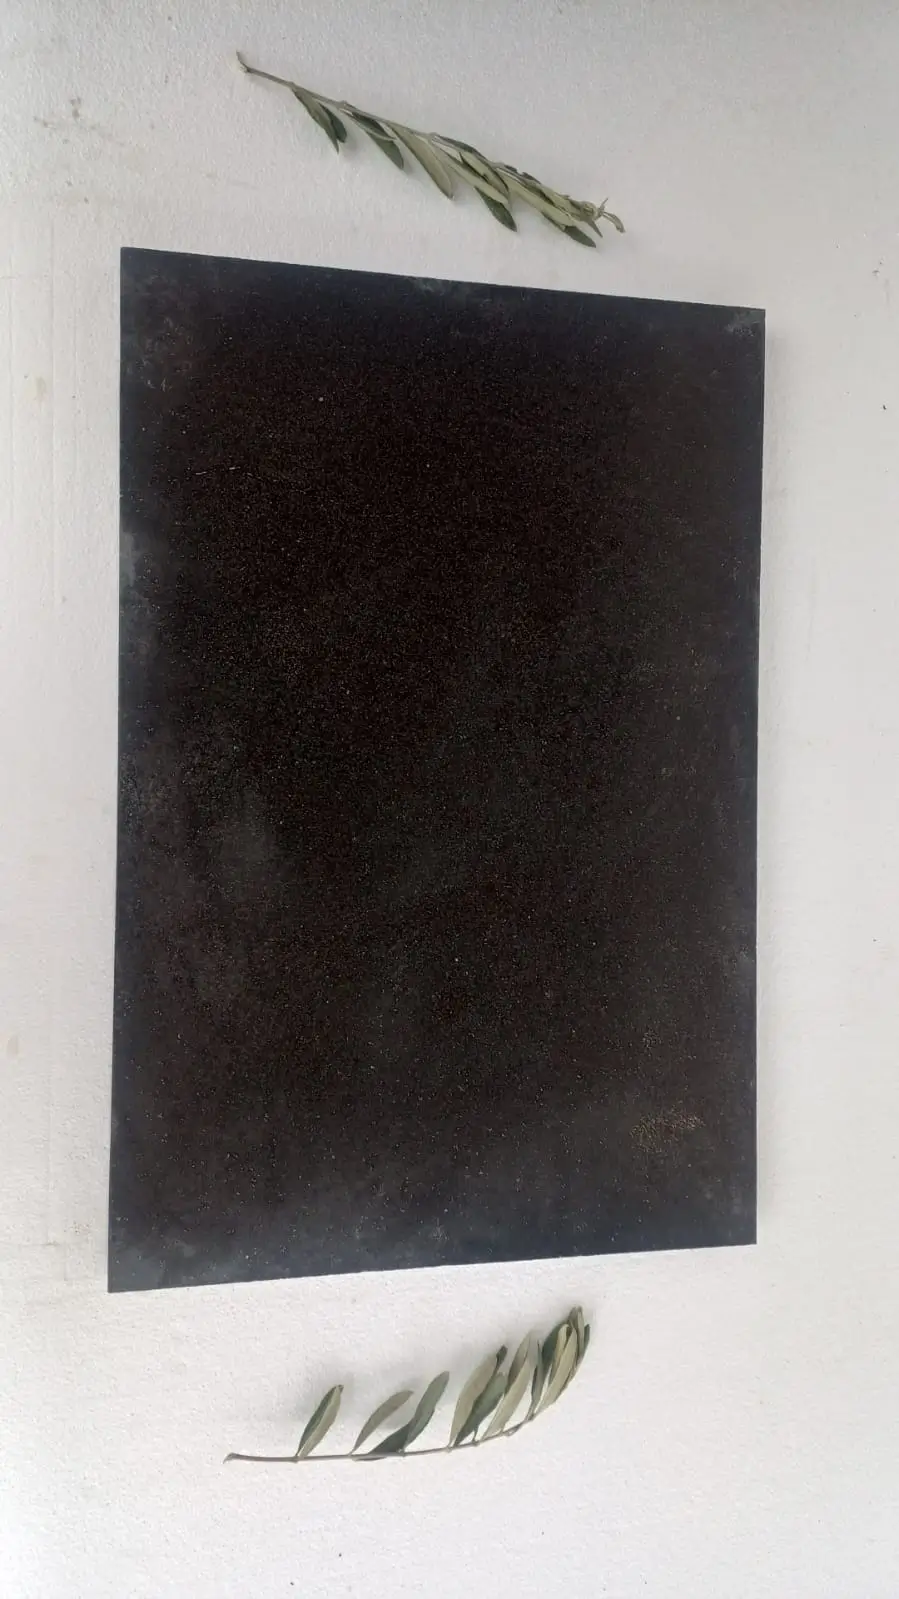
One of the most common project delays in natural stone work has nothing to do with the installation — it’s a mismatch between the expected delivery window and actual warehouse availability. Slate availability fluctuates by quarry cycle, and specific size ranges or finish options can be out of stock for weeks if a quarry batch runs short or a shipment is delayed in transit.
Verify warehouse stock levels before you finalize your project timeline — not after you’ve committed to an installation date. Citadel Stone maintains inventory across its national distribution network, which typically compresses lead times to 1–2 weeks for in-stock material compared to the 6–8 week cycle for direct import orders. That’s a significant buffer in projects where a delayed stone delivery cascades into missed milestones for tile-setters and finish trades.
Order a minimum 10% overage beyond your calculated coverage requirement. Slate’s natural cleft face means that some slabs in every batch will have surface conditions or color values that make them unsuitable for prominent field positions — relegating those pieces to cuts and less visible areas. Without adequate overage, you may face a situation where the warehouse has exhausted the original batch and the next delivery is a different quarry pull with a noticeably different color profile. On large projects, a 15% overage is worth the modest additional cost for the material security it provides.
- Confirm warehouse availability before committing to installation schedule milestones
- Order 10% overage minimum — 15% on large or high-visibility projects
- Request material from a single quarry batch to ensure color consistency across the installation
- Confirm delivery access and offloading requirements before placing a large pallet order
- Stage material on site for 48–72 hours minimum before installation to allow acclimatization
Getting Your Slate Slab Specification Right
The decision points in a slate slab specification — thickness, finish, calibration, base system, sealing schedule — are all connected. A thin slab with inadequate base preparation fails differently than a thick slab on a solid substrate with the wrong grout, but both produce callbacks and remediation costs that outweigh any savings made during the original specification. Your selection process needs to work through each variable in sequence, treating the installation as a system rather than a product purchase. At Citadel Stone, we review material specifications with project teams before orders are finalized, because the questions that get answered at the specification stage are always cheaper to resolve than the ones that surface after the installation is grouted. As you evaluate complementary stone options for other areas of your project, soapstone slab selection guidance offers a useful parallel framework for heat-zone applications like kitchen counters and hearth surrounds. For hearth installations, Citadel Stone recommends thicker slate slabs to better absorb and distribute heat without surface stress.
Related reading: carrara vs calacatta marble slabs · remnant granite slabs for sale · marble slab for sale.